

Appearance
Better Without It® Program Guide
Intake: From New Student to Active
In this guide: creating a new student, reaching out, scheduling the intake visit, sending documents for signature, the visit itself, and getting the student ready to join a group.
This guide walks you through a student's intake journey in the Better Without It® portal — from the moment a new student comes in, all the way to marking them active and ready for a group. Follow the steps in order; each one shows you exactly which button to click and which status the case will show afterward.
Good to know
The button you click and the status badge it creates sometimes read differently. For example, you click Documents Received and the case then shows the status Document Review. Throughout this guide, button names and status names are both spelled out so nothing gets lost.
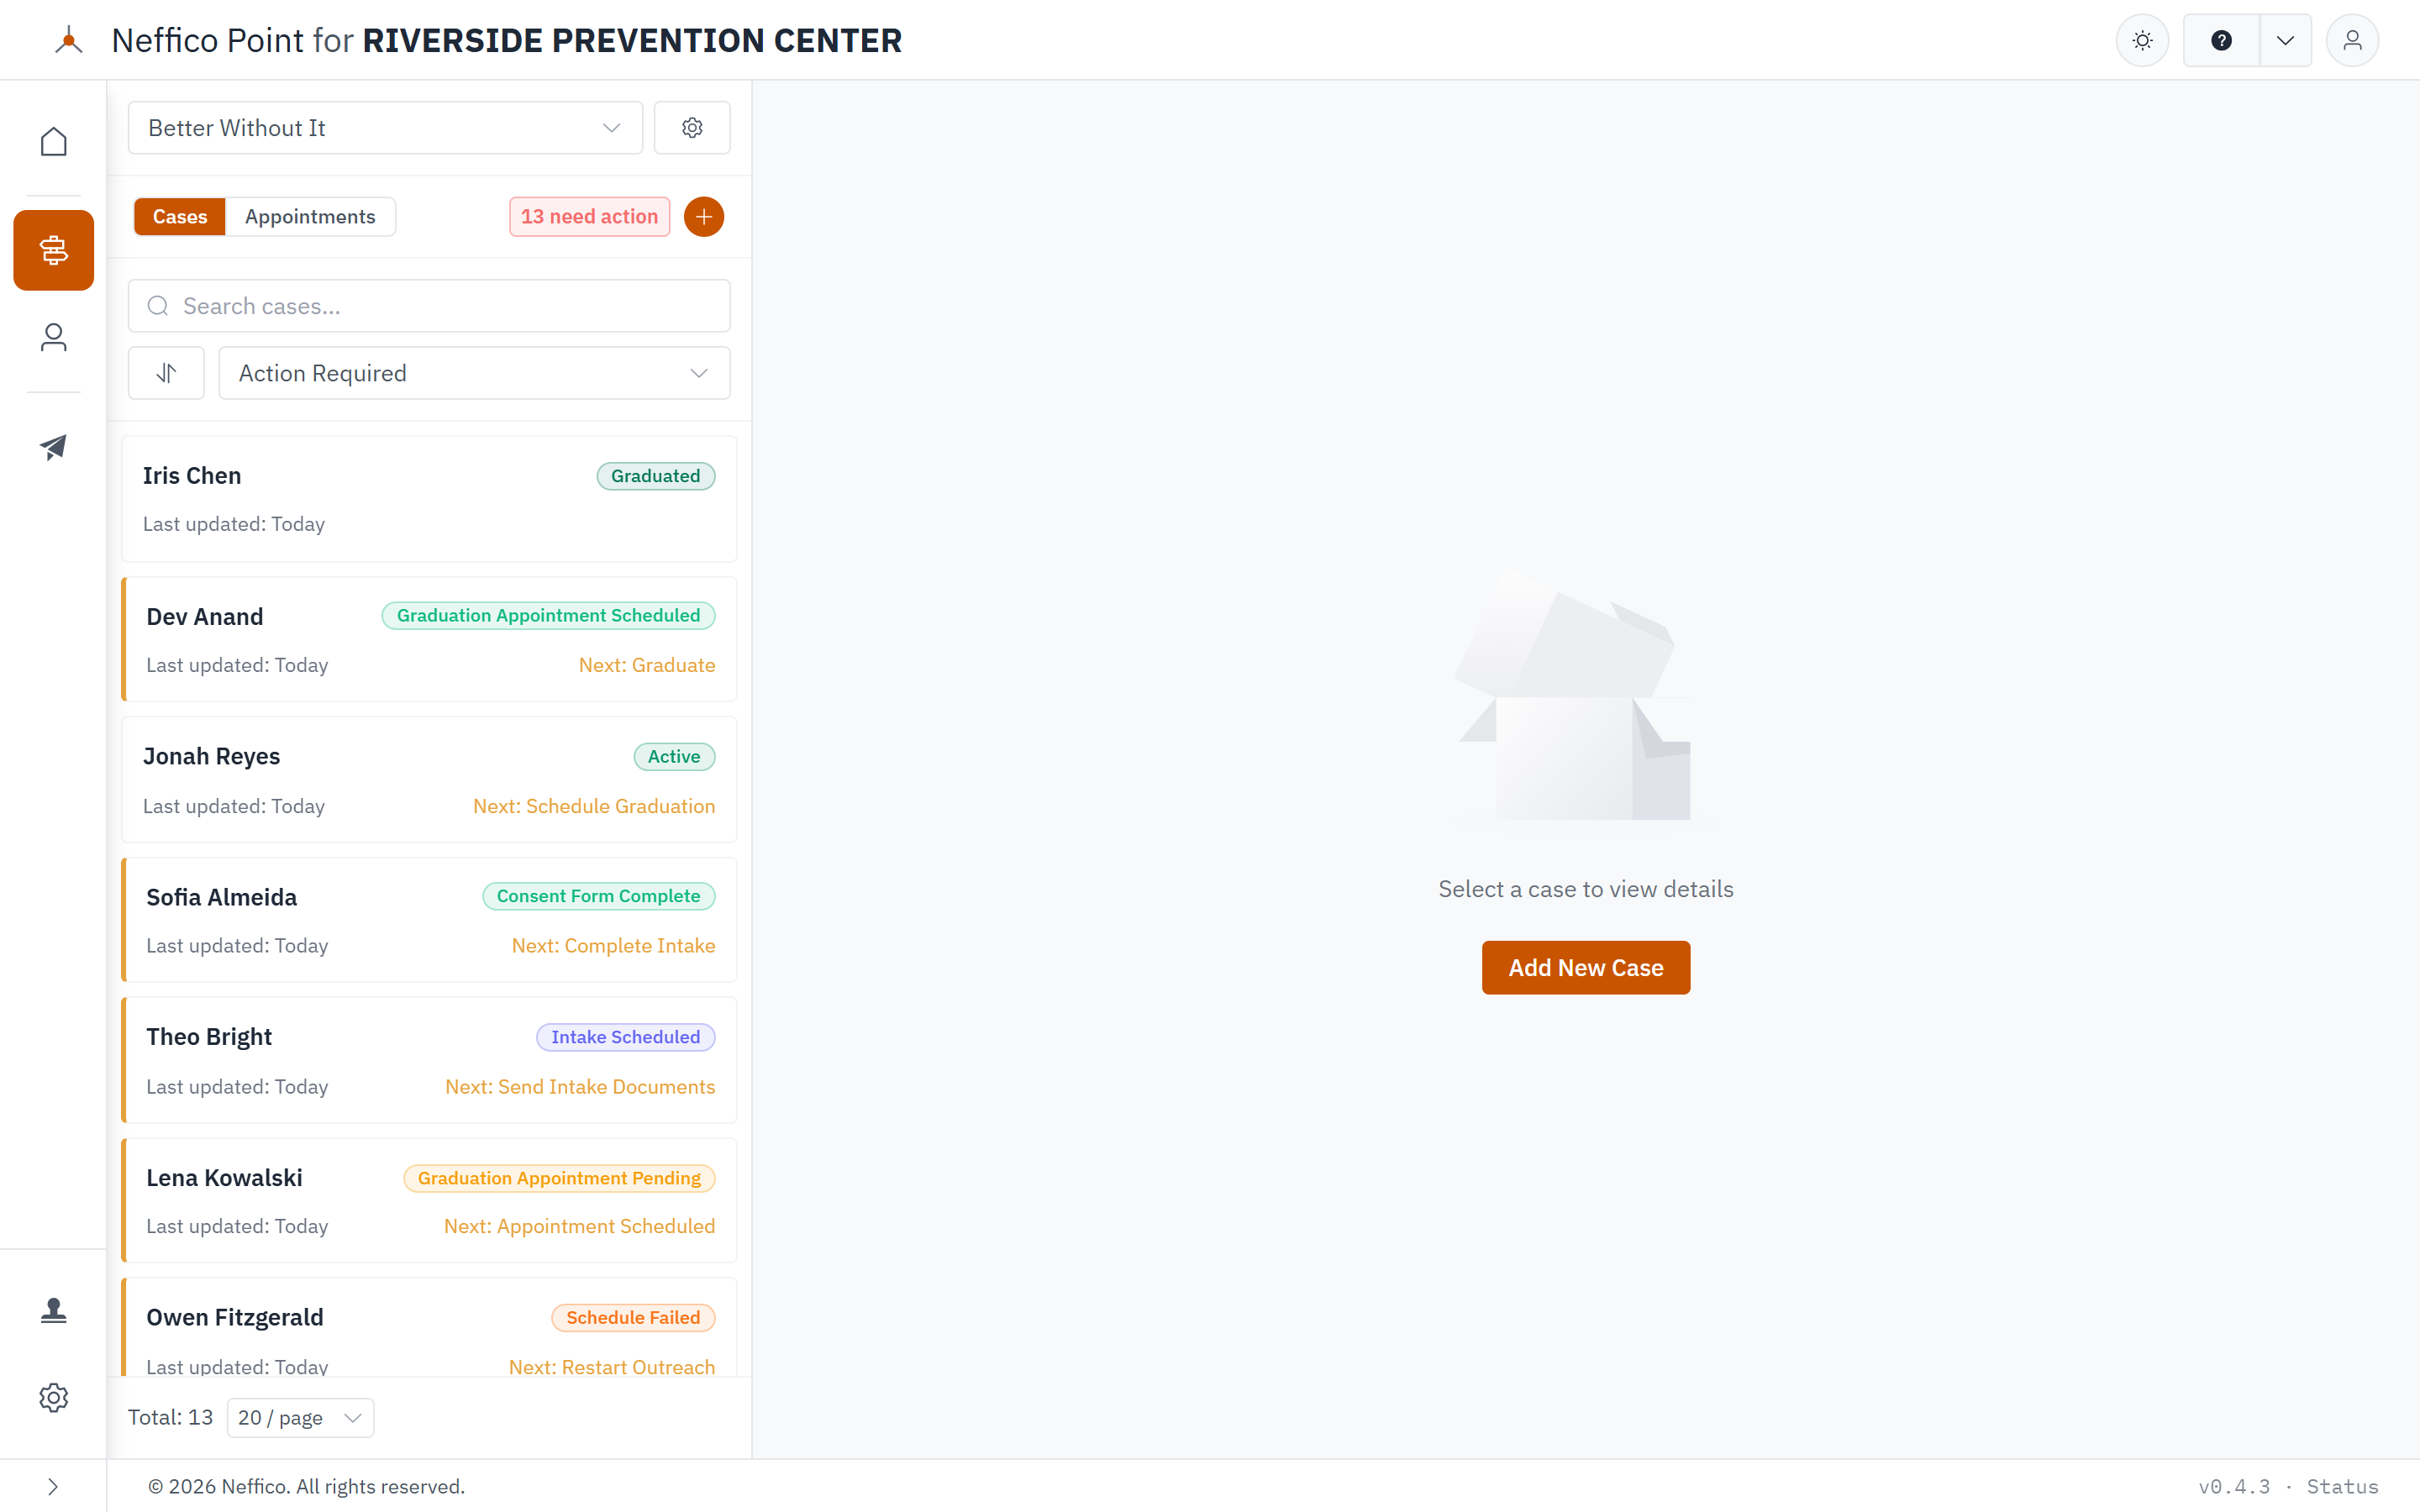
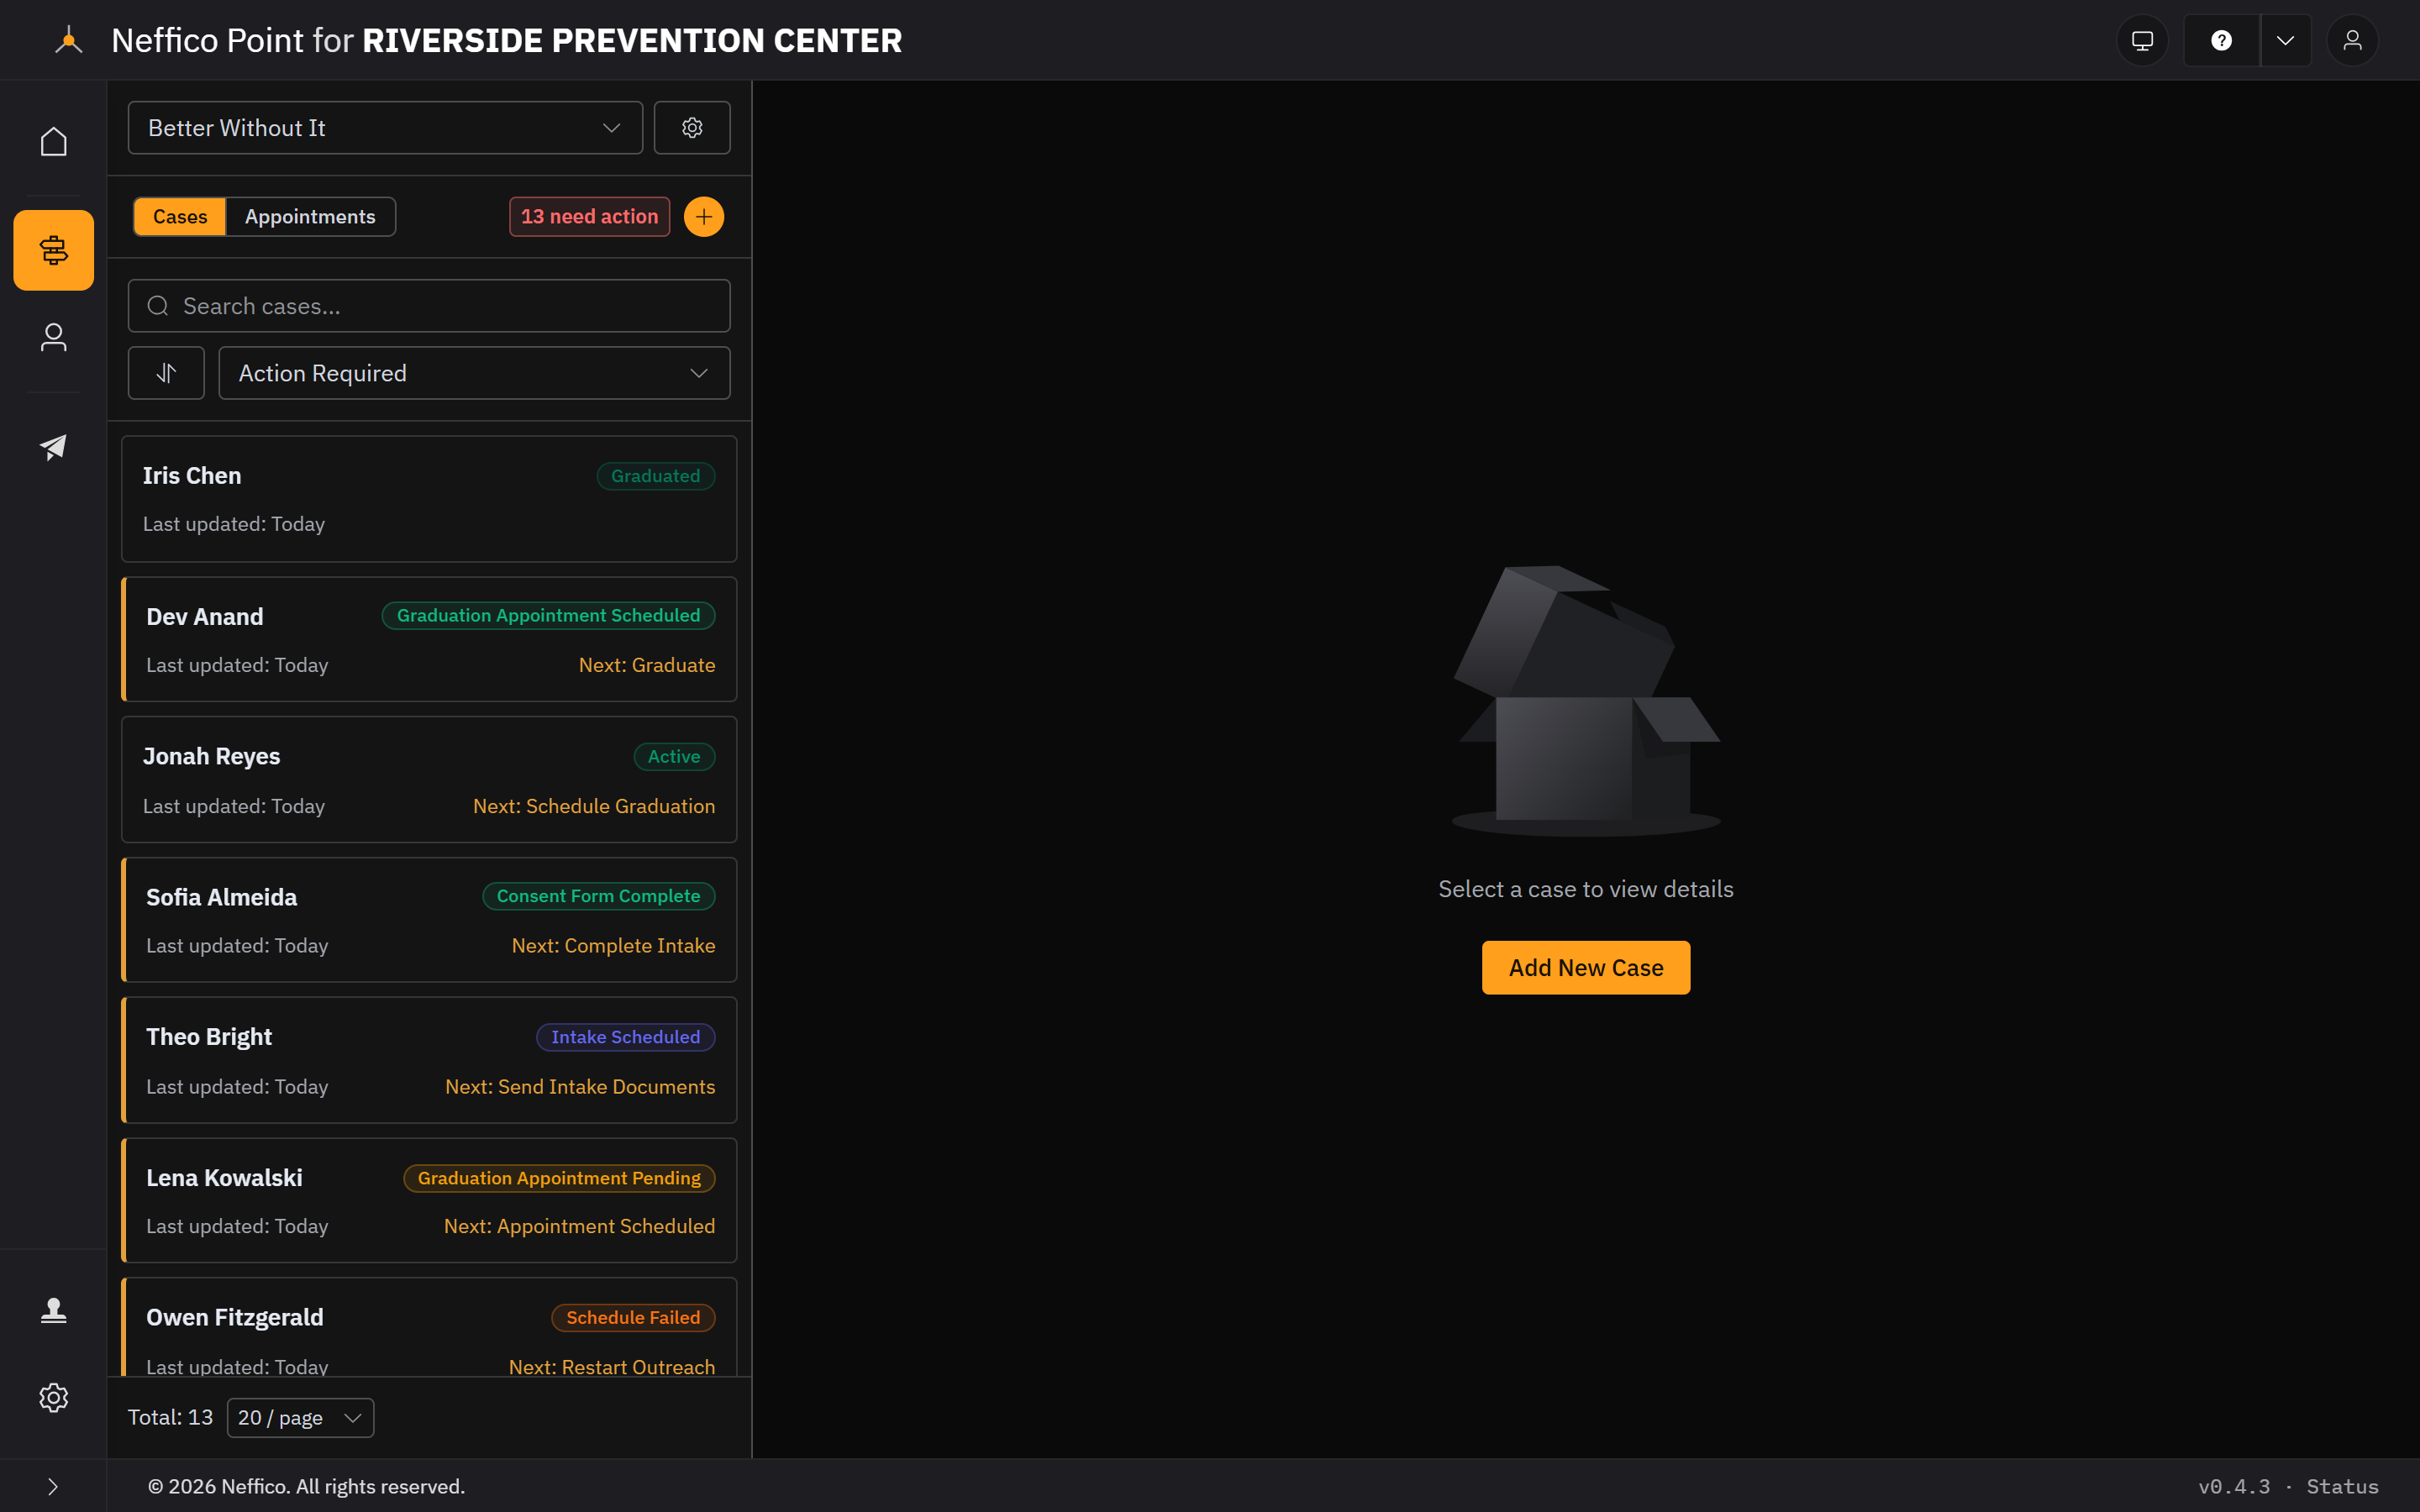
Here's the whole case board, so you can place everything that follows. The list of students is on the left; whichever one you pick opens on the right.
Watch how it works
Prefer to see it done first? This walkthrough follows one student from the day she lands on the board all the way to Graduated. It covers adding a parent as a contact, the scheduling link, all three signatures on the consent form, the intake visit, the graduation steps, and the case timeline, in about ten minutes.
Step 1 · Add a brand-new student
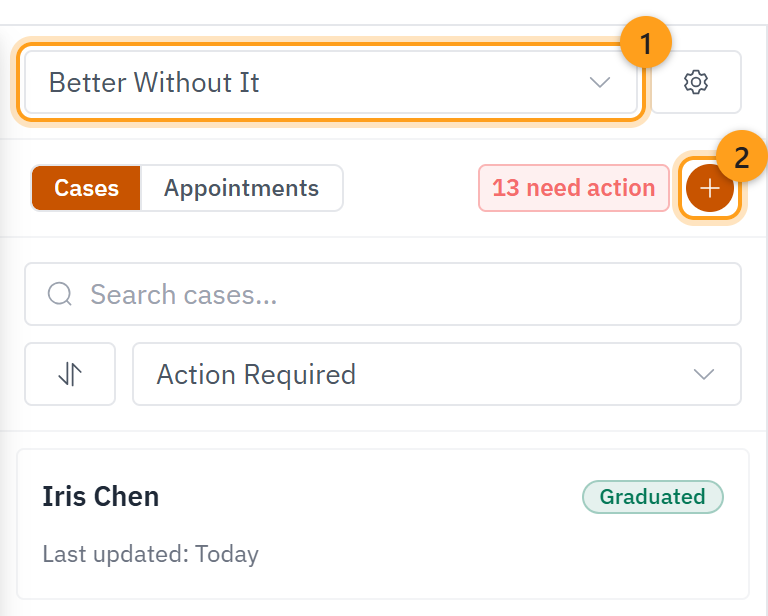
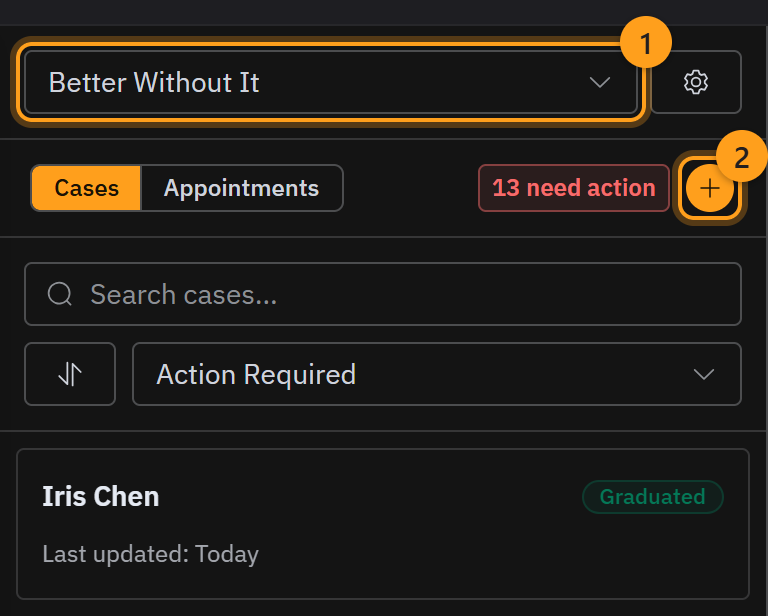
On the case board, make sure the workflow picker at the top-left reads Better Without It® (1). Click the + button (2) to start a new case.
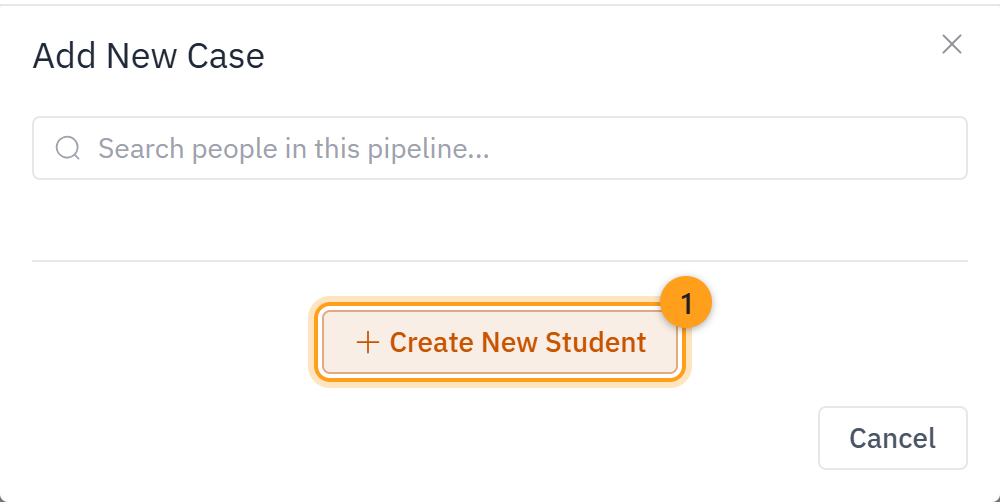
The Add New Case window opens. Search for a student who is already in the portal, or choose Create New Student (1) to add someone new.
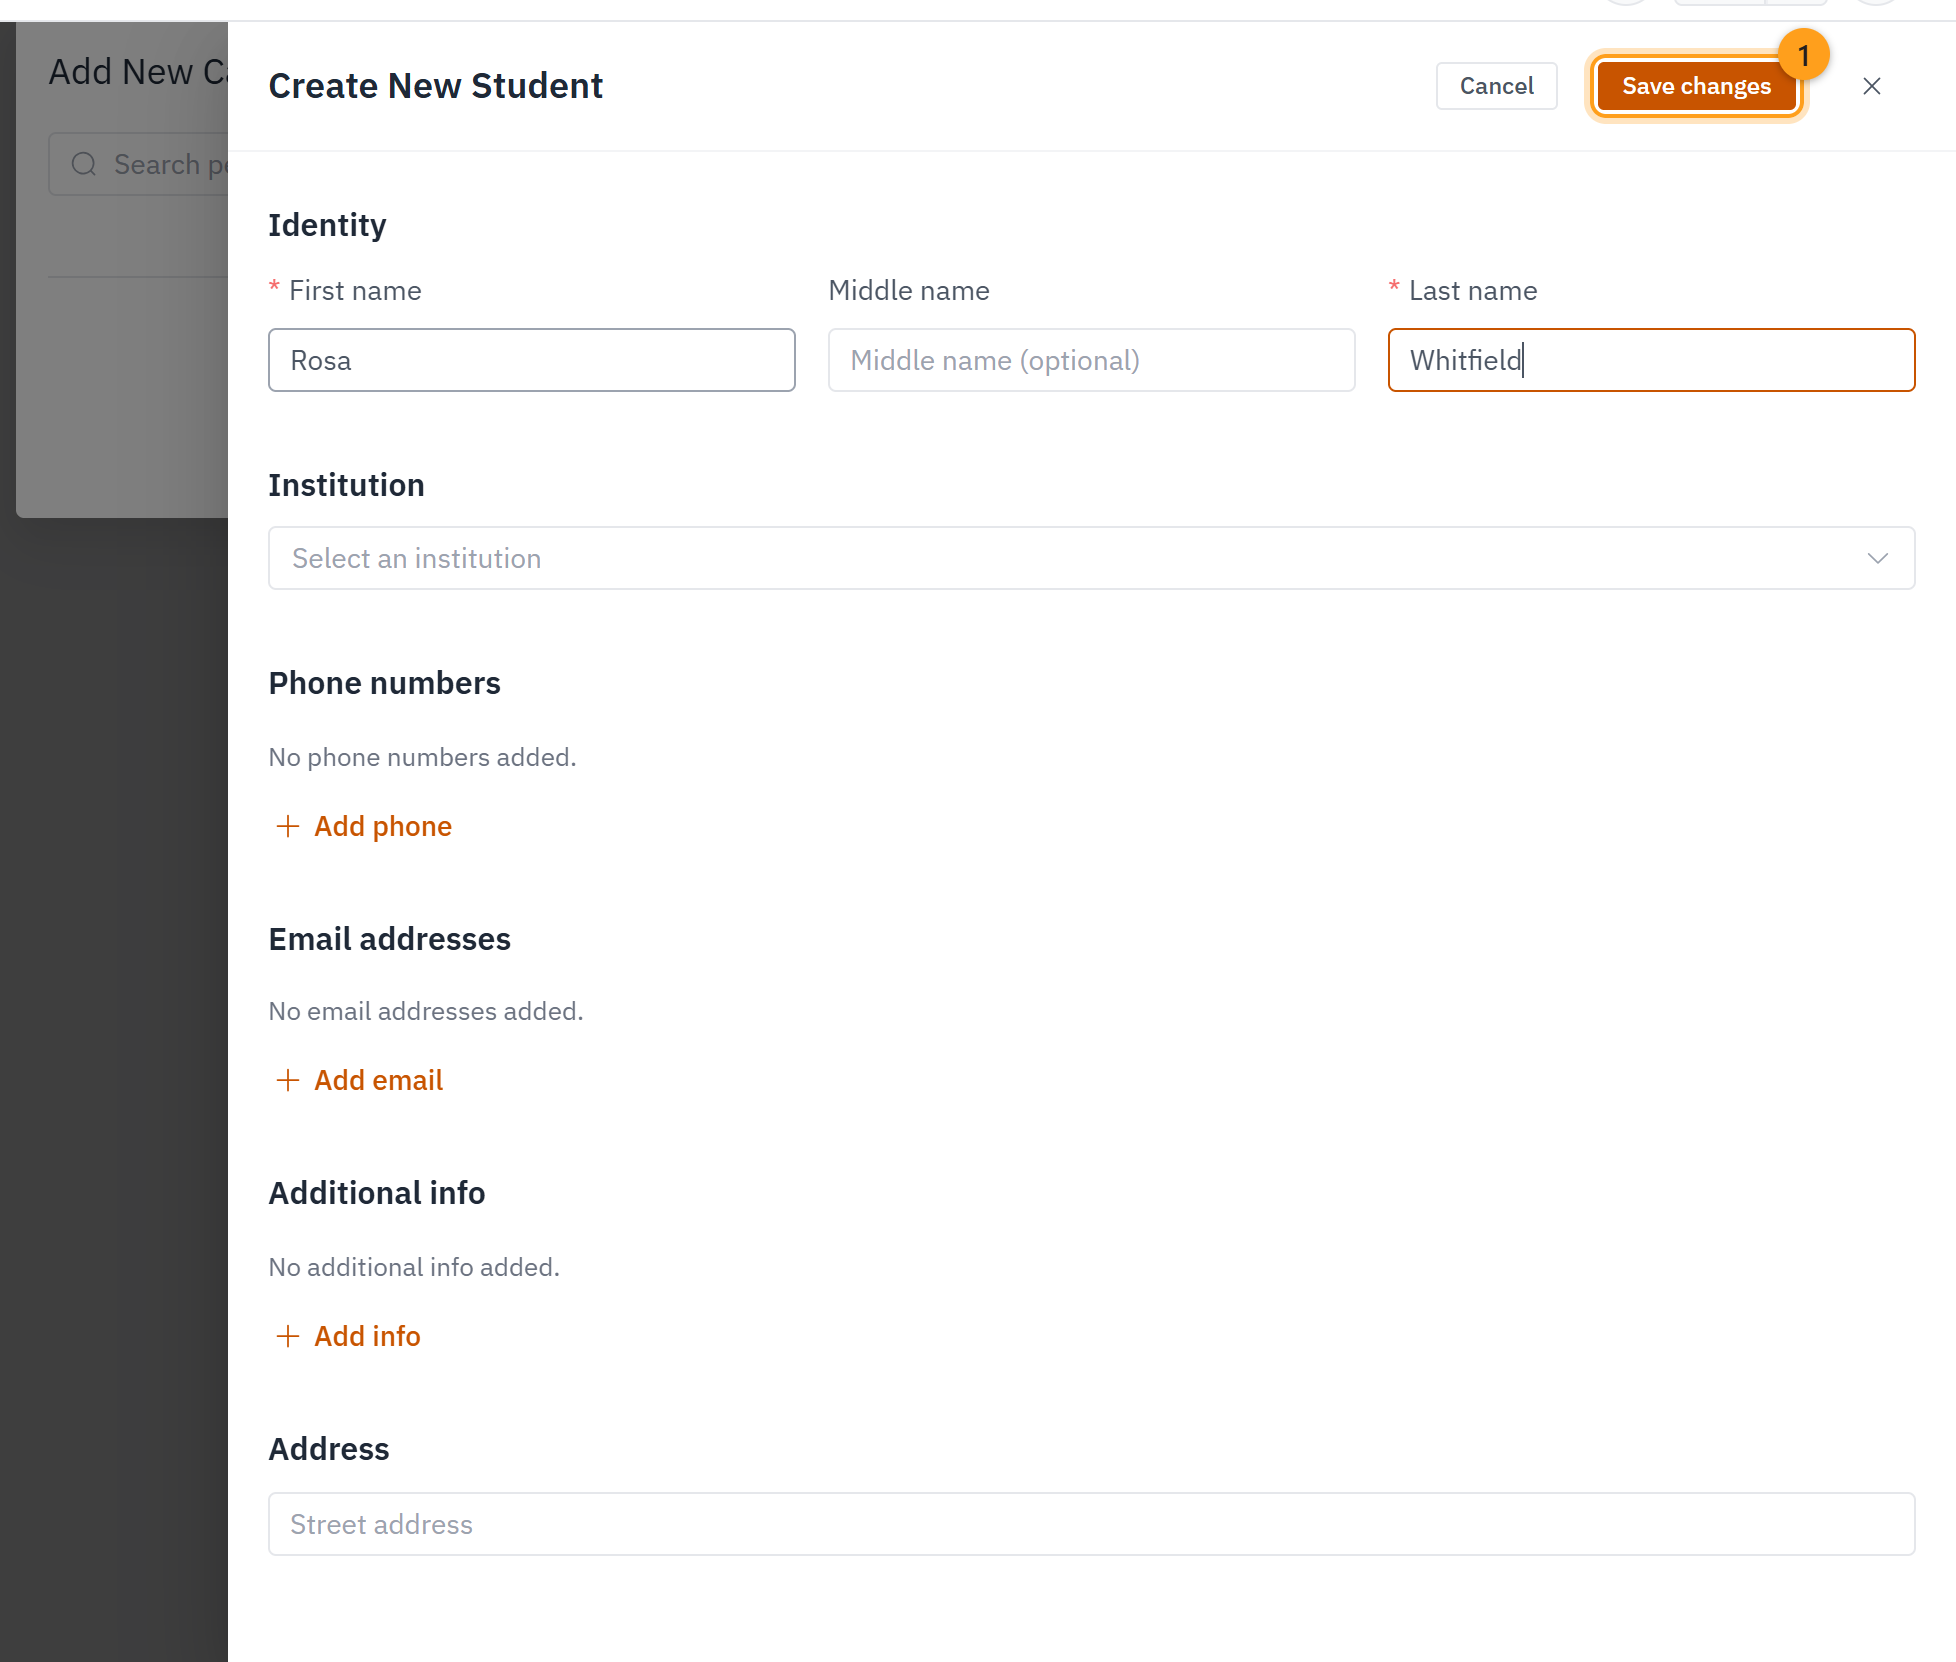
Fill in the student's information, then confirm with Save changes (1).
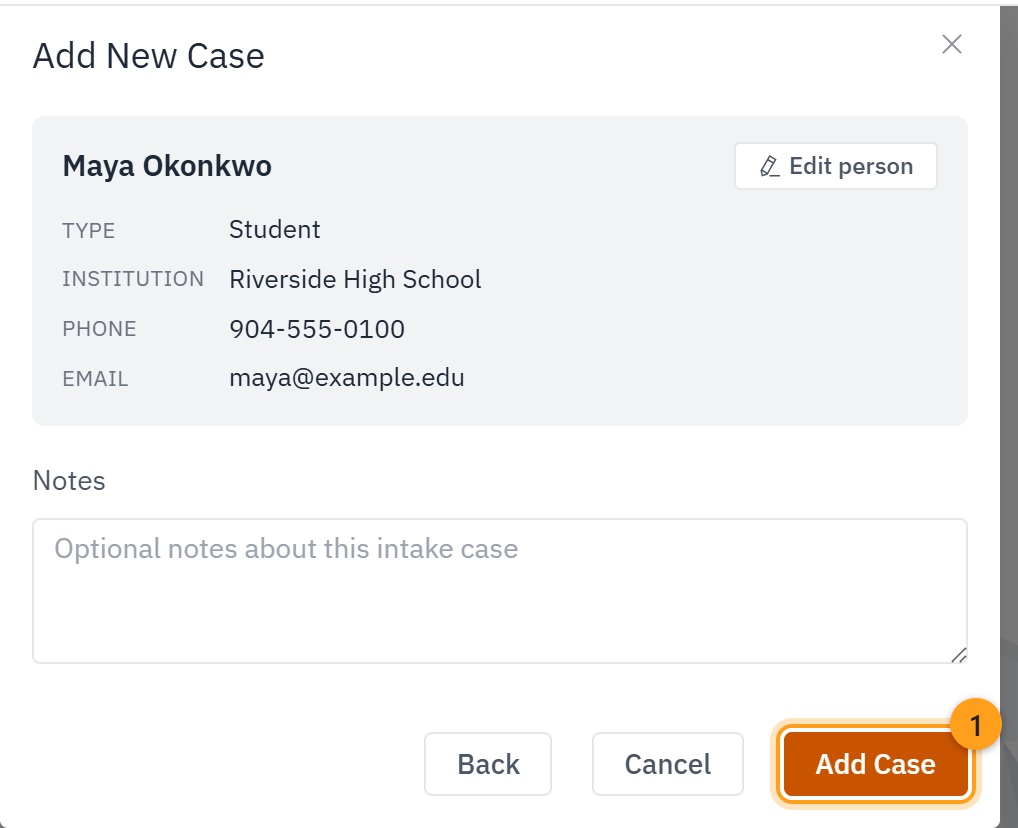
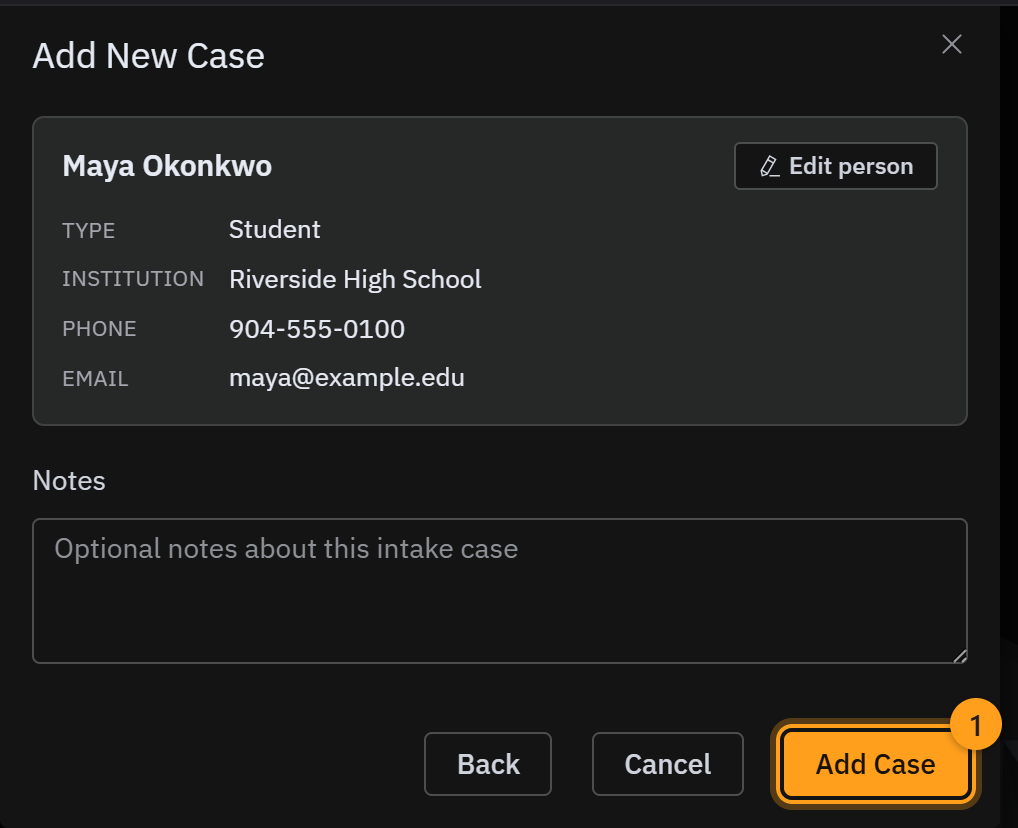
One last step, and it's easy to miss: you land back on the Add New Case window, now showing the student's details.
- Open Referral source (1) and pick who sent the student to you — for example School. If you don't know, pick Unknown / not provided. You can change it later.
- Jot a quick note in Notes (2) if you like.
- Click Add Case (3).
Don't see the source you need?
The Referral source list is set up by your workspace admin. They can add sources in Intake settings.
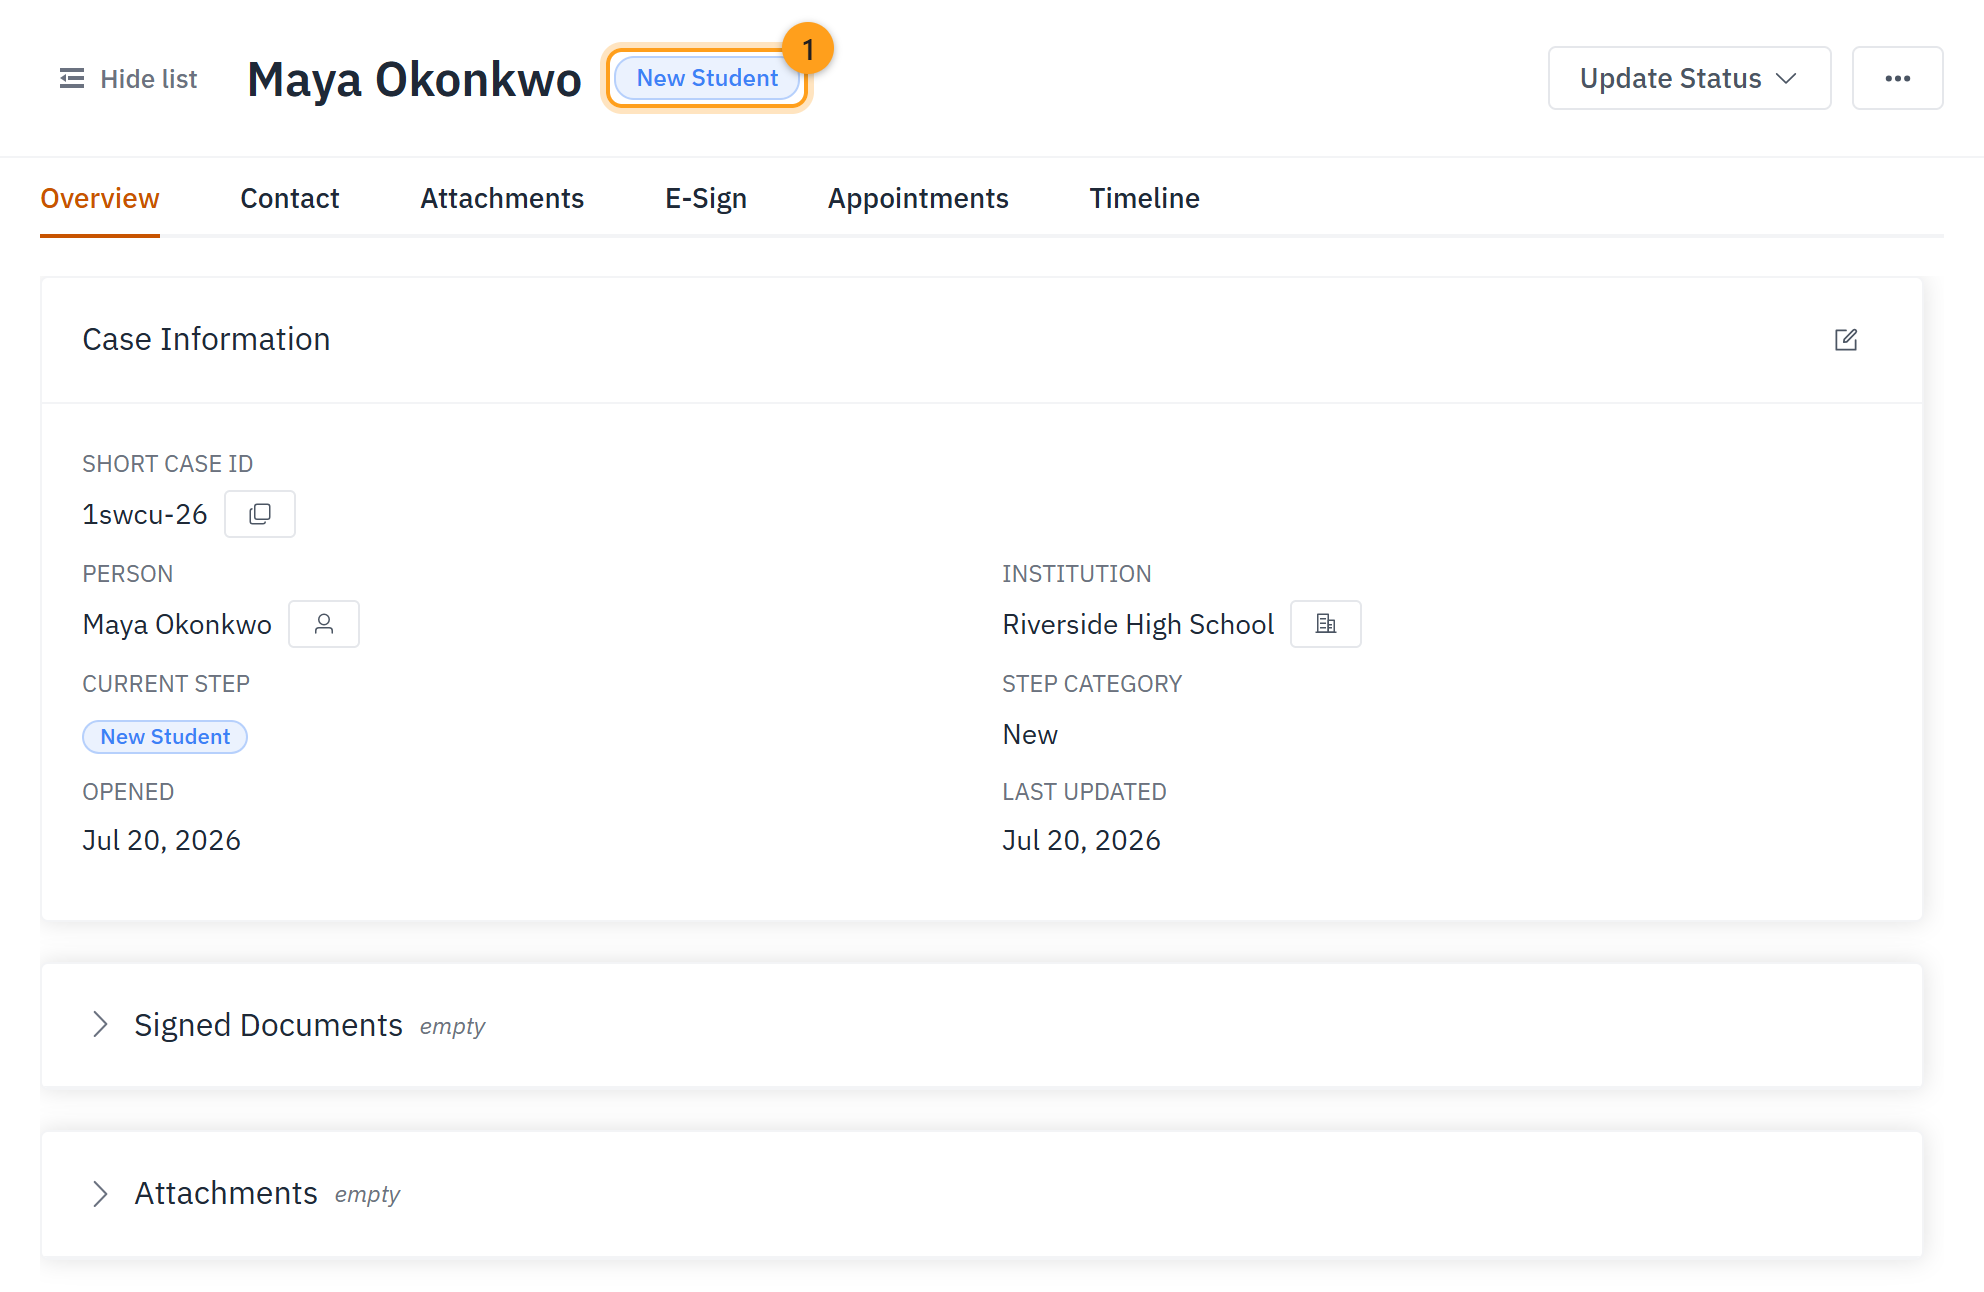
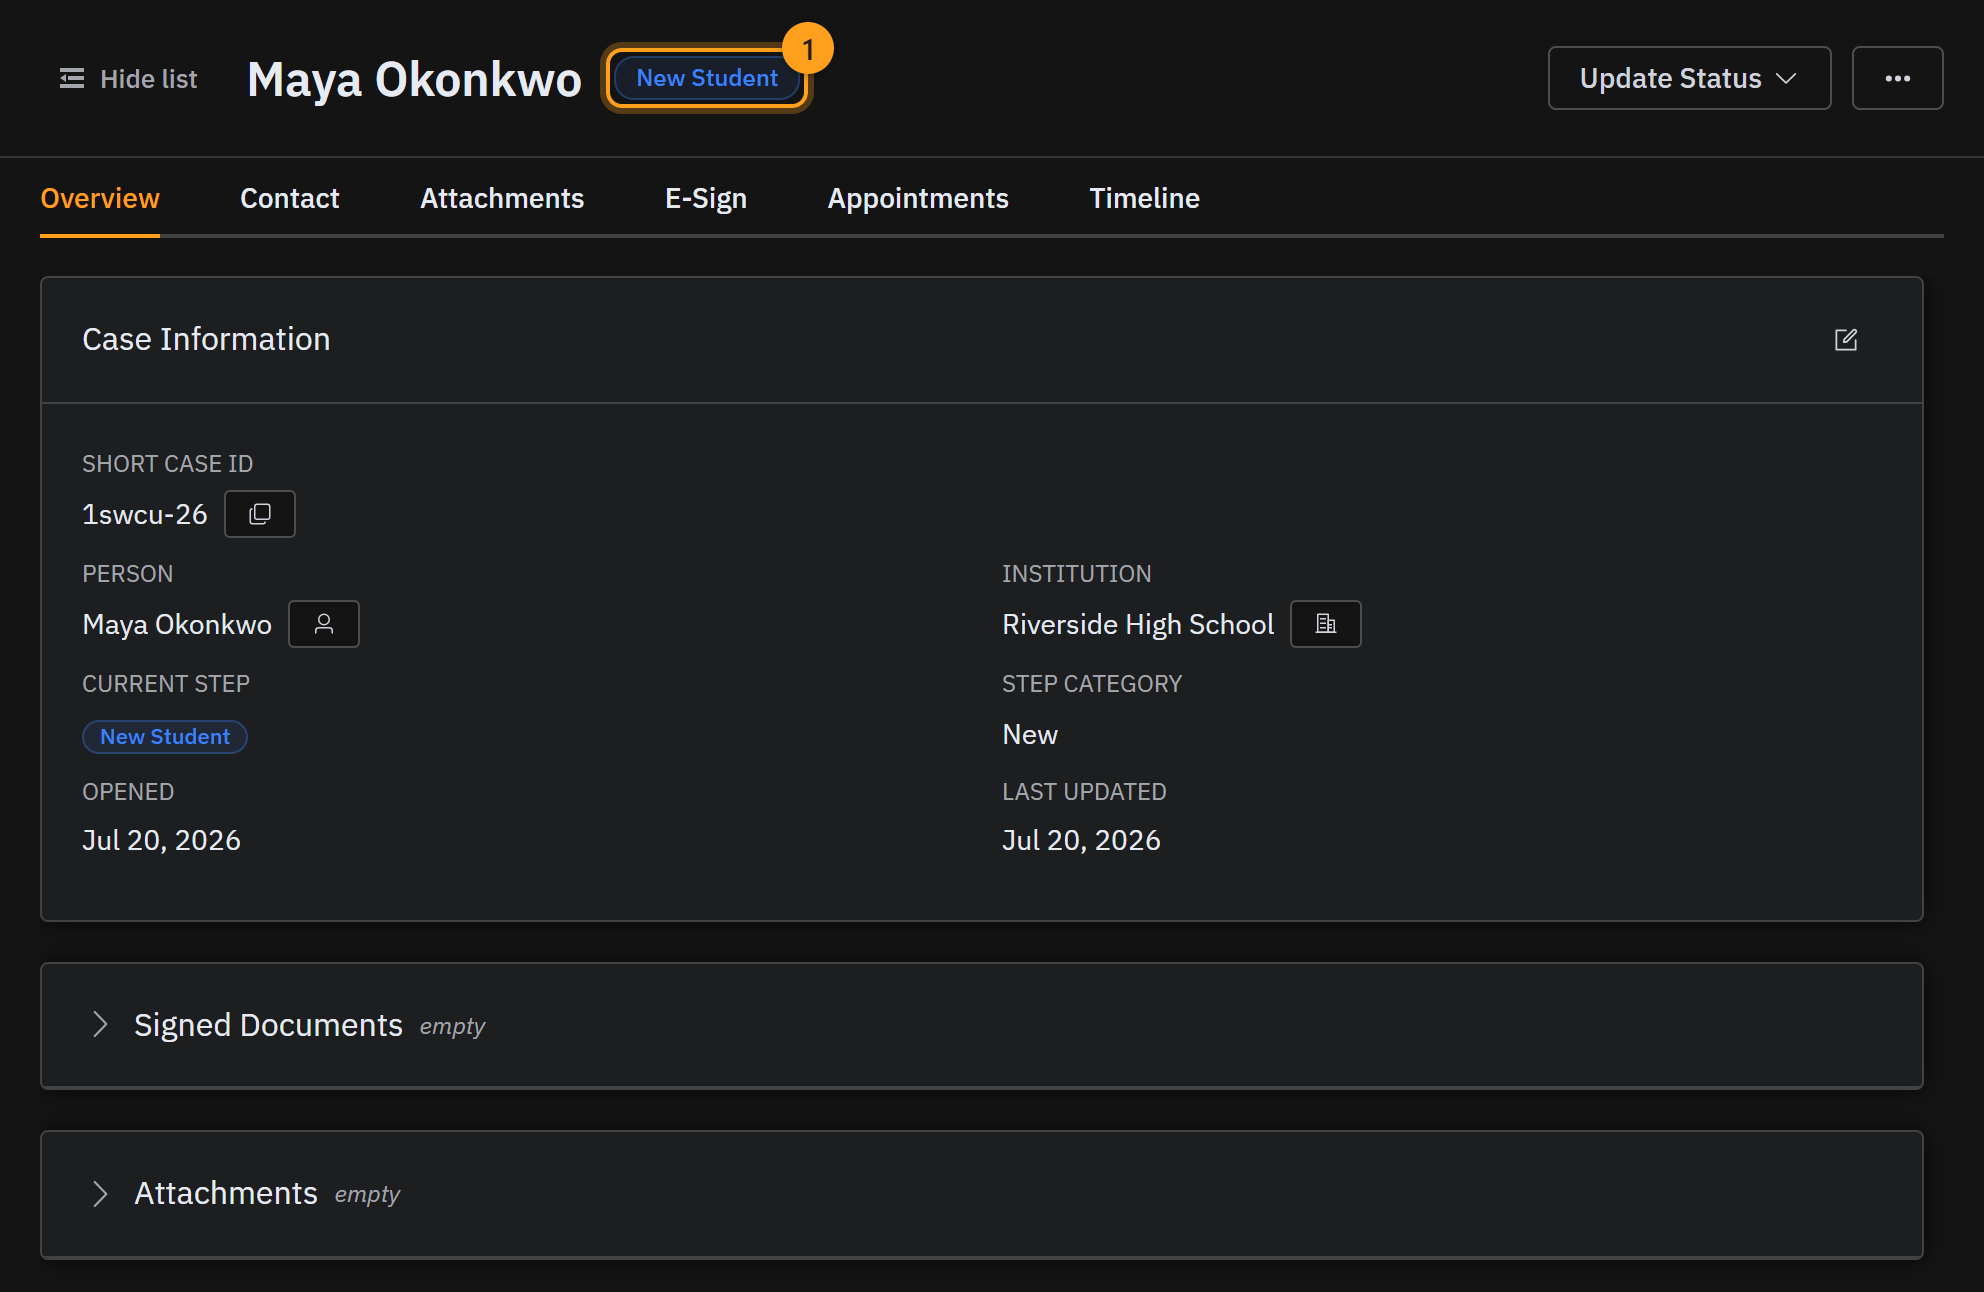
The case is added to the board and marked New Student (1) — that's your starting line. The referral source (2) and your note (3) are saved on the case's Overview tab.
Step 2 · Use the helper panel to focus on what needs your attention
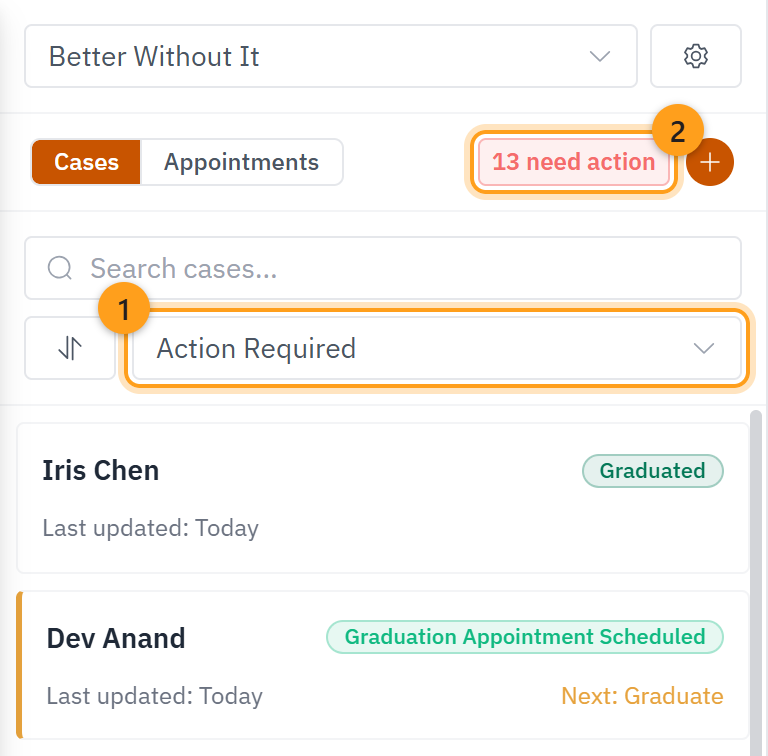
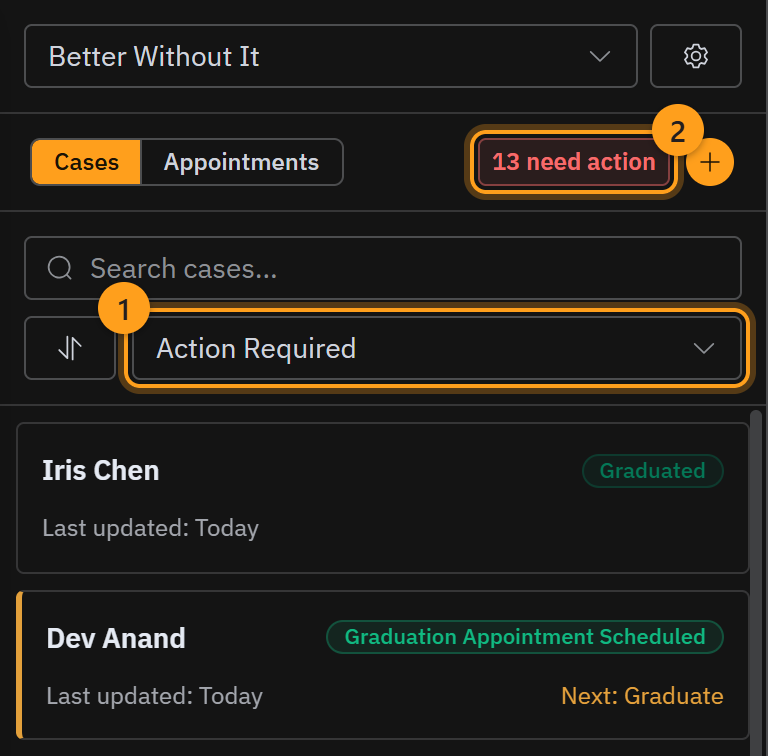
The panel on the left is your helper. The filter at the top (1) lets you focus on what needs your attention. Set it to Action Required and you see only the cases waiting on something from your side. The count beside it (2) tells you how many, so nothing slips through the cracks.
Step 3 · Reach out on the Contact tab
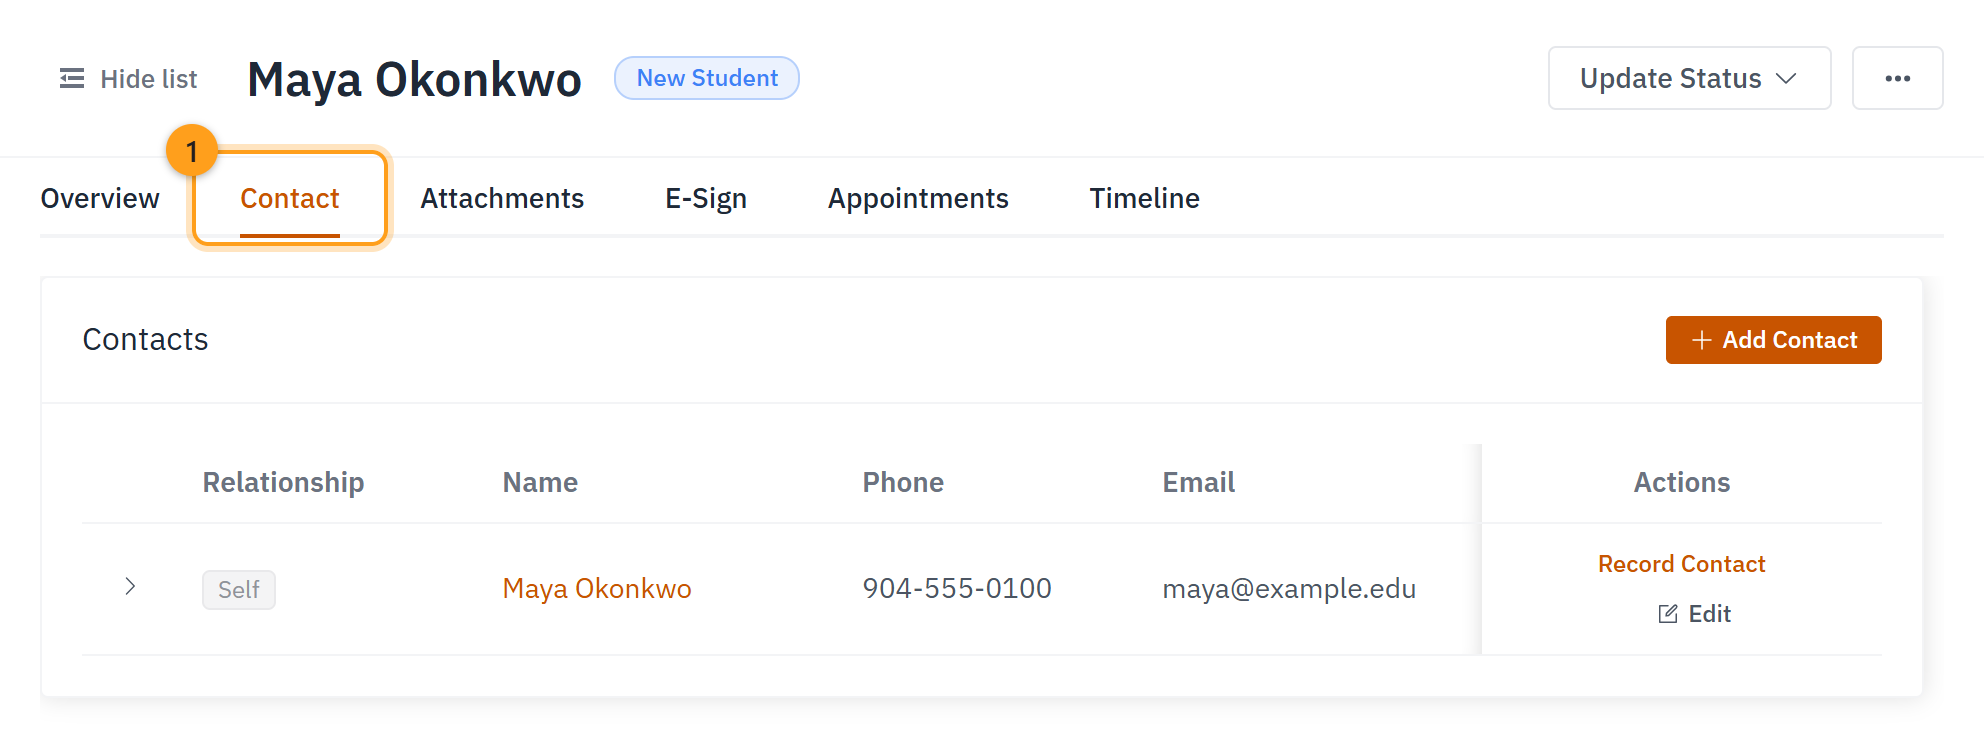
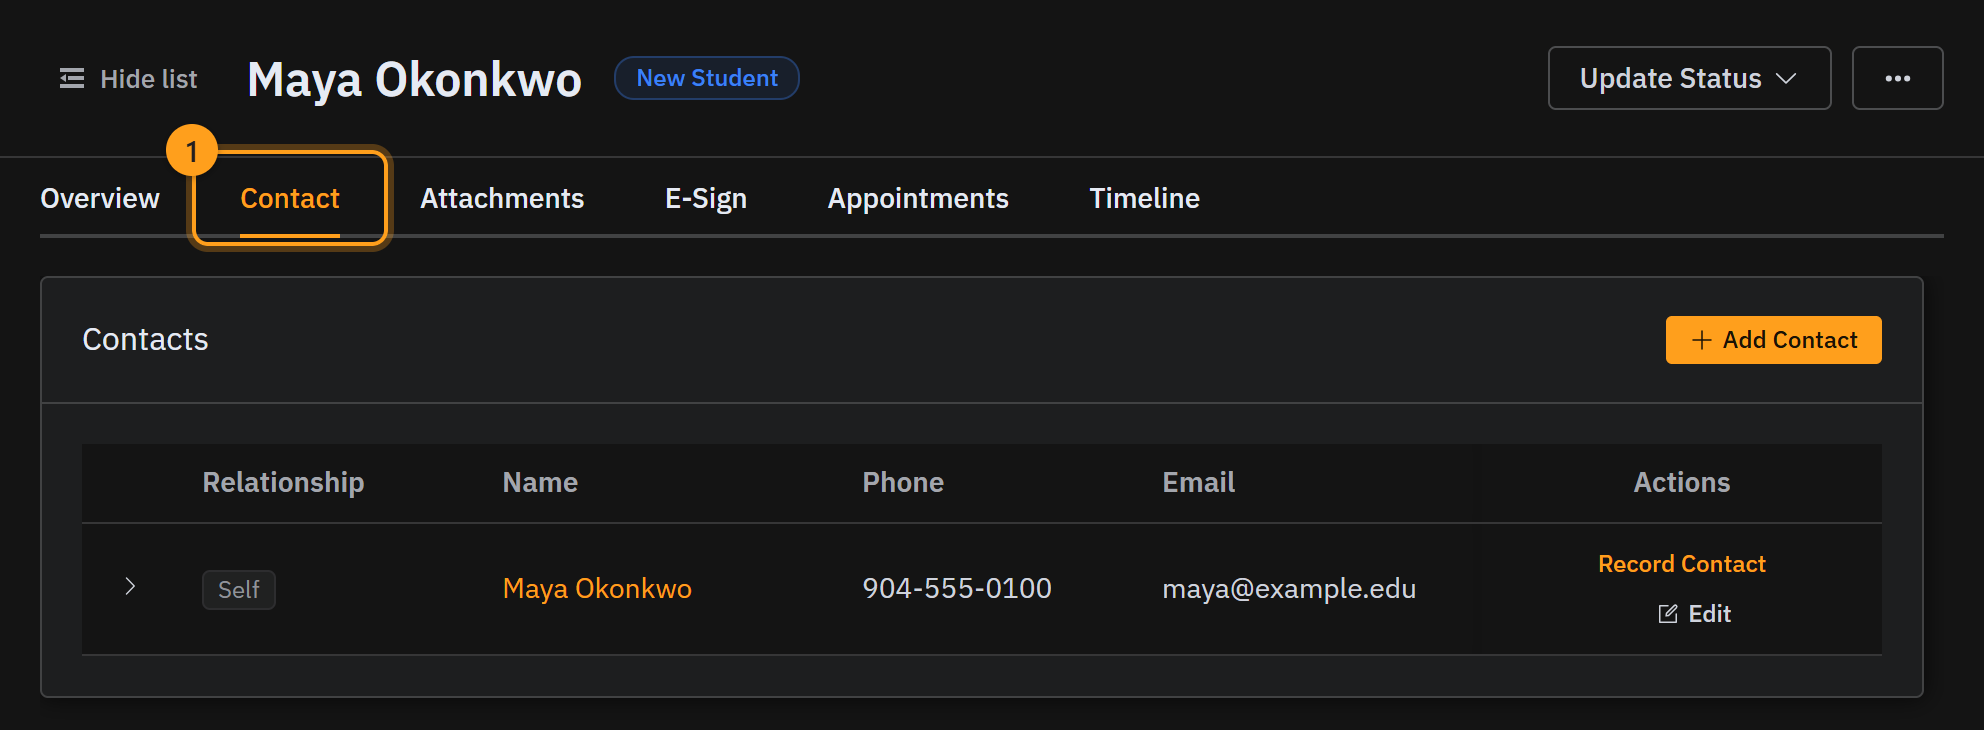
When it's time to reach out, open the Contact tab (1). This is where you keep everyone you can reach about this case — the student, and any parent or guardian — and record every attempt you make.
Add a contact
The student is already here, listed as Self. To add someone else you might call — a parent, a guardian — click Add Contact (top-right of the list).
In the Add Contact window, search for a person who's already in the portal (1), or choose Create New Person (2) to add someone new.
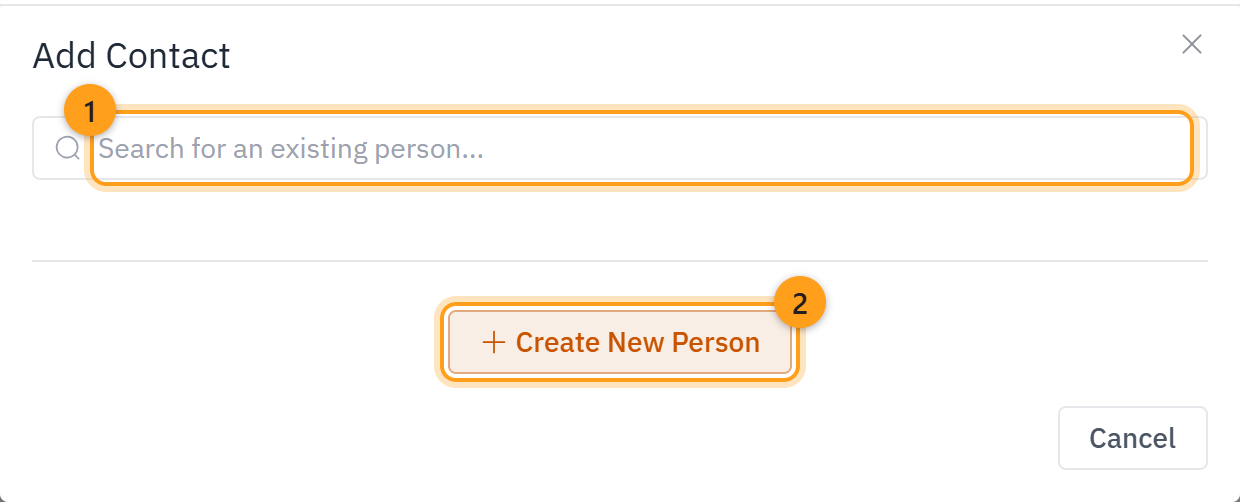
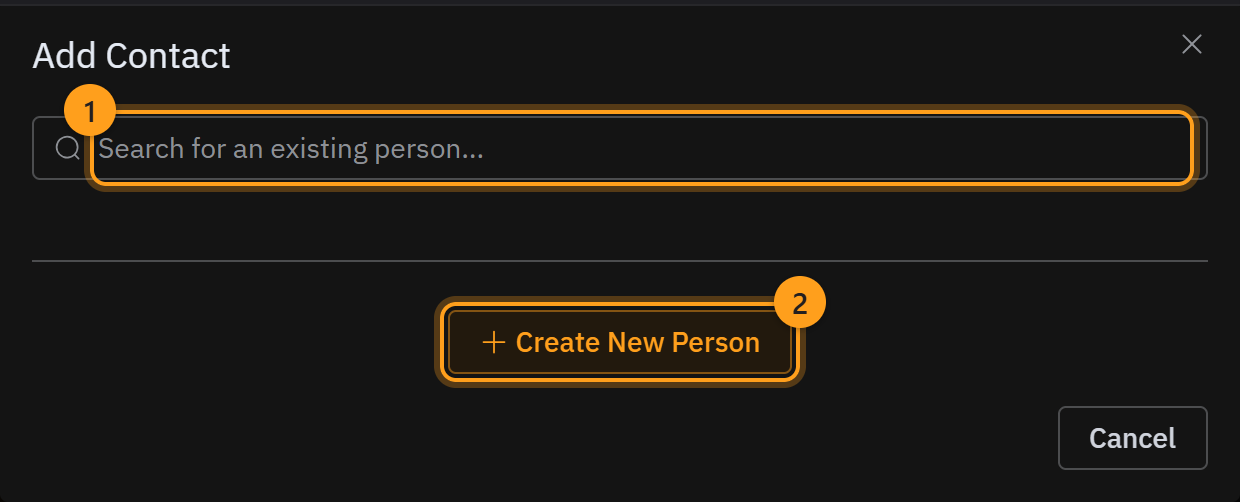
Either way, you'll pick how they're related to the student — Relationship Type, like Parent or Guardian — and you can mark them the Primary Contact if they're your main point of contact. Save, and they join the list.
Record a contact attempt
Every time you reach out, log it here — it keeps the whole team on the same page about what's been tried. On the person's row, choose Record Contact (1).
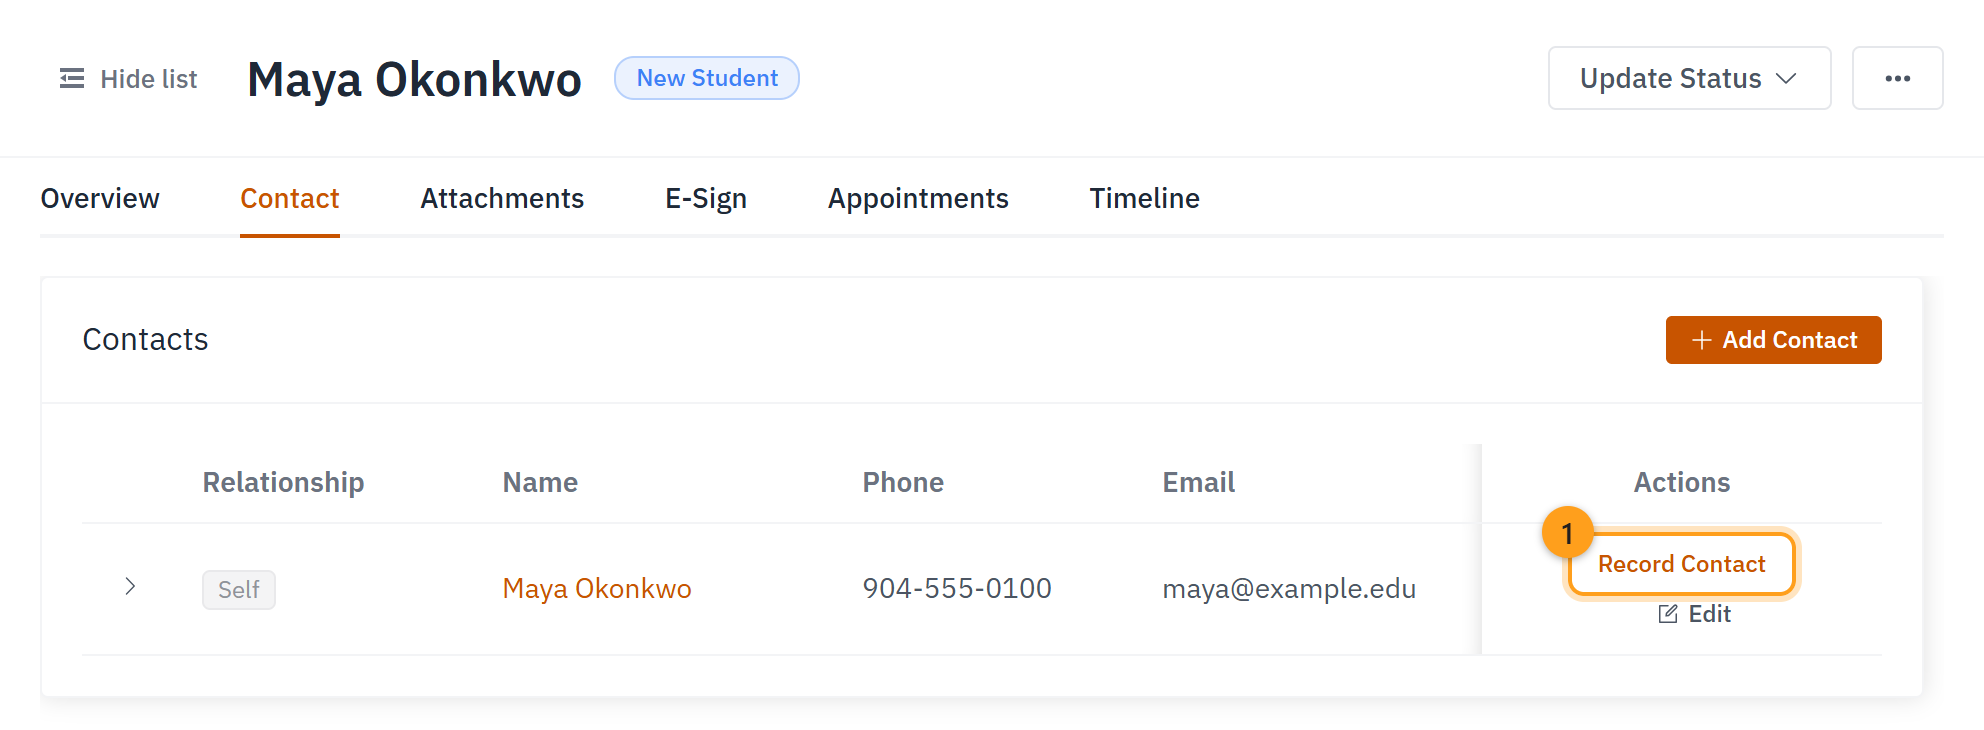
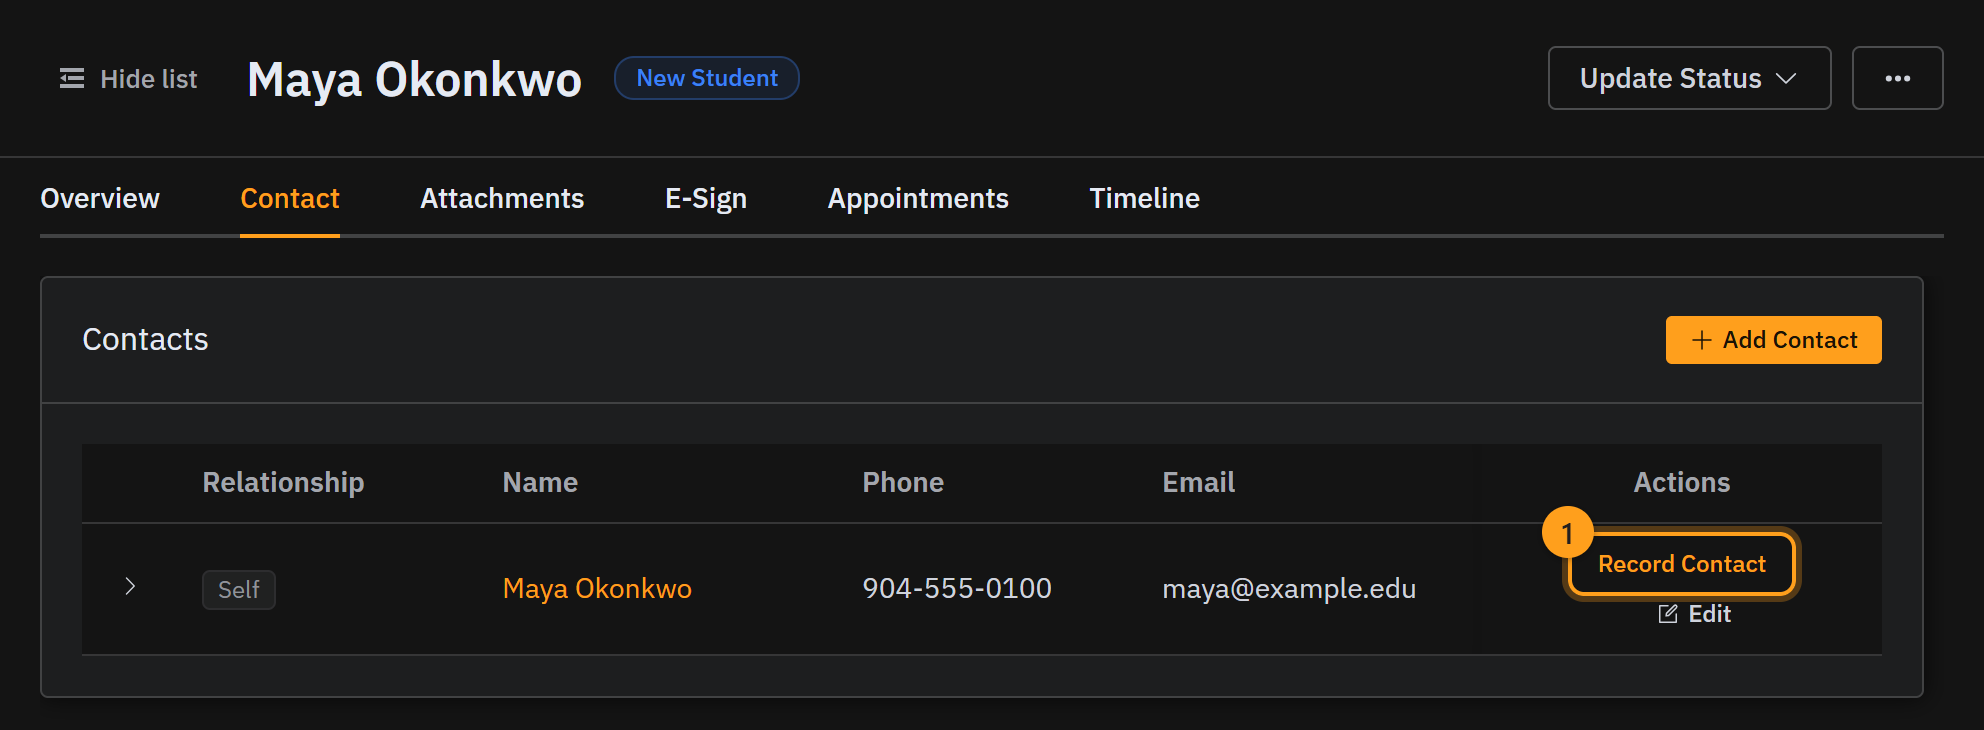
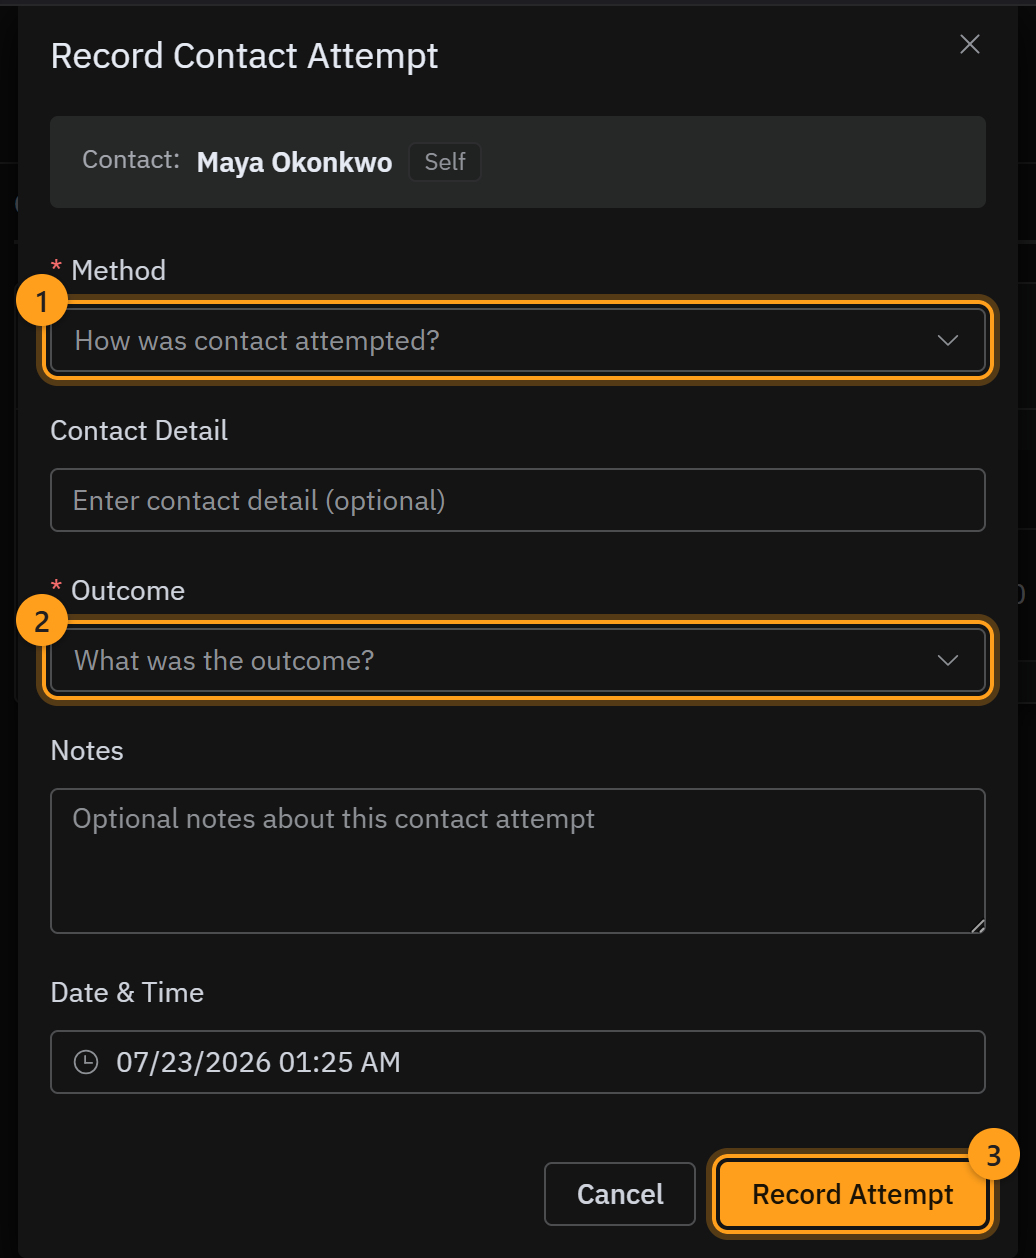
The Record Contact Attempt window opens. Pick the Method (1) — a phone call, a text, an email — and the Outcome (2), like whether you reached them or left a voicemail. Add a note if there's anything worth remembering, set the date and time if it wasn't just now, and choose Record Attempt (3).
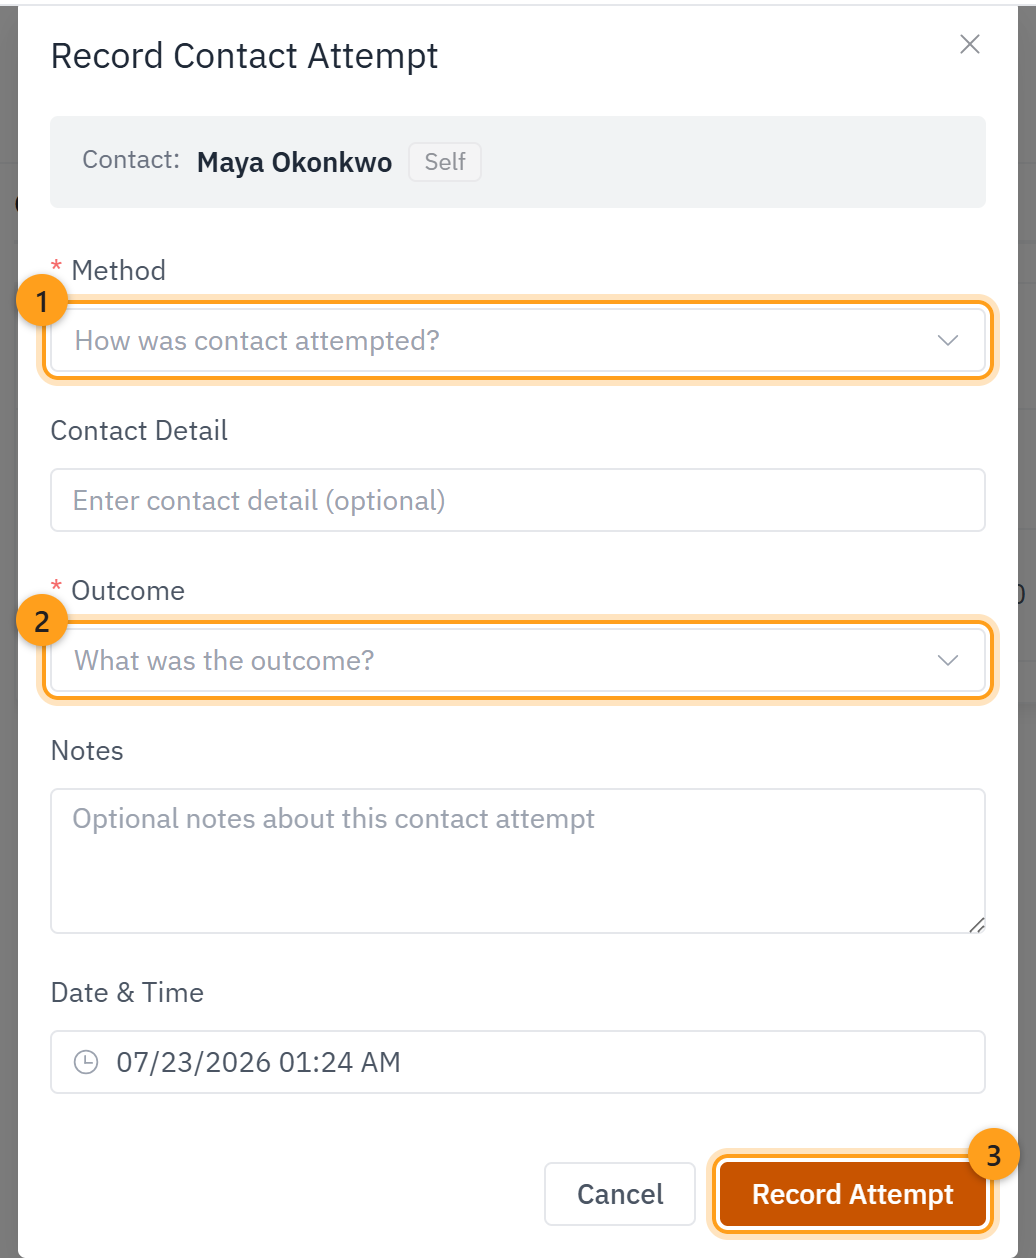
Each attempt is saved to that person's history, so you can always look back and see who was tried, when, and how it went.
Step 4 · Mark the case as Contacted once you connect
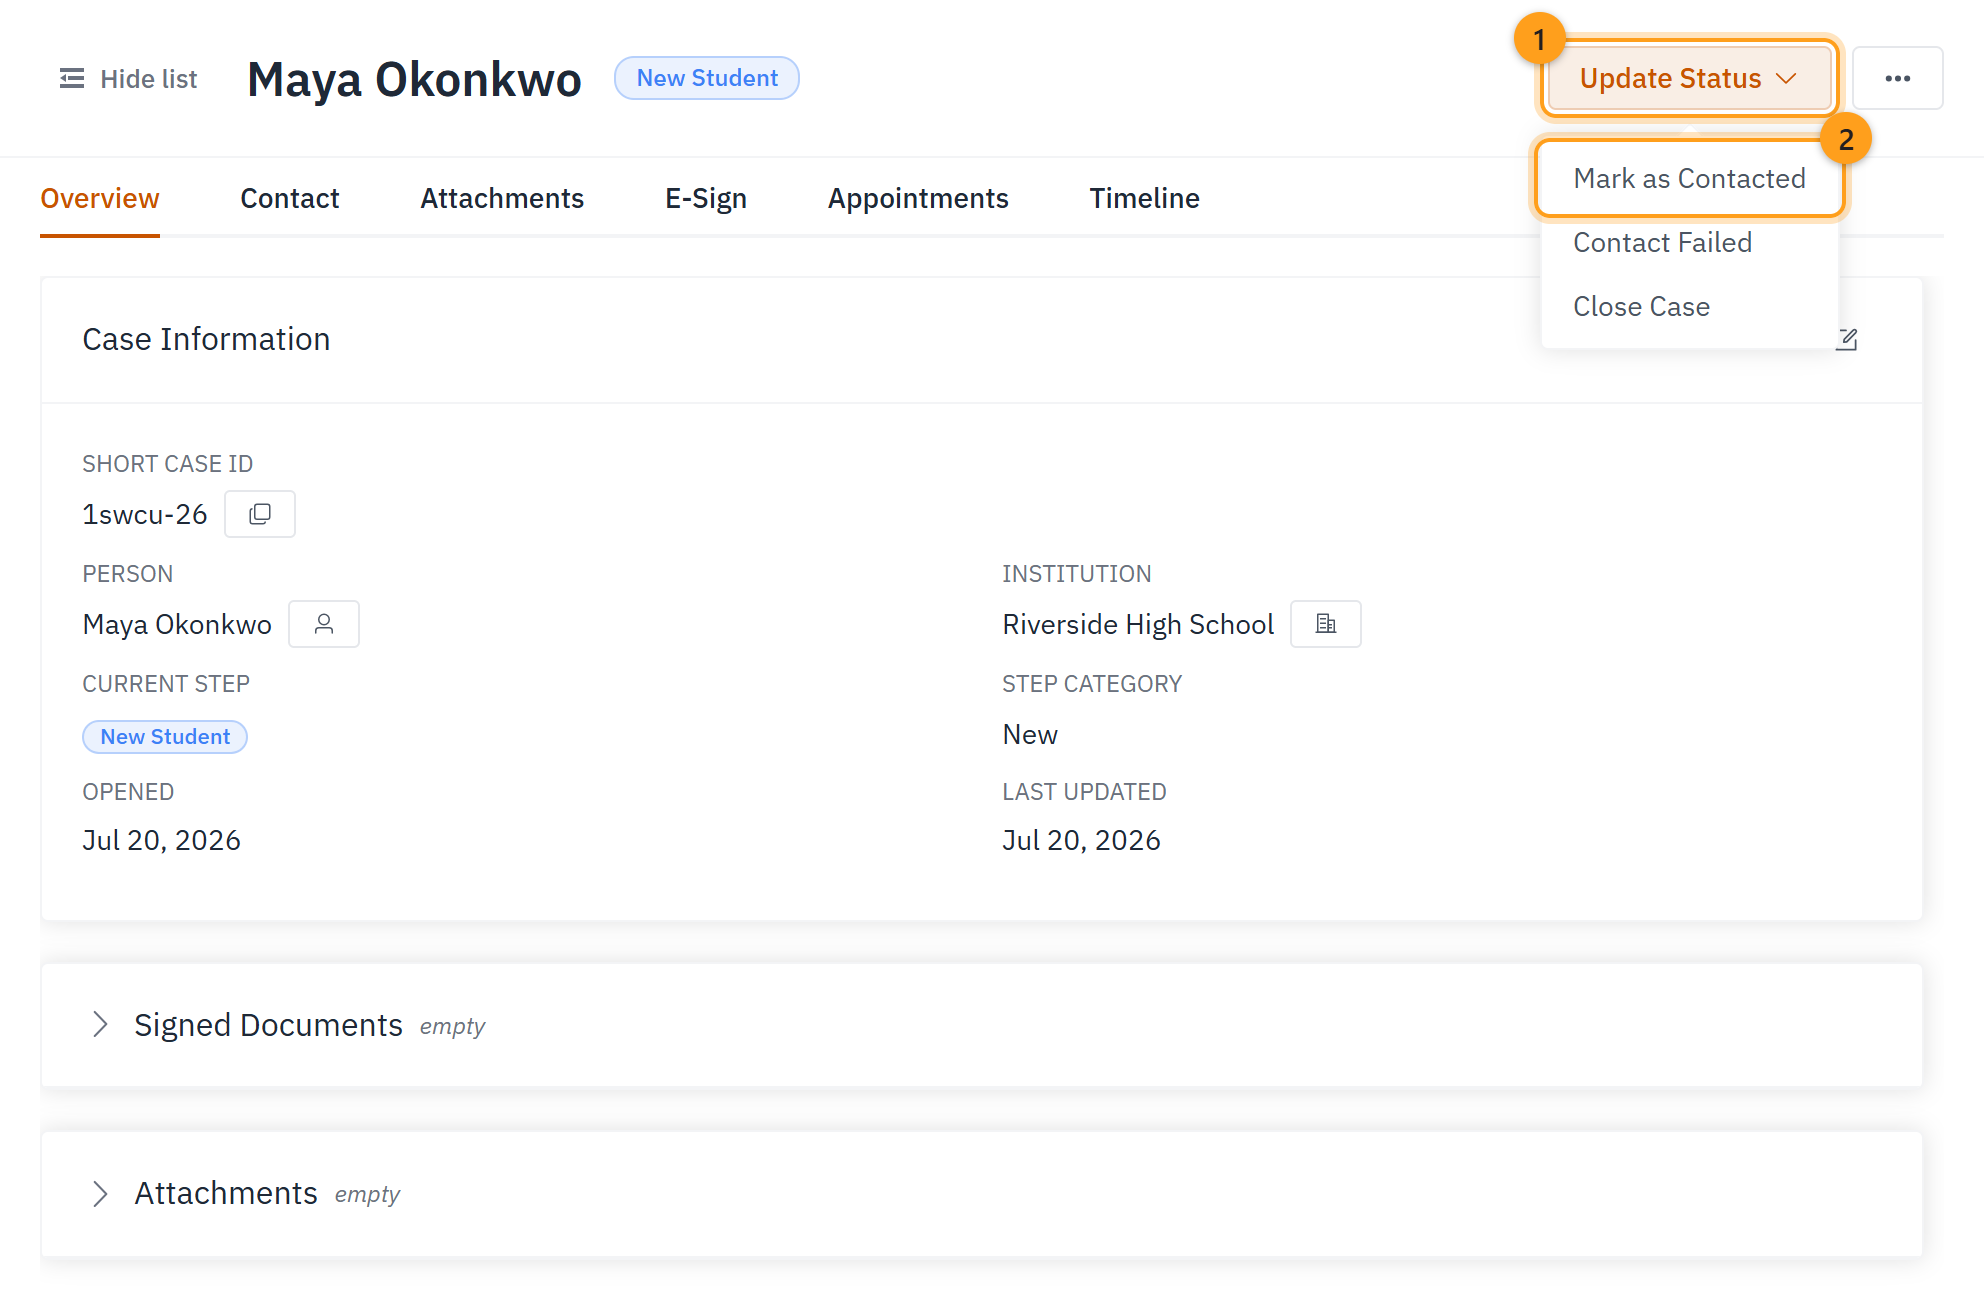
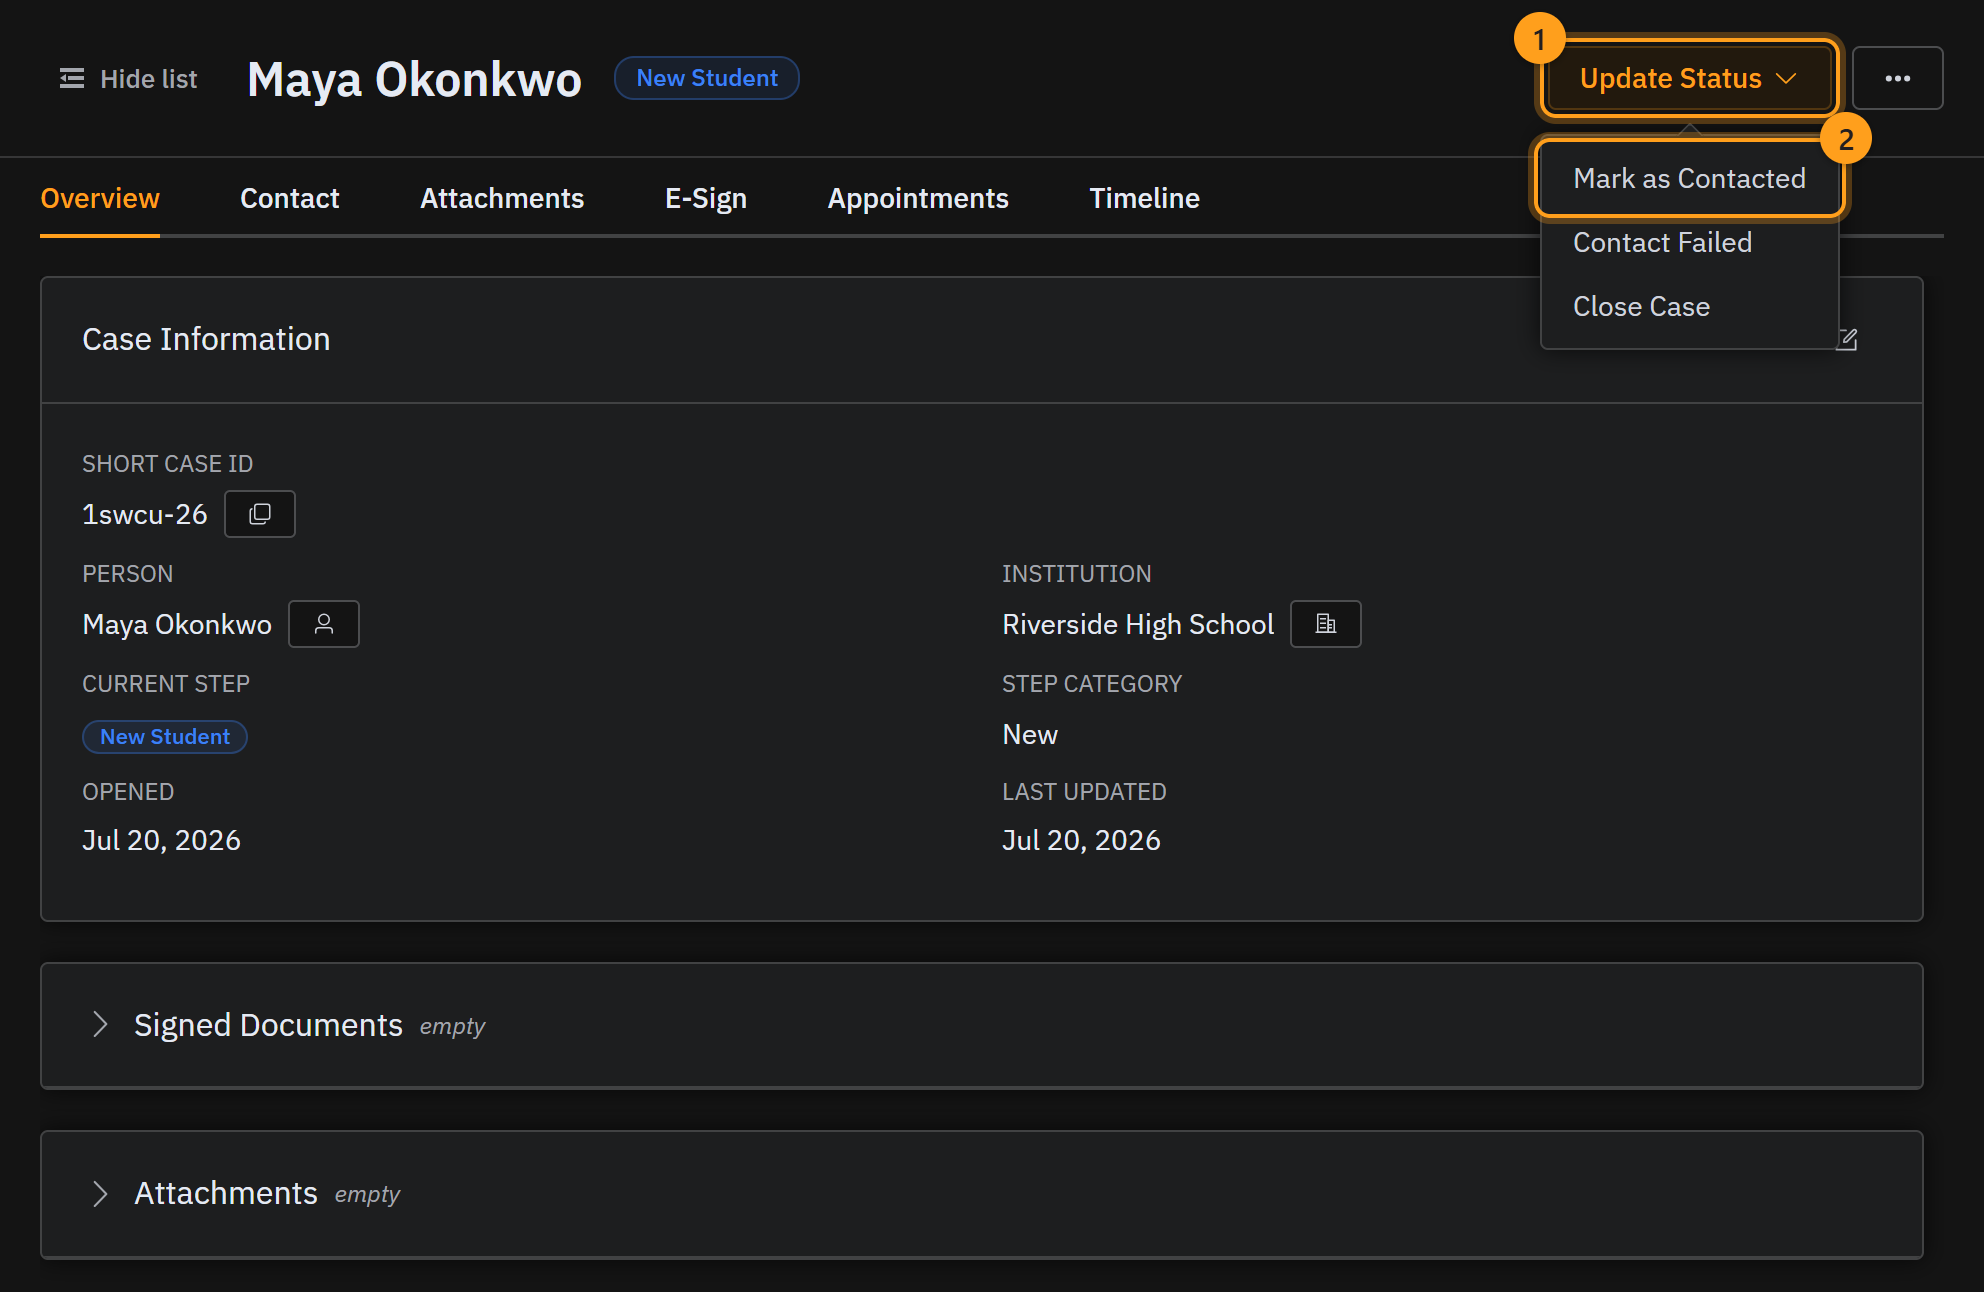
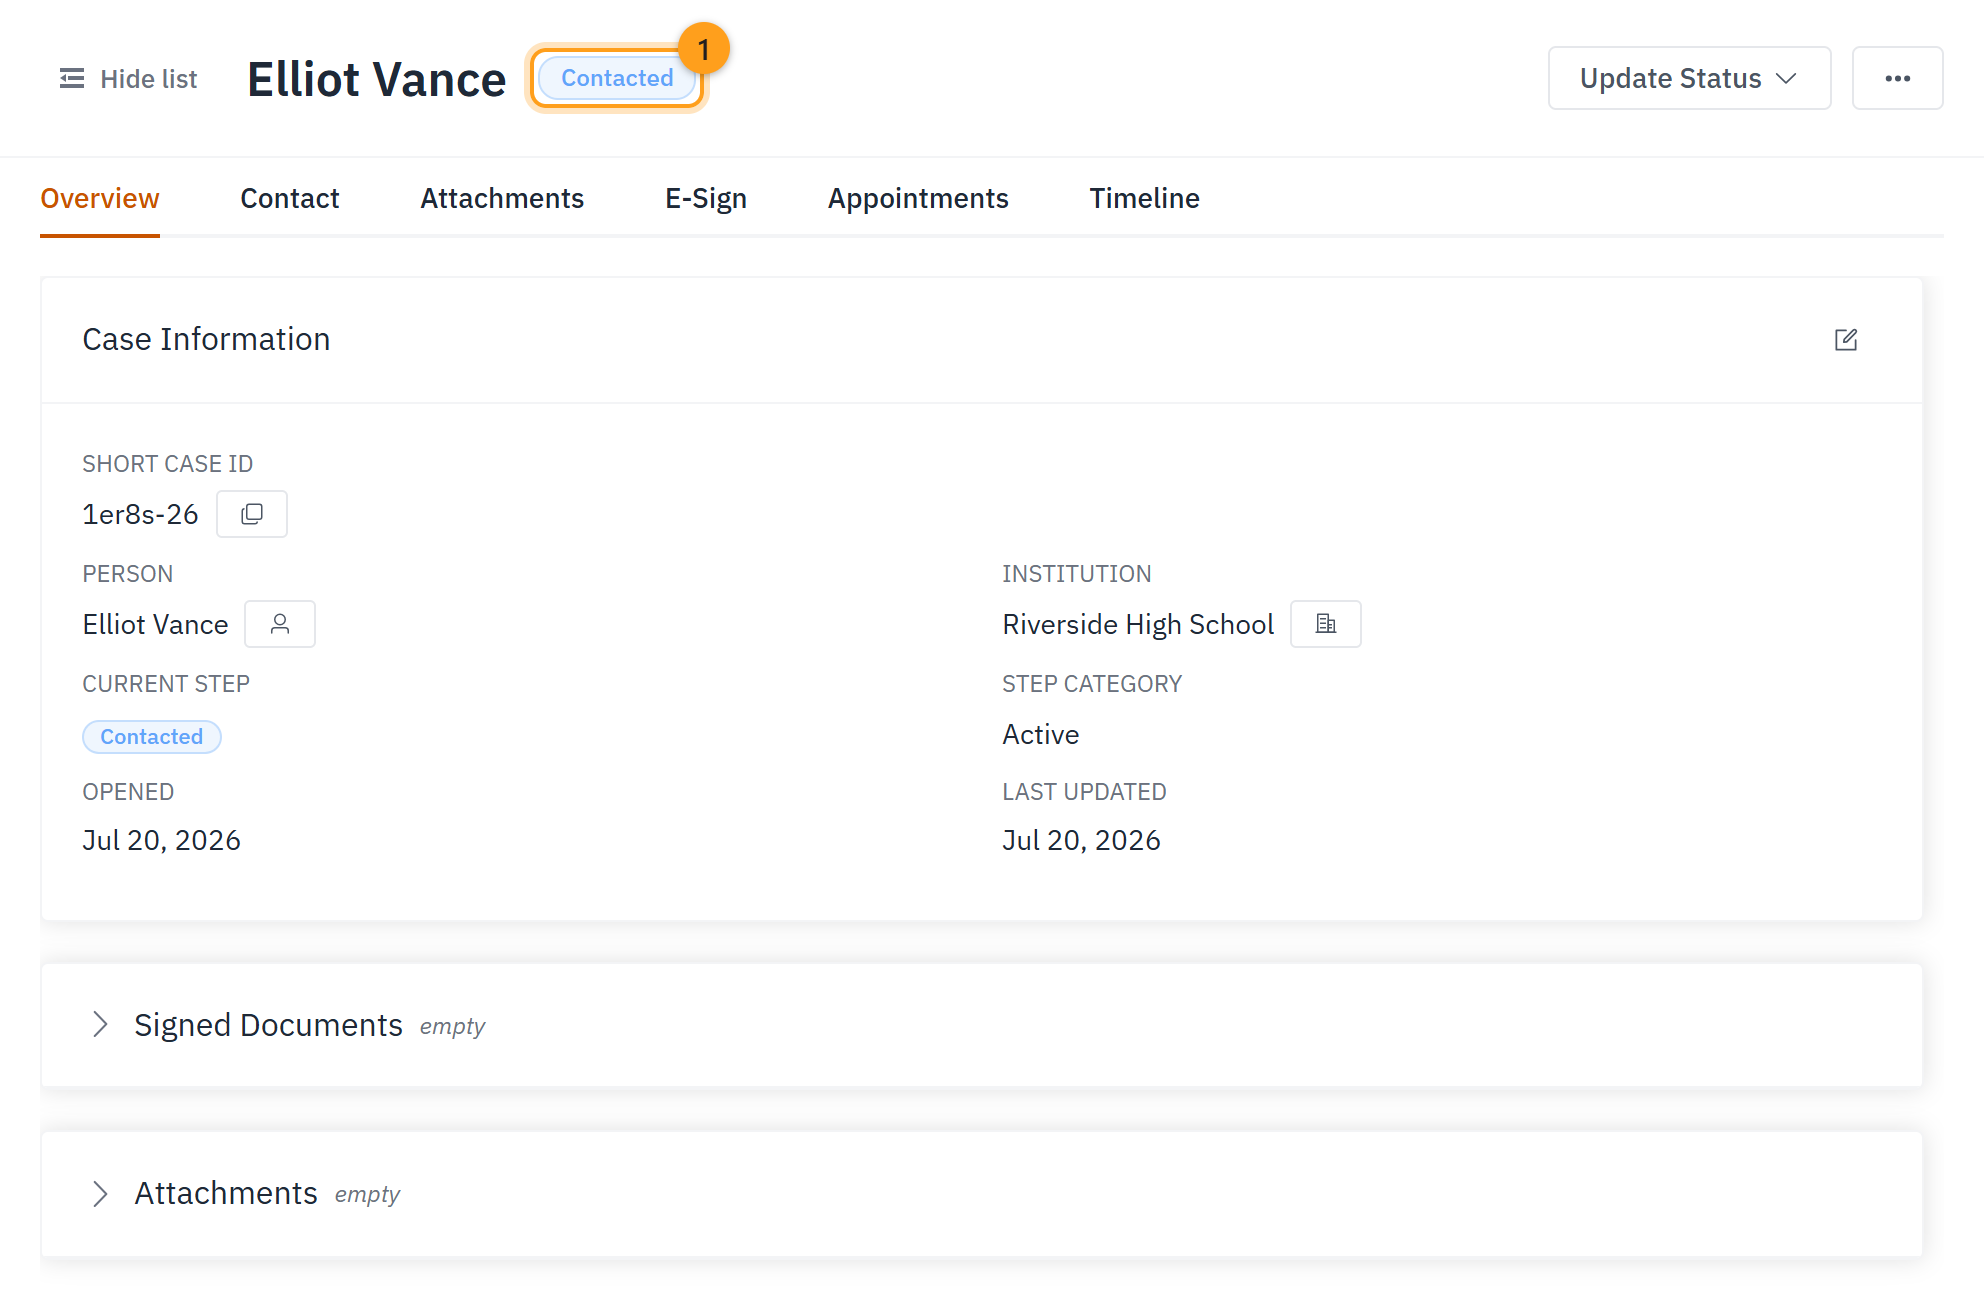
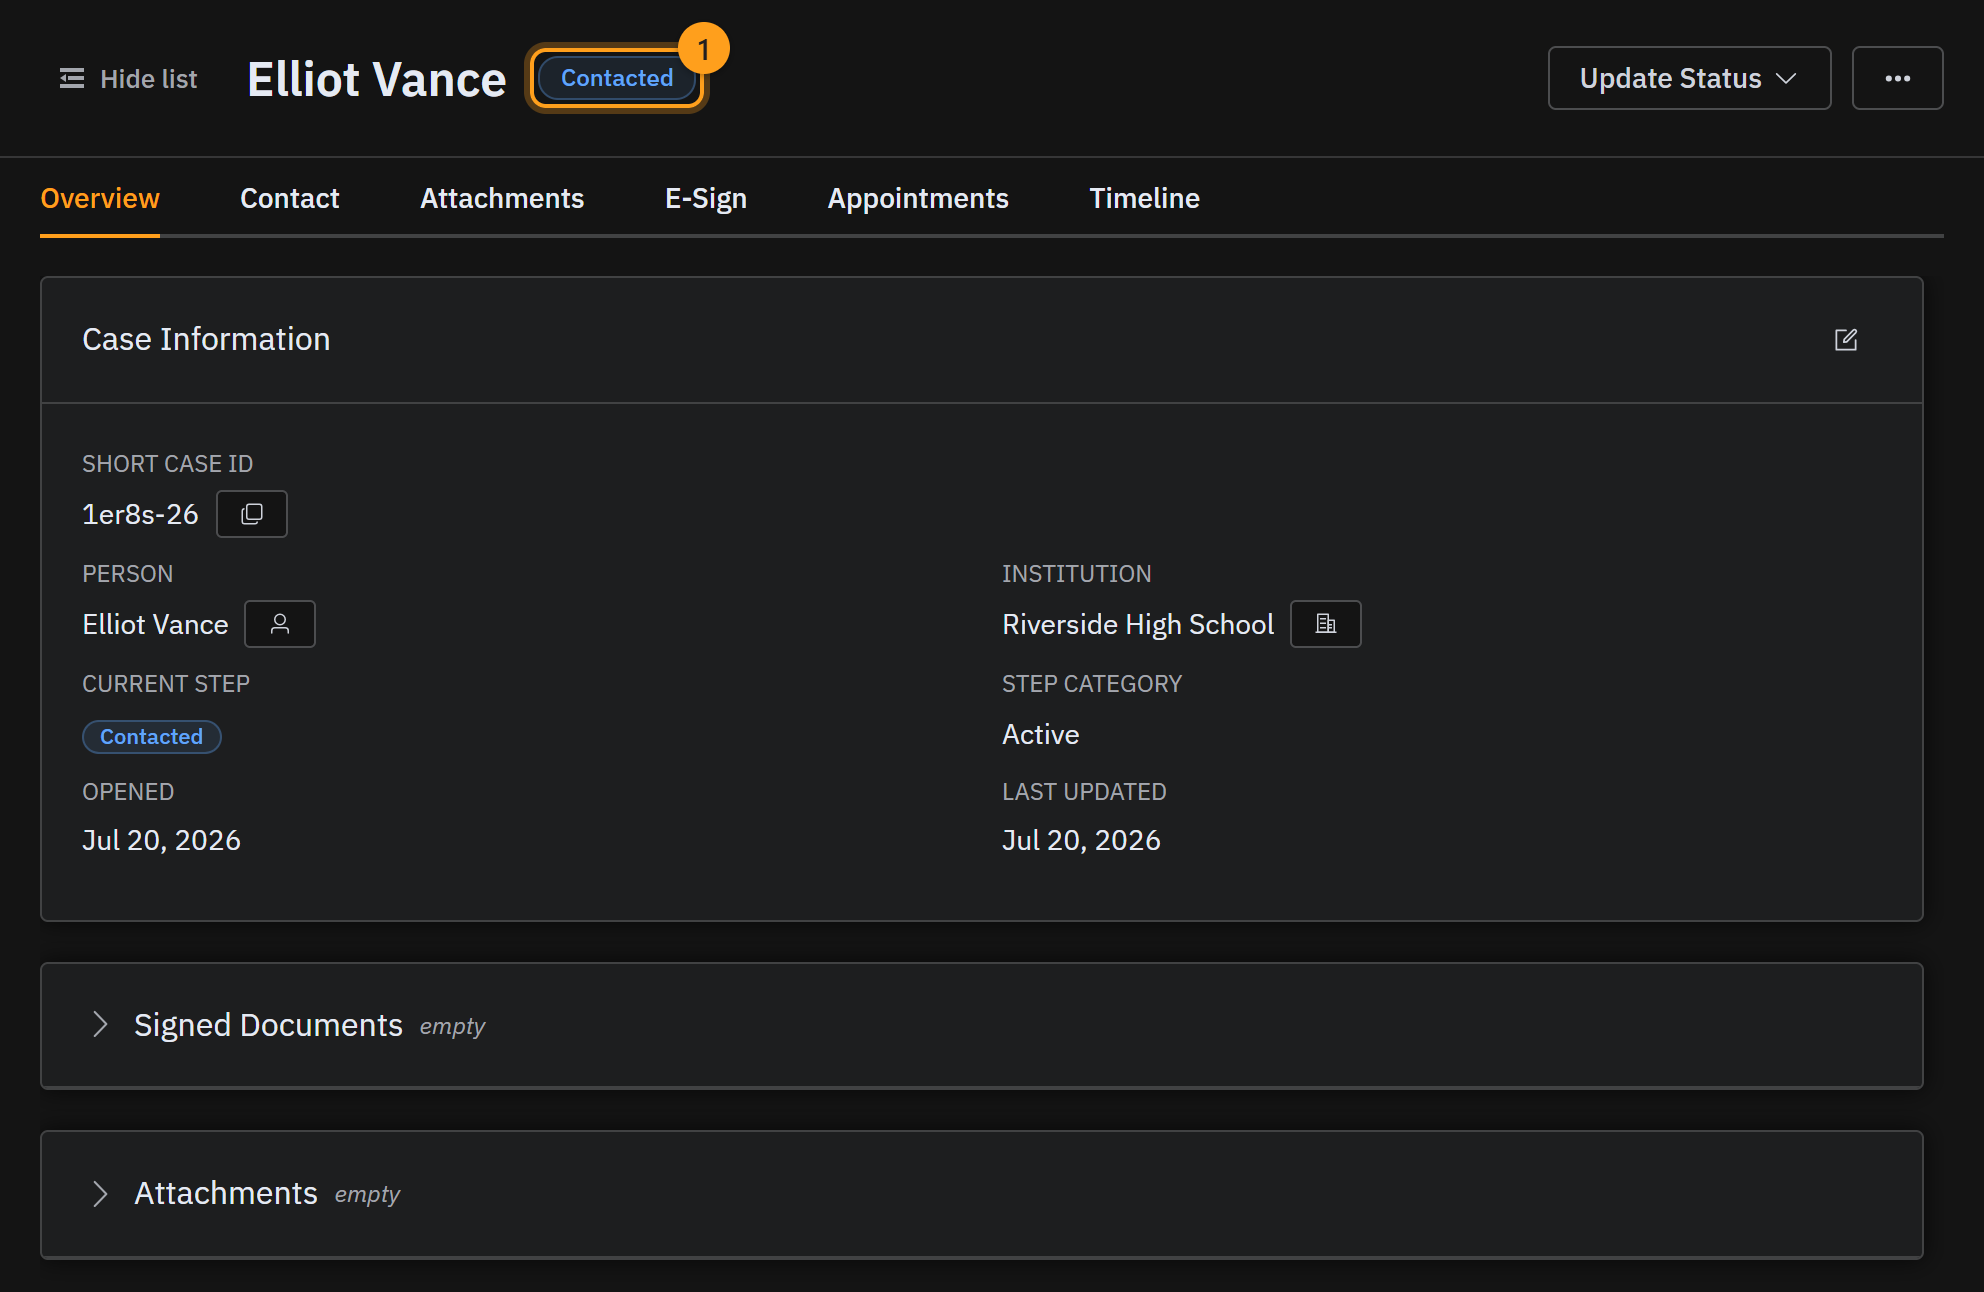
When you successfully connect, open the Update Status menu (1) and choose Mark as Contacted (2). The badge turns blue and reads Contacted. You're talking now, and you can help them book their first visit.
Step 5 · Send the scheduling link
Now it's time to help the student book their intake visit. Neffico Point doesn't handle the scheduling itself, so send the student your scheduling link the way you normally do — through whatever scheduling app your team already uses.
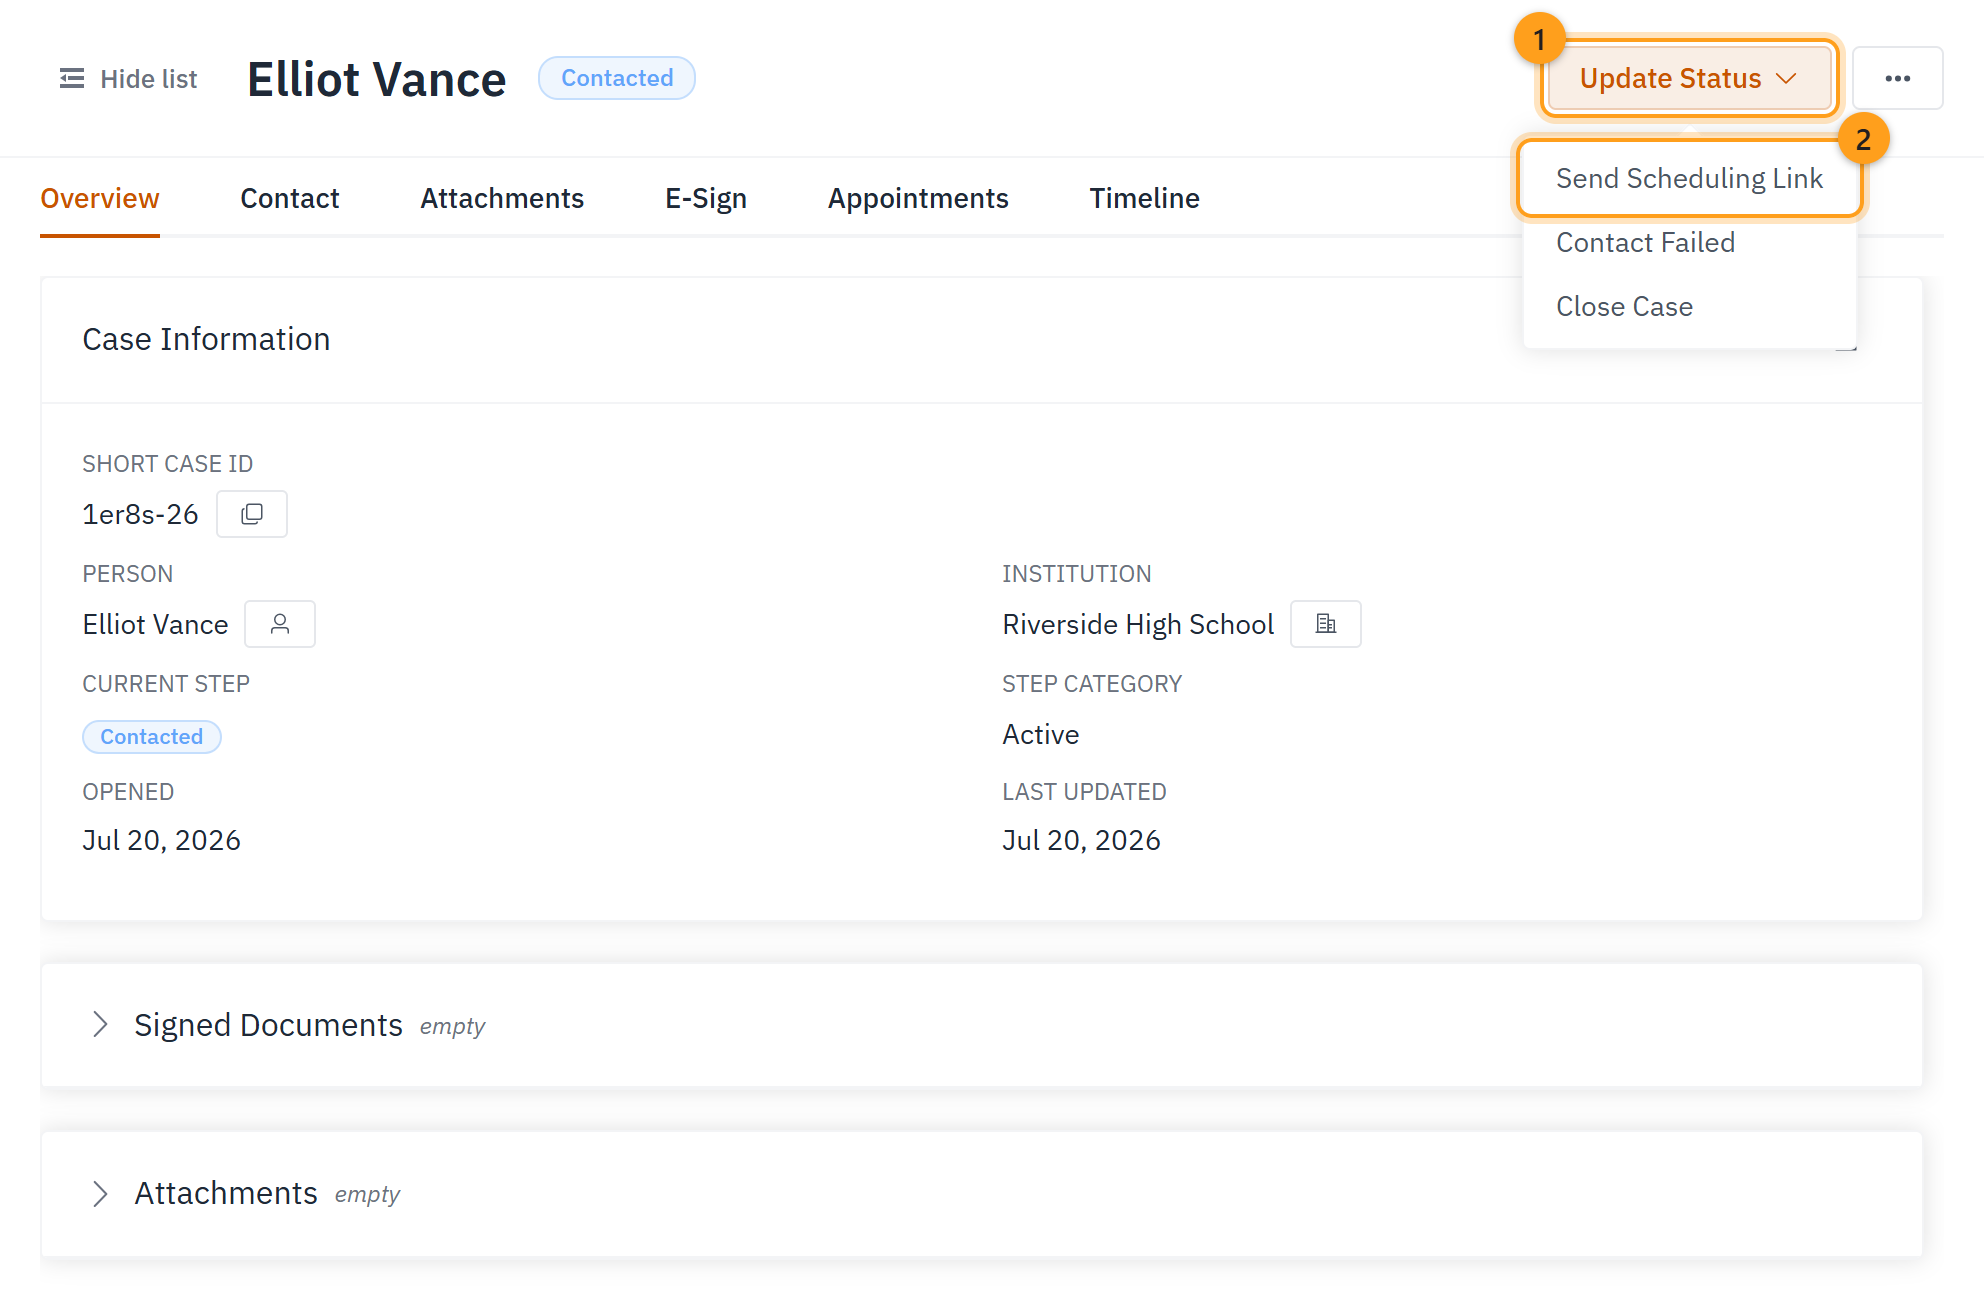
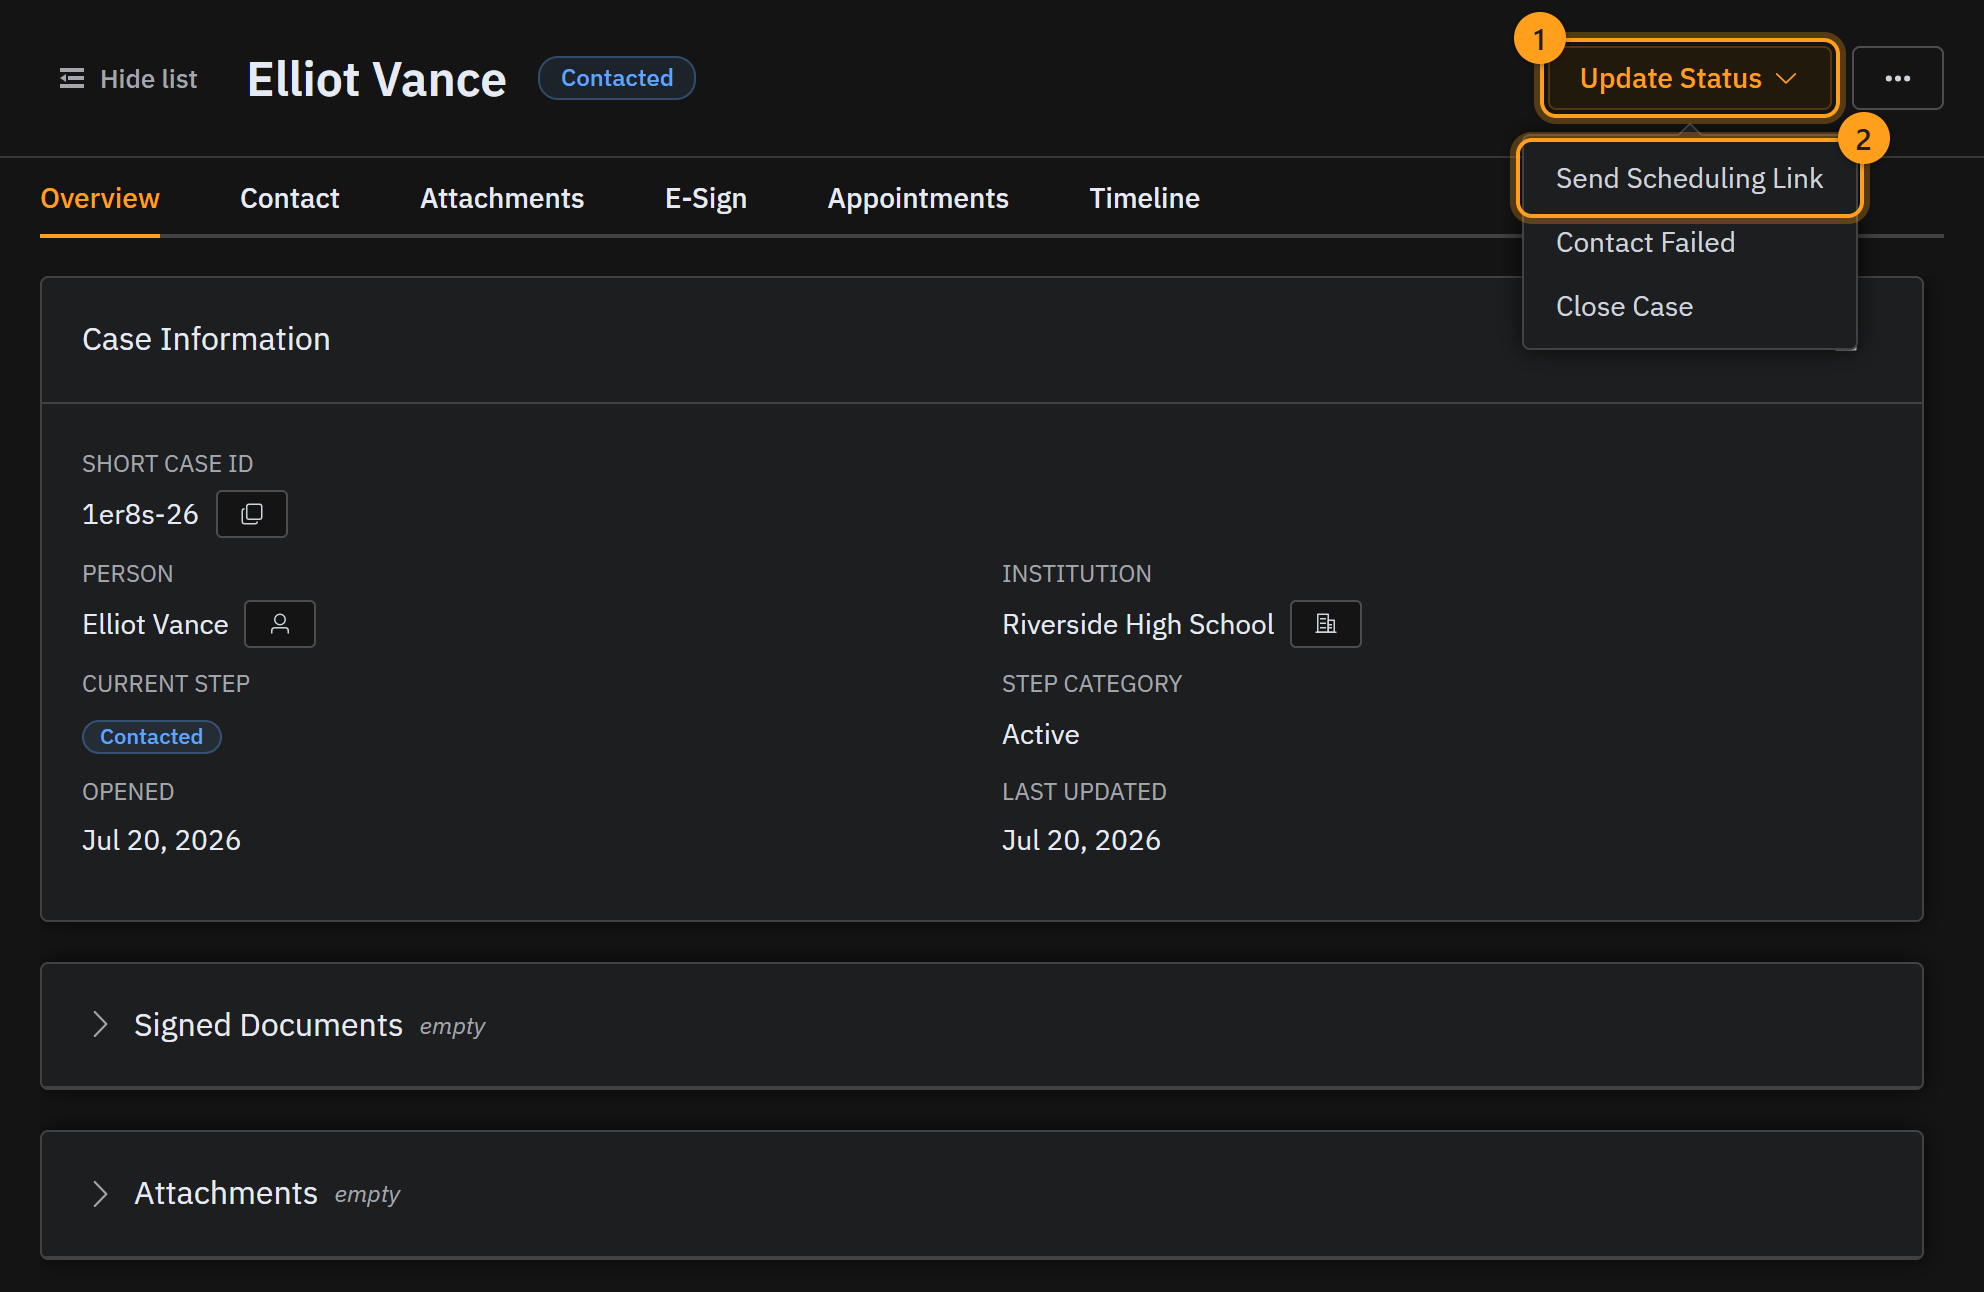
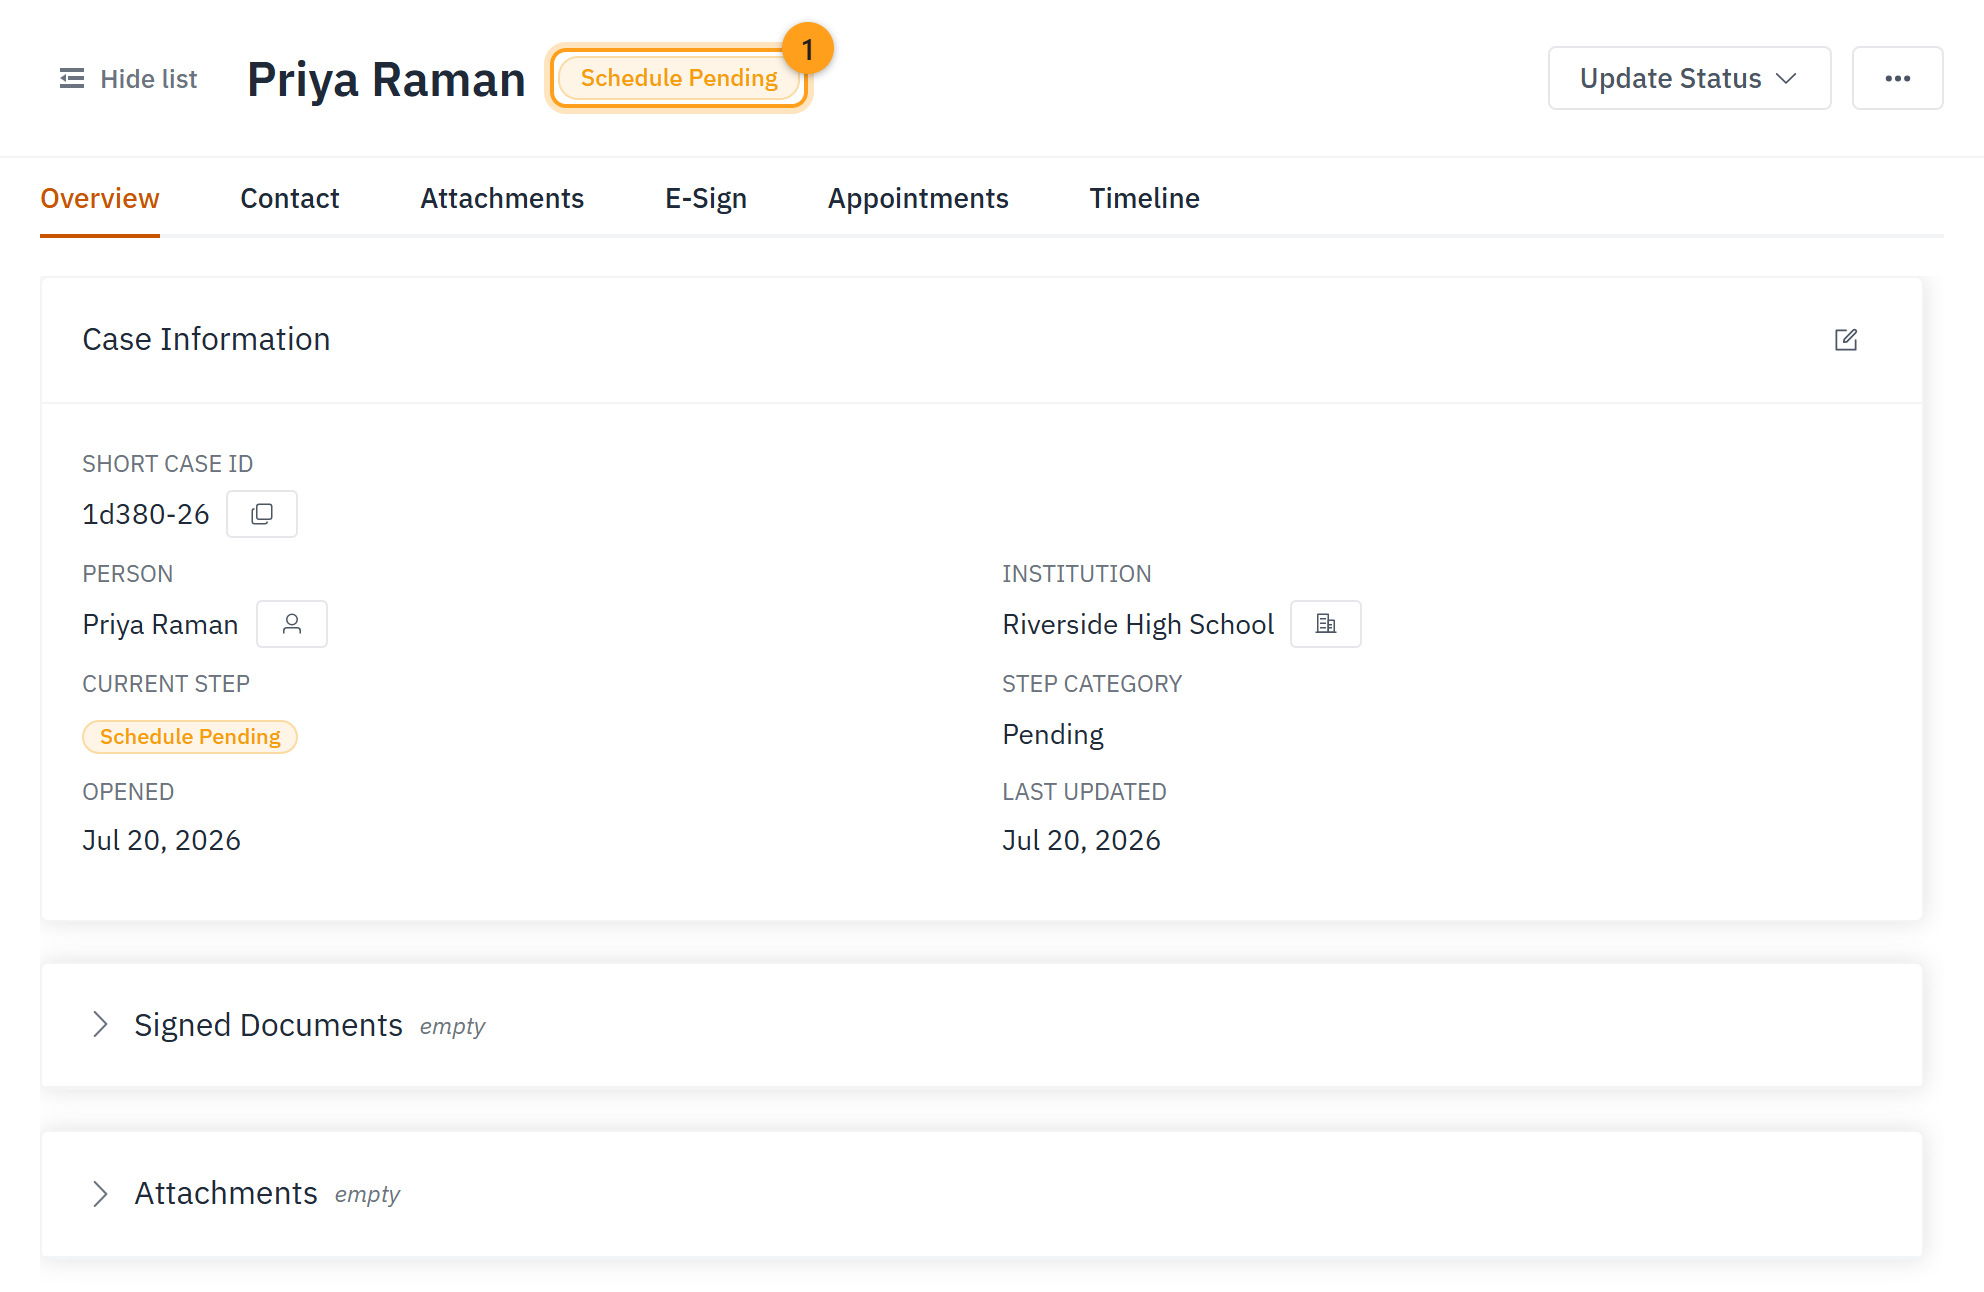
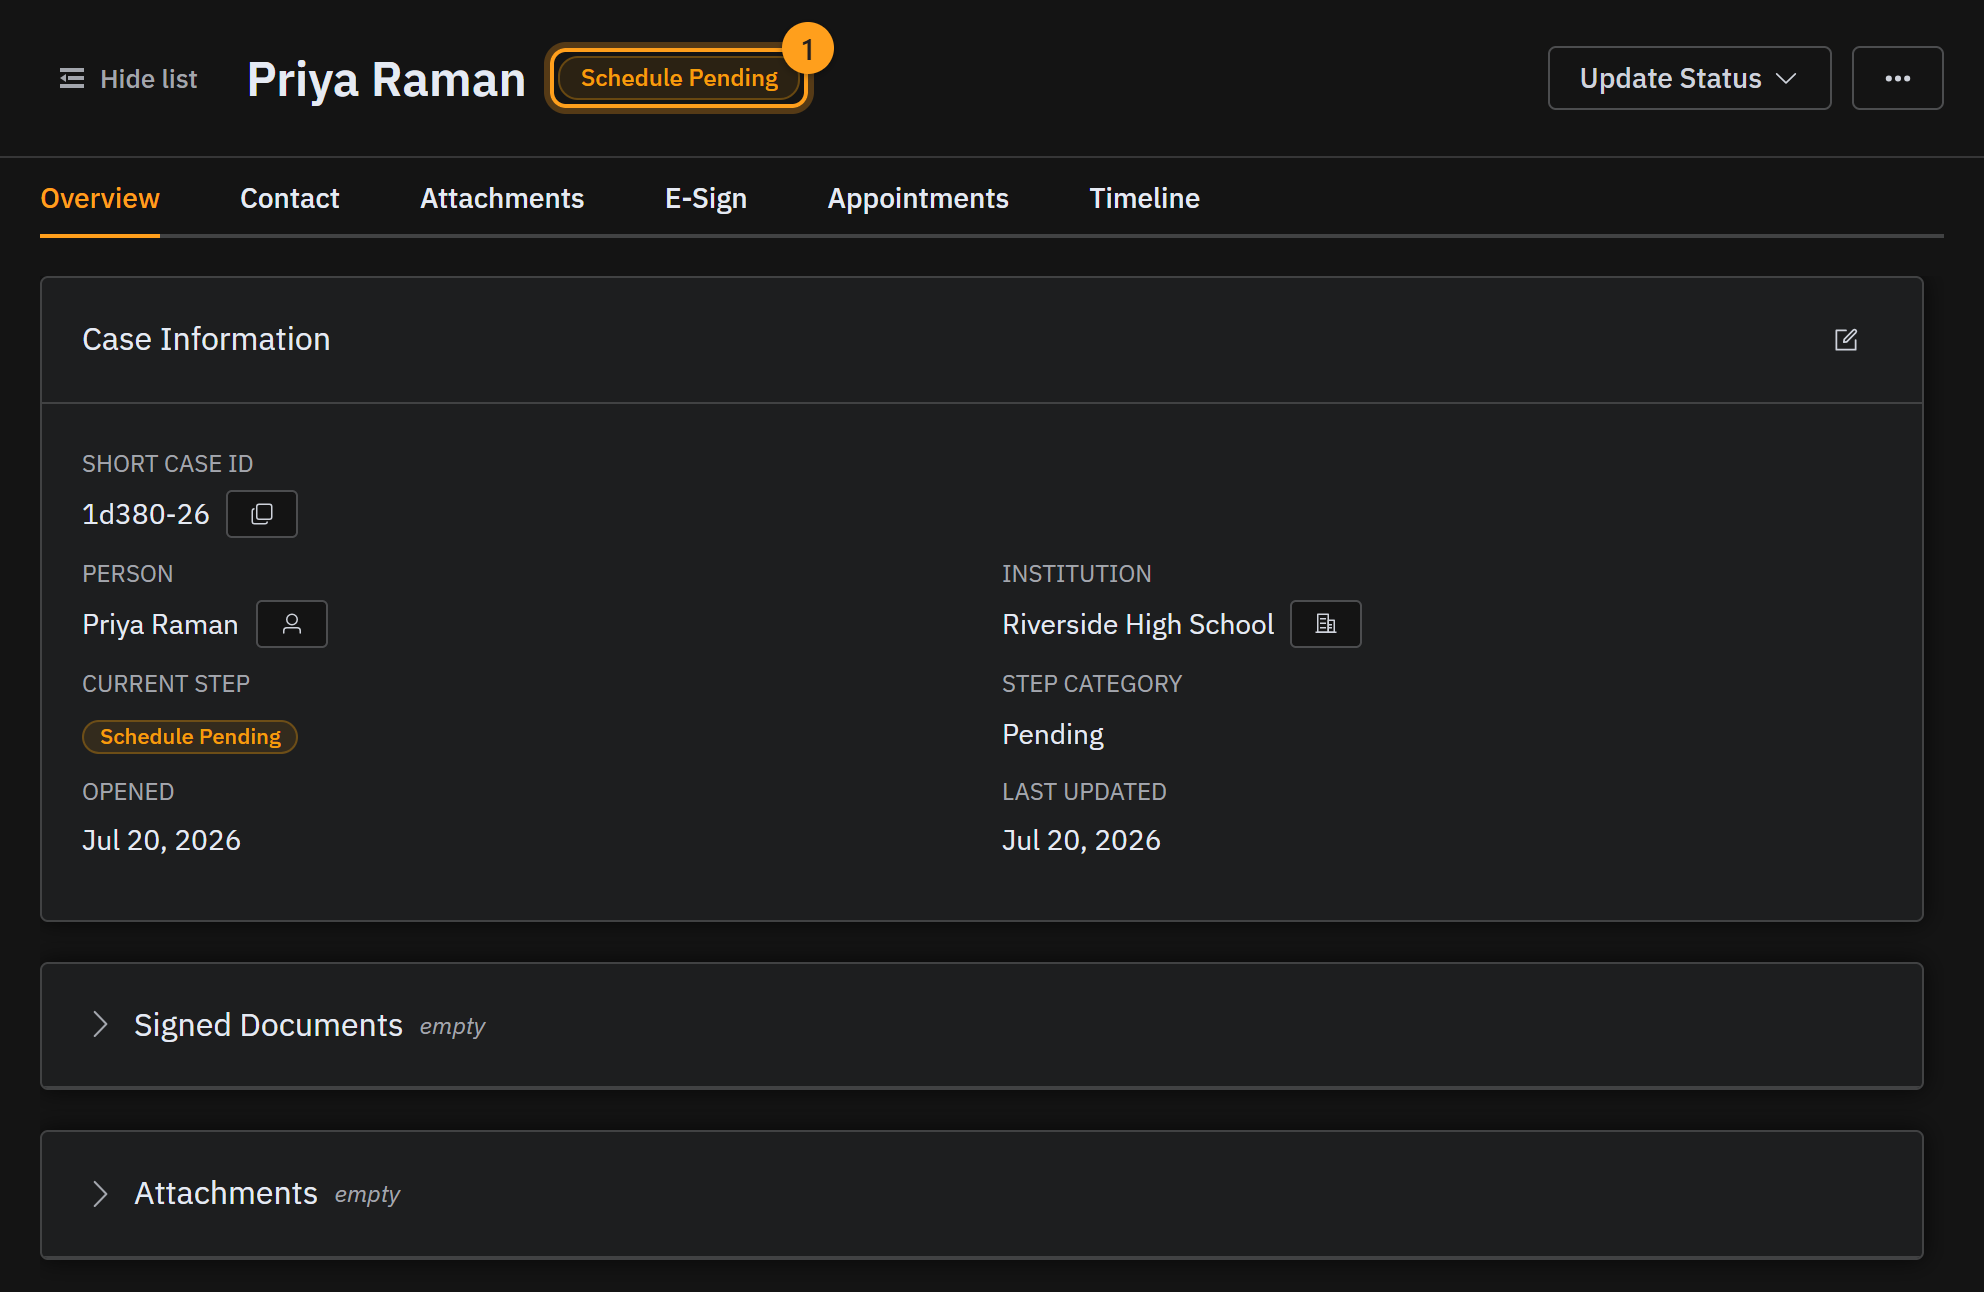
Once you've sent it, come back to the Contacted case and choose Send Scheduling Link (2) from the Update Status menu (1). This marks the case Schedule Pending, so the whole team can see you're waiting on the student to pick a time. The case waits there until you hear back.
Step 6 · The visit is booked
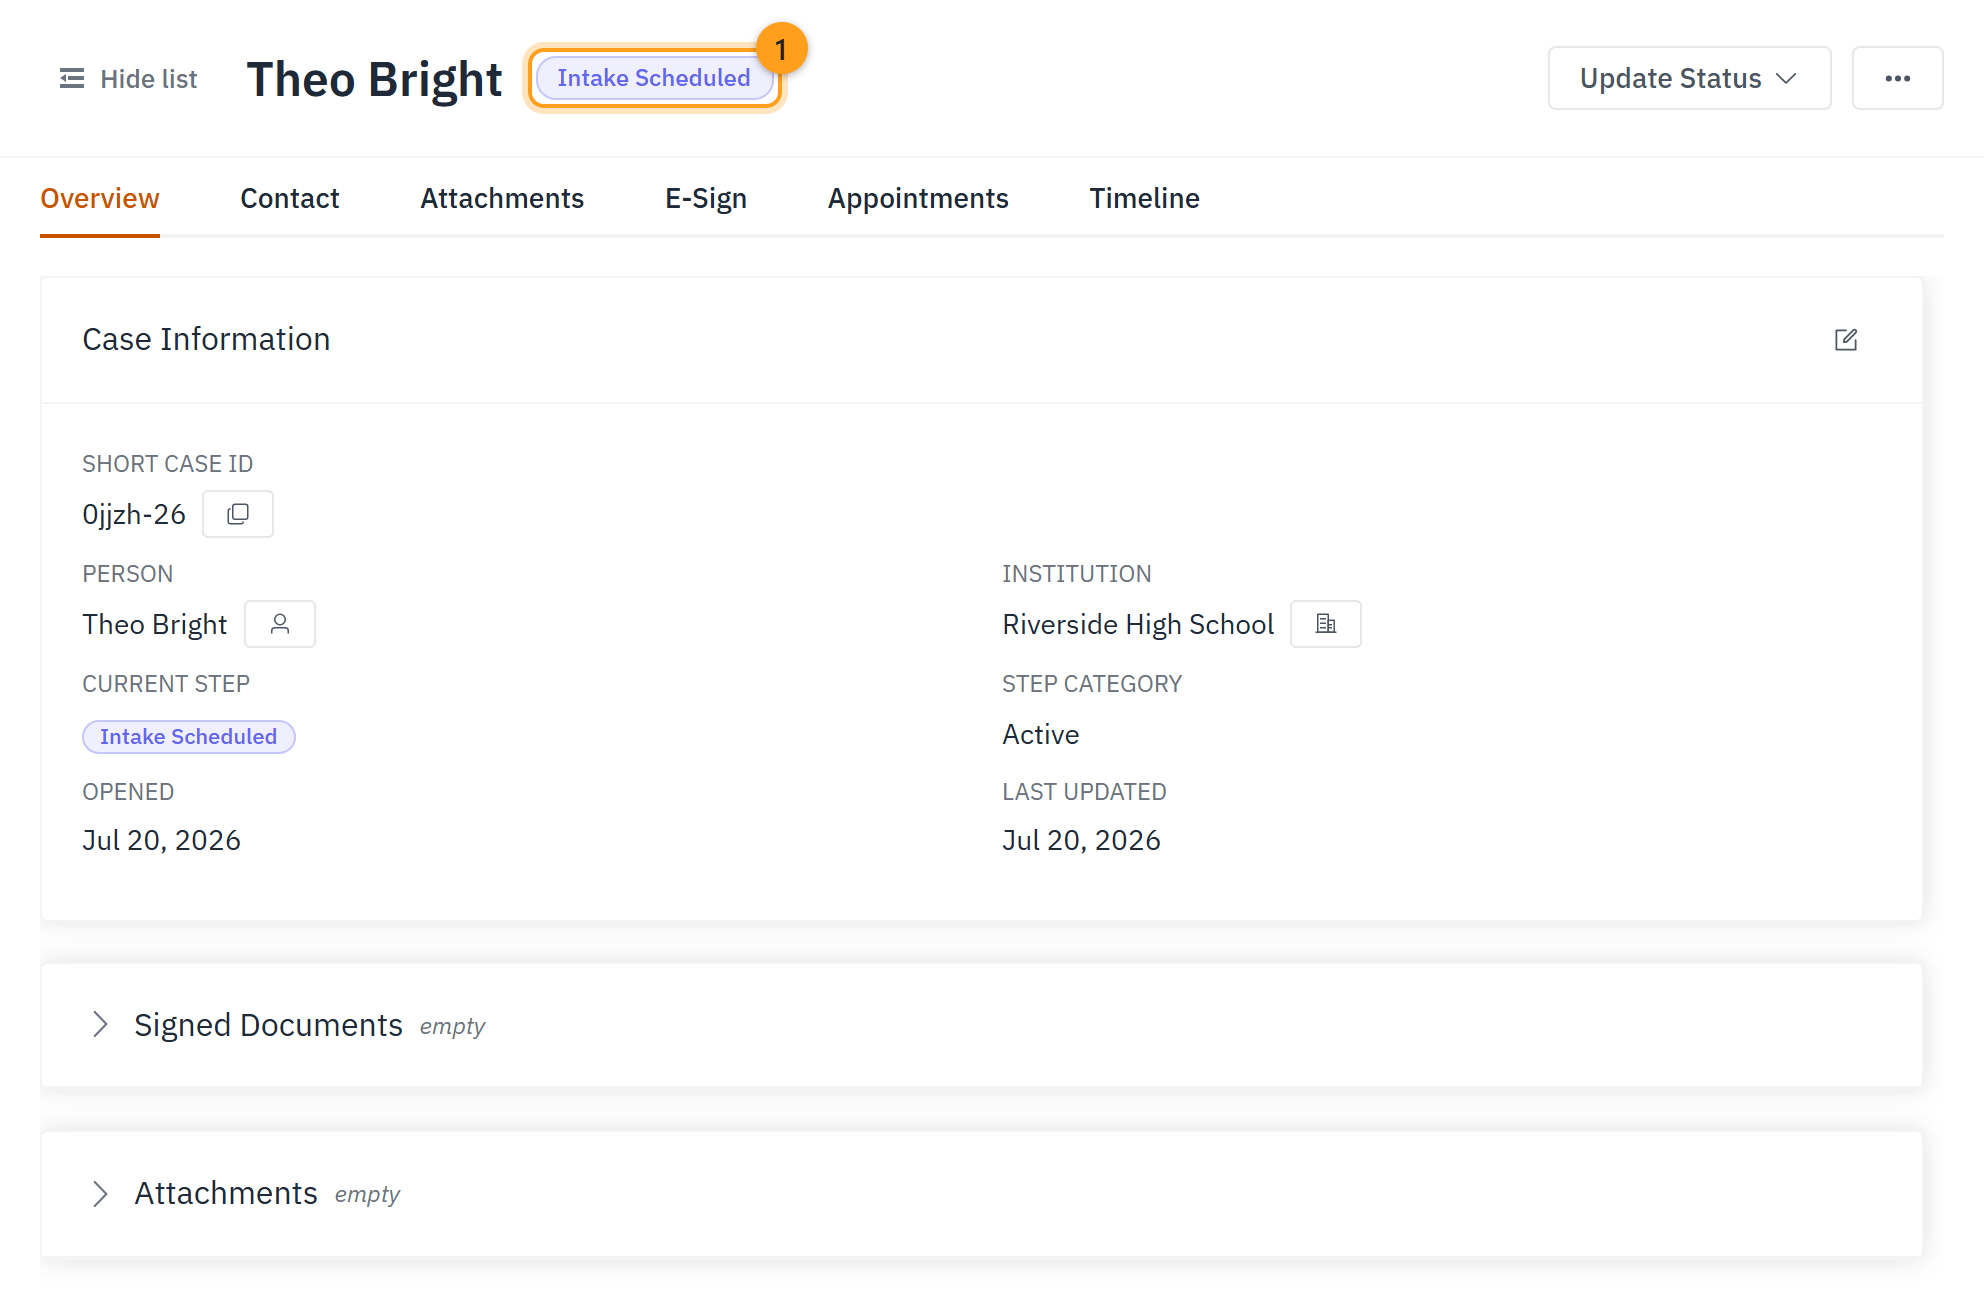
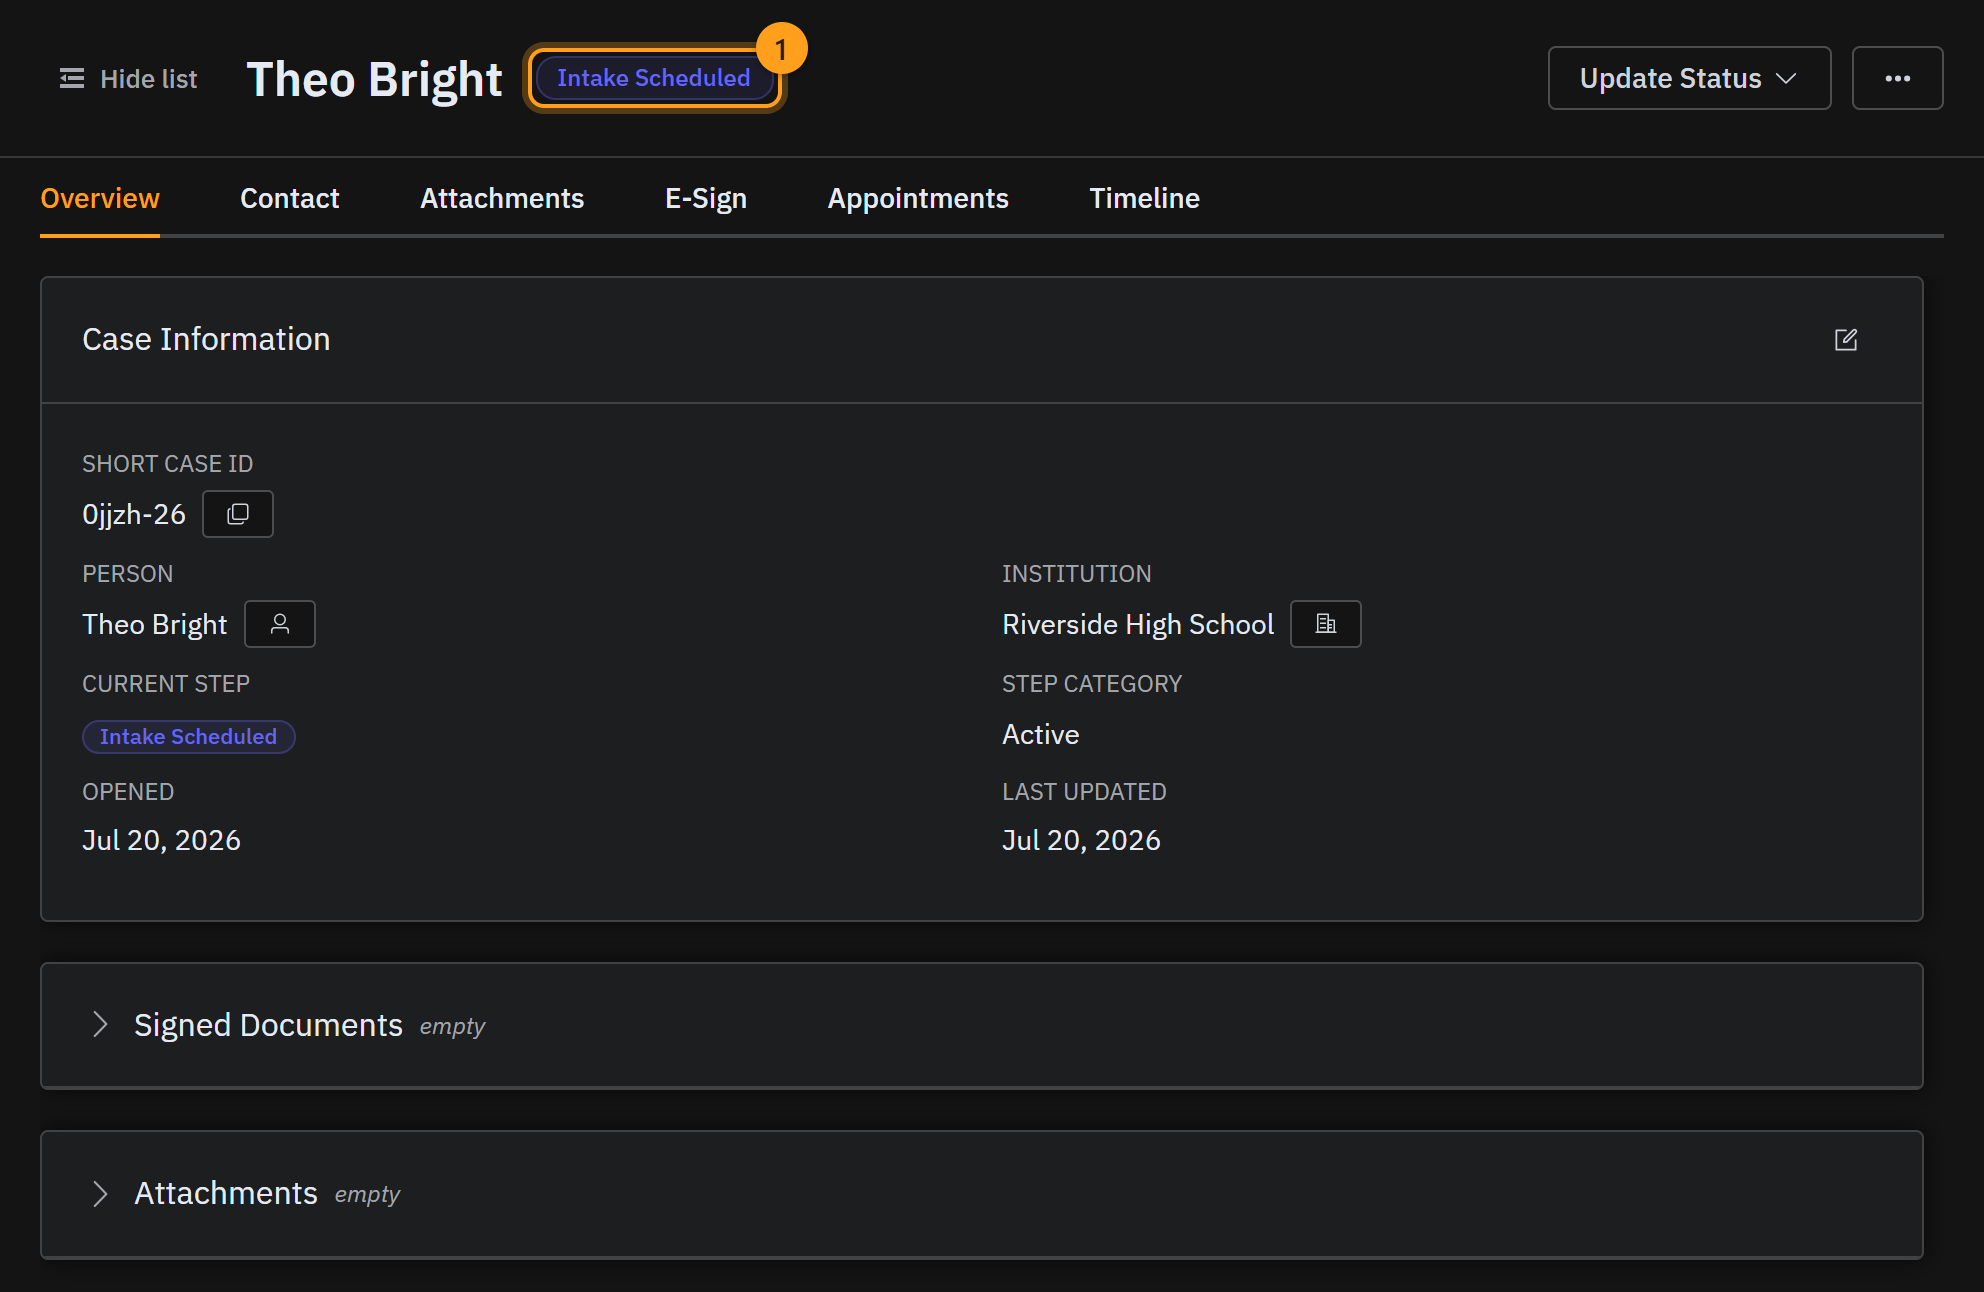
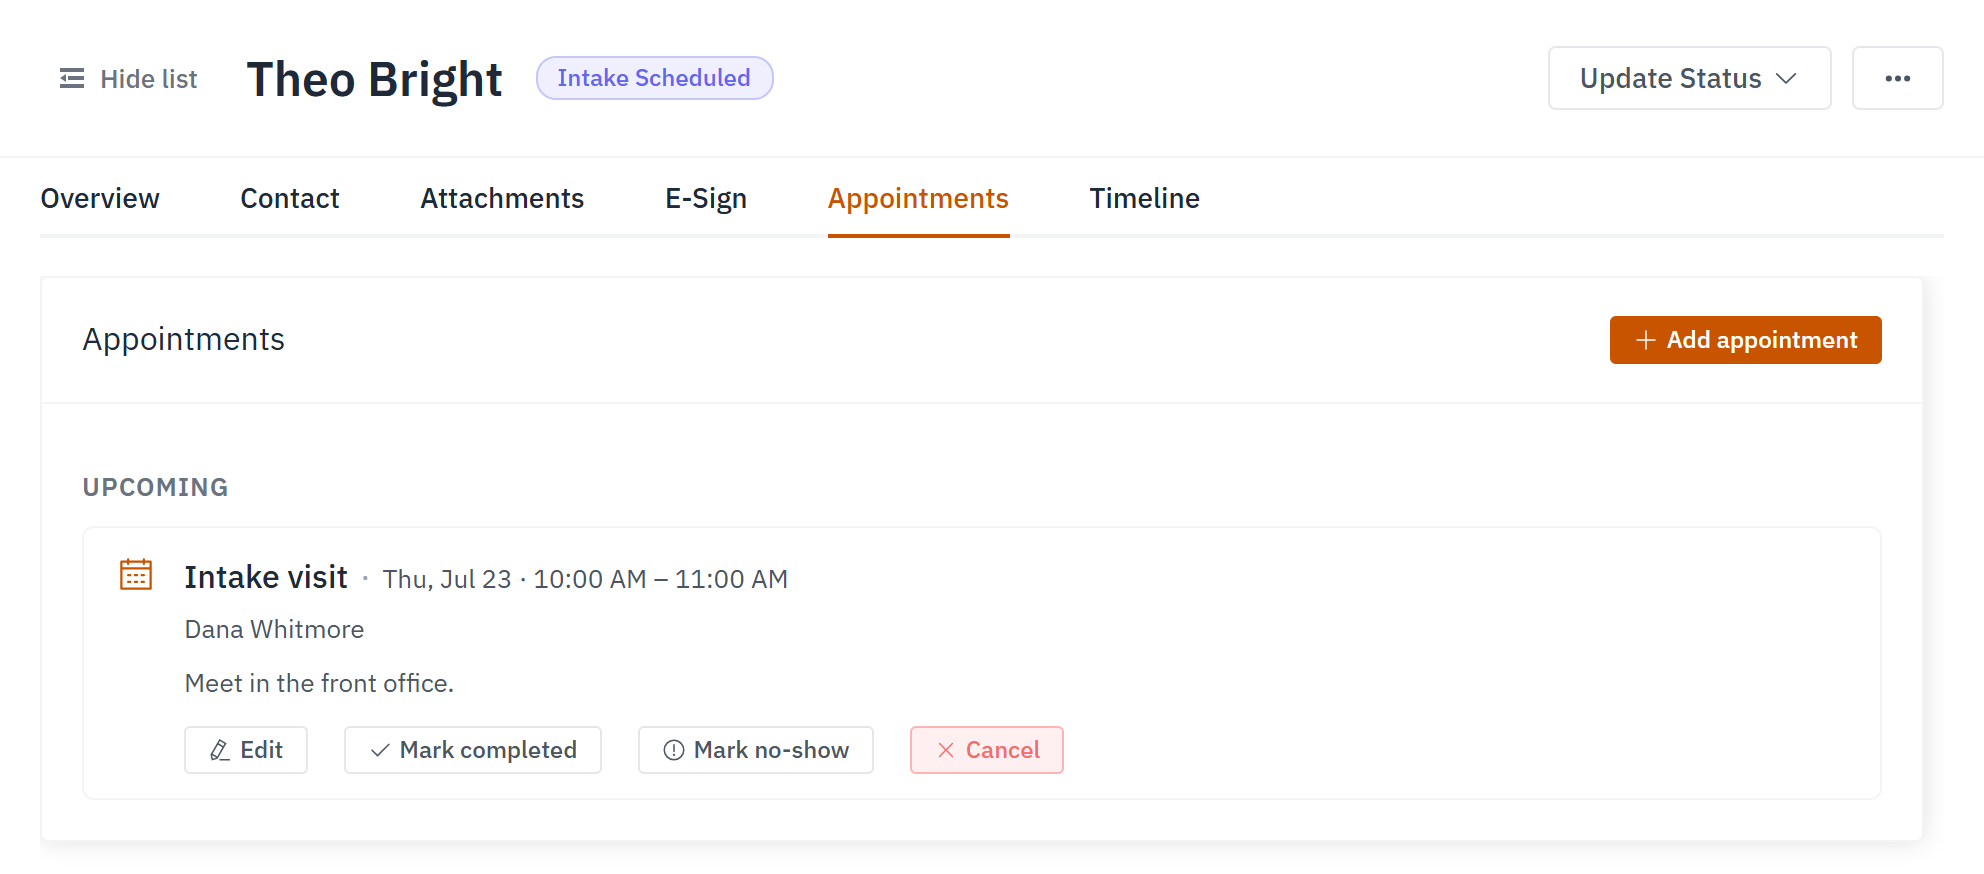
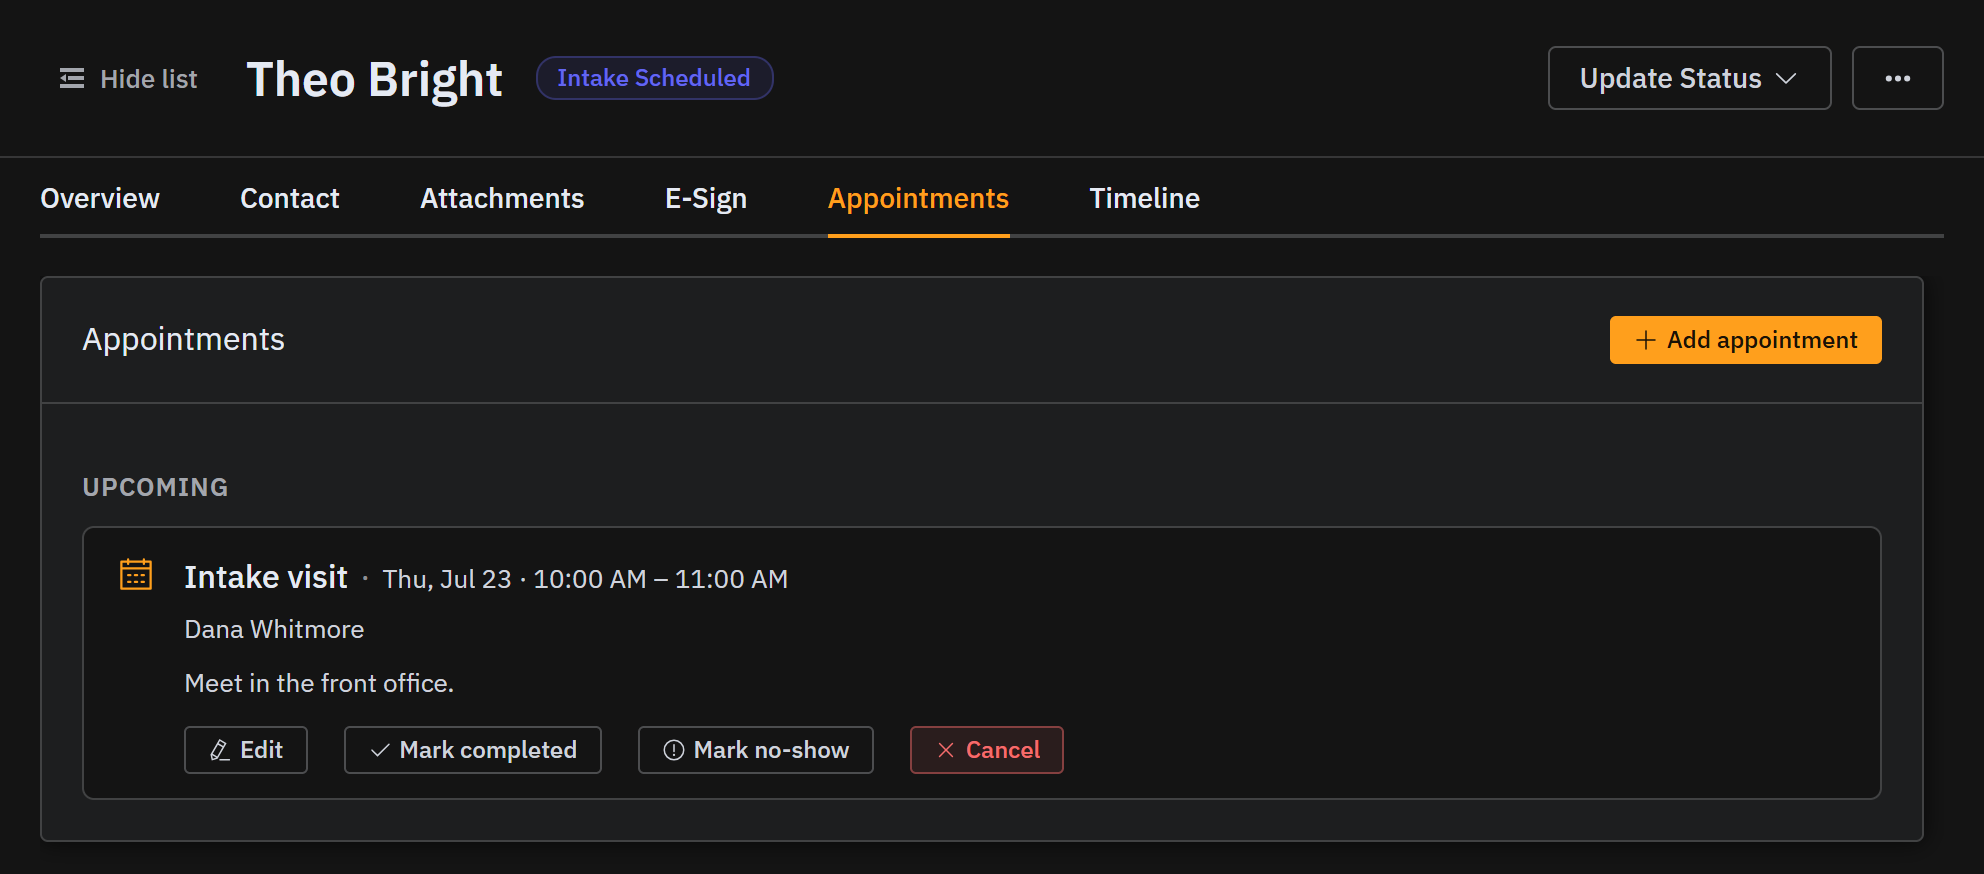
When the student picks a time, the case becomes Intake Scheduled, and the visit appears on the Appointments tab so the whole team can see what's coming up. (This step takes some extra setup — it can't happen automatically just yet, so once that automation is available you'll need to adjust a few settings in your scheduling app to connect it.)
See every student's visit on one calendar
Once several students have visits booked, you'll want one place to see them all. Flip the case board's left panel from Cases to Appointments, and the panel becomes a month calendar of every student's booked visit:
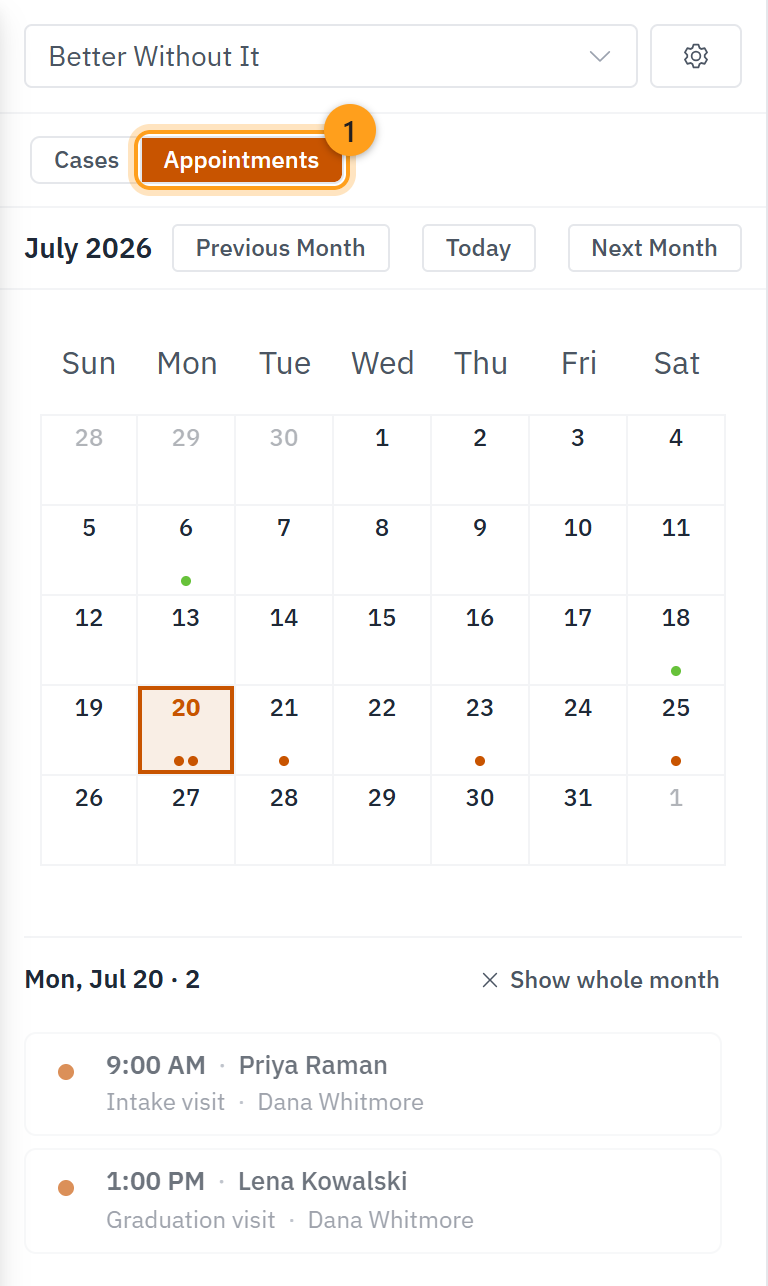
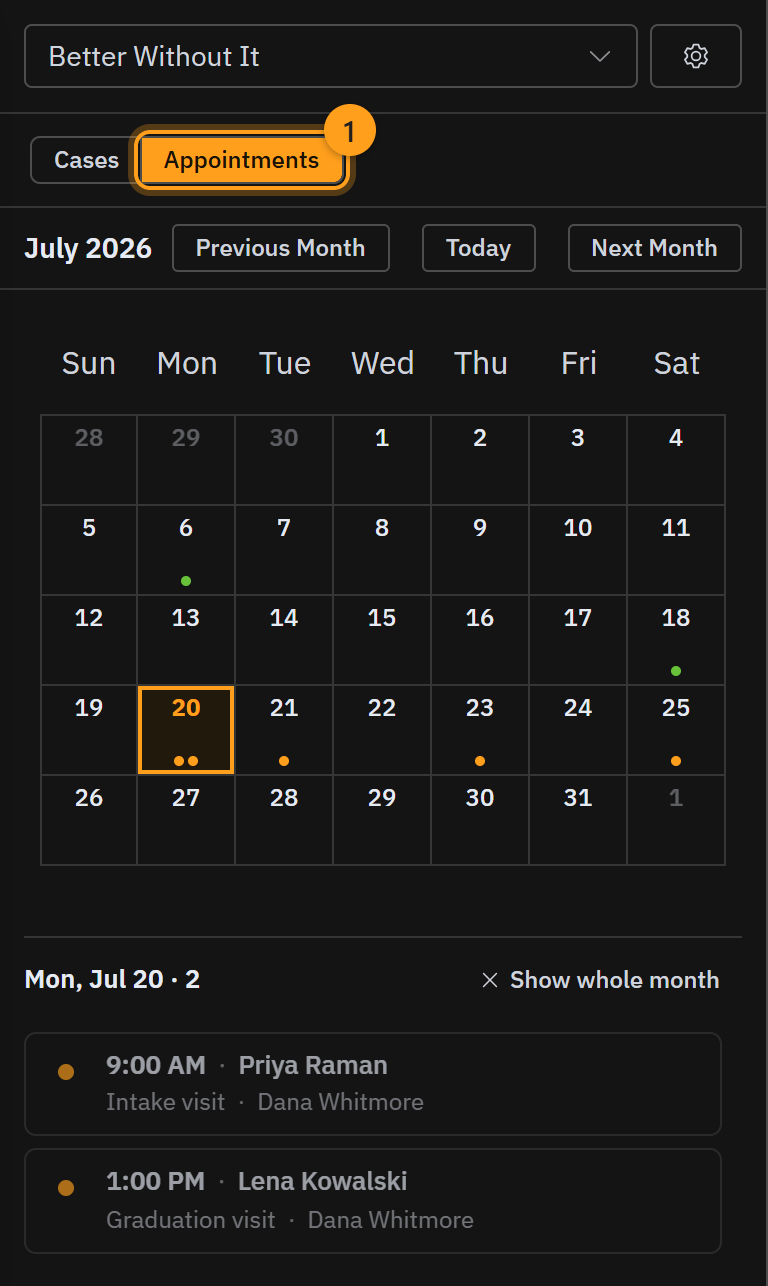
Each dot is a visit, and today opens already selected — so the moment you switch, you see who's coming in today, at what time, and who on your team is meeting them. Select a visit to open that student's case. Later in the program, graduation visits land on this same calendar, so the whole journey stays visible in one place.
For the full tour, see the appointments calendar.
Step 7 · Send documents with E-Sign
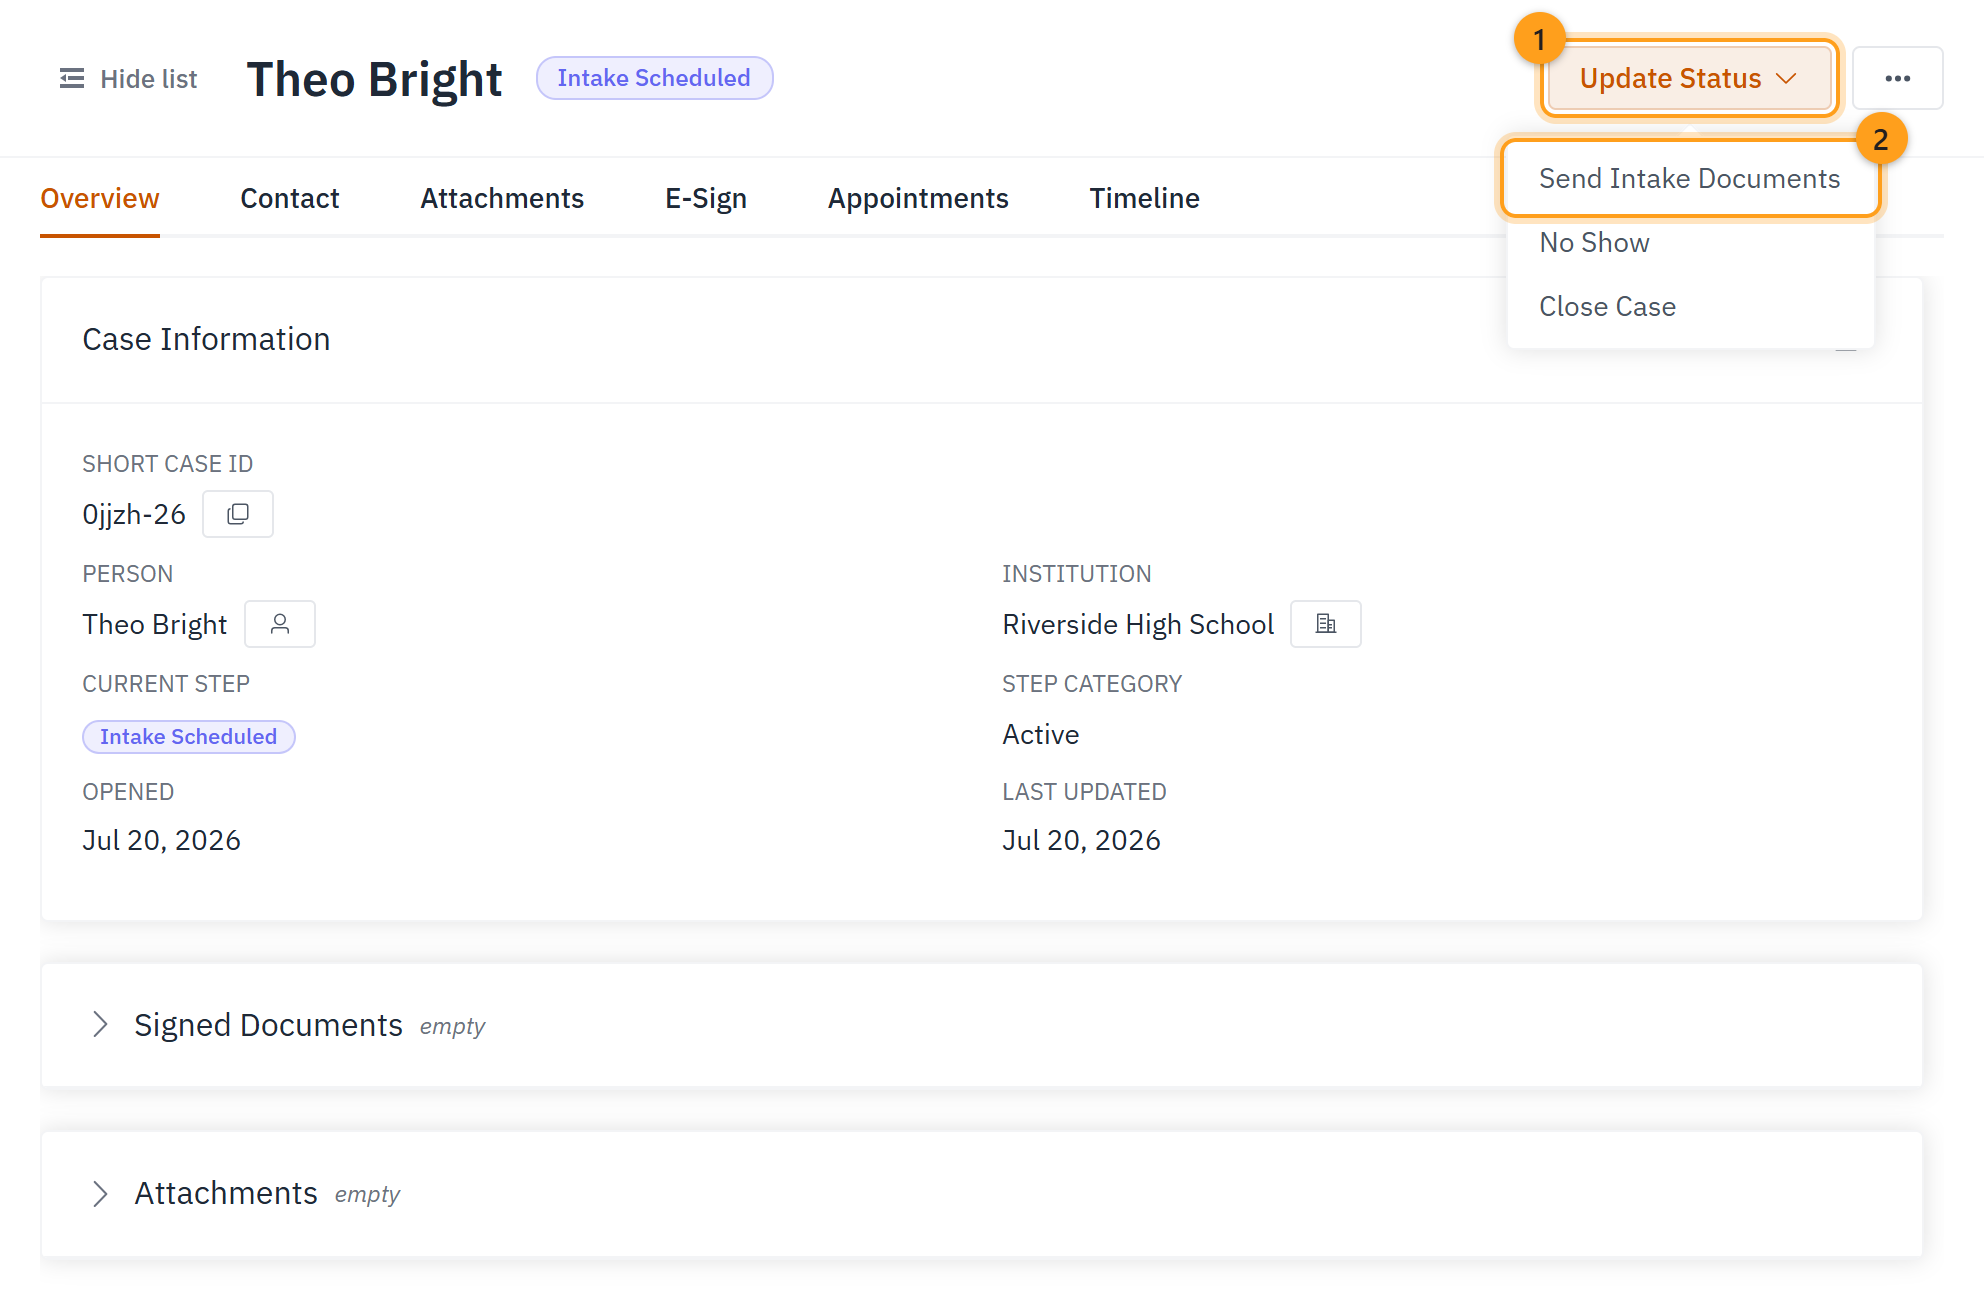
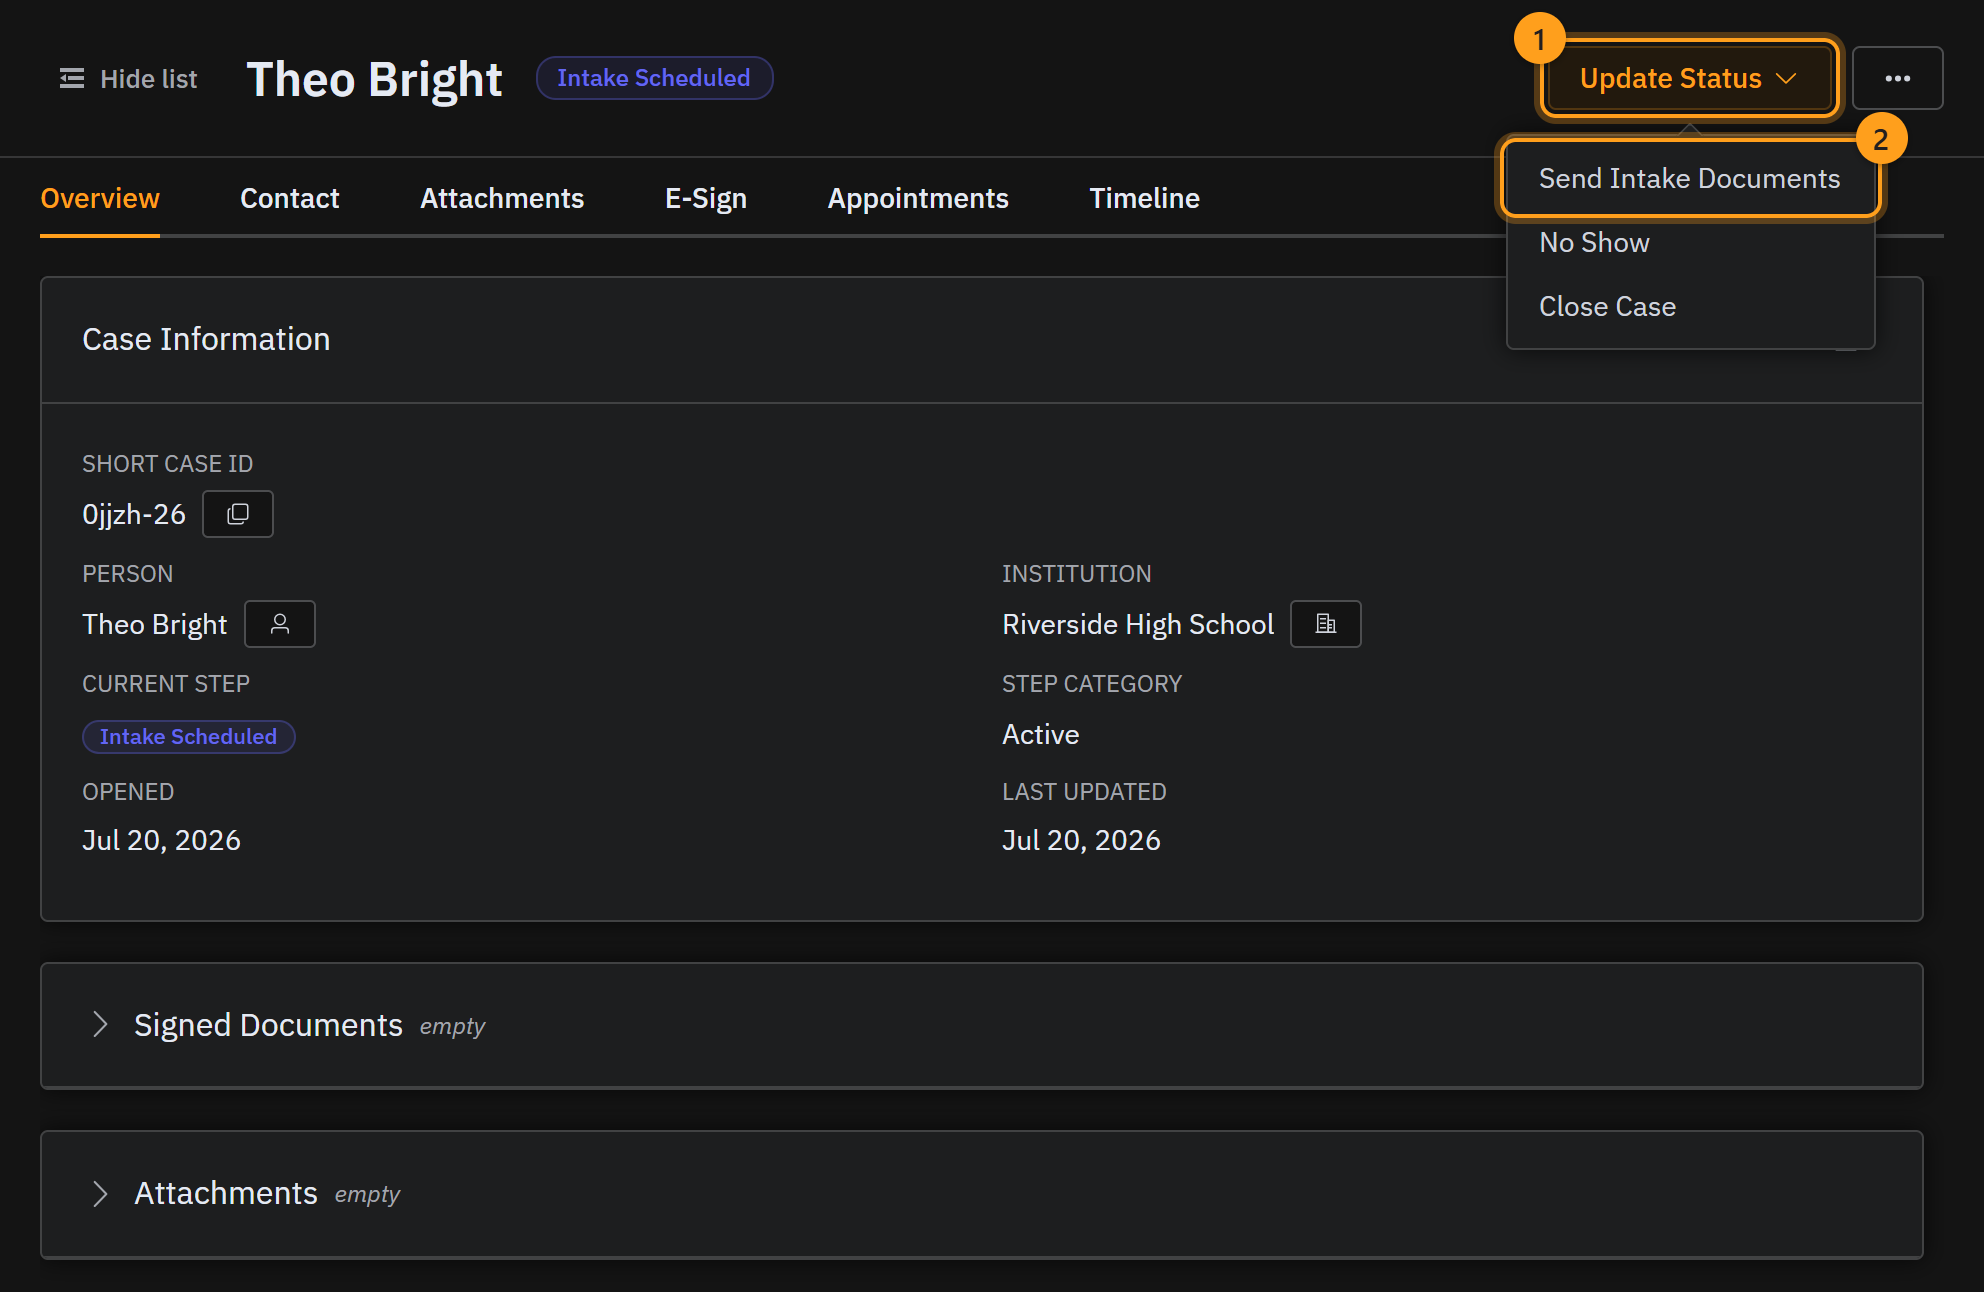
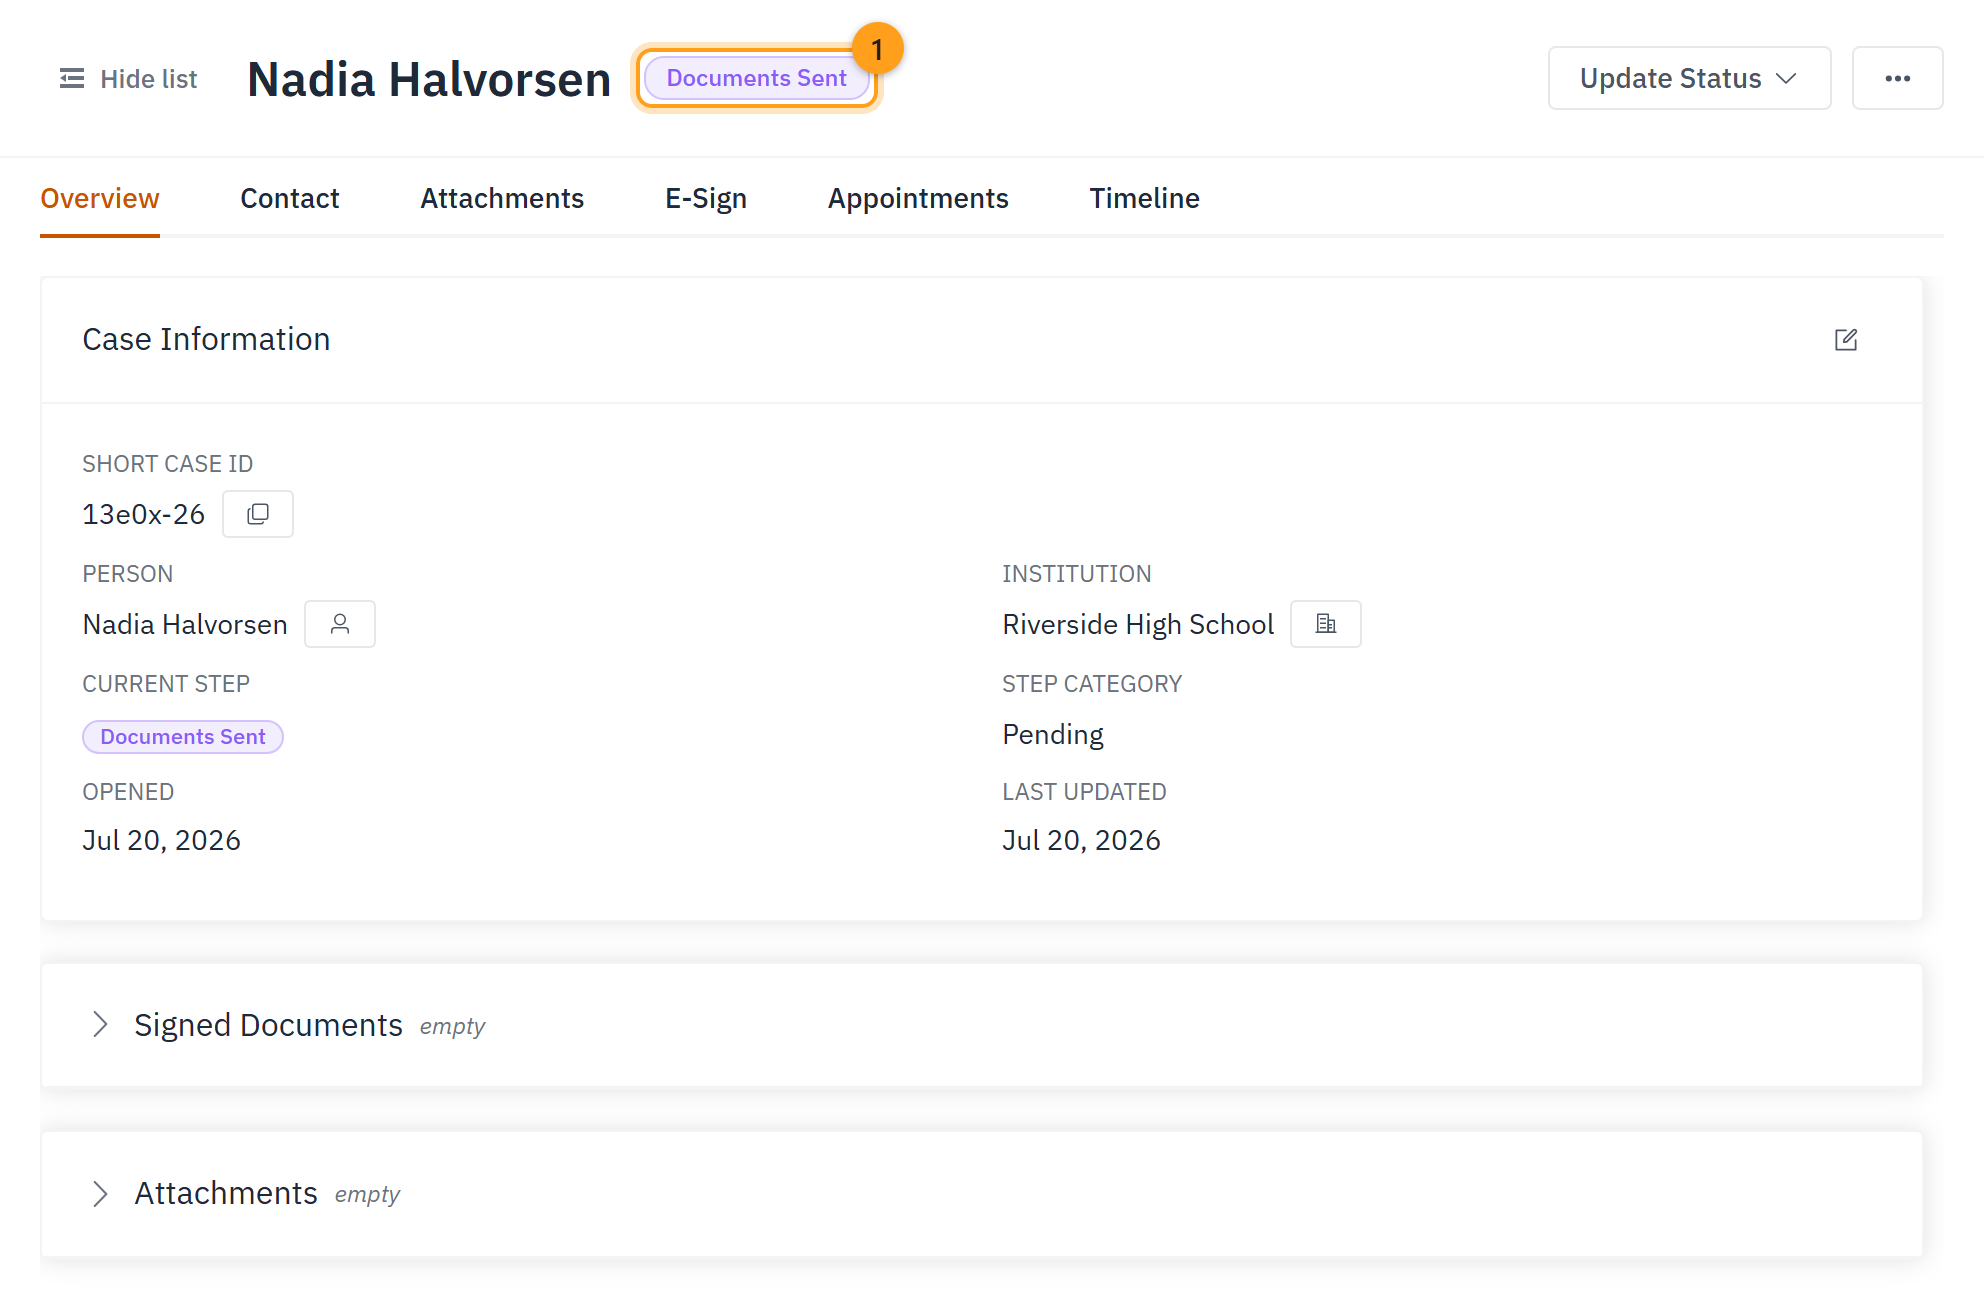
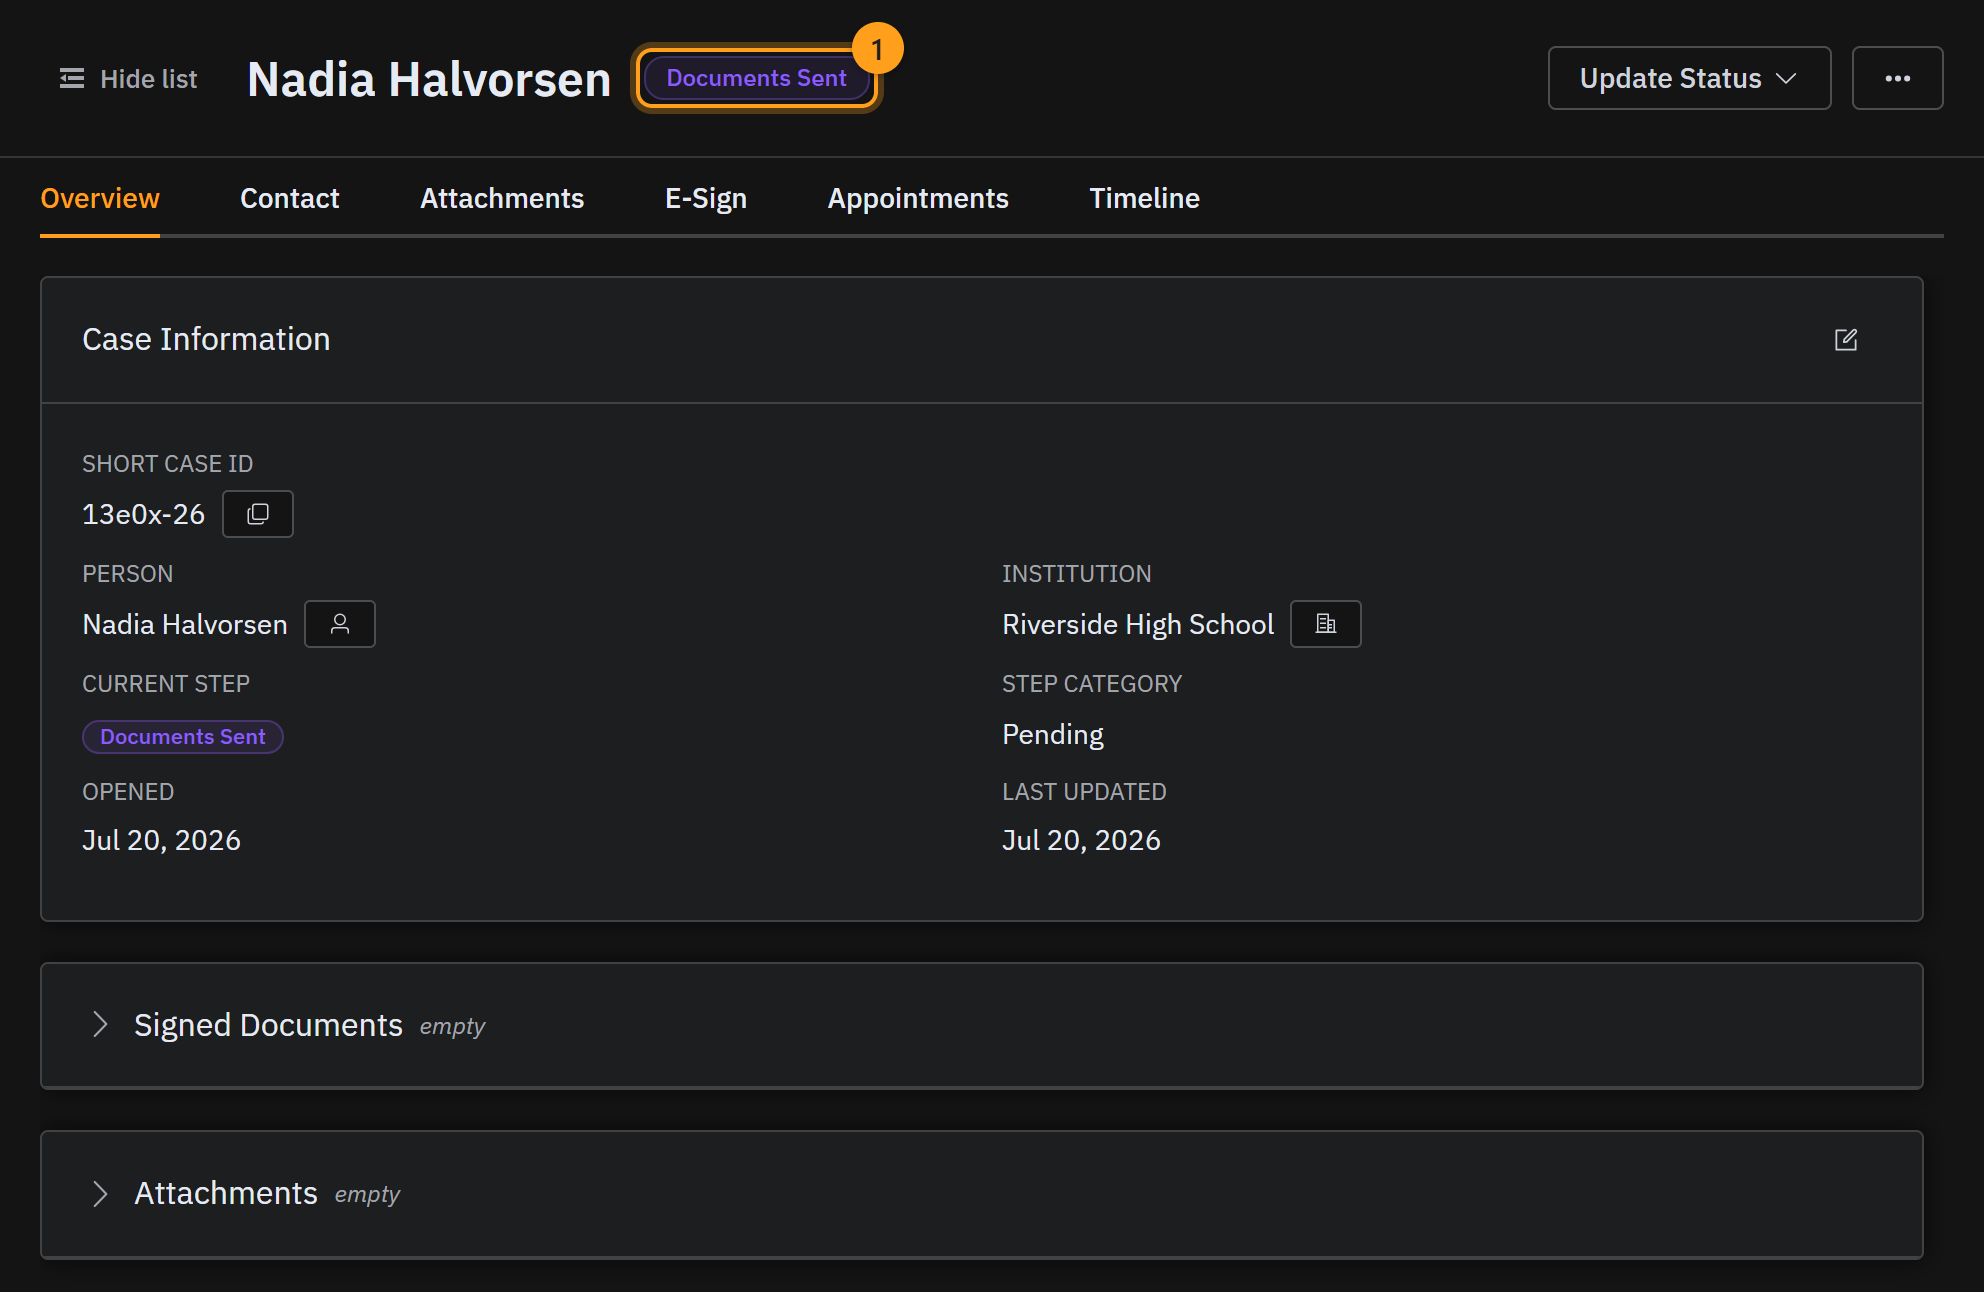
With the visit booked, it's time for paperwork — the easy way. Open the E-Sign tab and send the consent forms out for signature by choosing Send for Signature. Then choose Send Intake Documents (2) from the Update Status menu (1), and the case reads Documents Sent.
Step 8 · Handle the documents when they come back
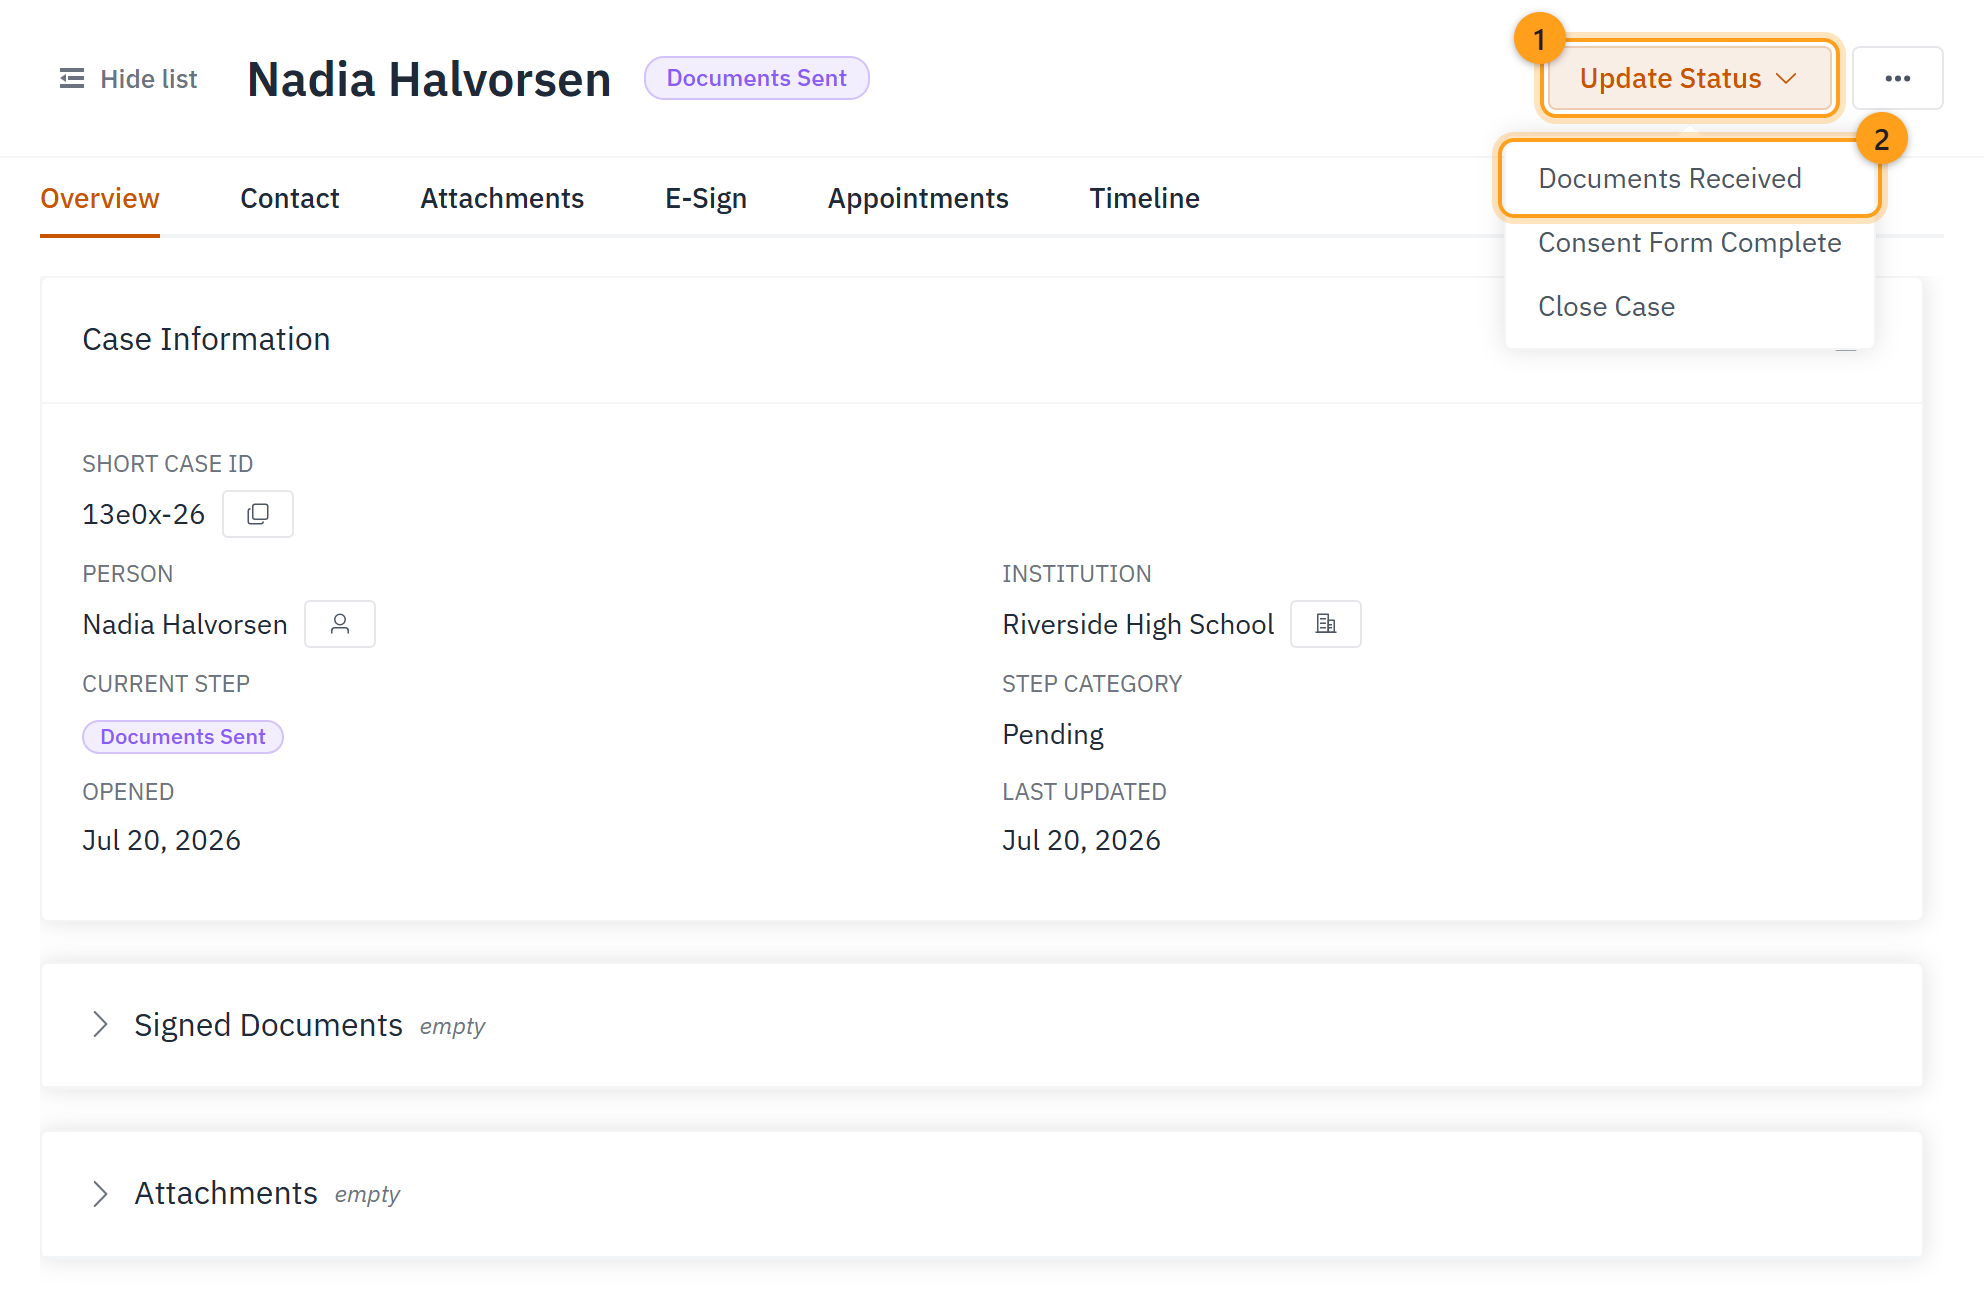
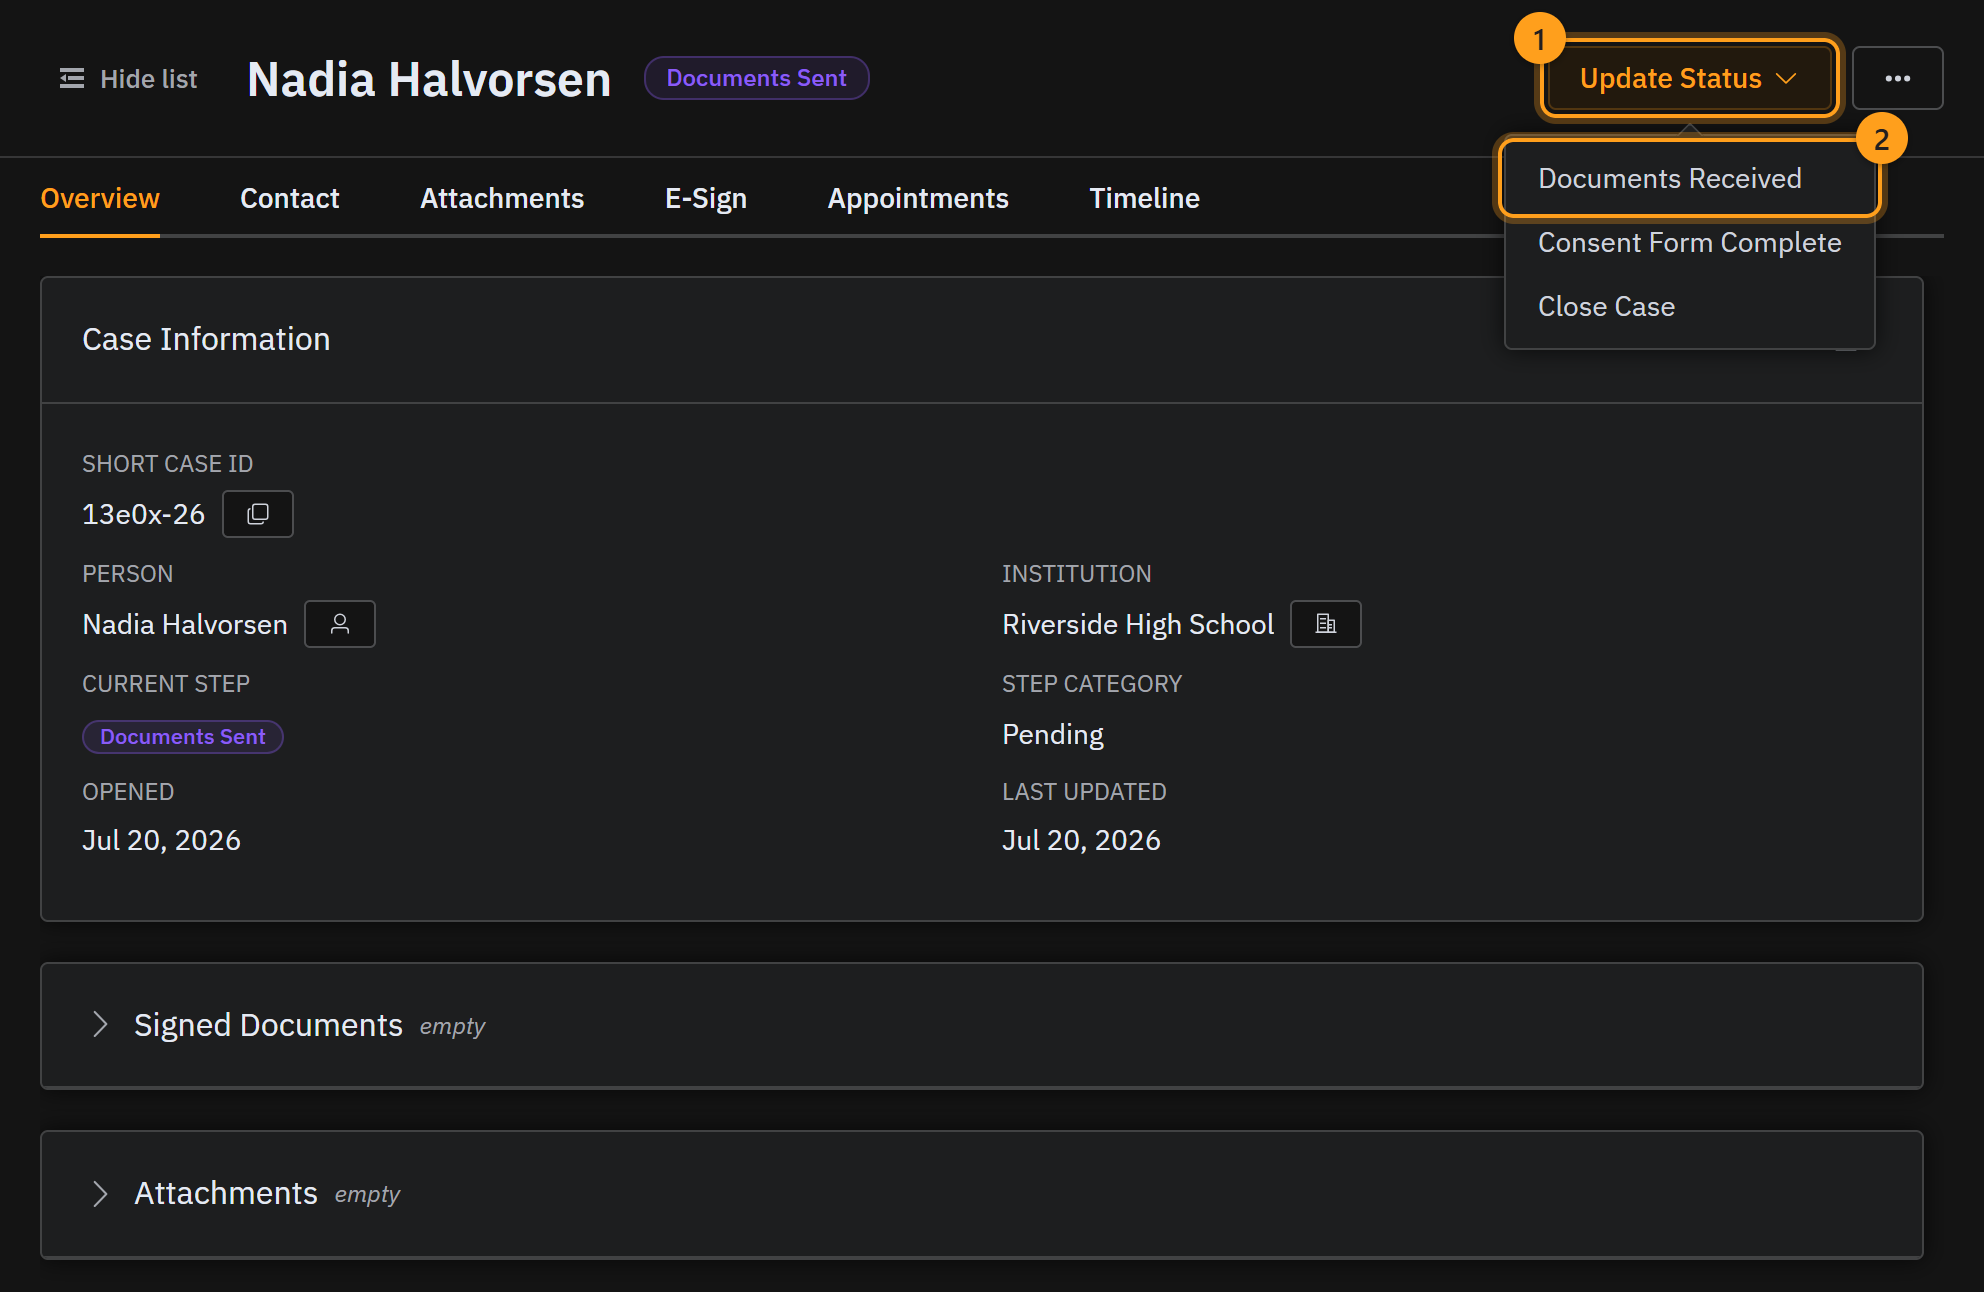
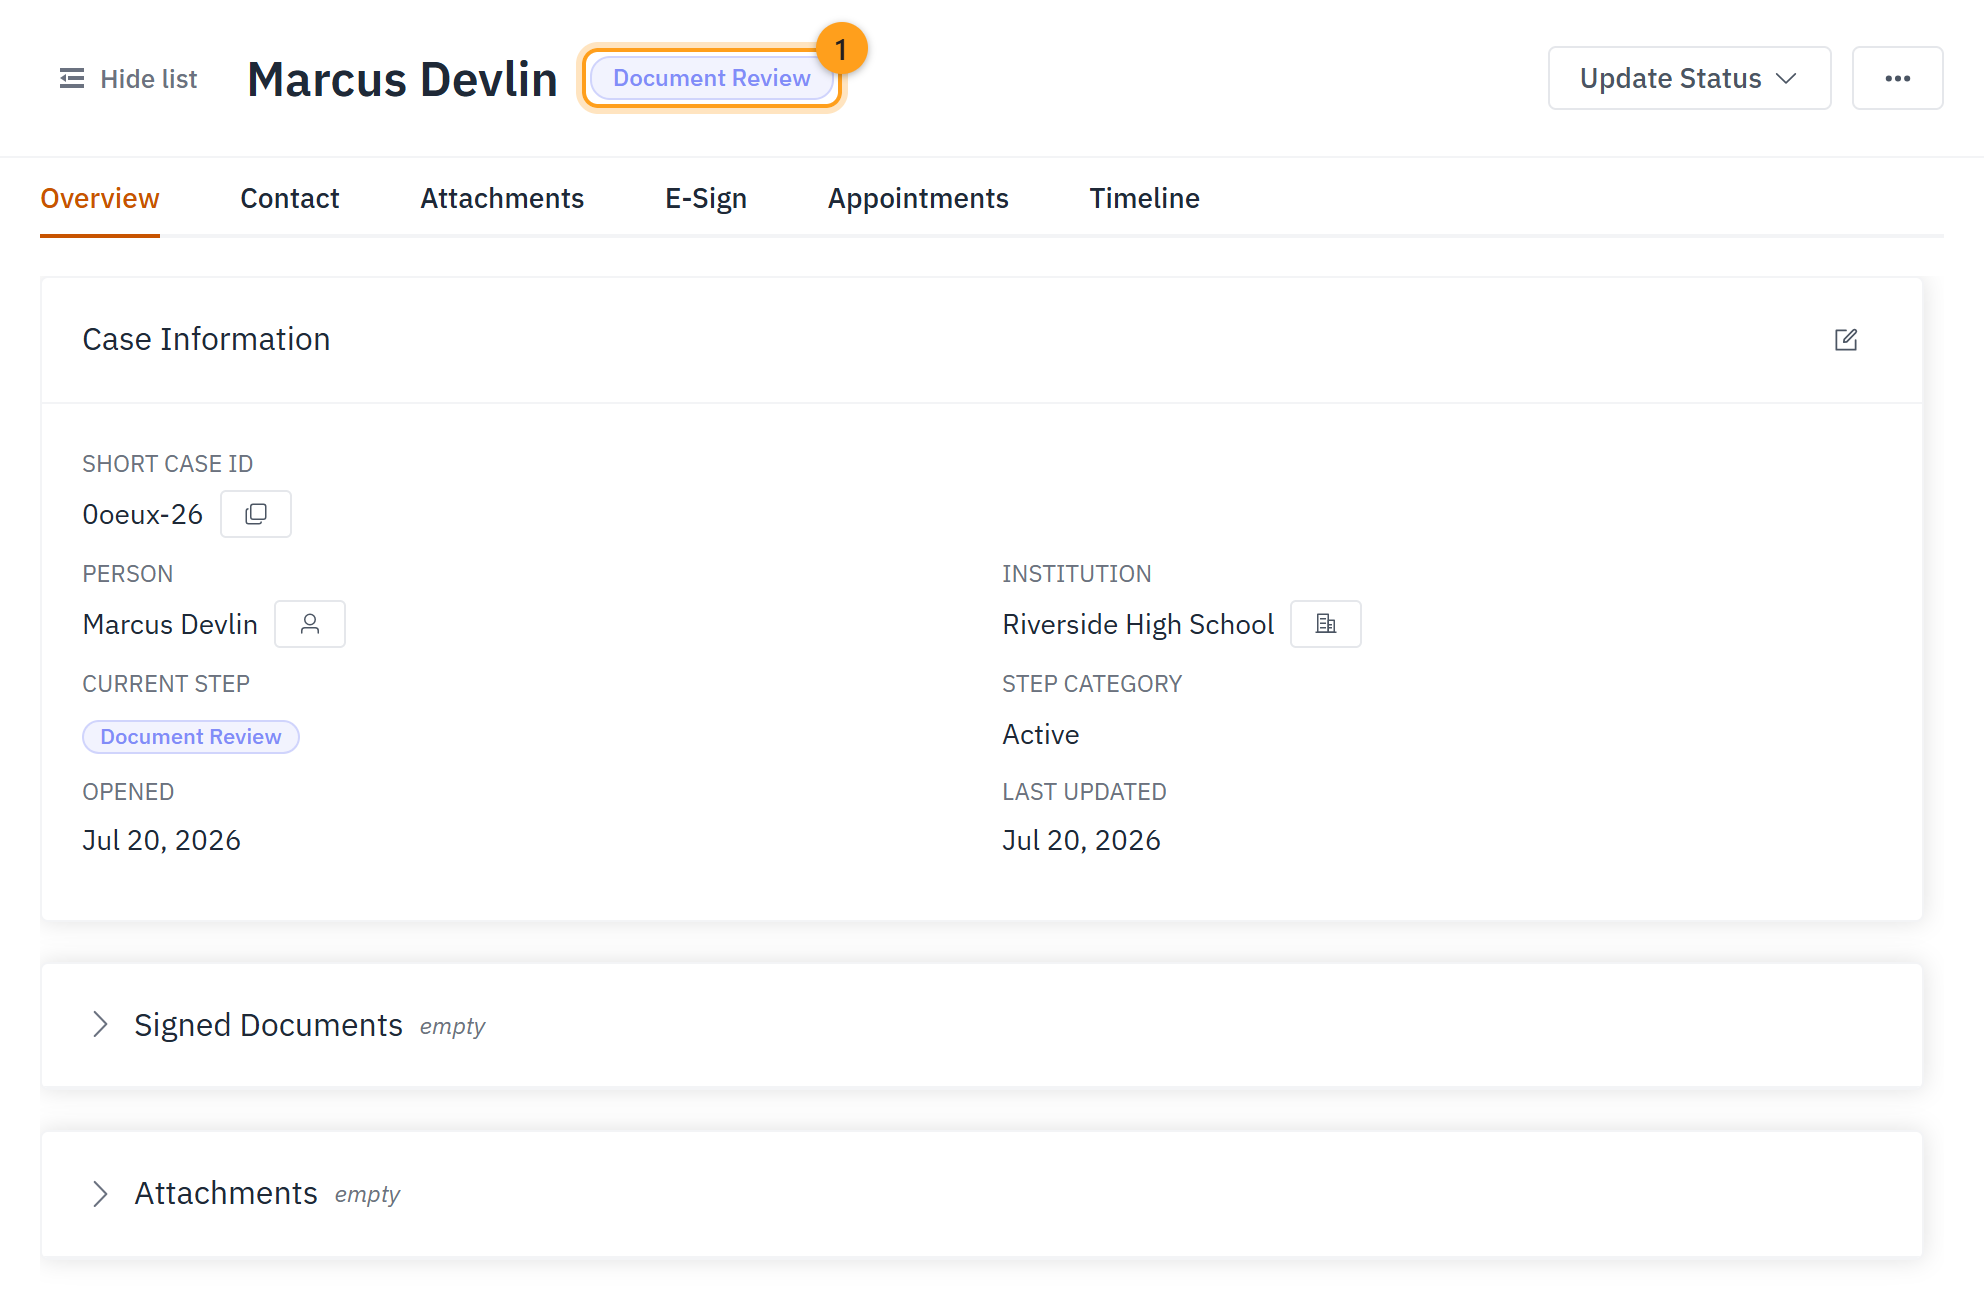
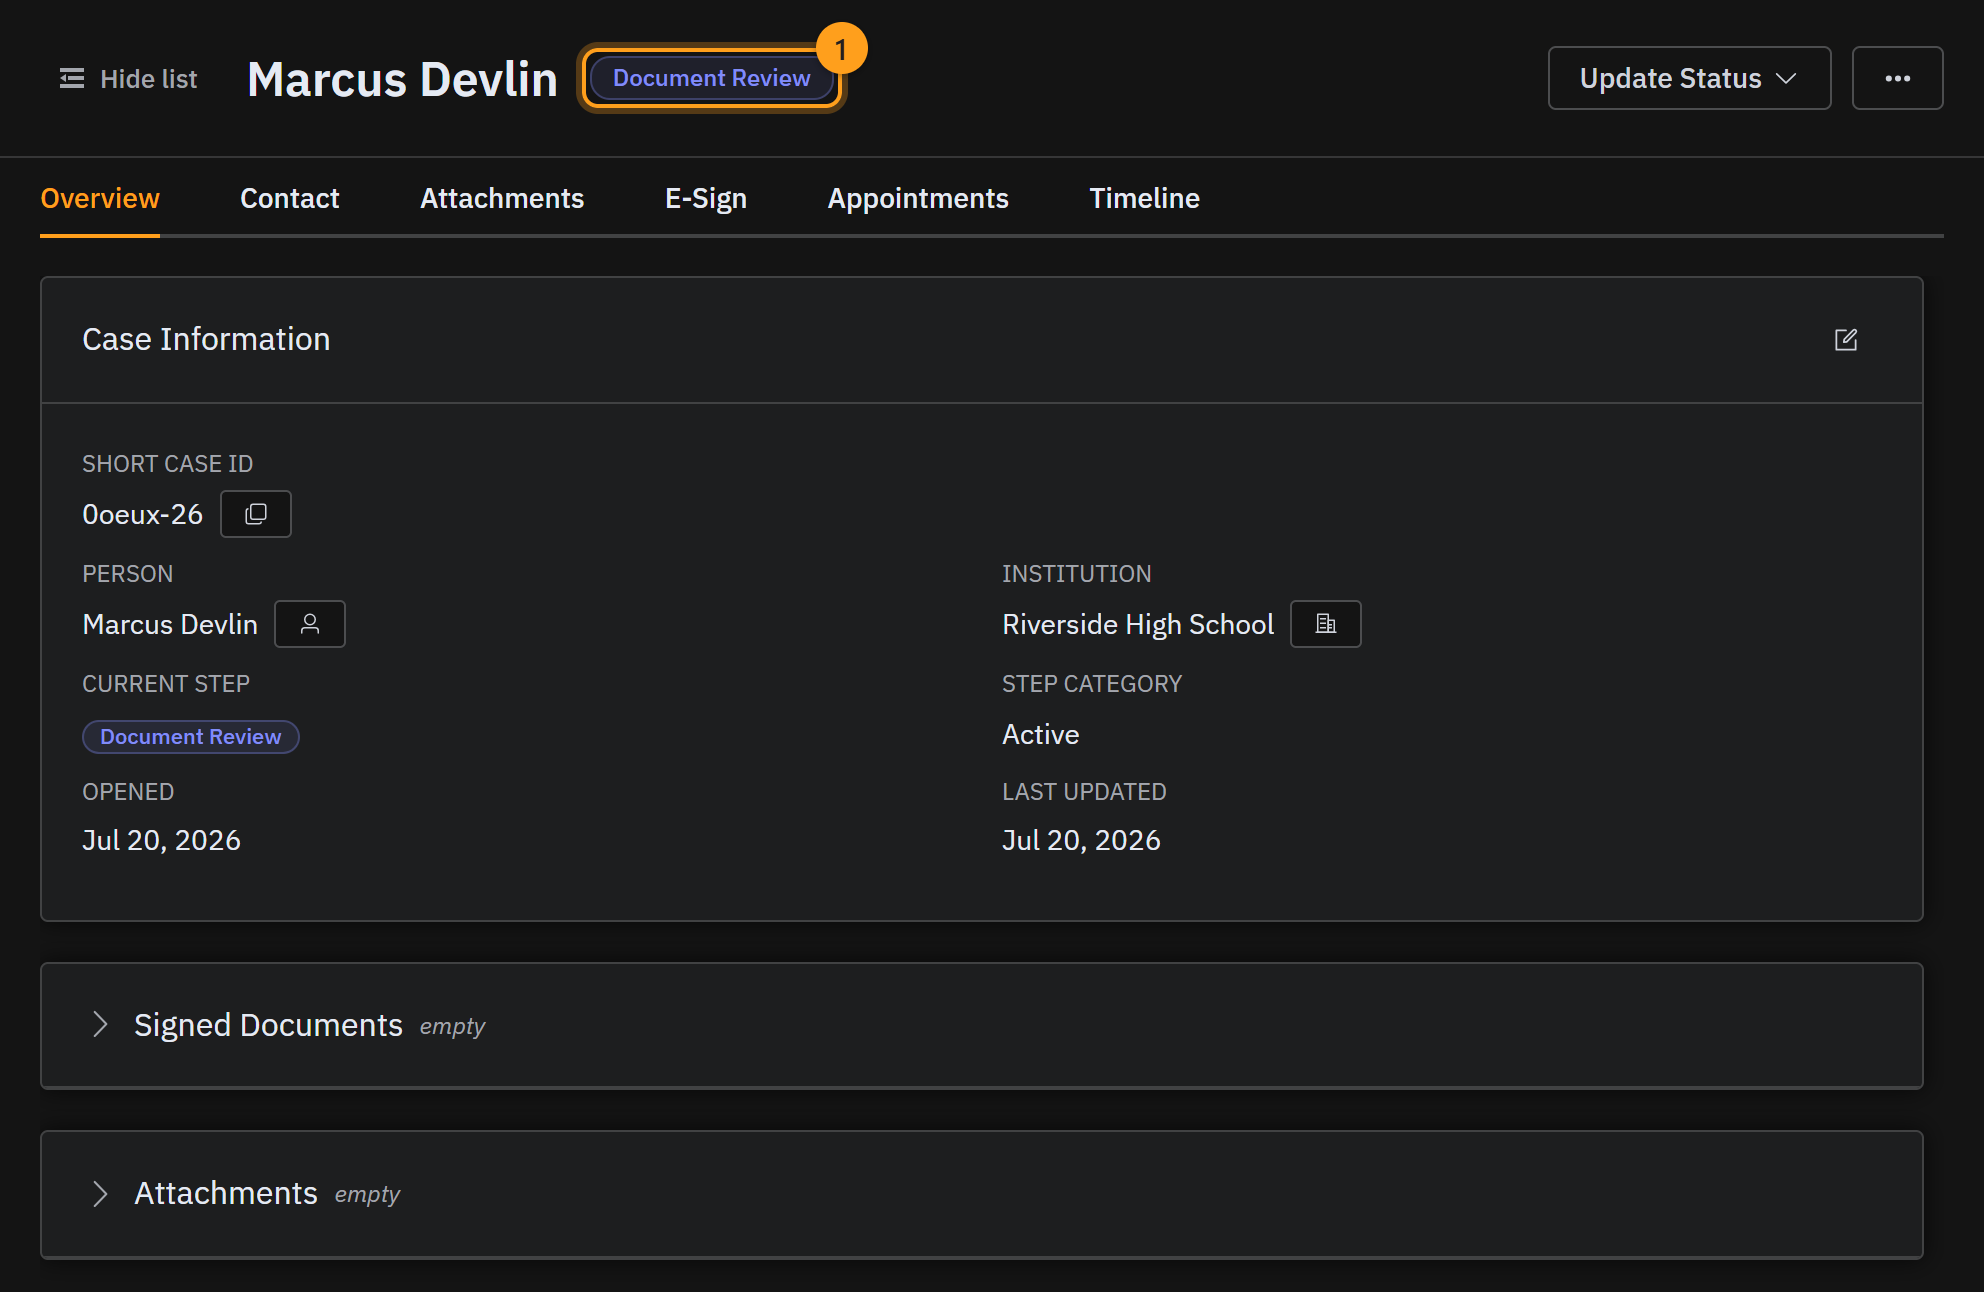
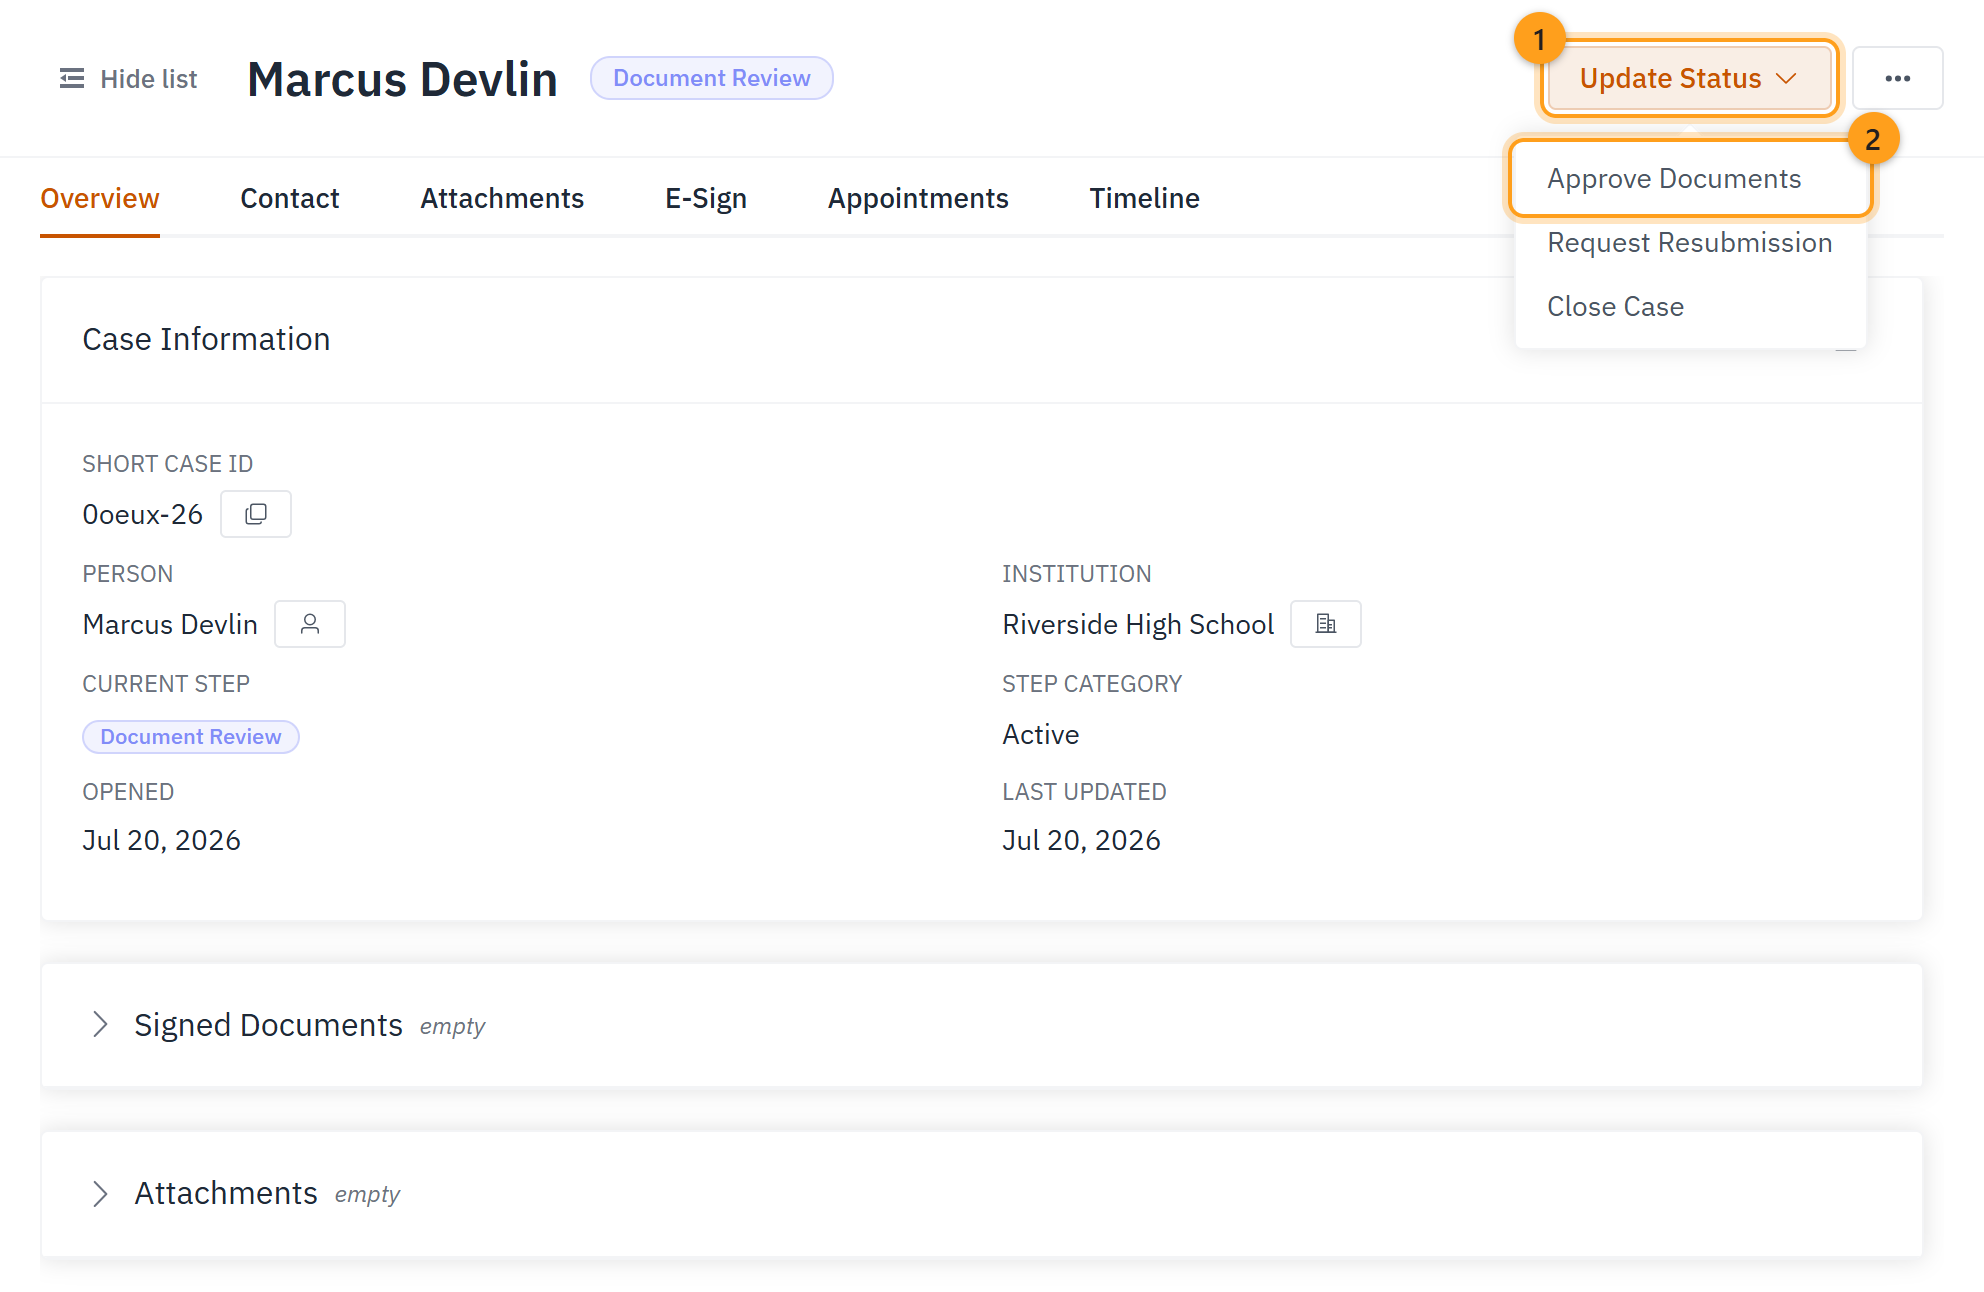
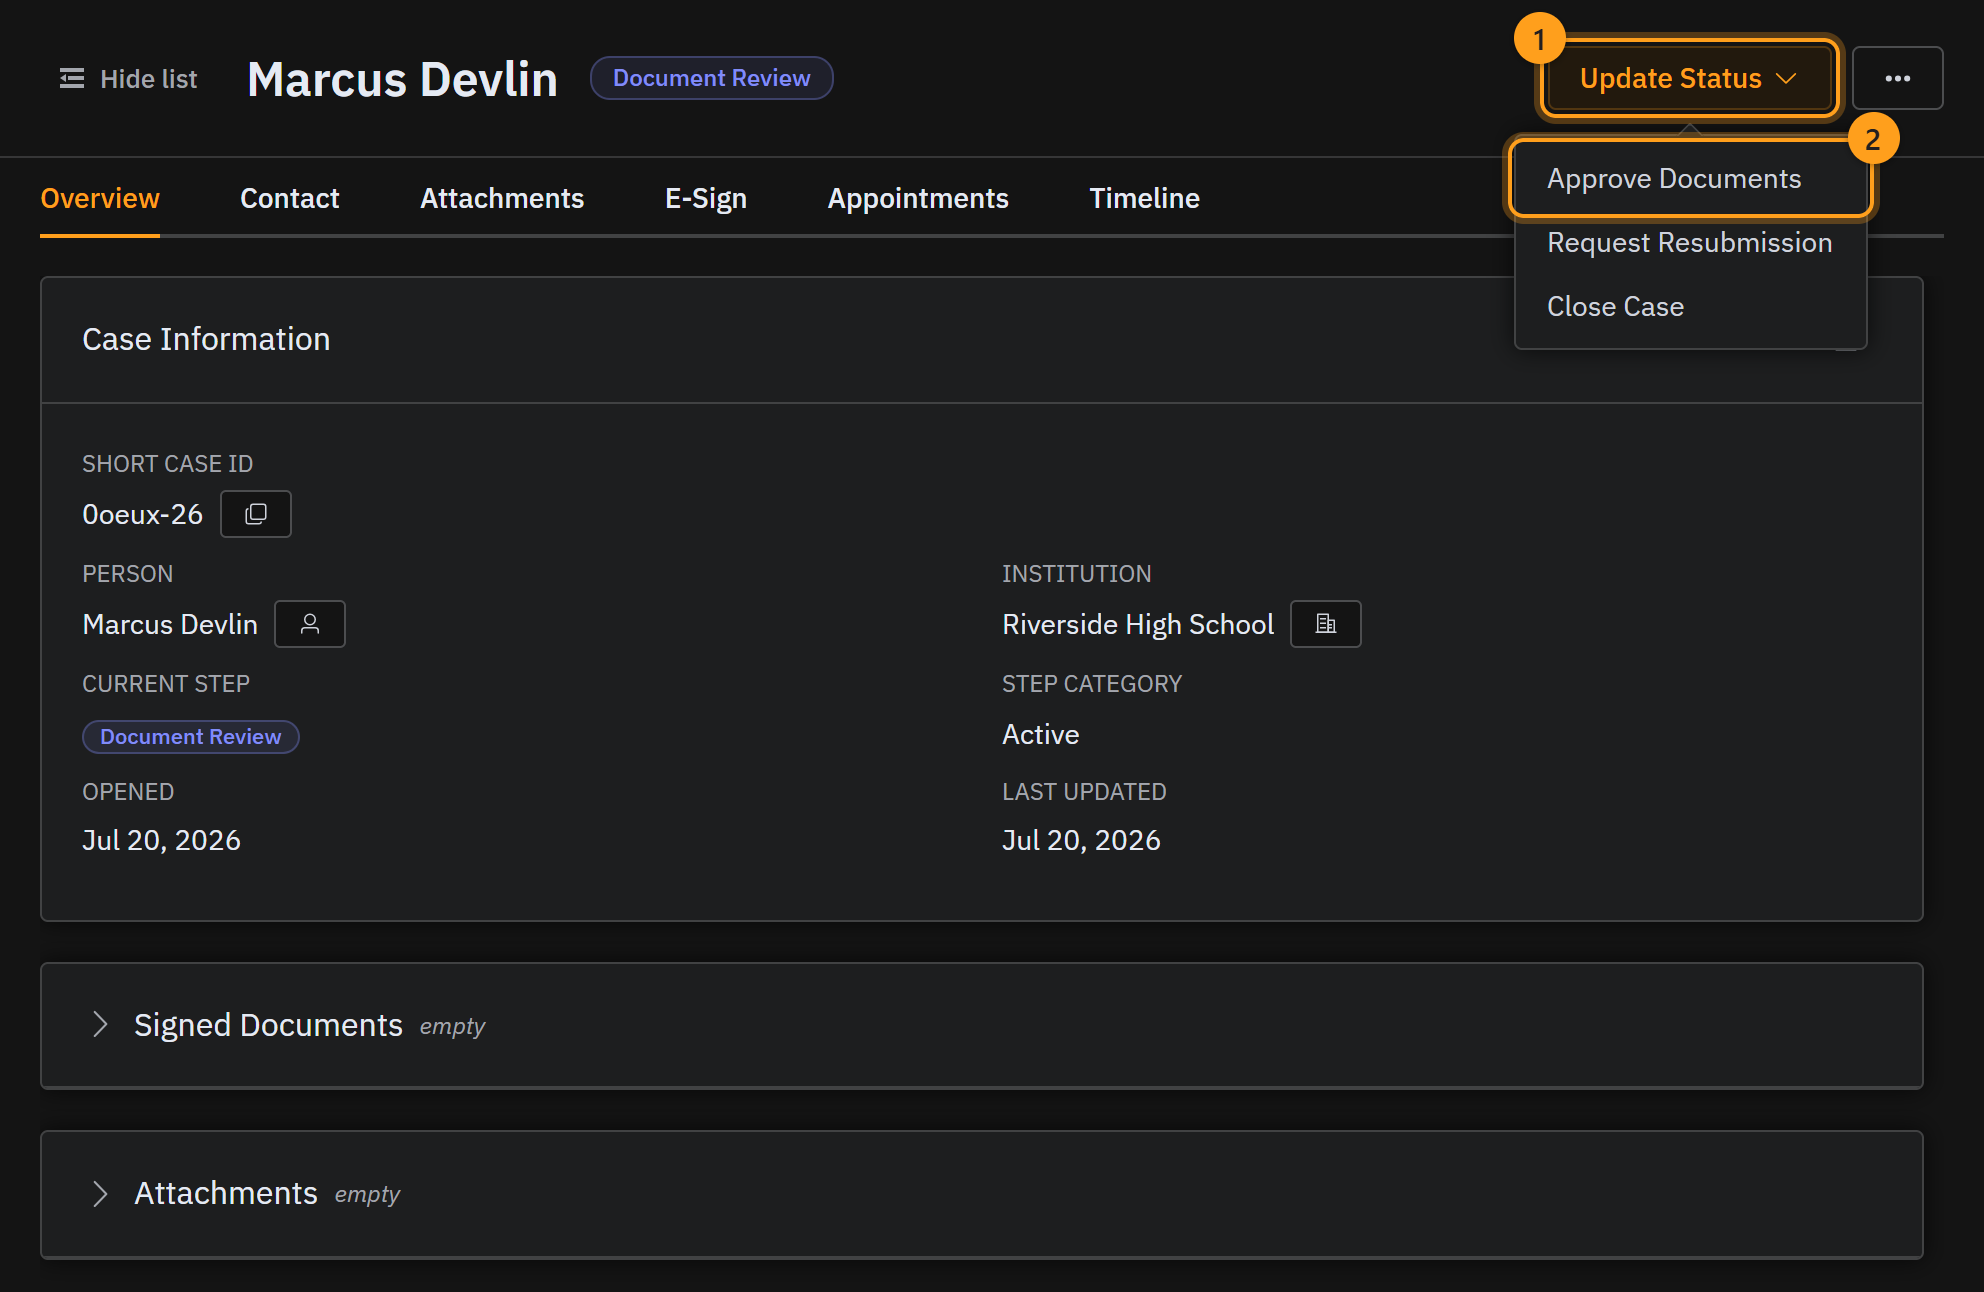
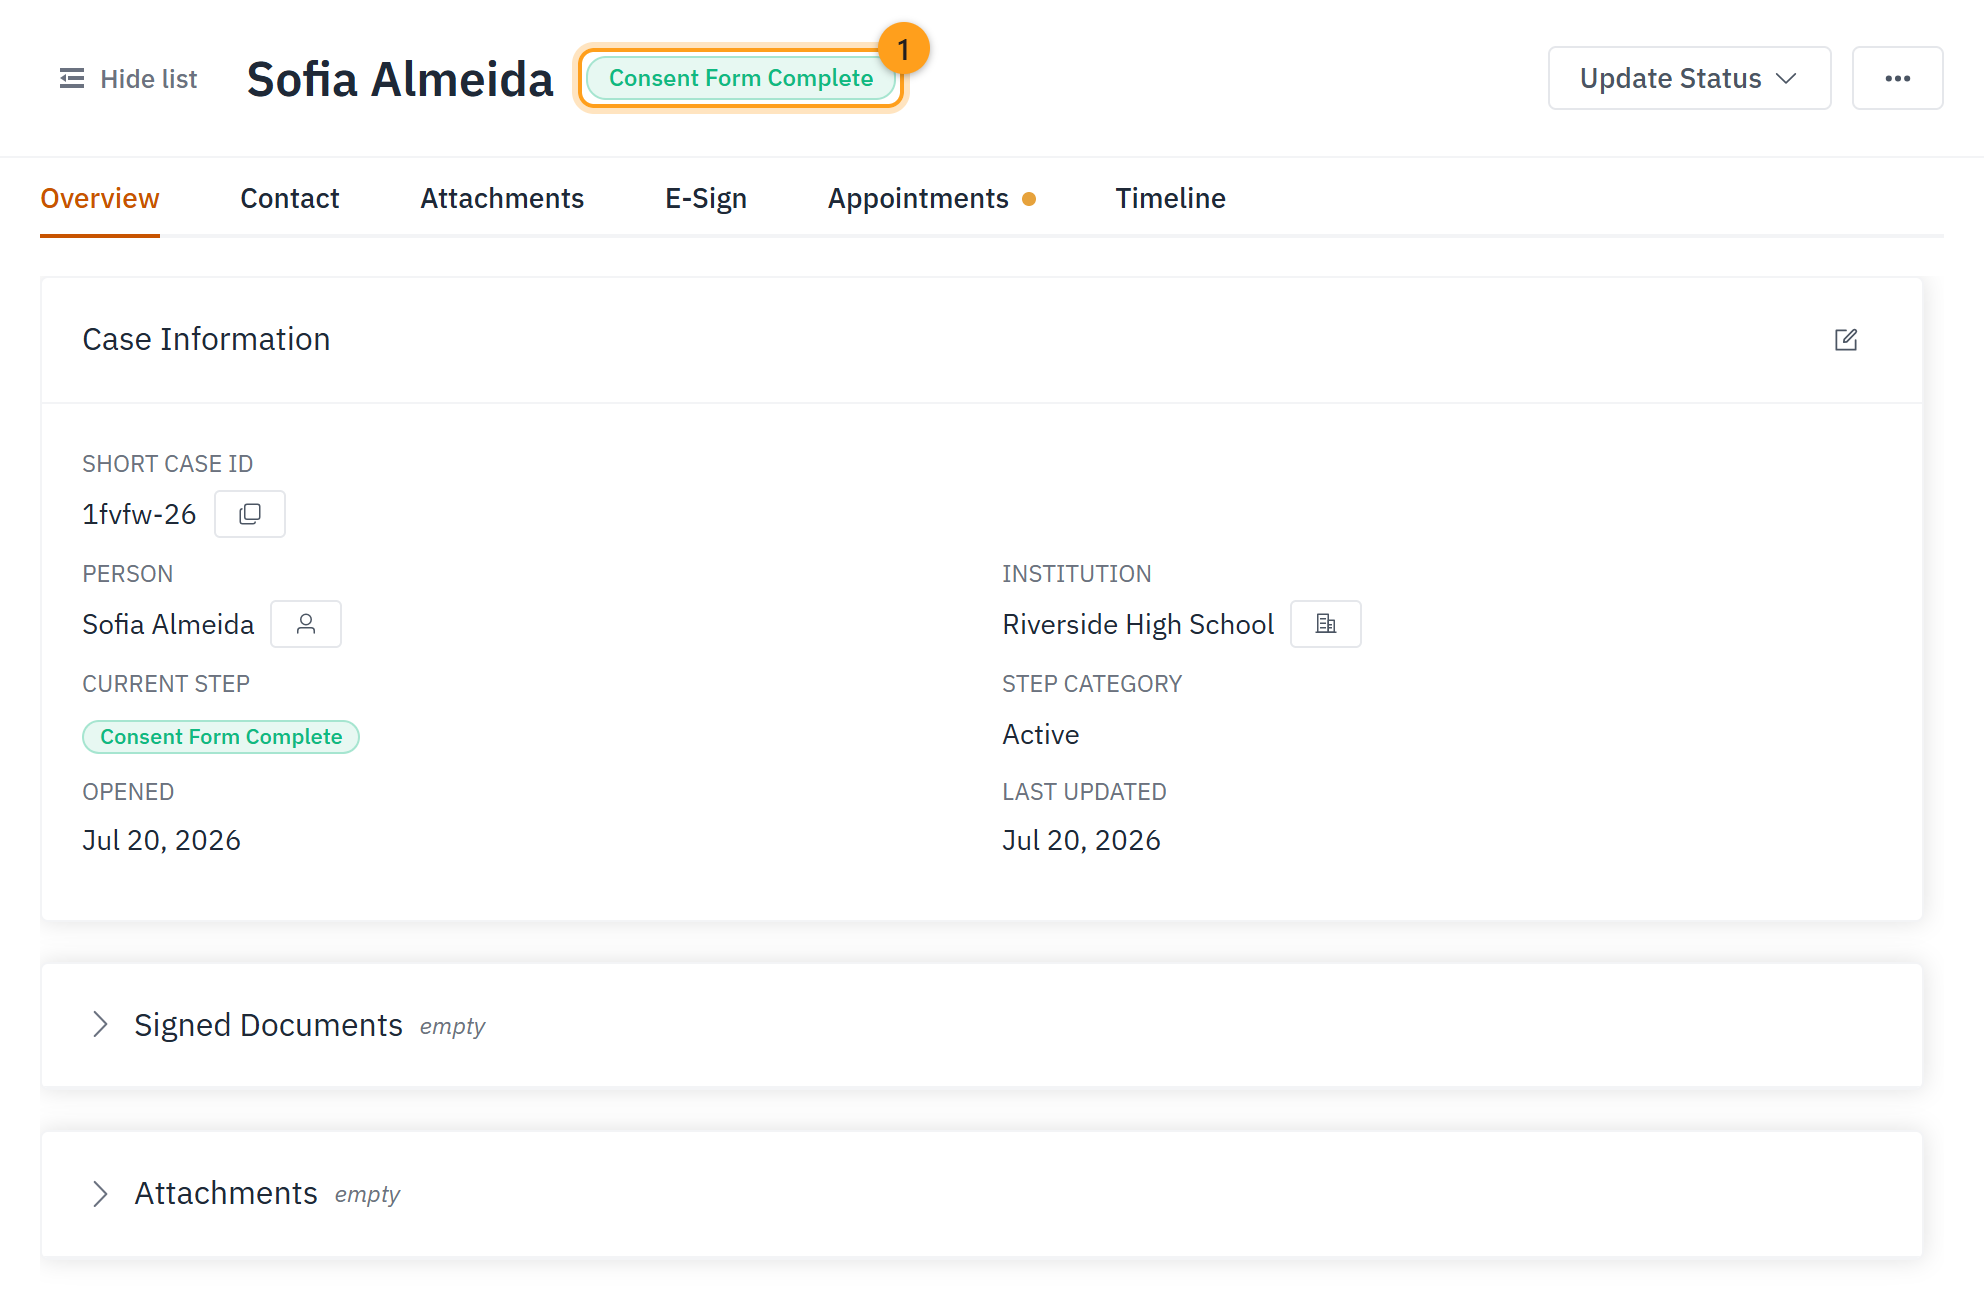
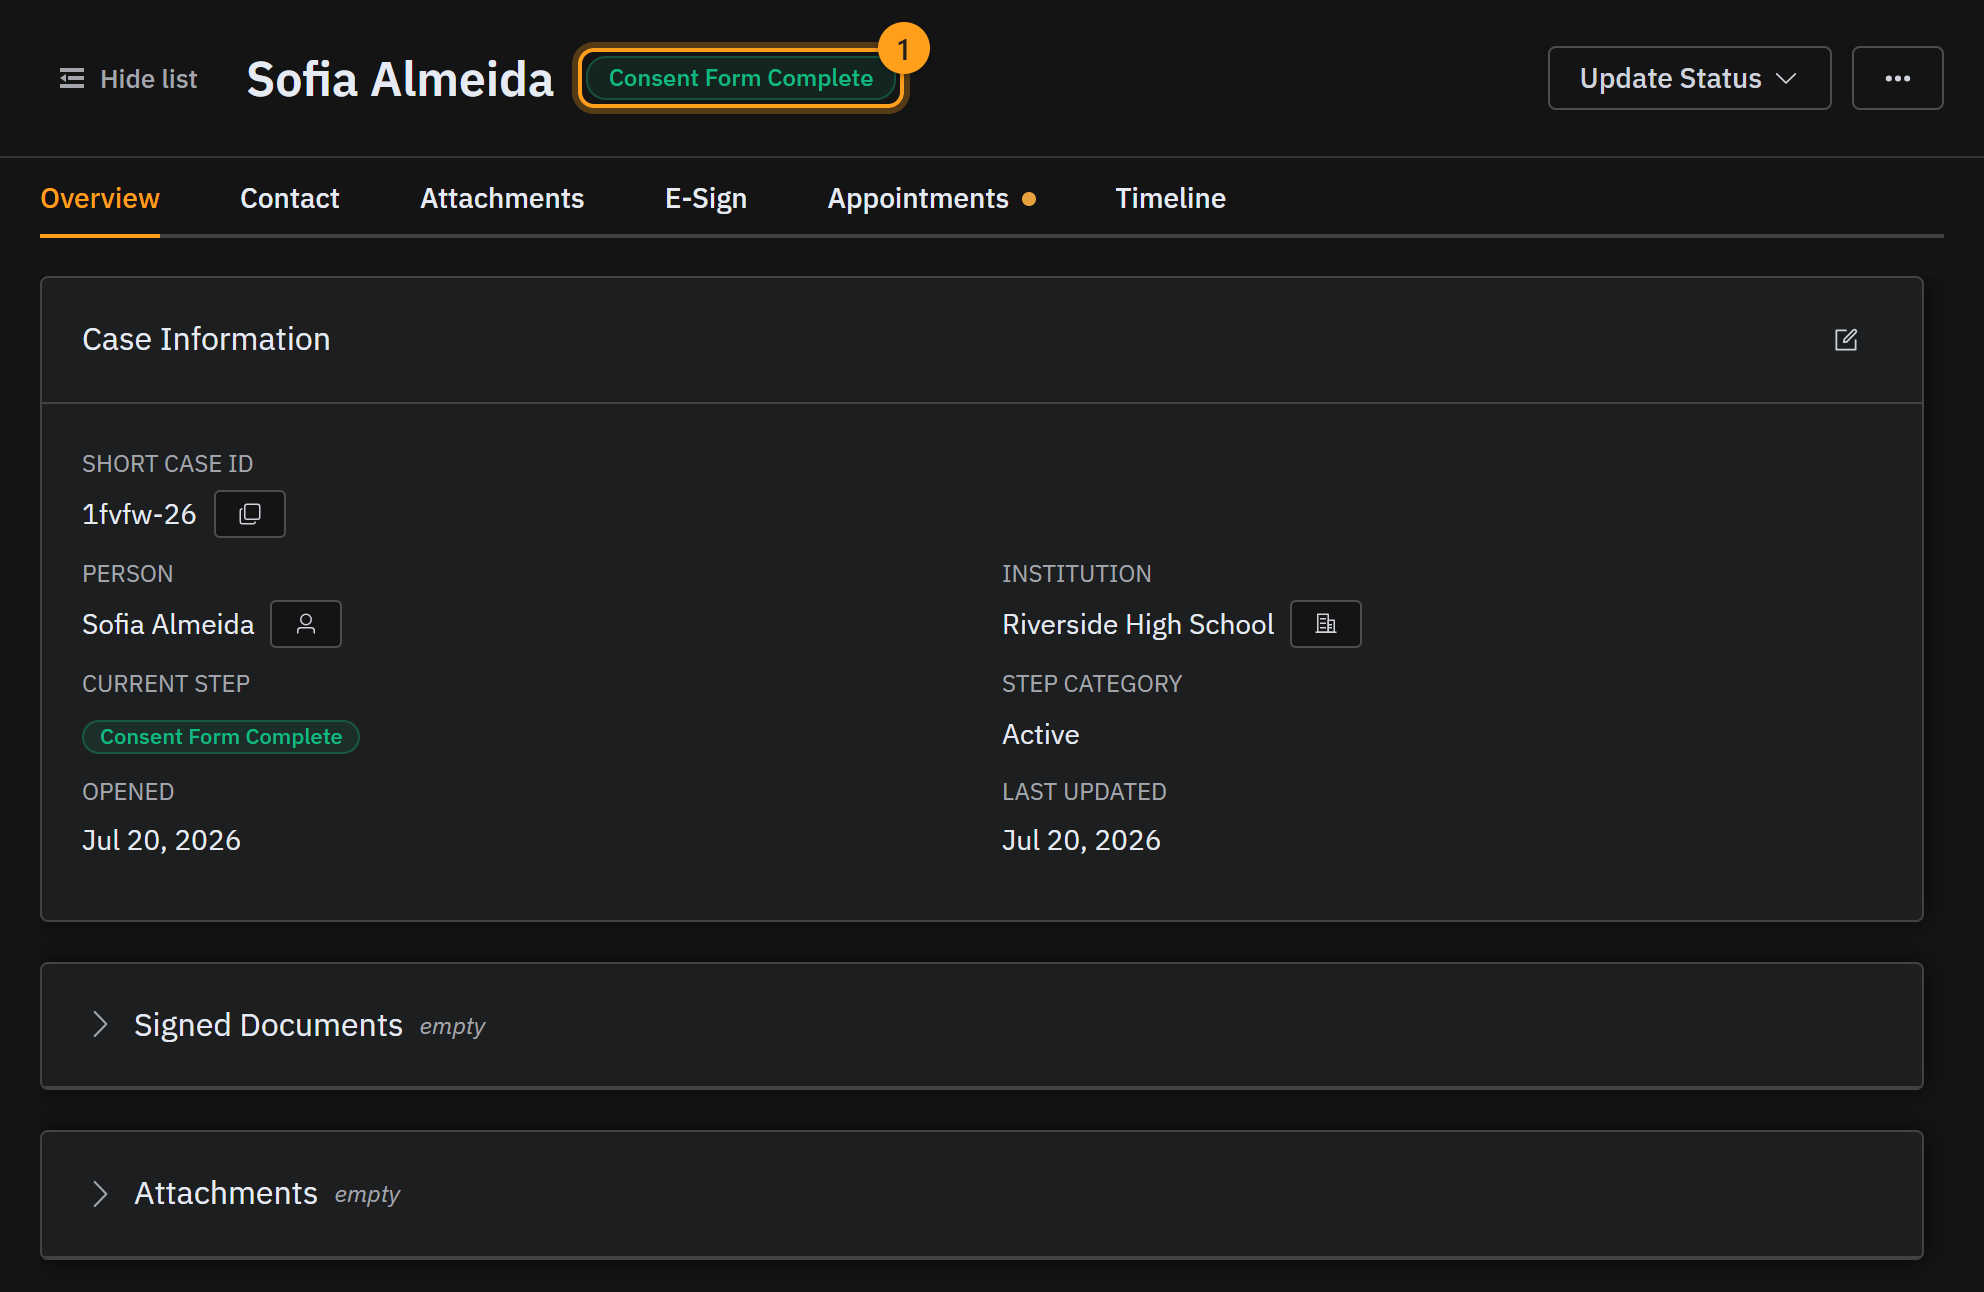
When the student signs their part, choose Documents Received (2). The case moves to Document Review, where your team adds its own signature. When you're done, choose Approve Documents and everything is marked Consent Form Complete.
Shortcut
If everyone has already signed, you can jump straight to Consent Form Complete.
Step 9 · Know where things stand on the day of the visit
On the day of the visit, a case can be in one of three spots: Documents Sent, Document Review, or Consent Form Complete.
Whatever the case, the E-Sign tab lets you finish any remaining signatures right there in the office — for everyone, or just for your side — before you begin.
Step 10 · Run the intake appointment
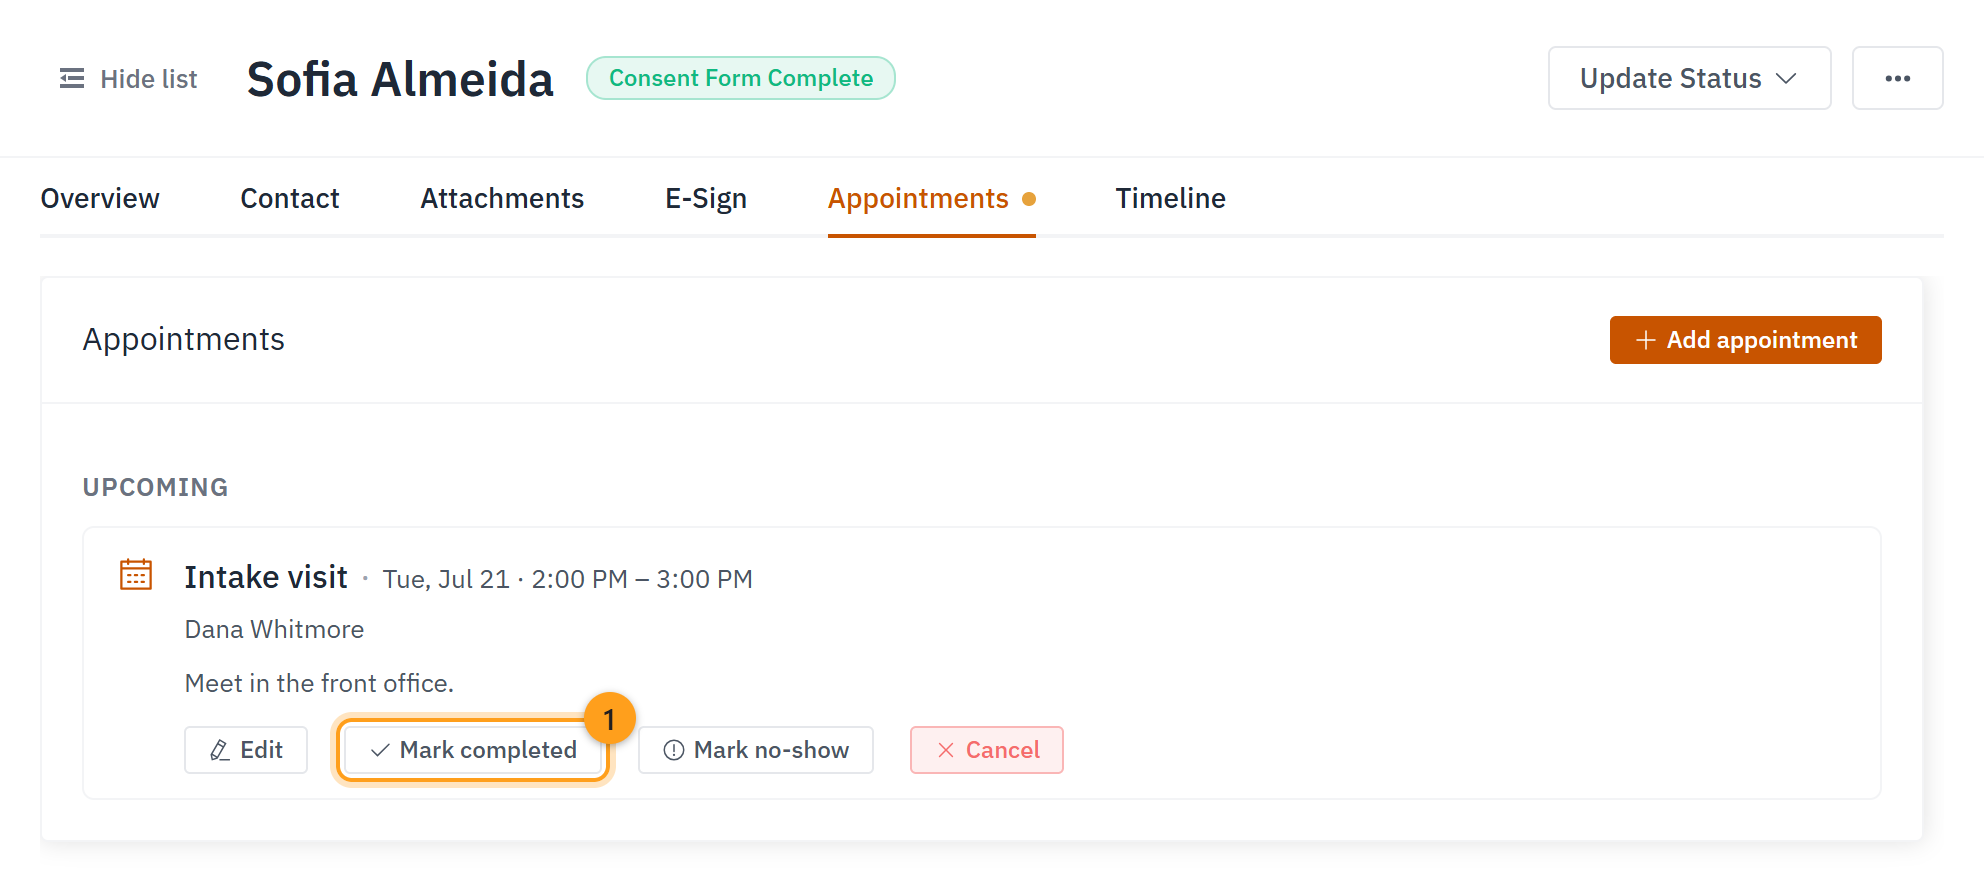
Now for the visit itself. On the Appointments tab, choose Mark completed (1) on the visit. Walk through the intake questionnaire together.
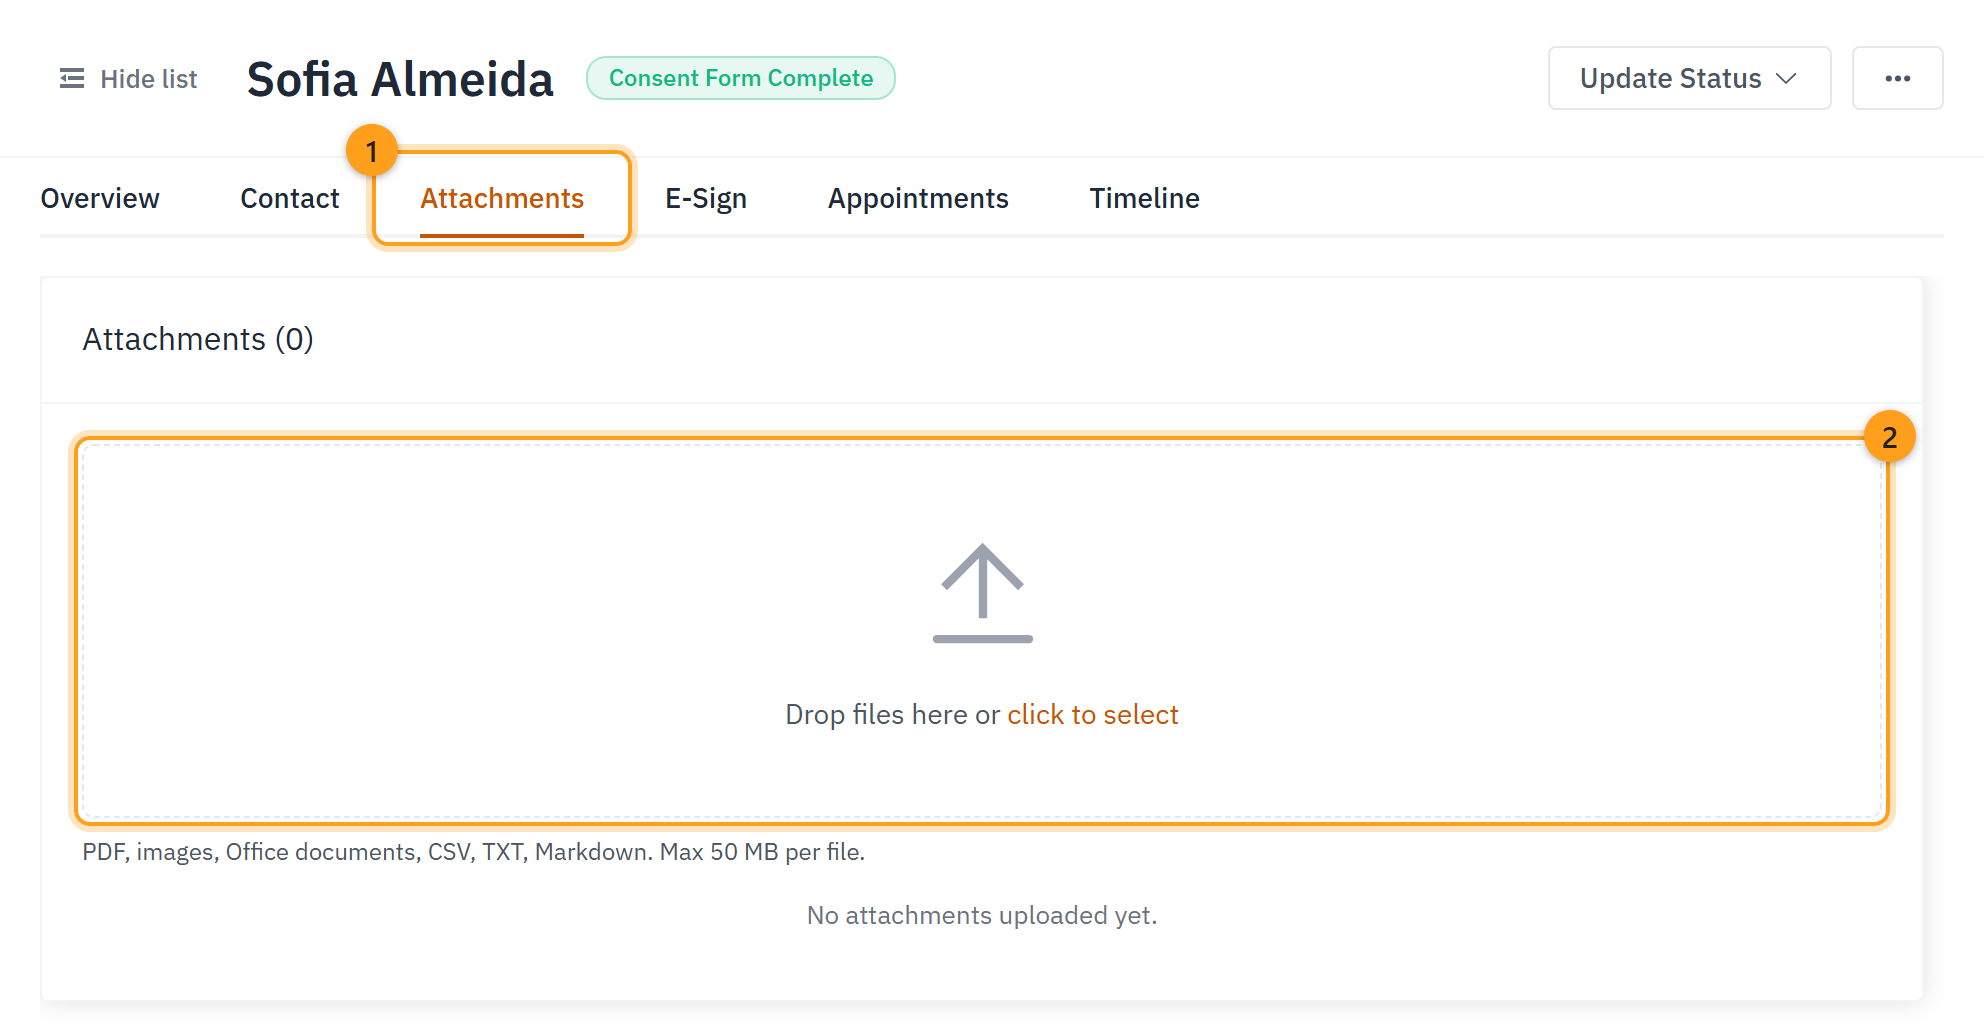
When you're done, save the finished questionnaire with the case: open the Attachments tab (1), then drop the file into the upload area or click to select it (2).
Step 11 · Begin sessions — intake is complete
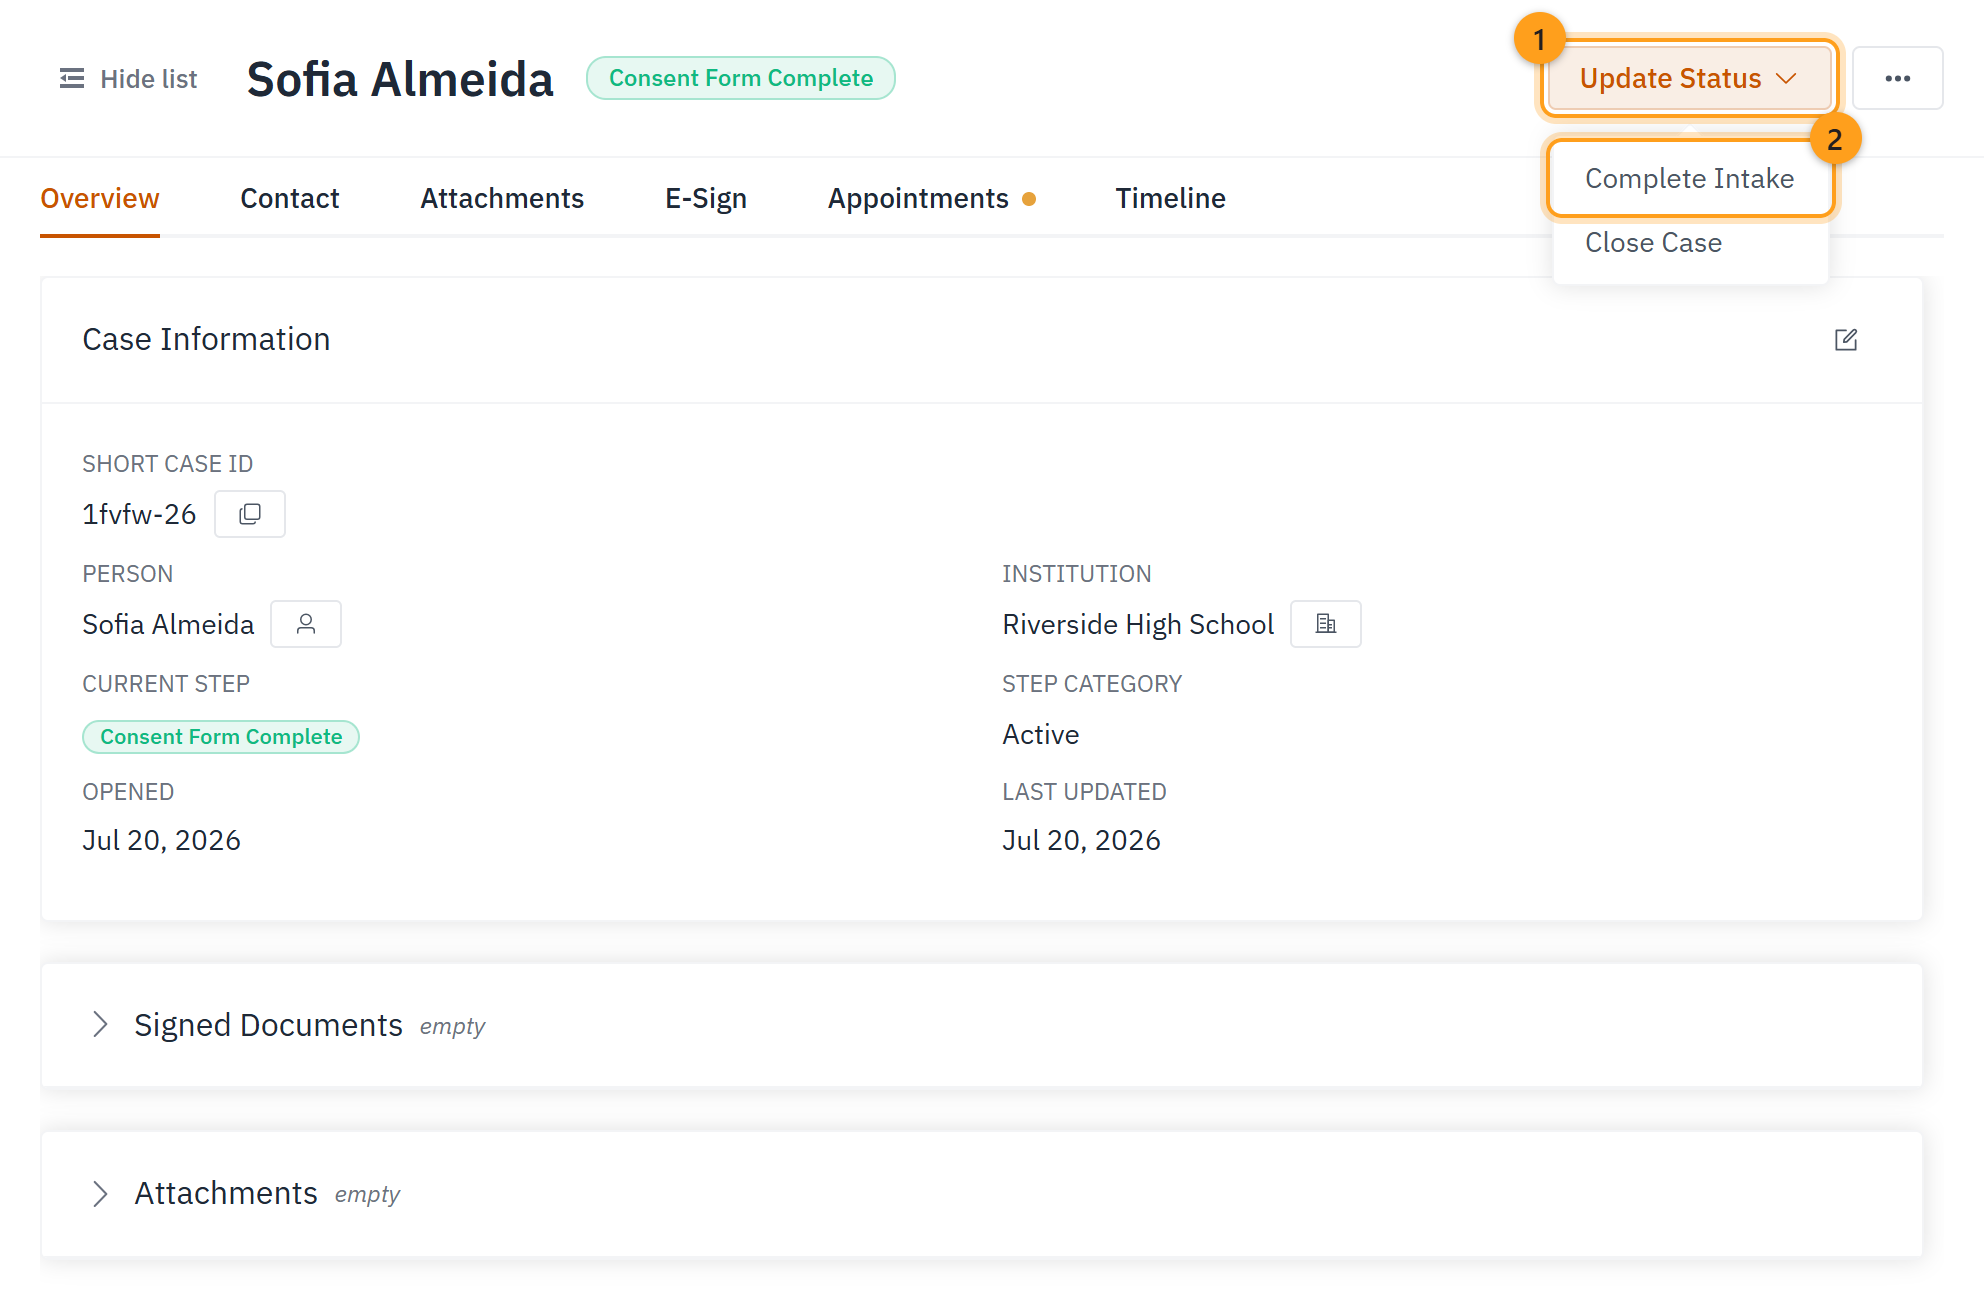
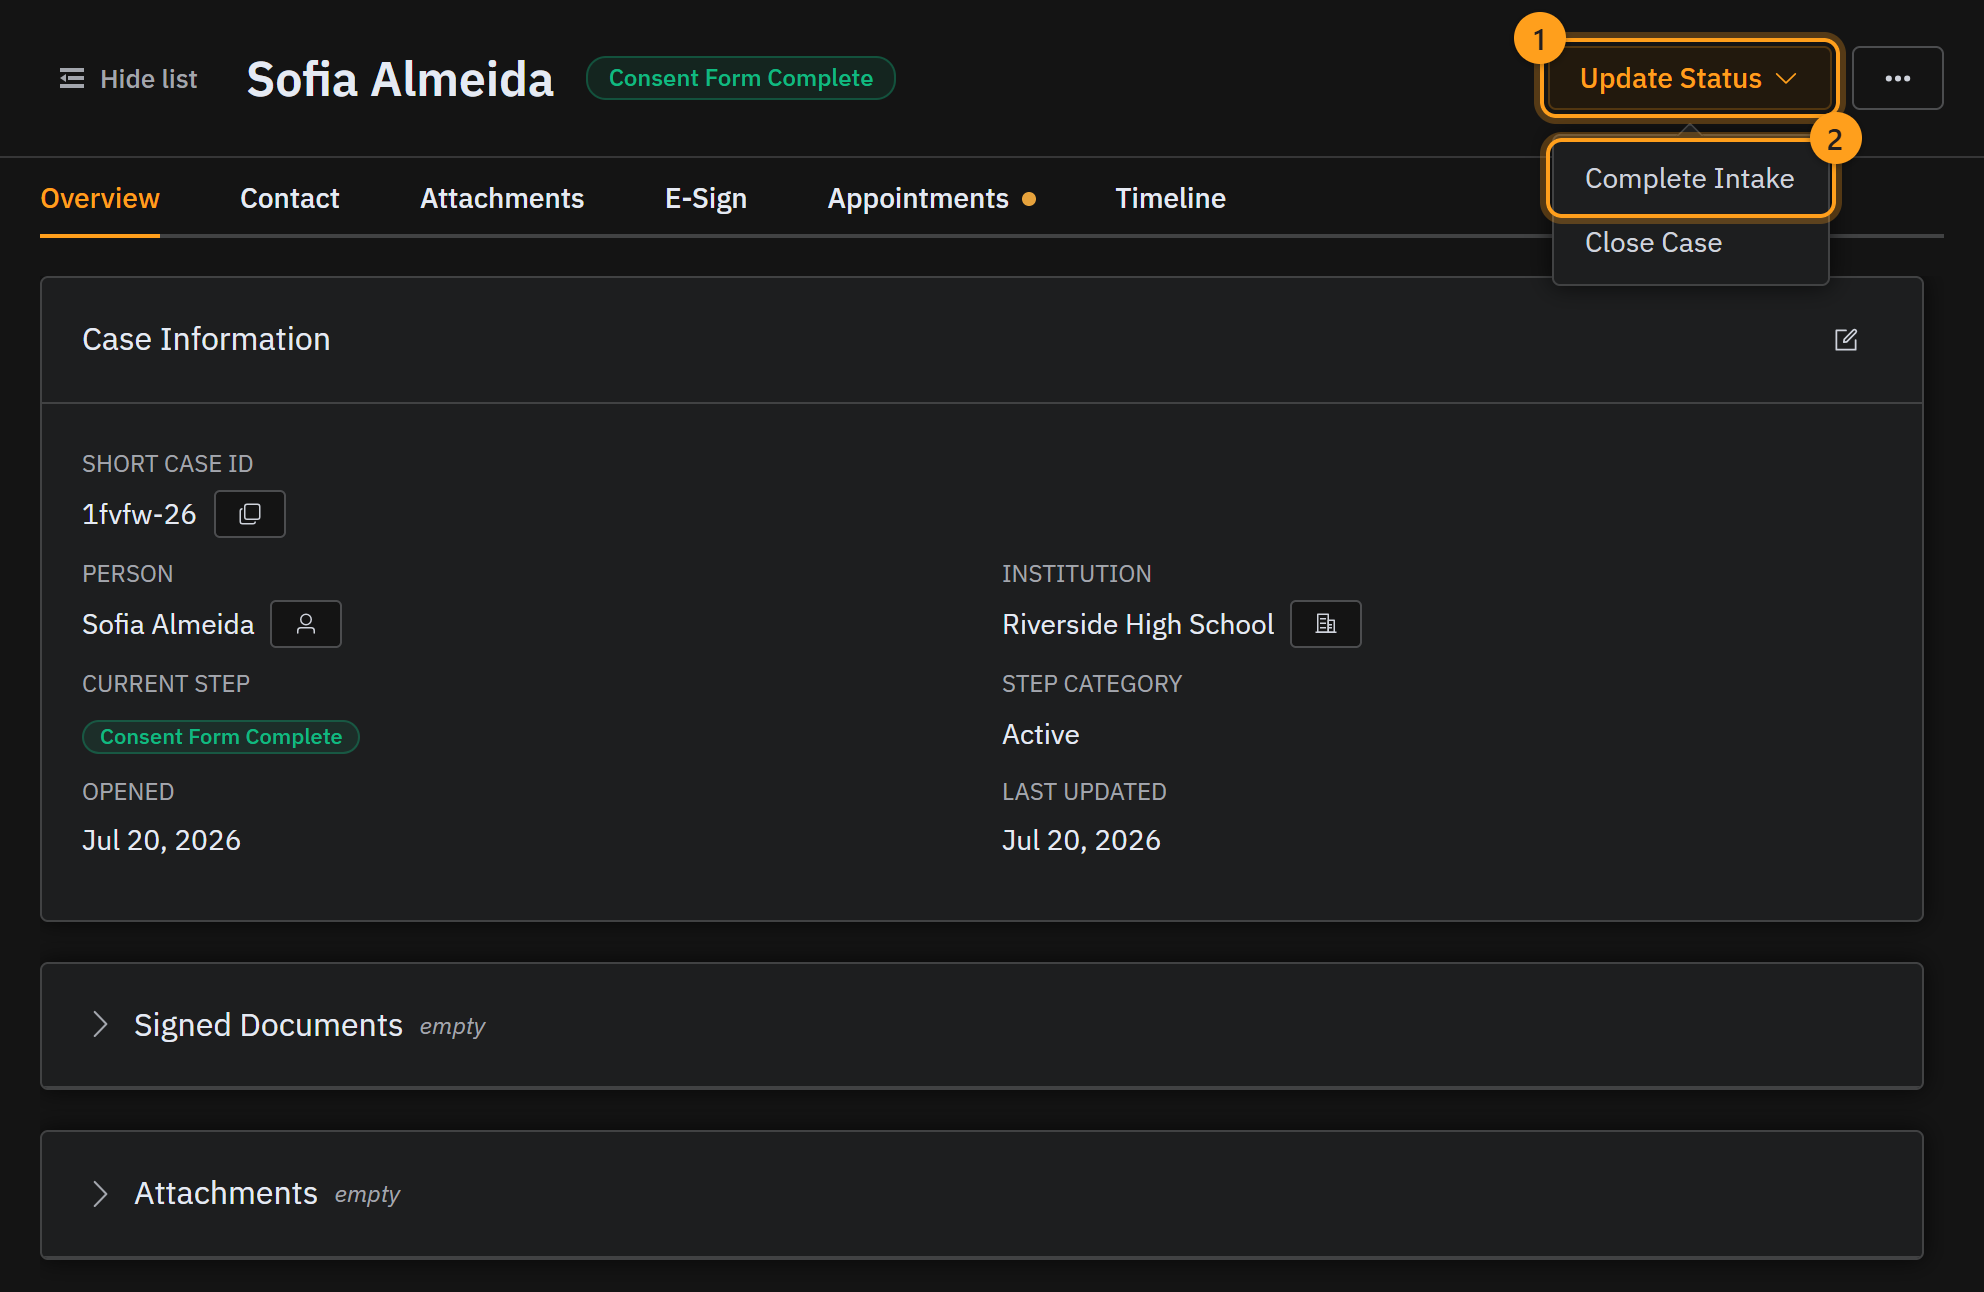
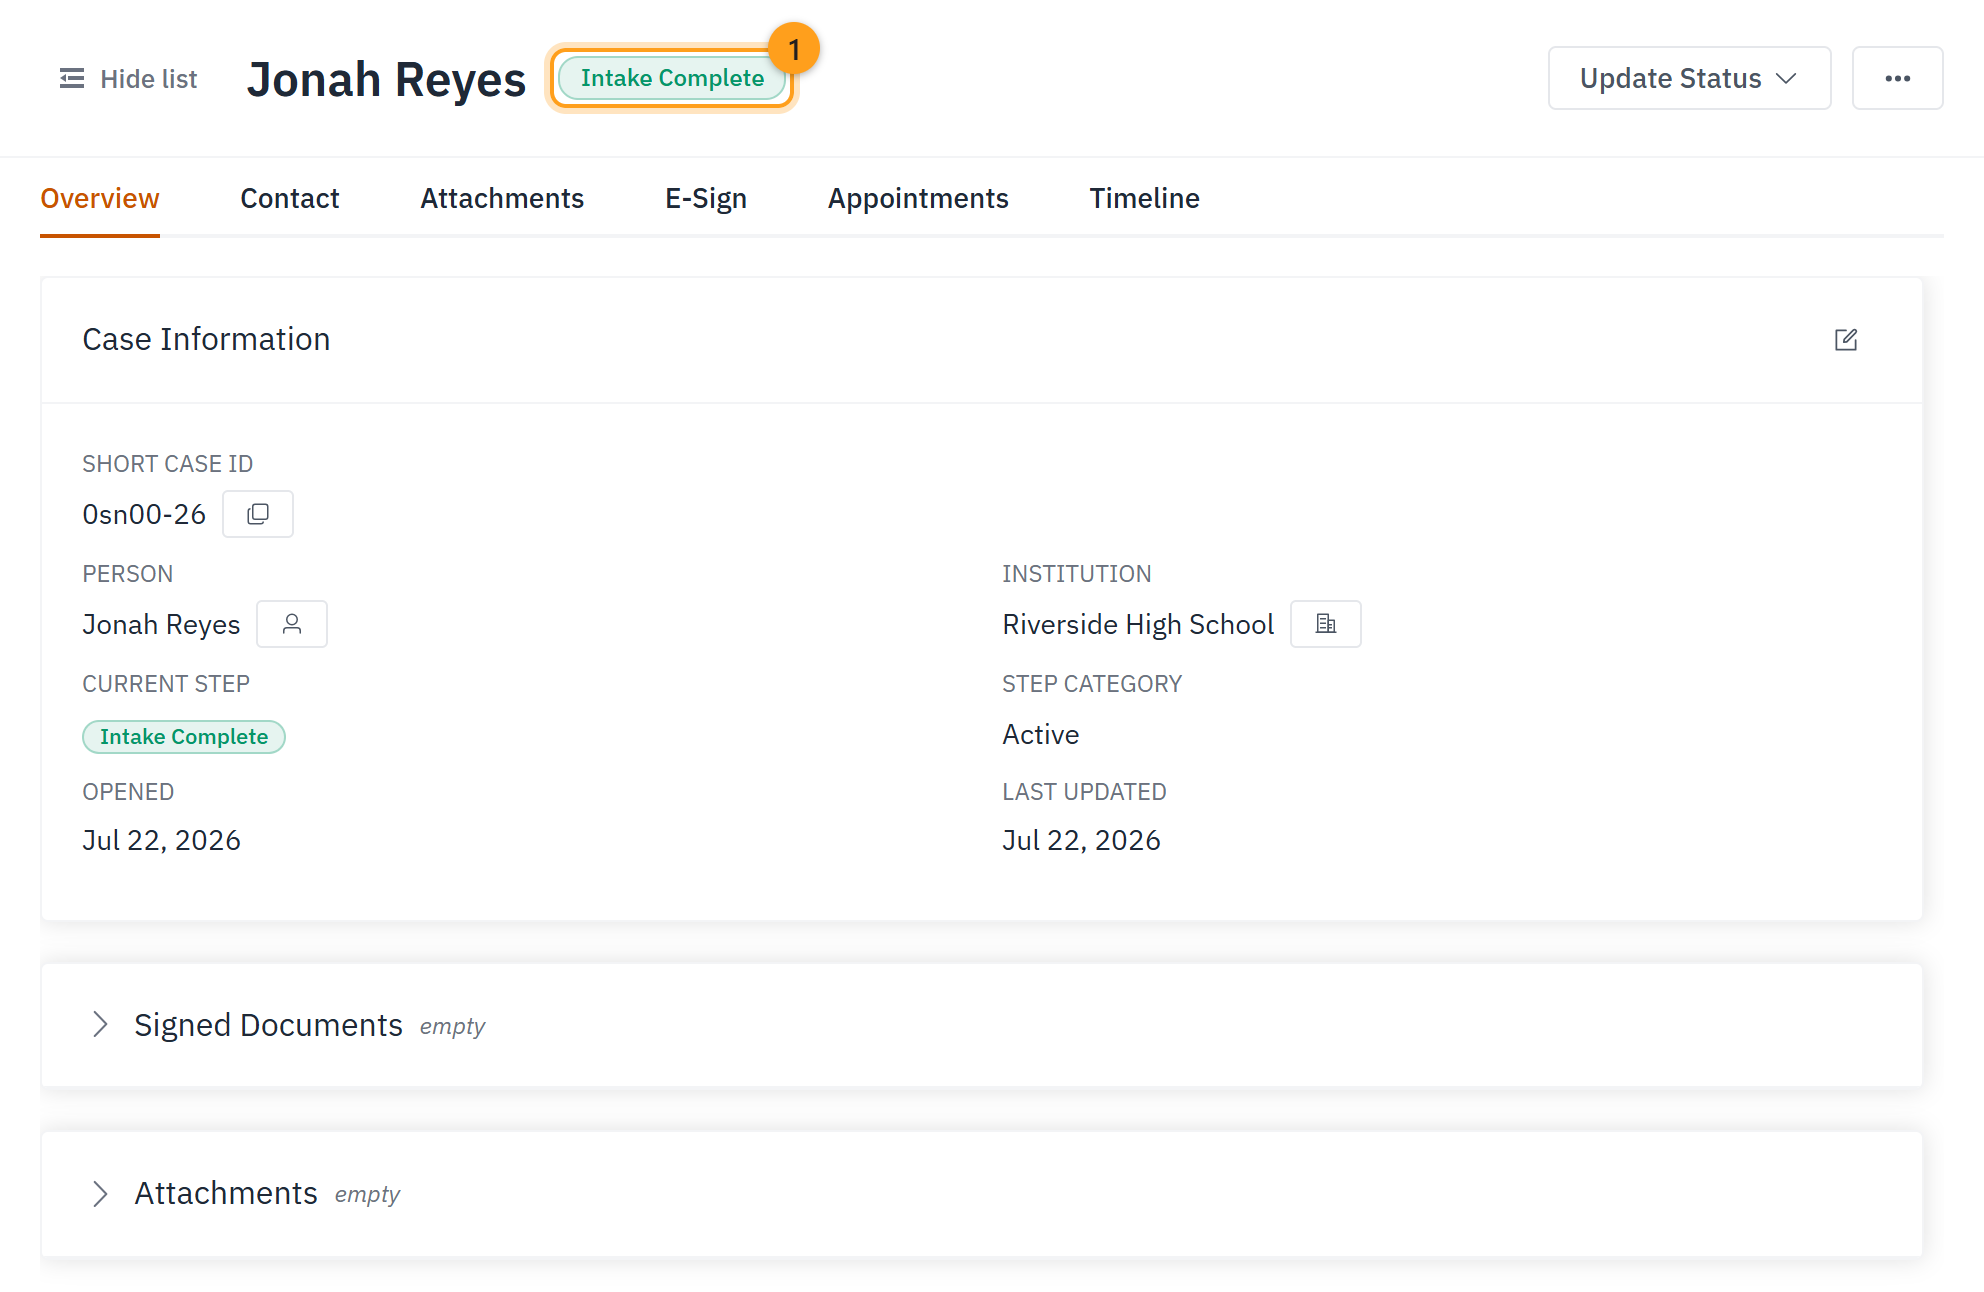
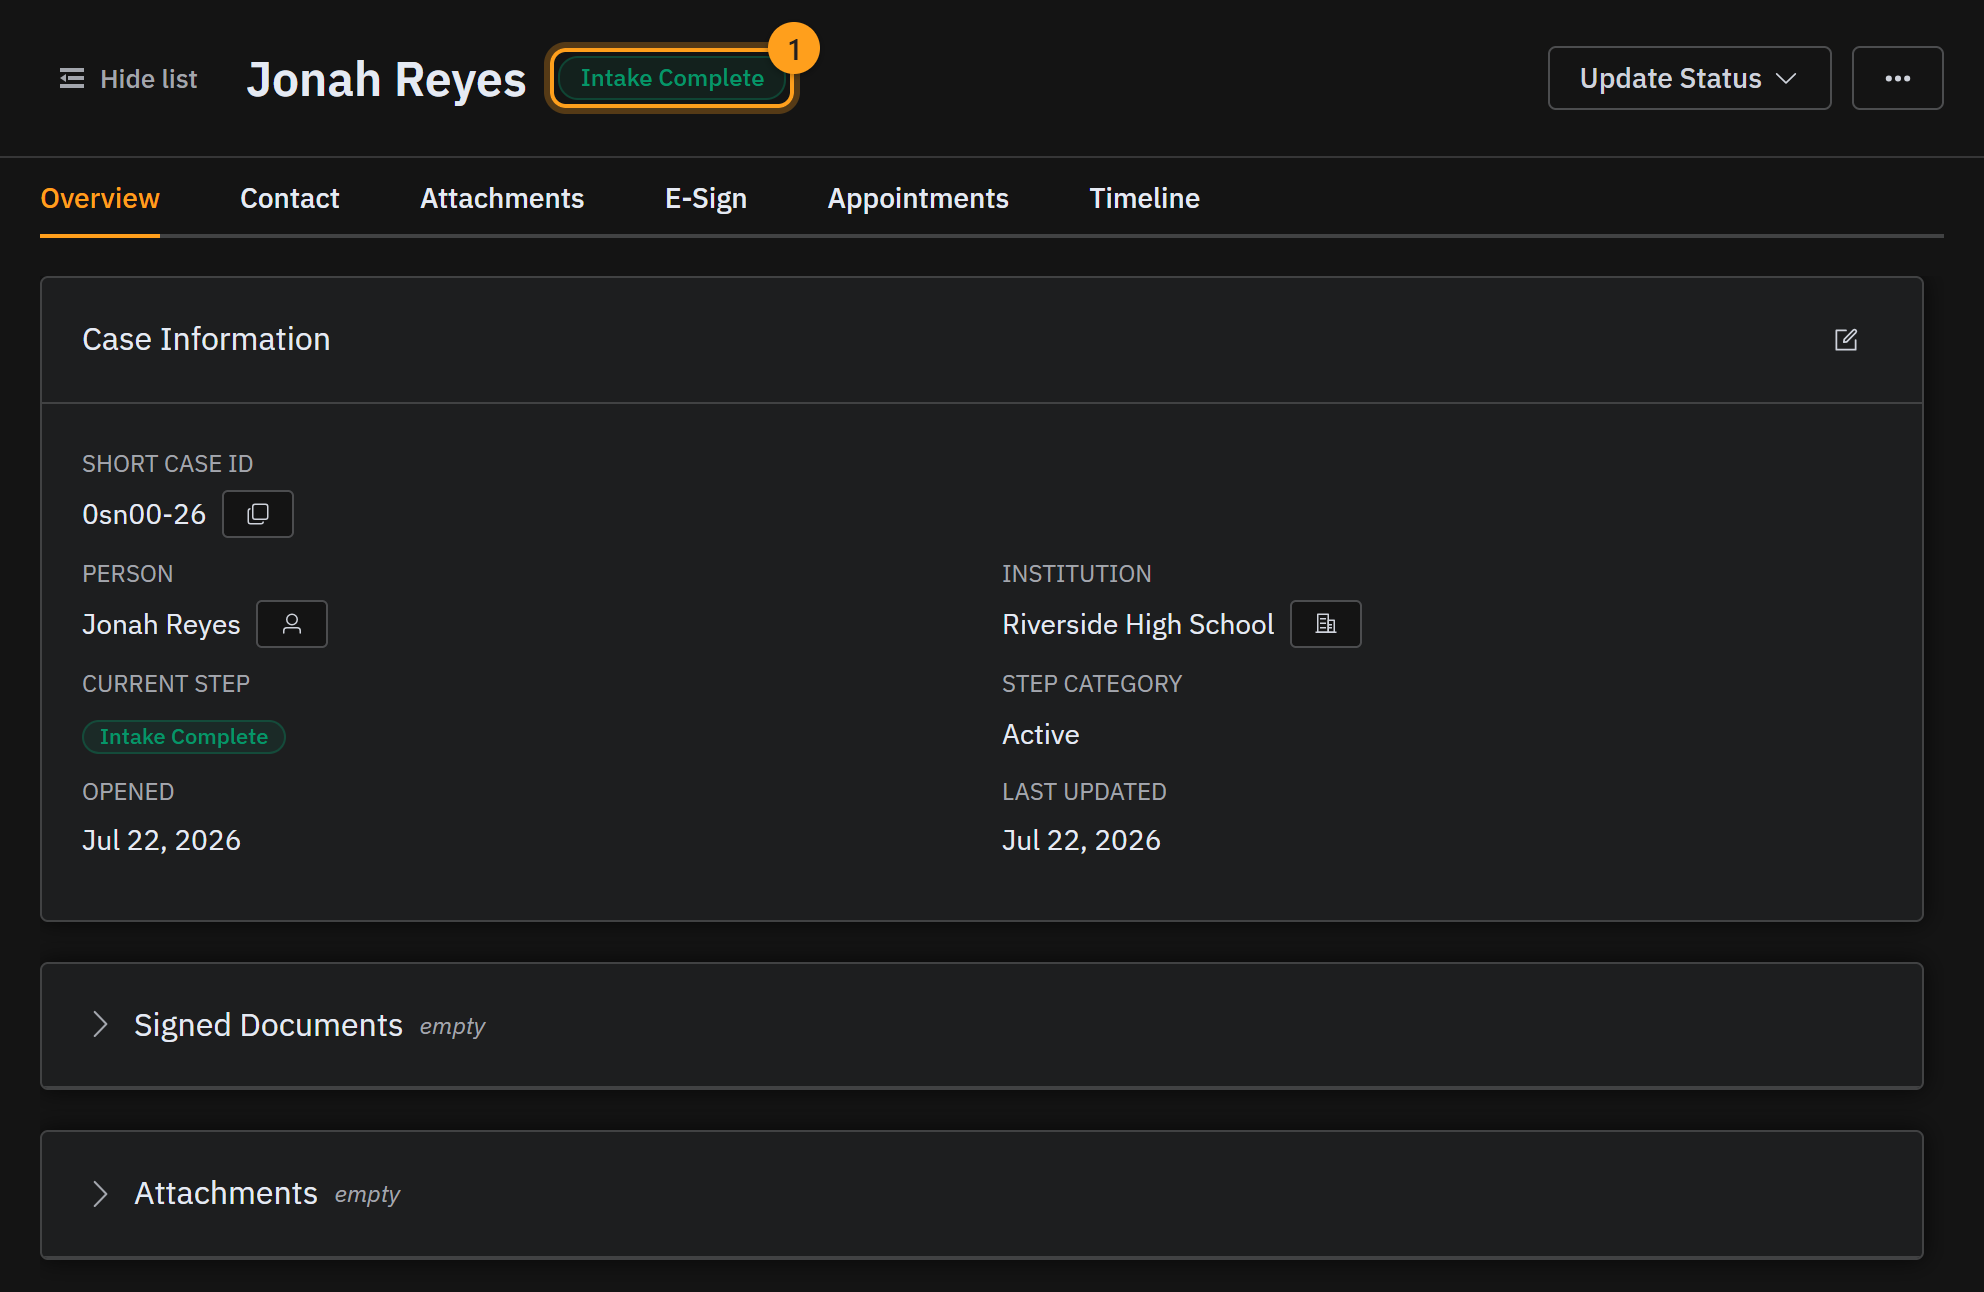
With everything wrapped up, choose Complete Intake (2). The case moves to Intake Complete, and the student is officially in the program — this is the exciting part, they're ready to start their weekly sessions.
Step 12 · If something doesn't go to plan
You're covered if things stall.
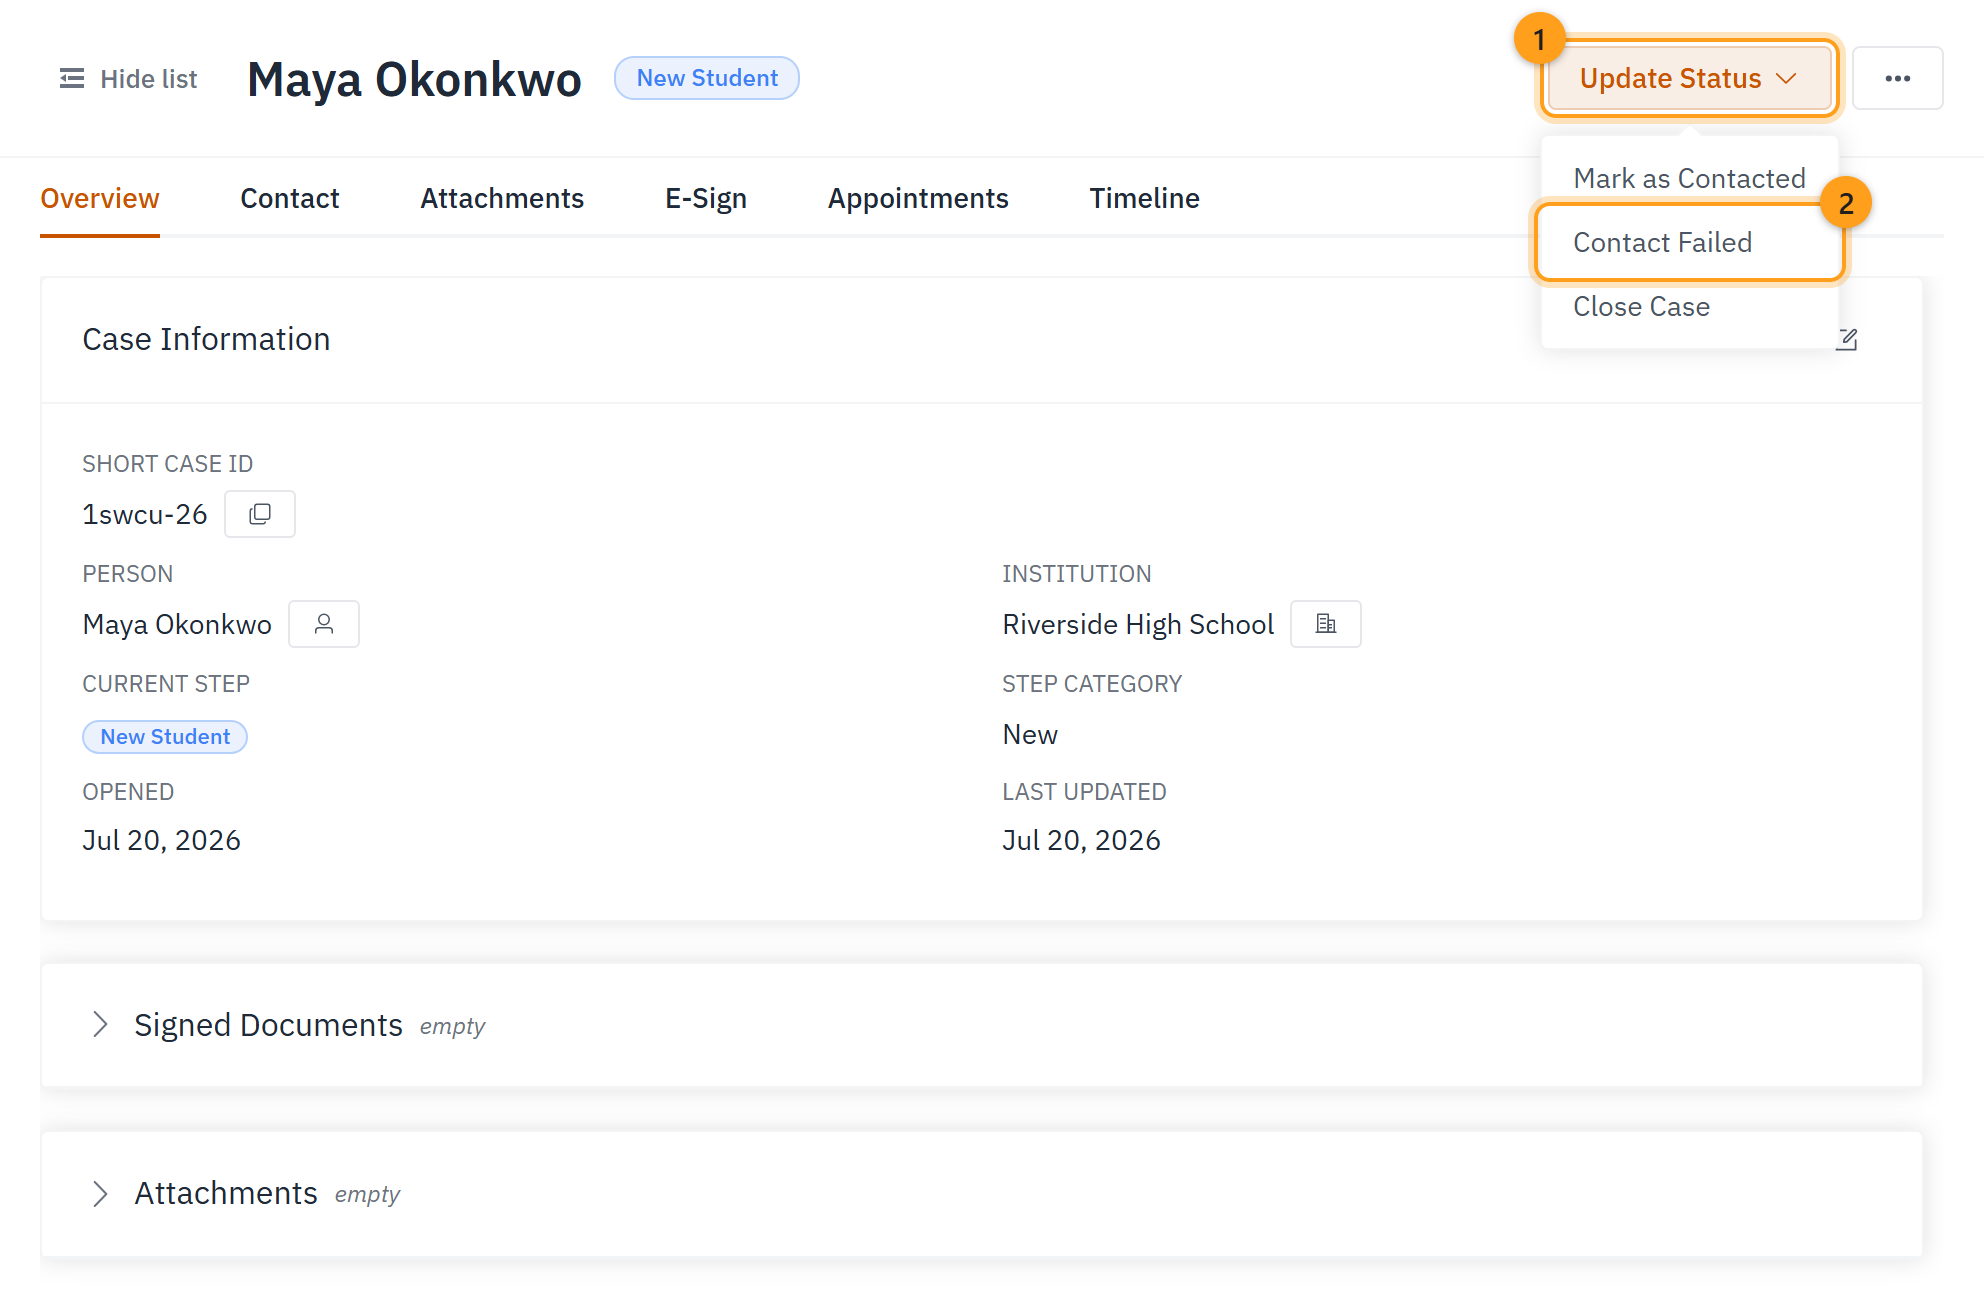
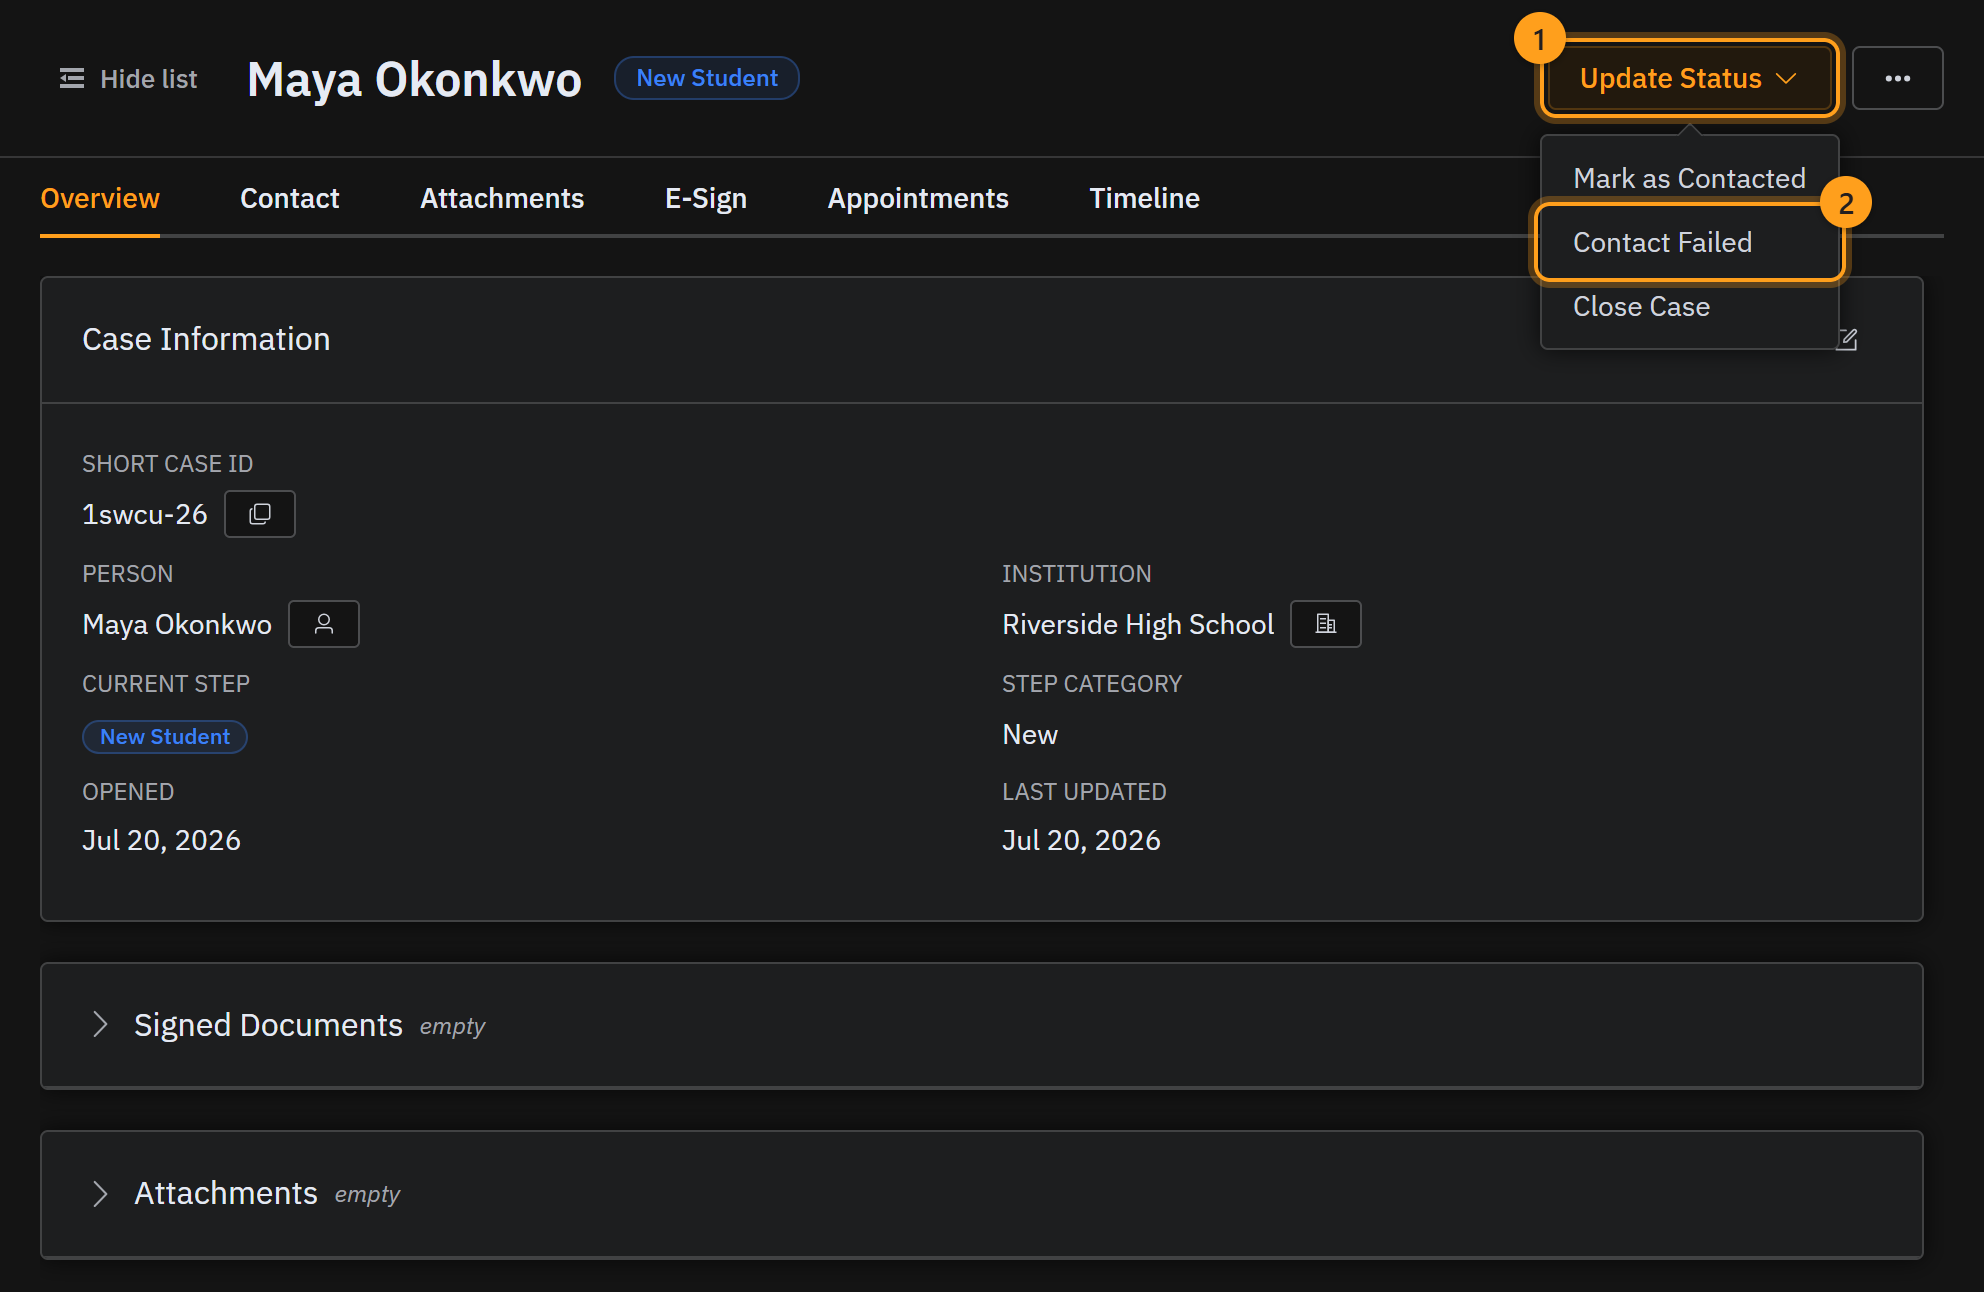
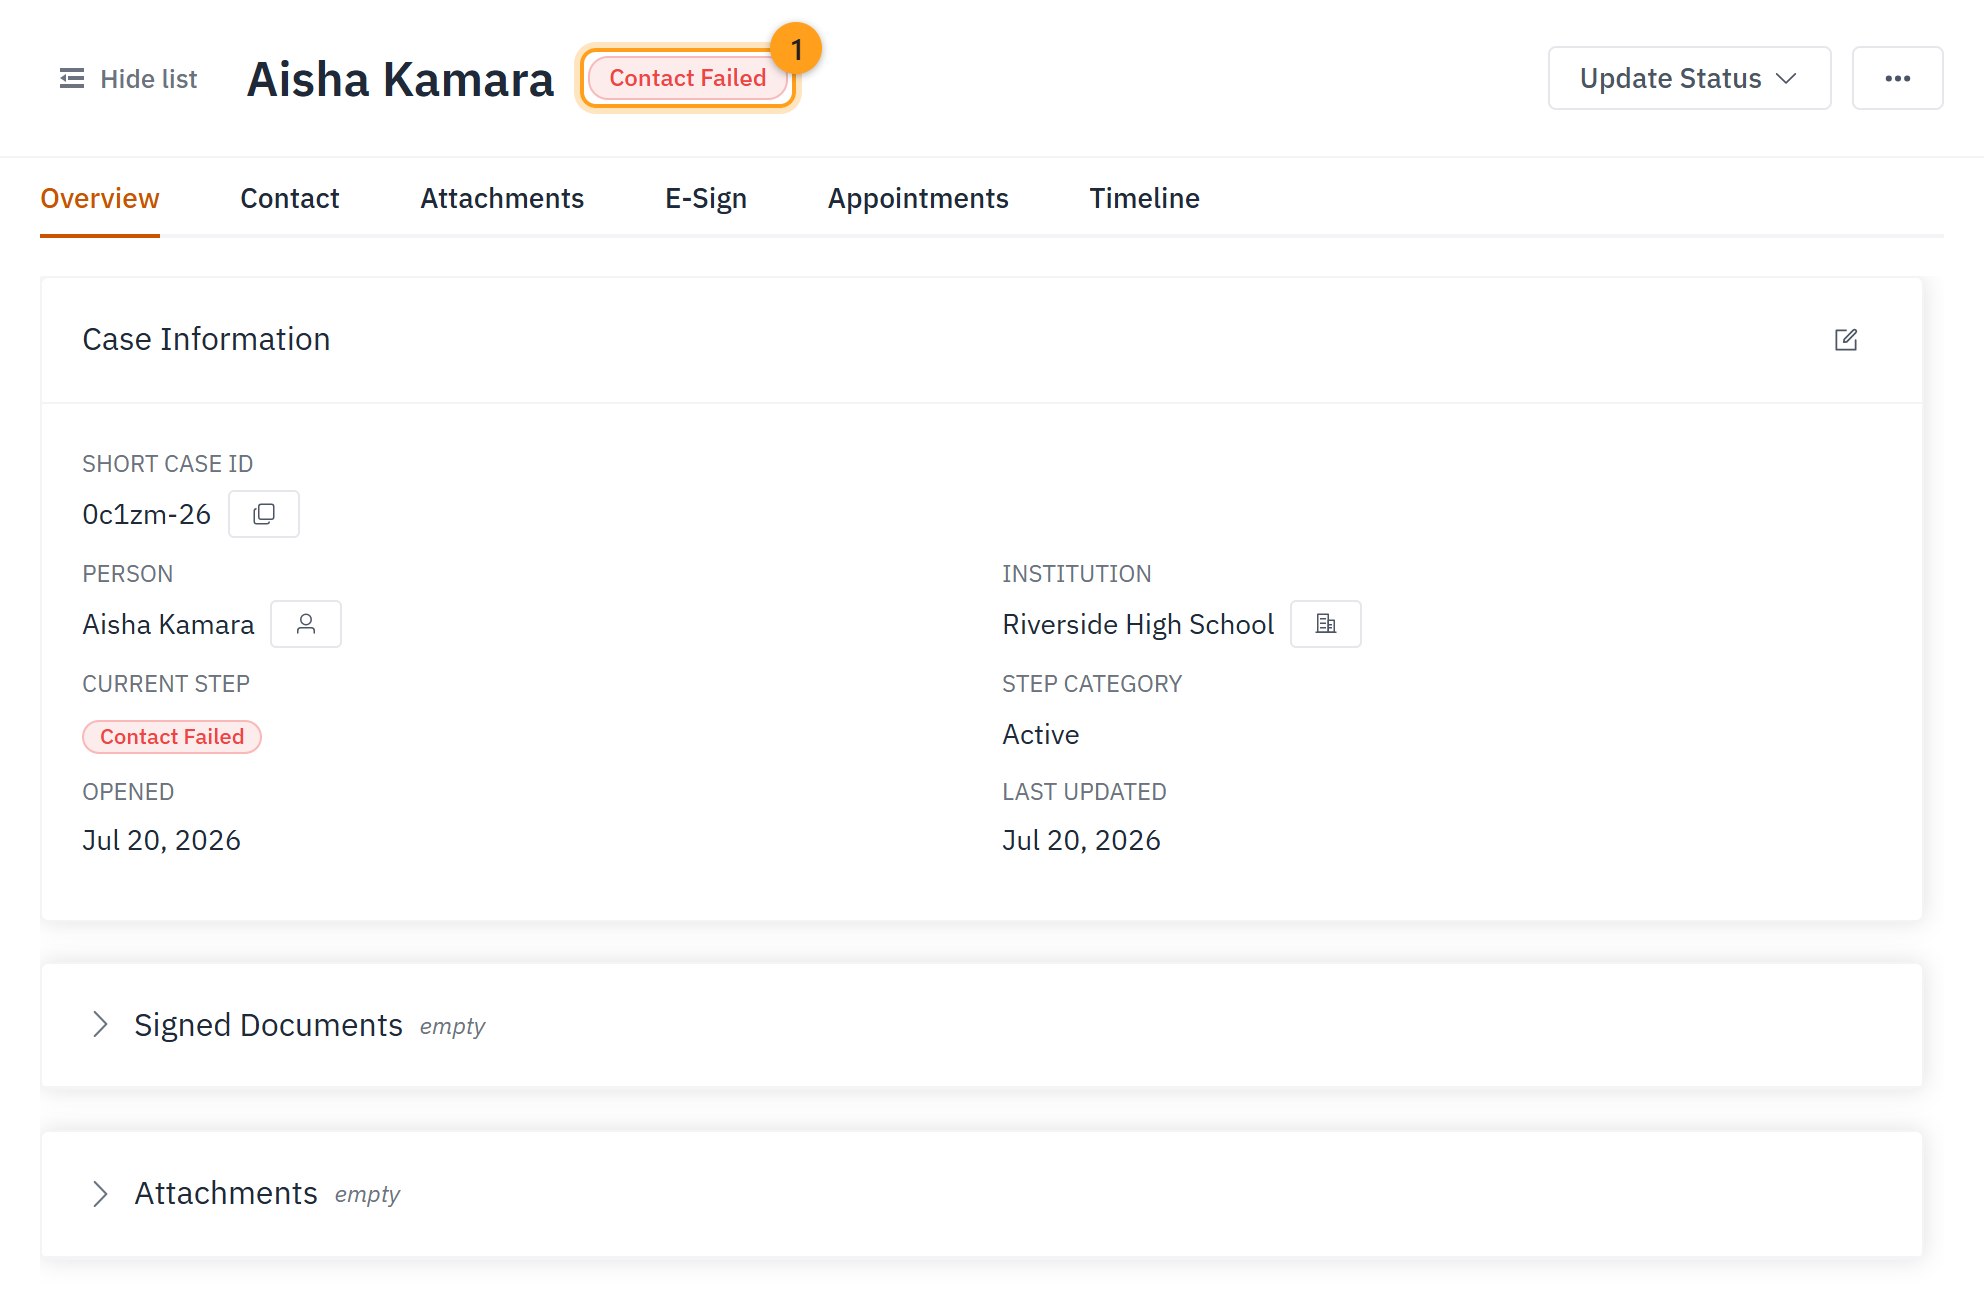
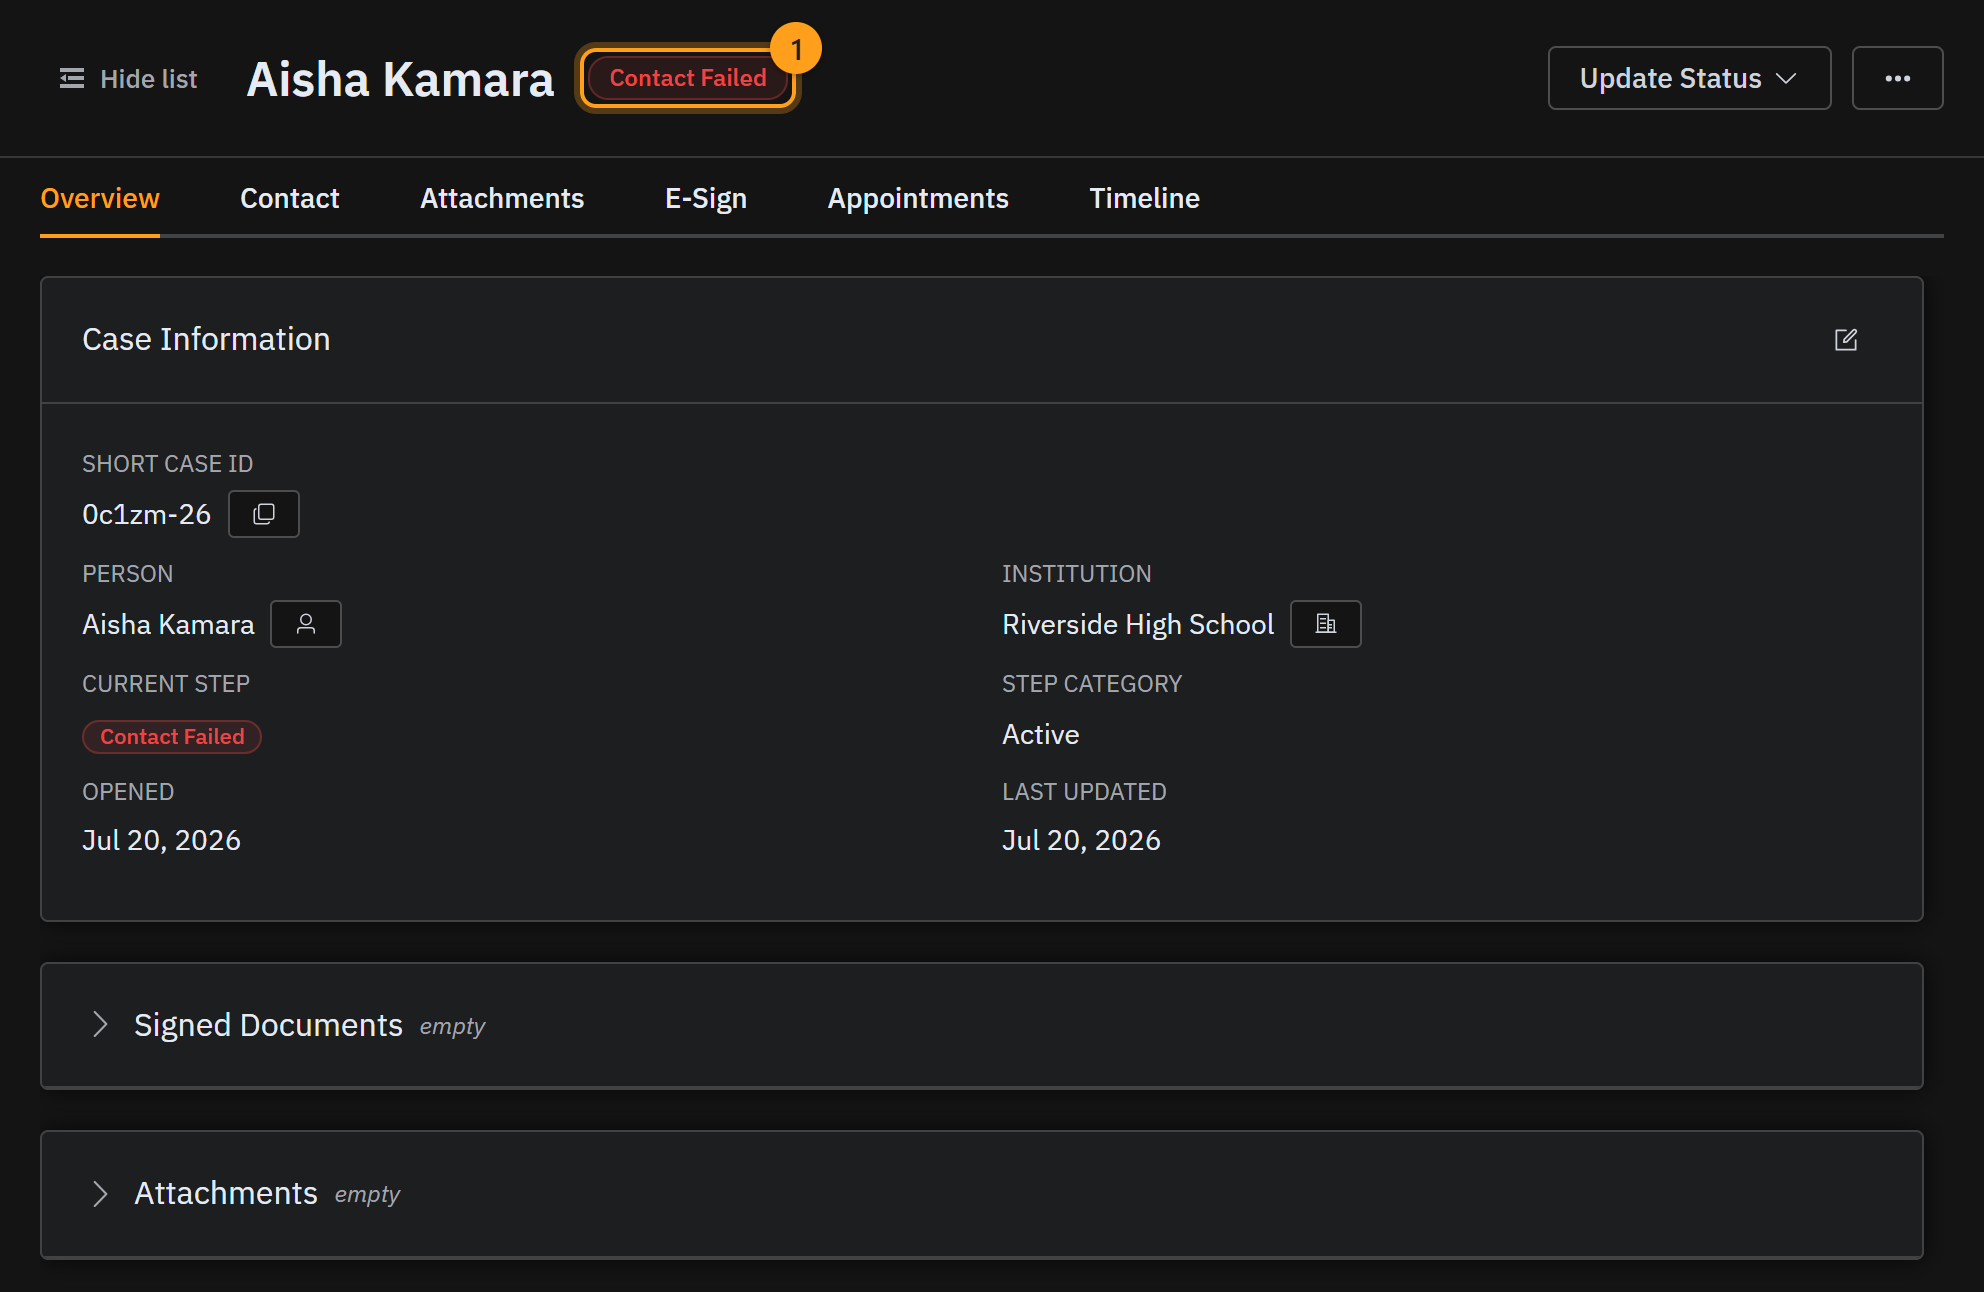
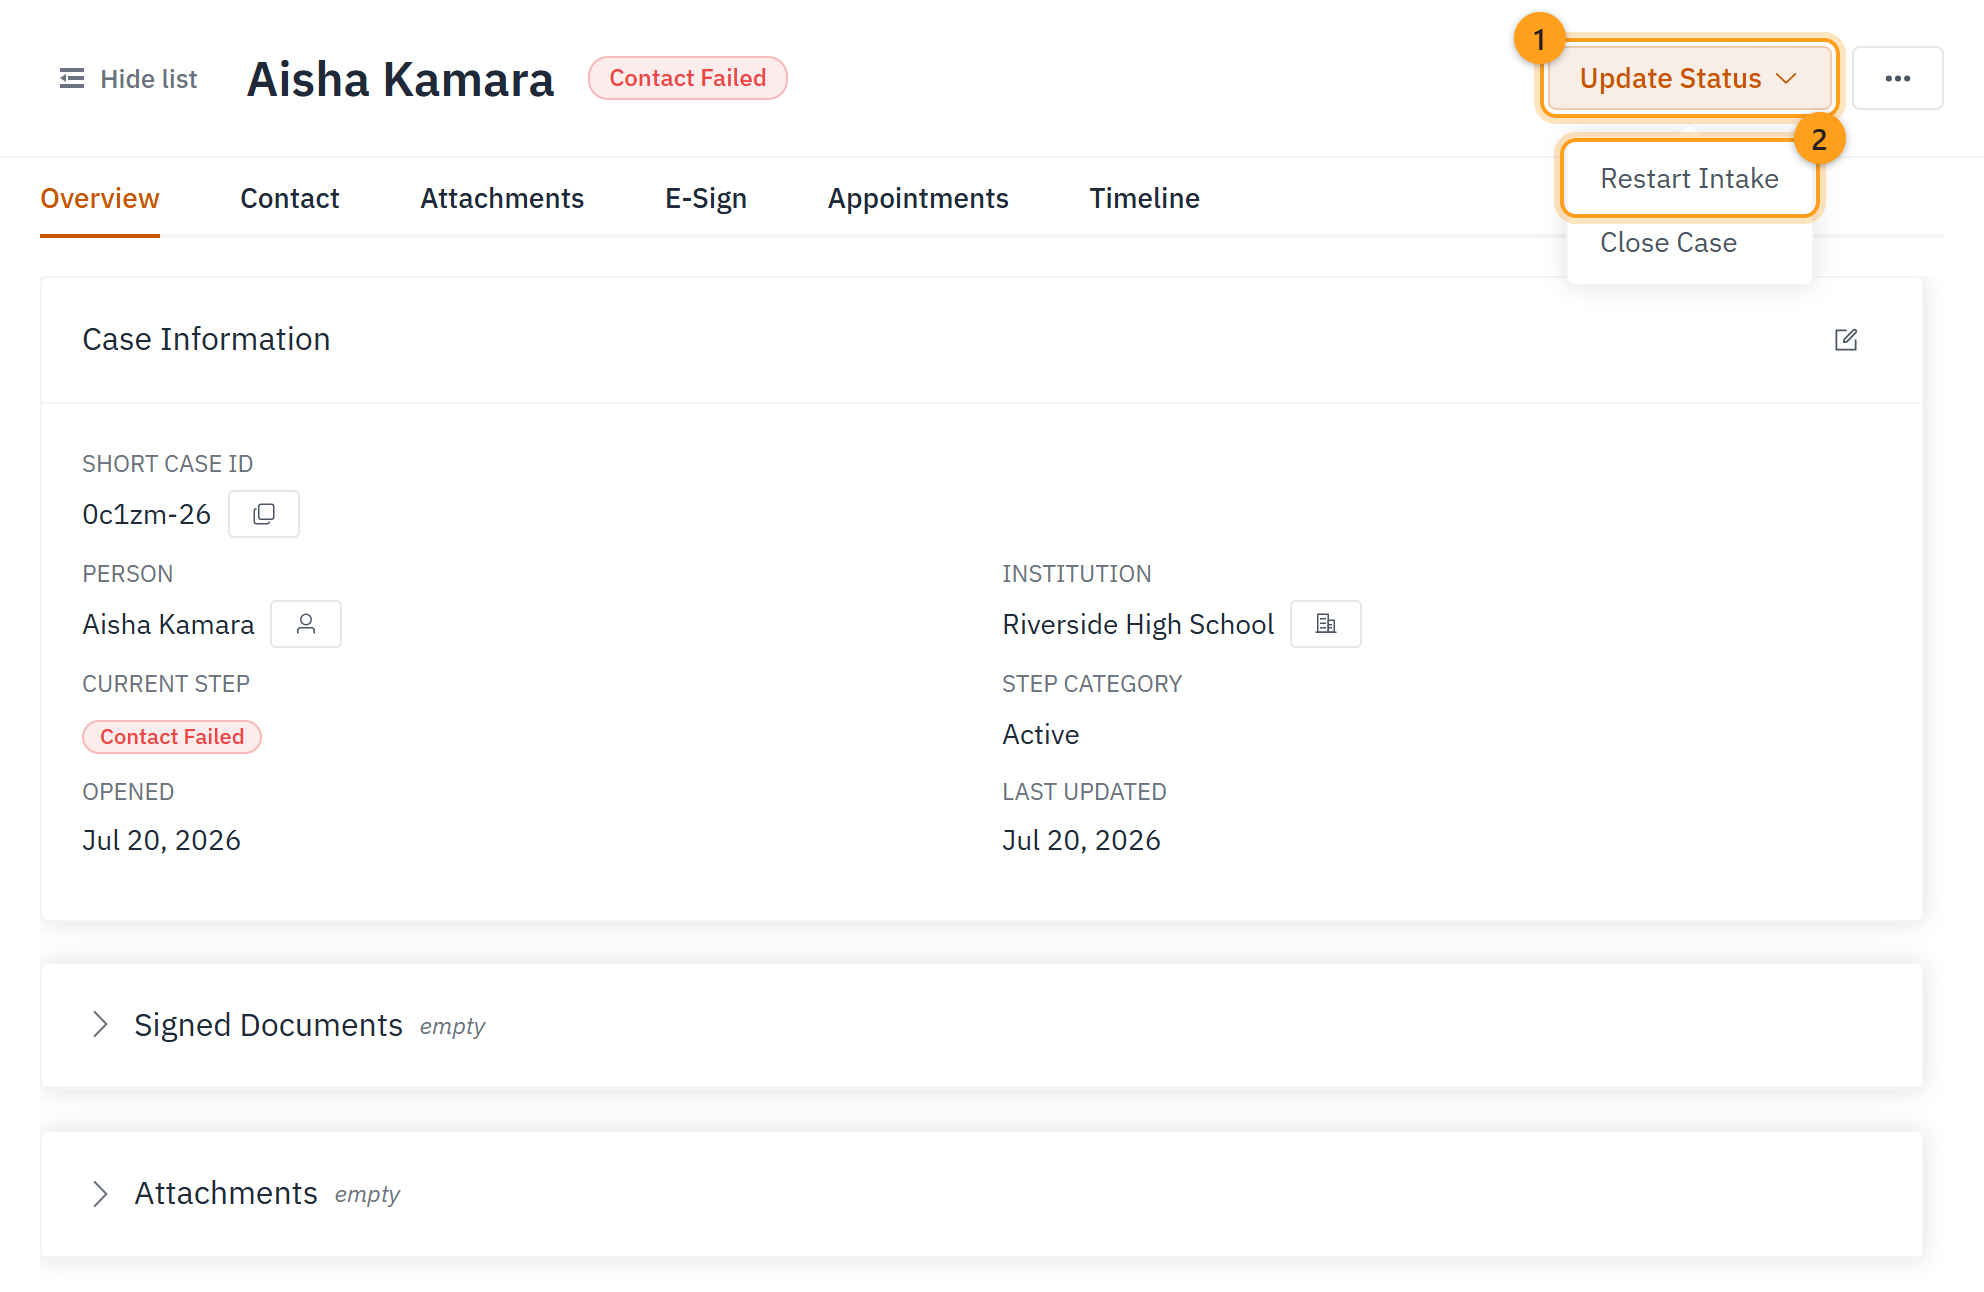
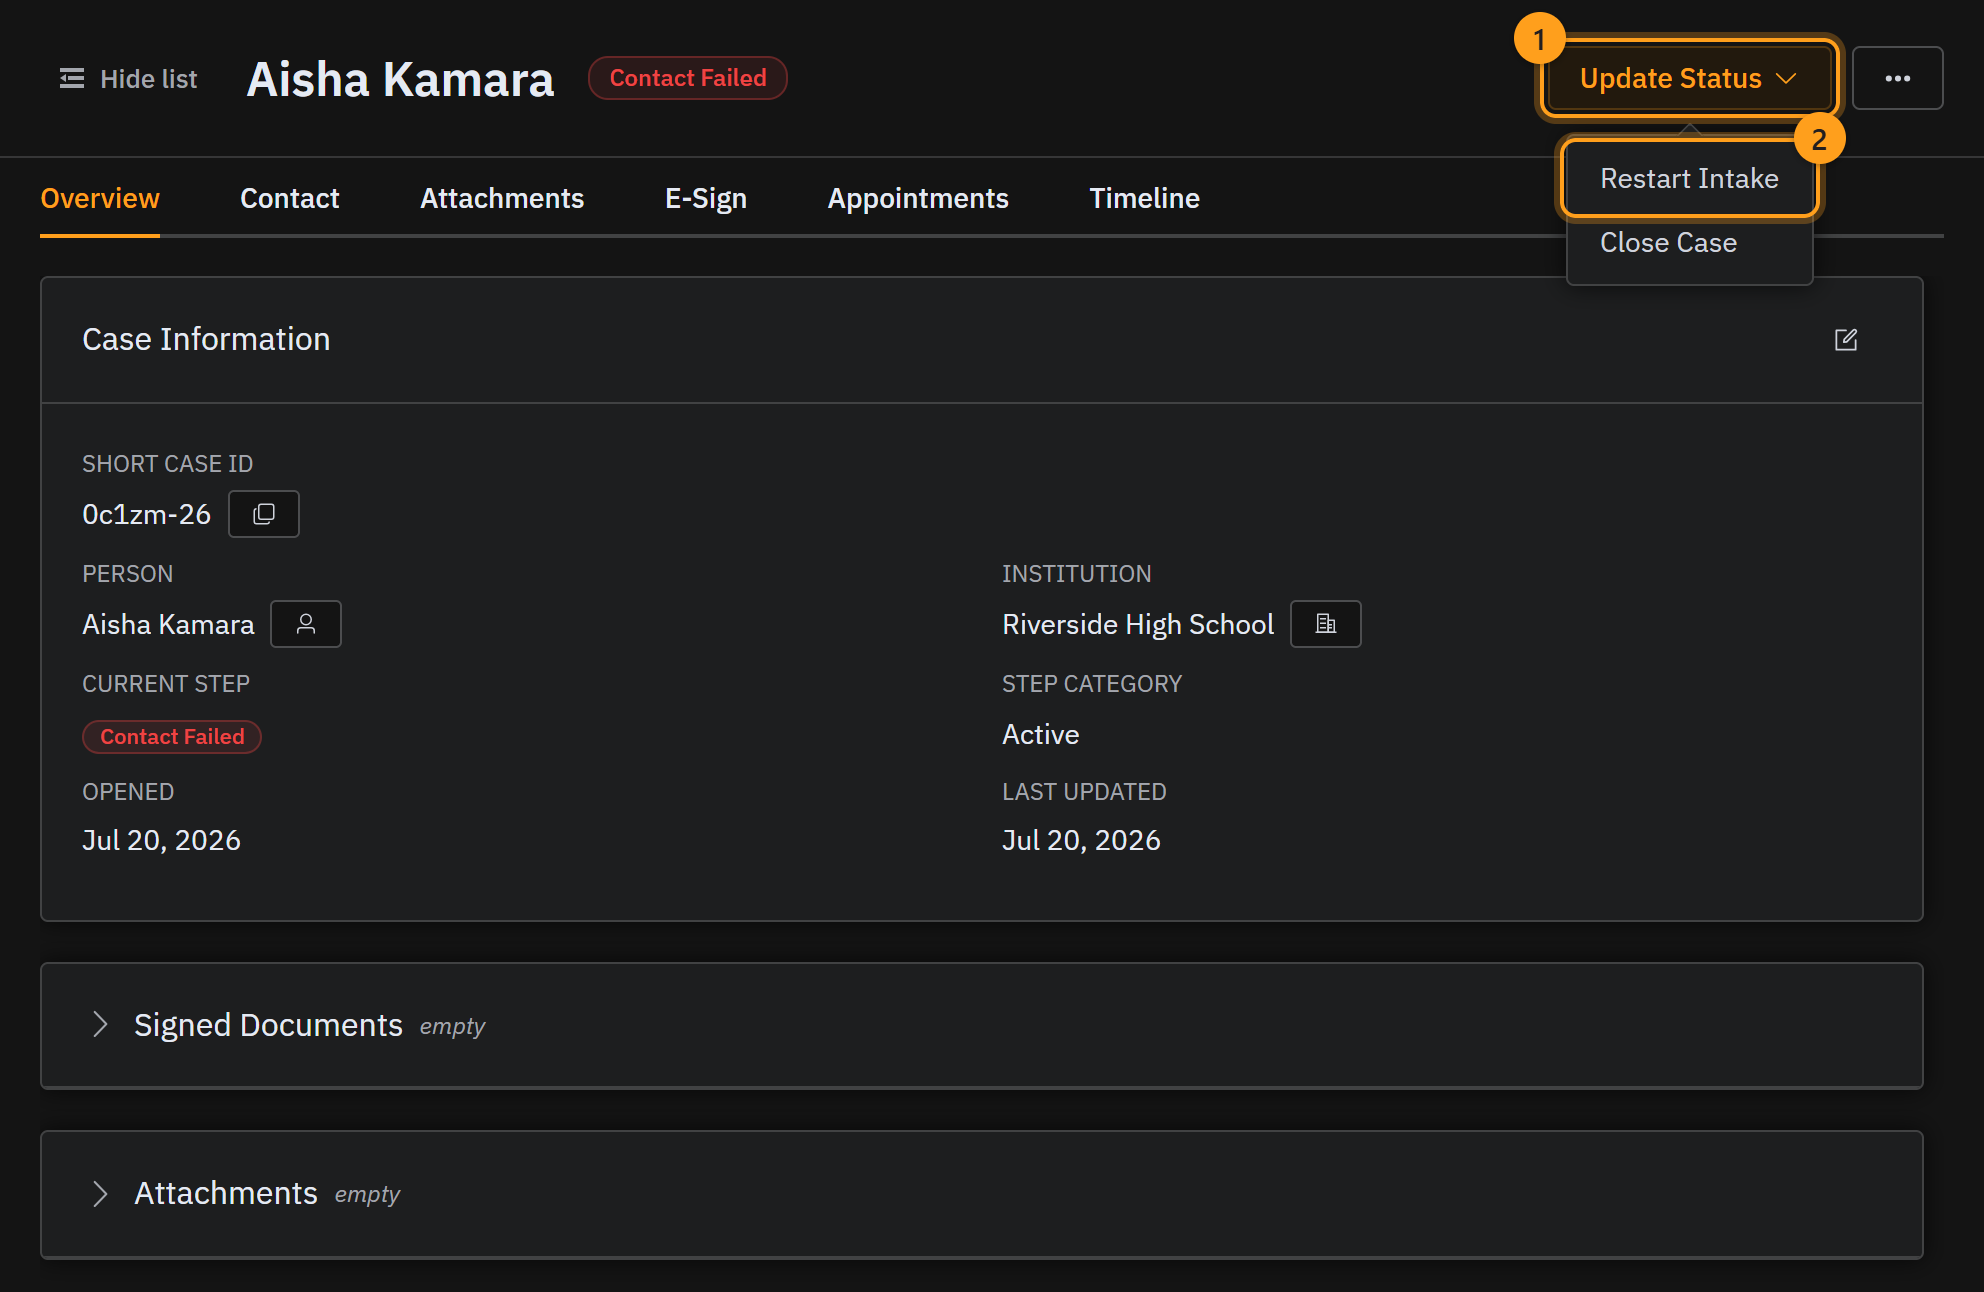
Can't reach the student? Mark the case Contact Failed, then check with the school and use Restart Intake when you're ready.
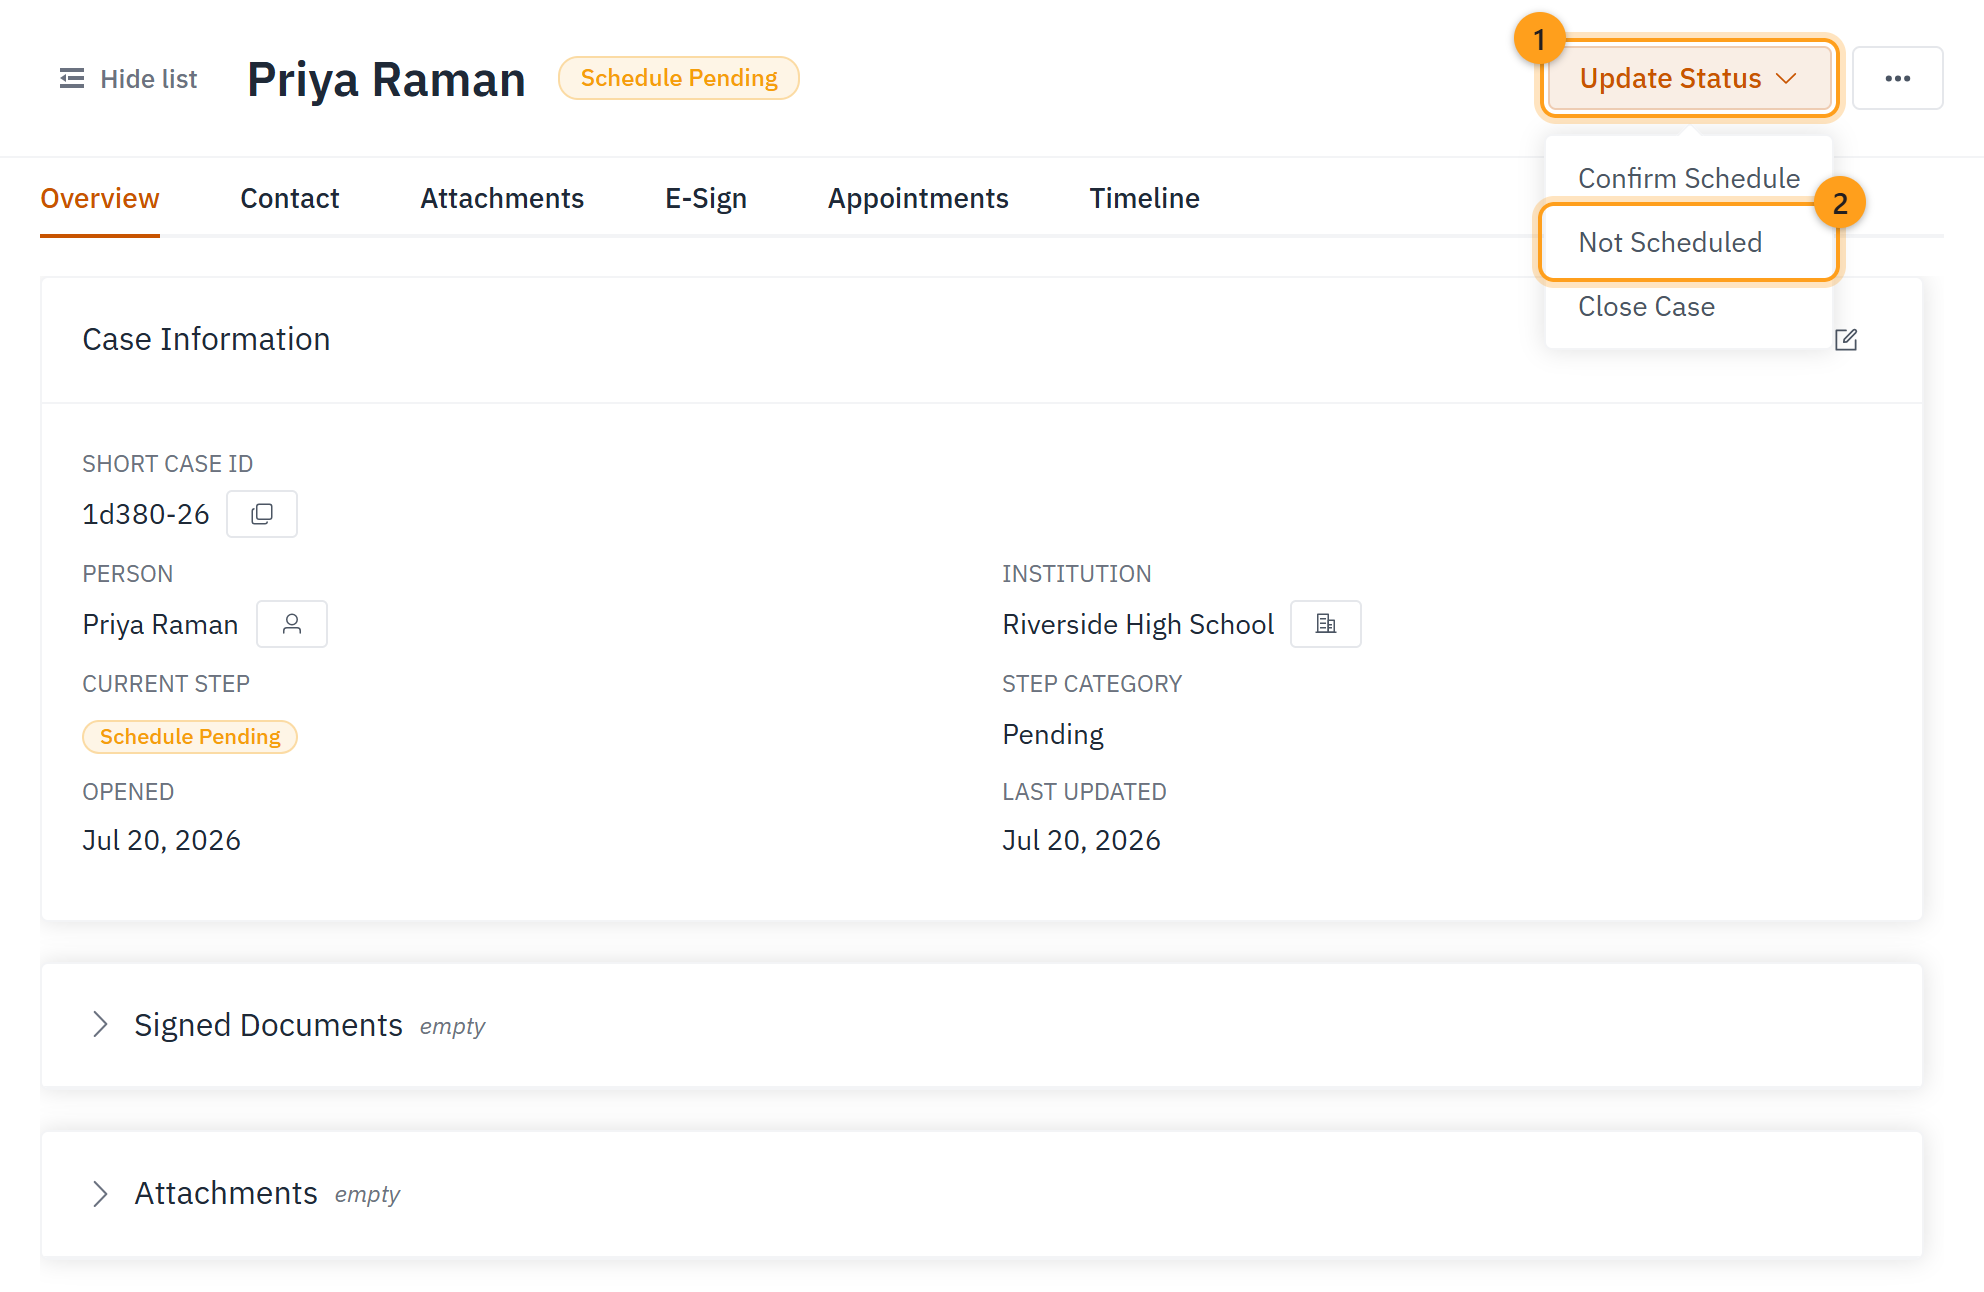
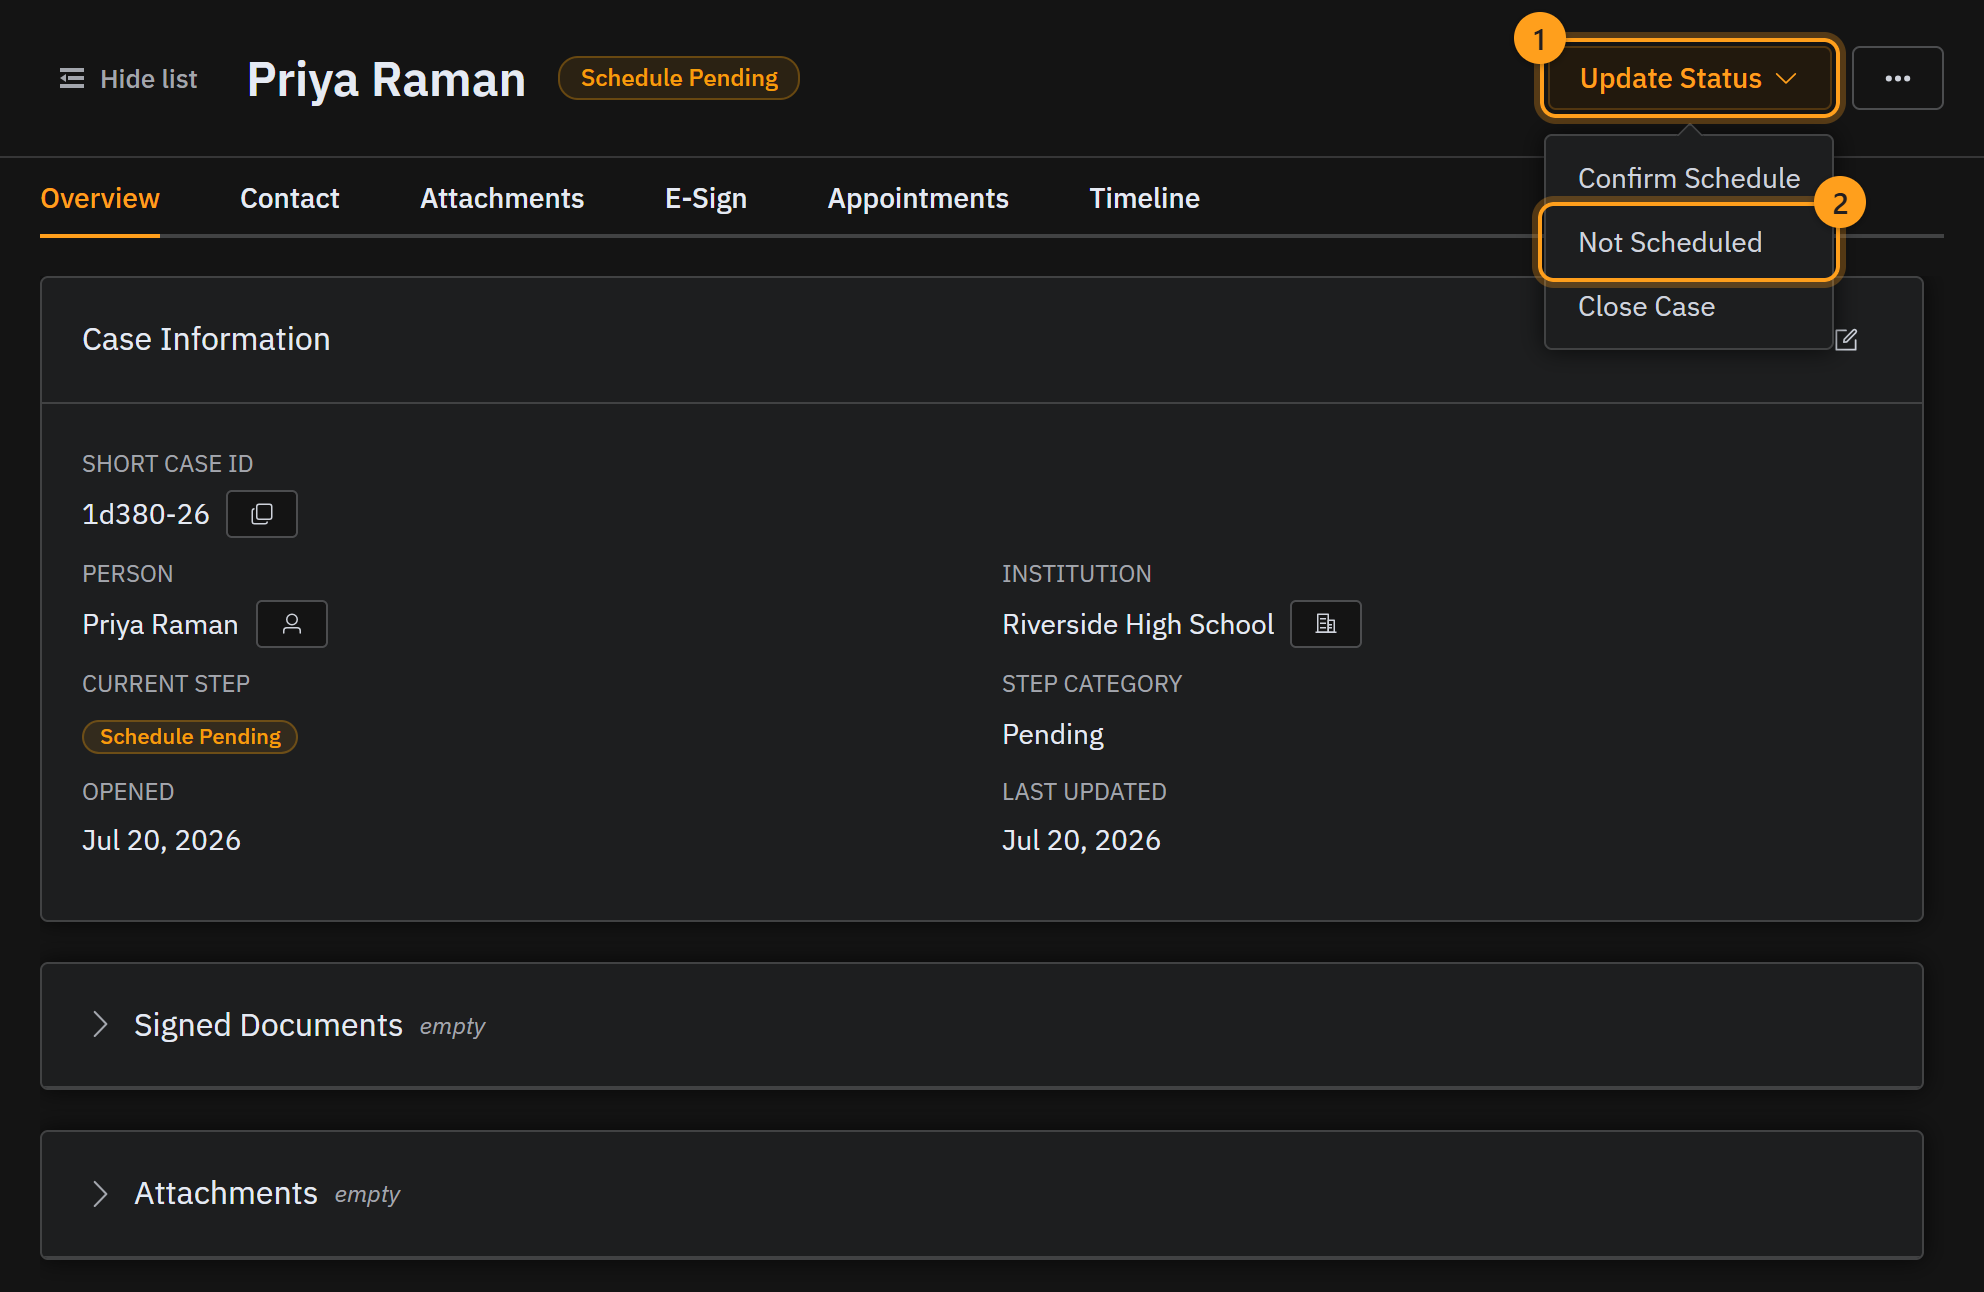
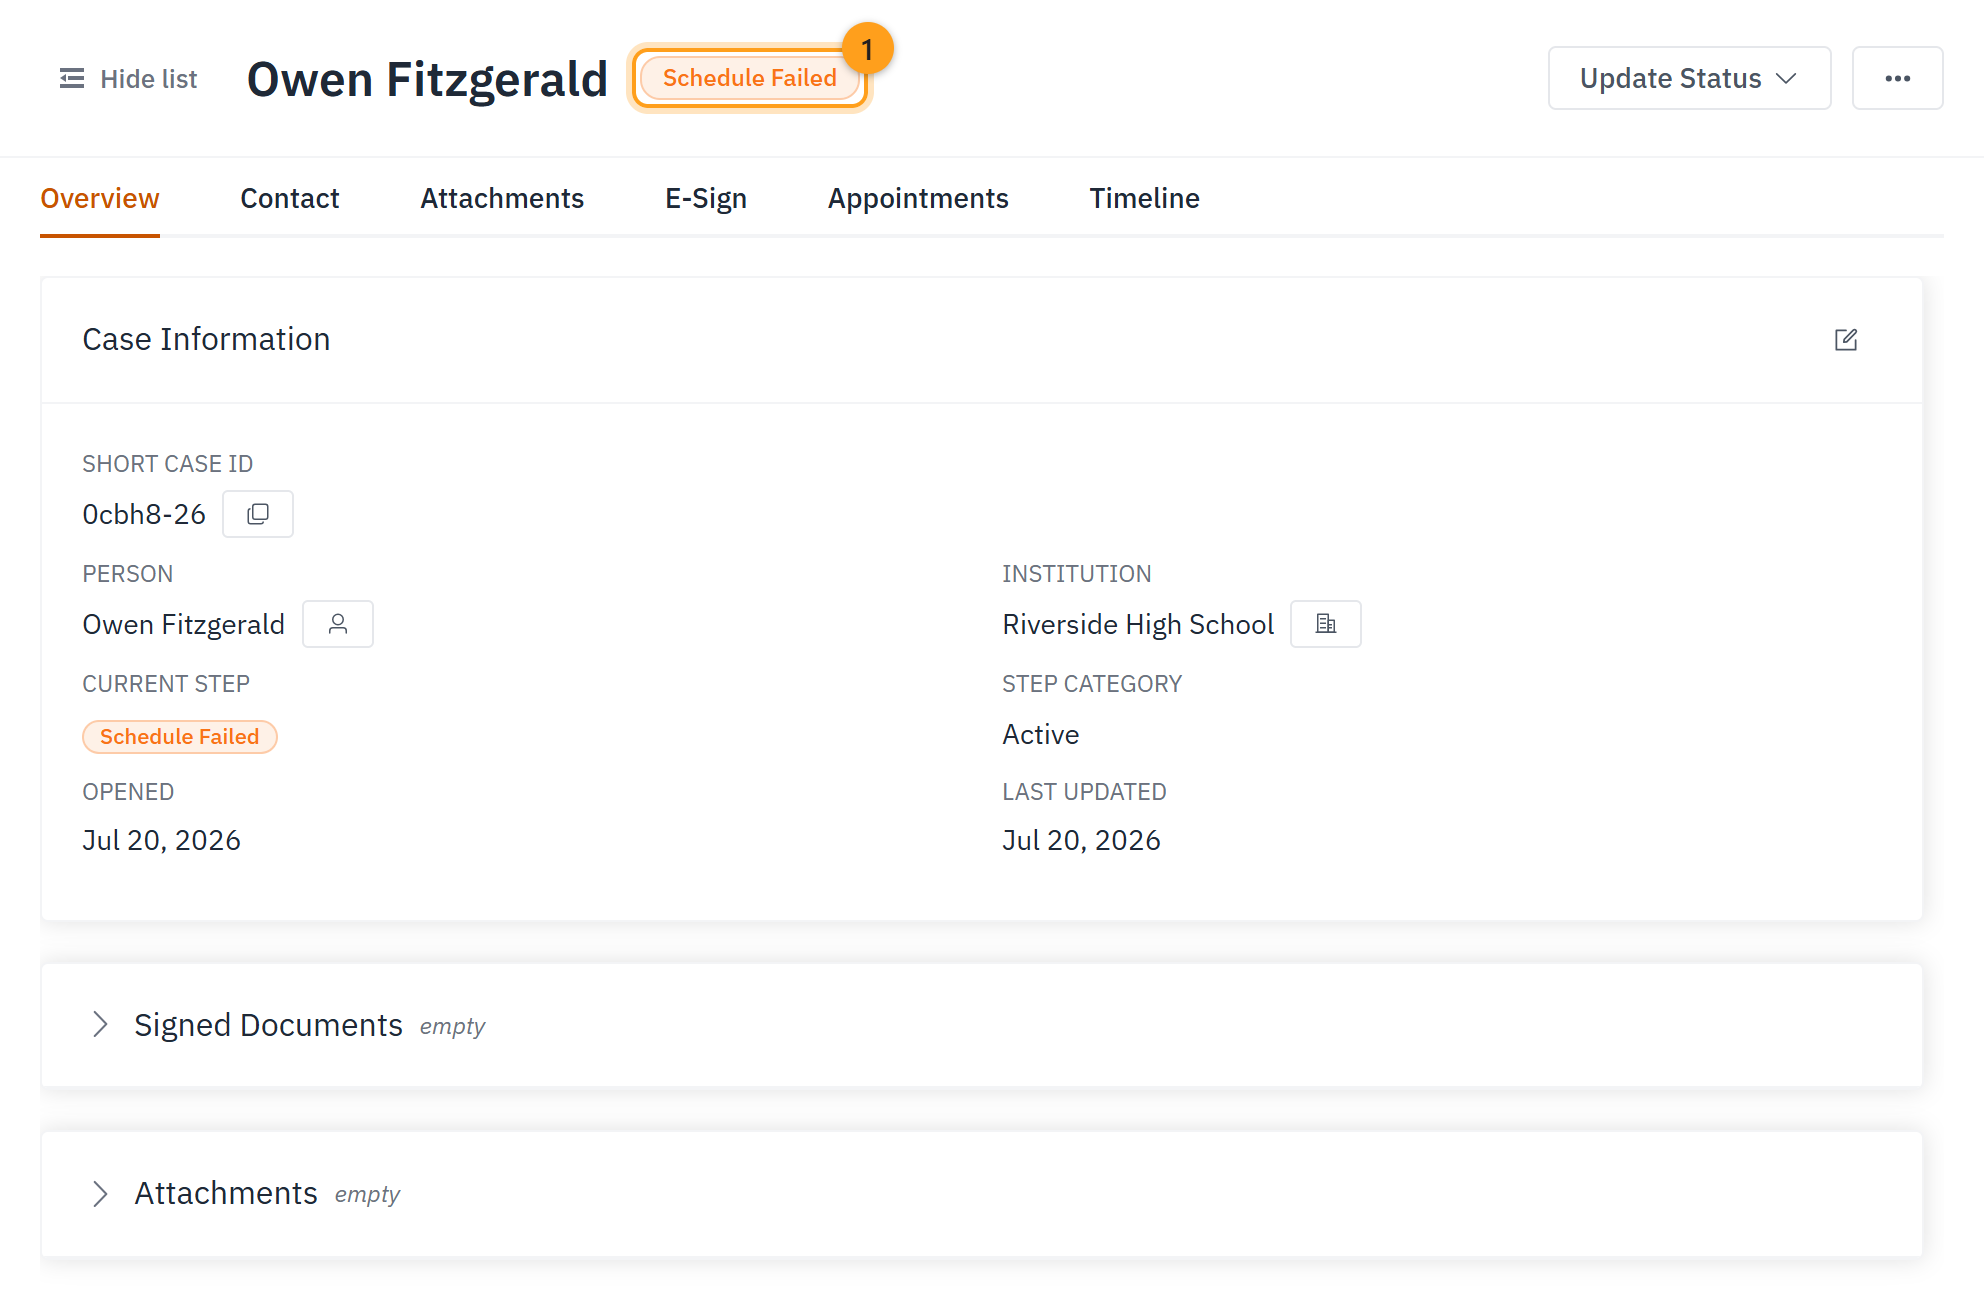
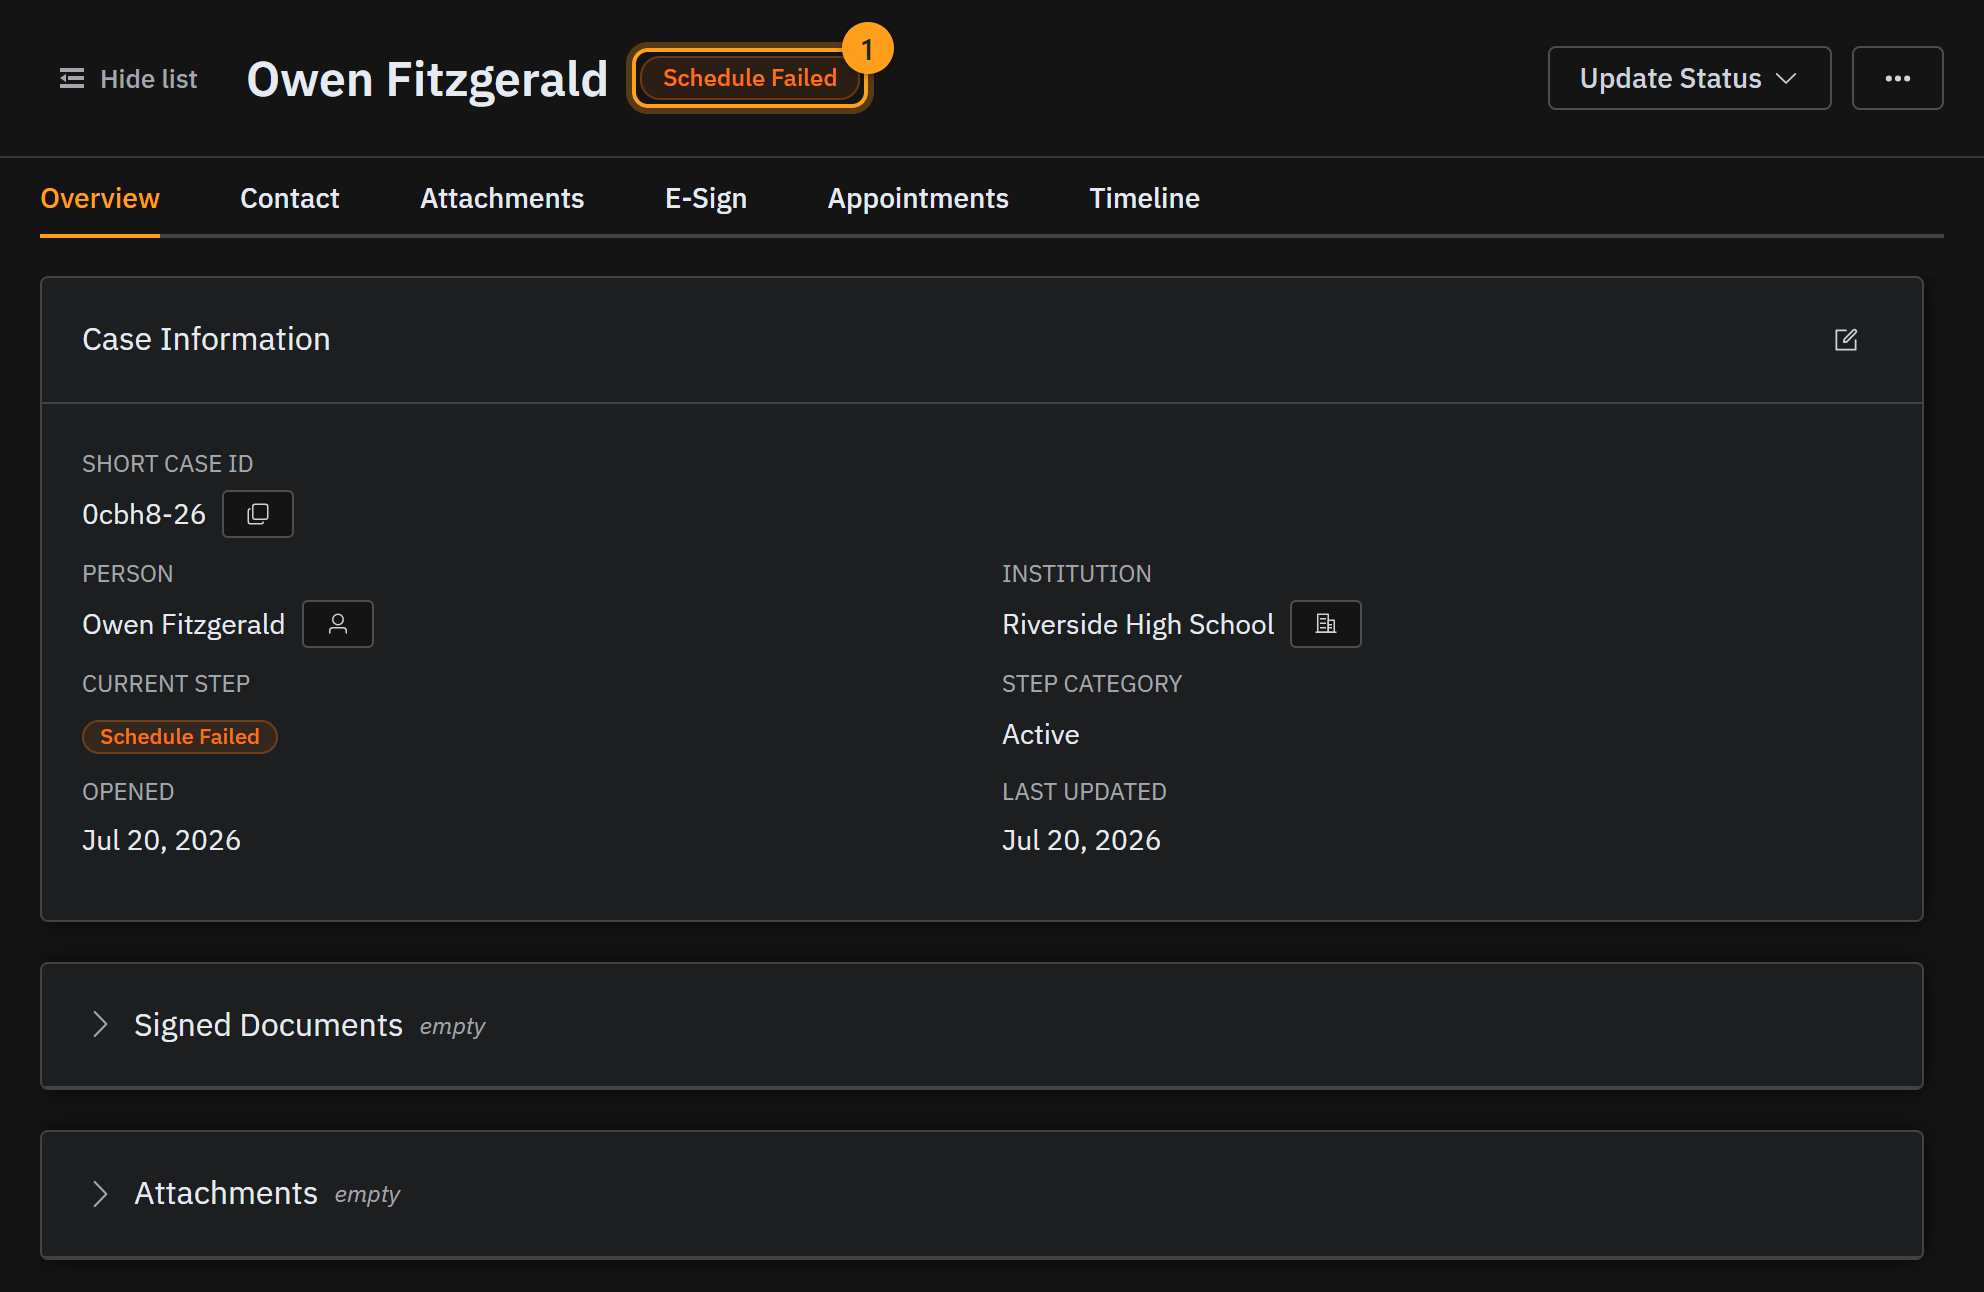
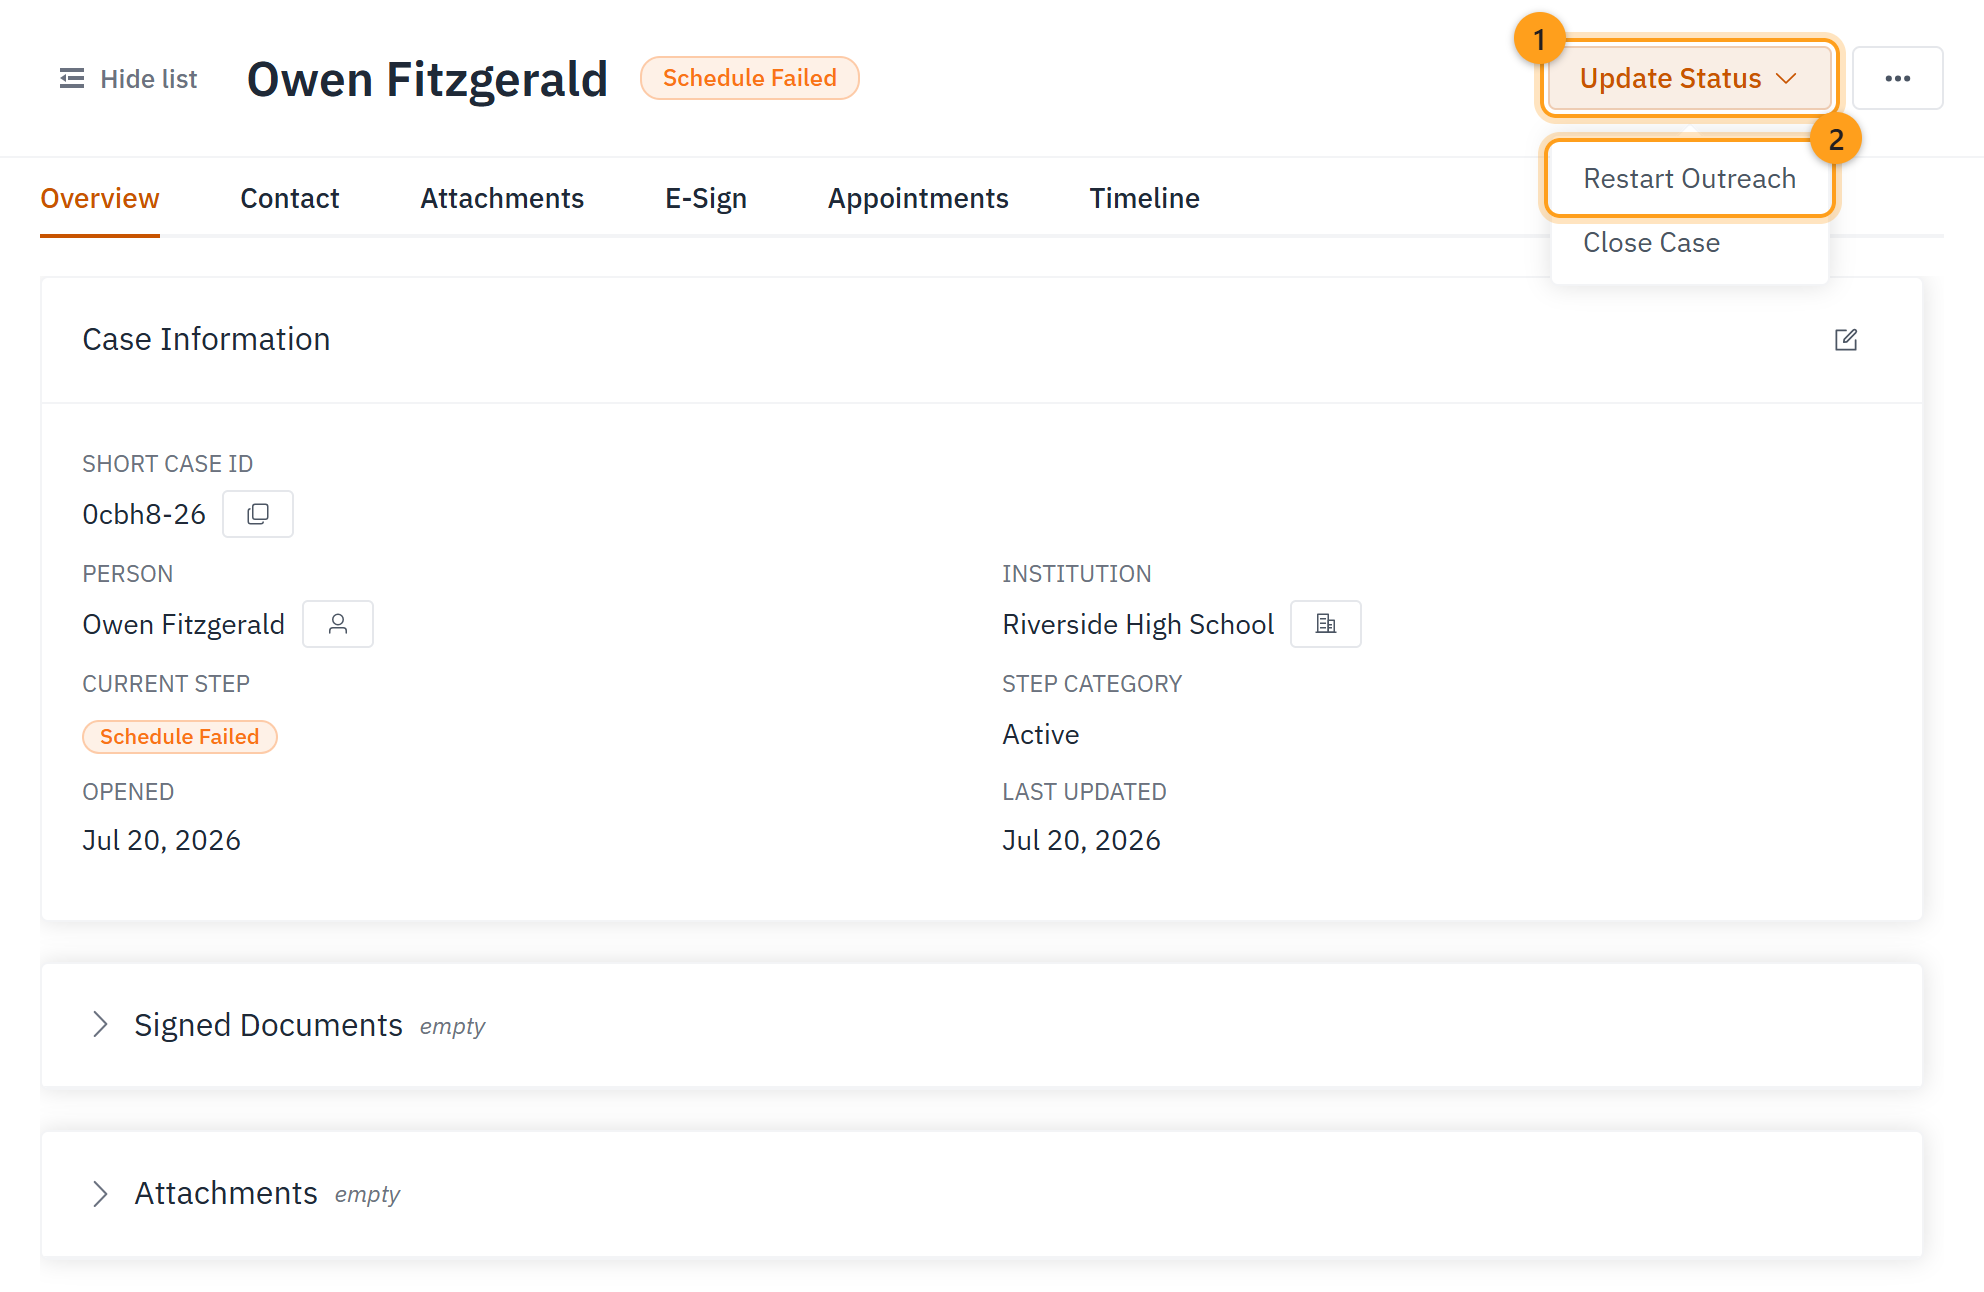
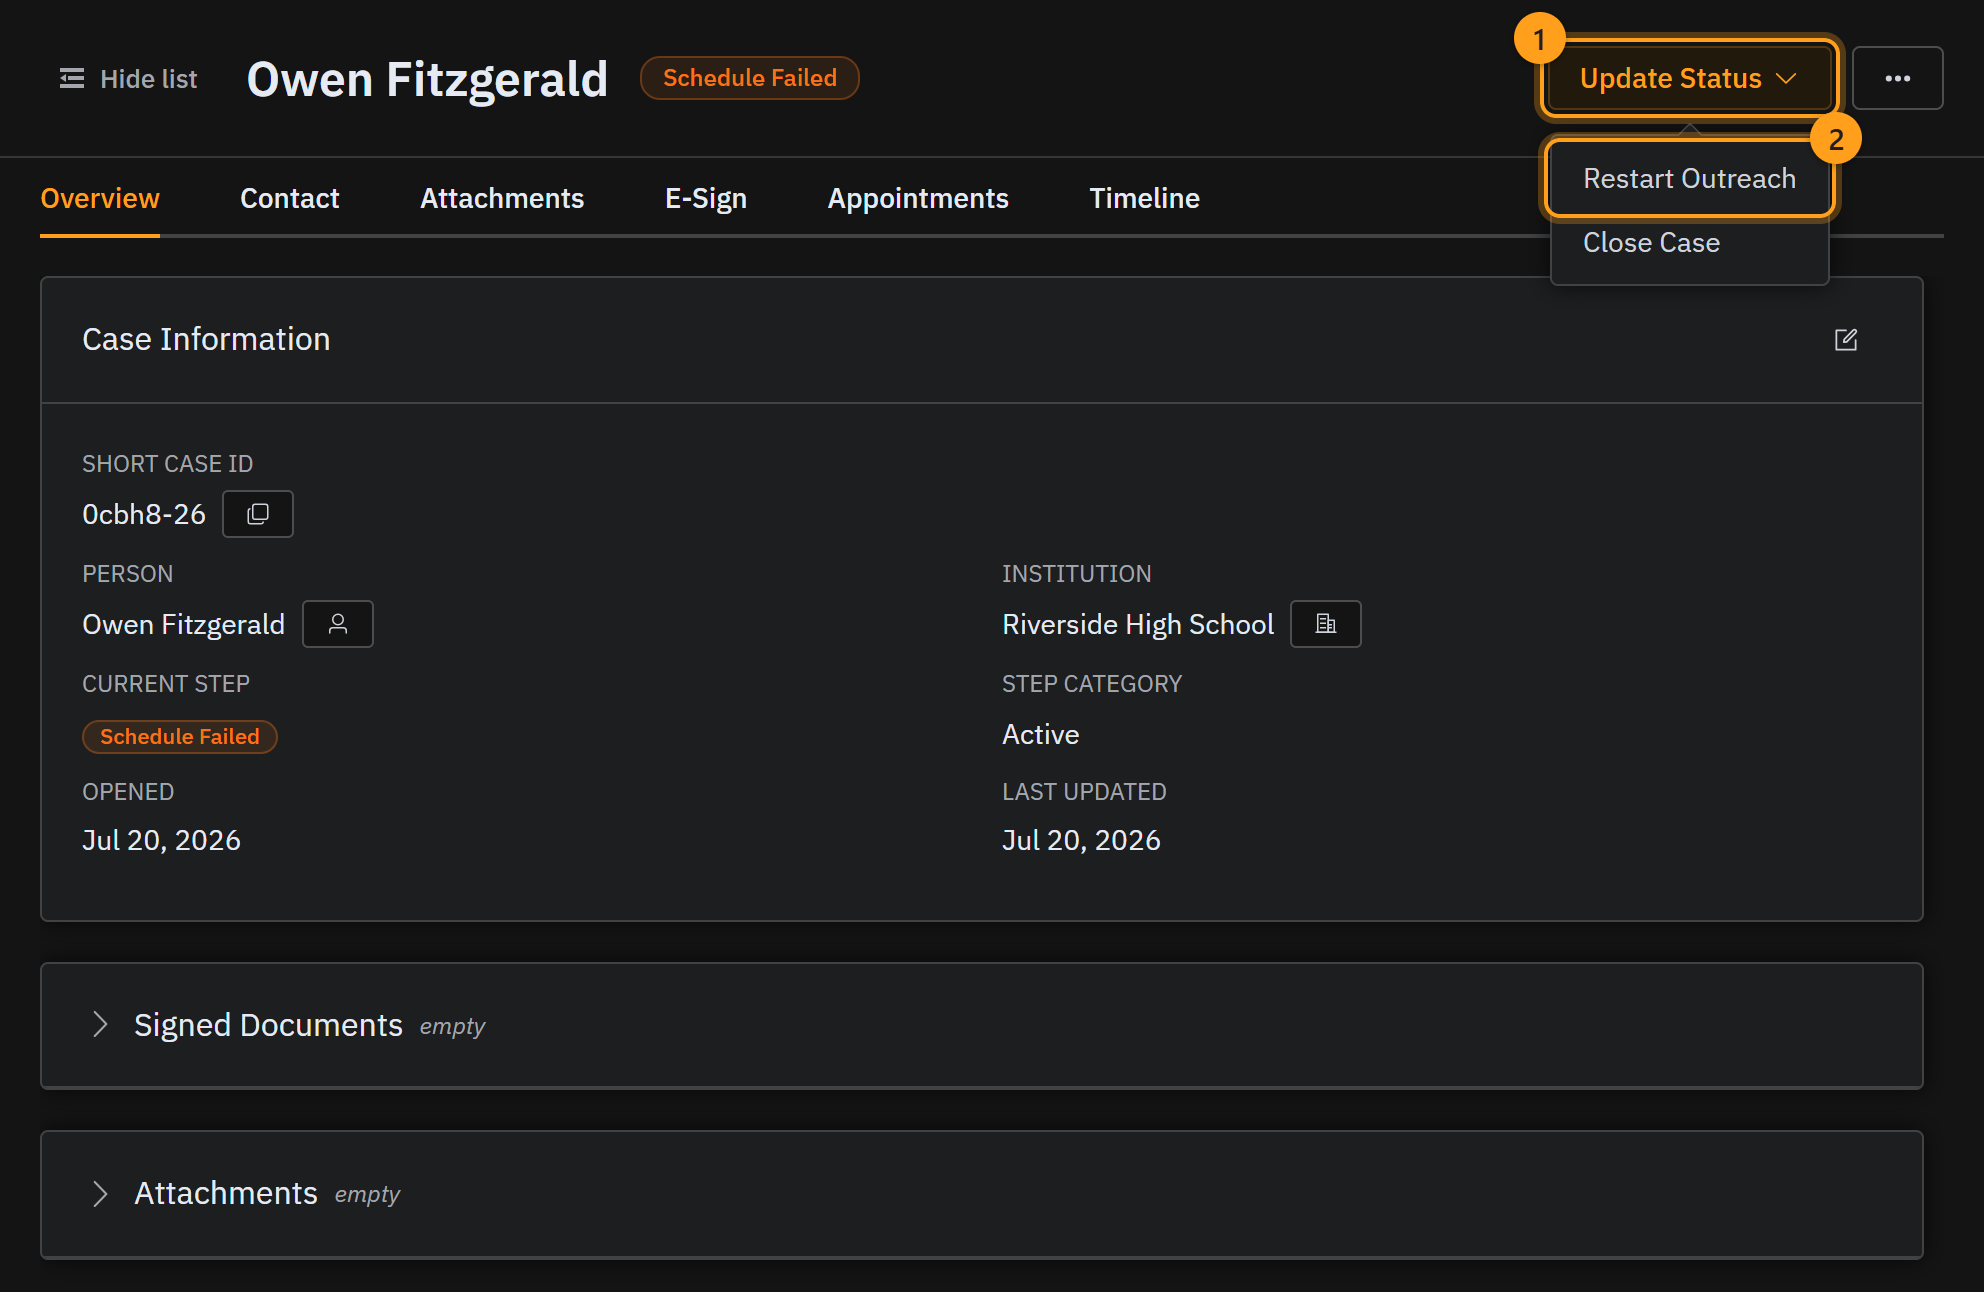
No time booked? Mark it Not Scheduled (the case becomes Schedule Failed), then use Restart Outreach to send it back to Contacted and try again.
Quick reference
The main flow (each badge you will see through the process):
New Student → Contacted → Schedule Pending → Intake Scheduled → Documents Sent → Document Review → Consent Form Complete → Intake Complete
Button you click → resulting status
| You click… | The badge then shows… |
|---|---|
| Mark as Contacted | Contacted |
| Send Scheduling Link | Schedule Pending |
| Confirm Schedule | Intake Scheduled |
| Send Intake Documents | Documents Sent |
| Documents Received | Document Review |
| Approve Documents | Consent Form Complete |
| Complete Intake | Intake Complete |
| Not Scheduled | Schedule Failed |
Case tabs: Overview · Contact · Attachments · E-Sign · Appointments · Groups · Timeline
TIP
Status changes are made from the Update Status menu (top-right of the case), or from the Next: prompt on each case card in the left panel.
Moved a case by mistake?
No need to worry. An admin can put the case back on the right step and note what happened. → Undo a mistake