

Appearance
Better Without It® Program Guide
Working with Groups
In this guide: finding the right group, enrolling a student, creating sessions, taking attendance, adding notes after a meeting, and pulling the whole attendance picture for a report.
Once a student is active, this guide shows you how to get them into a group and keep track of their meetings. Groups are where your programs run, at real locations and times. Everything you need lives under four simple tabs: Roster, Sessions, Attendance, and Notes, with View attendance and Export in the header when you want the whole picture at once.
Watch how it works
Prefer to see it done first? This walkthrough enrolls a student, adds a session, takes attendance, writes a session note, and exports the numbers for a report, in a little over three minutes.
Step 1 · Open the Groups area
Your student is active and ready, so it's time to get them into a group. Switch to the Groups area. In our example, the list shows the group BWI @North (1), along with its program, location, schedule, and status.


Step 2 · Open the right group
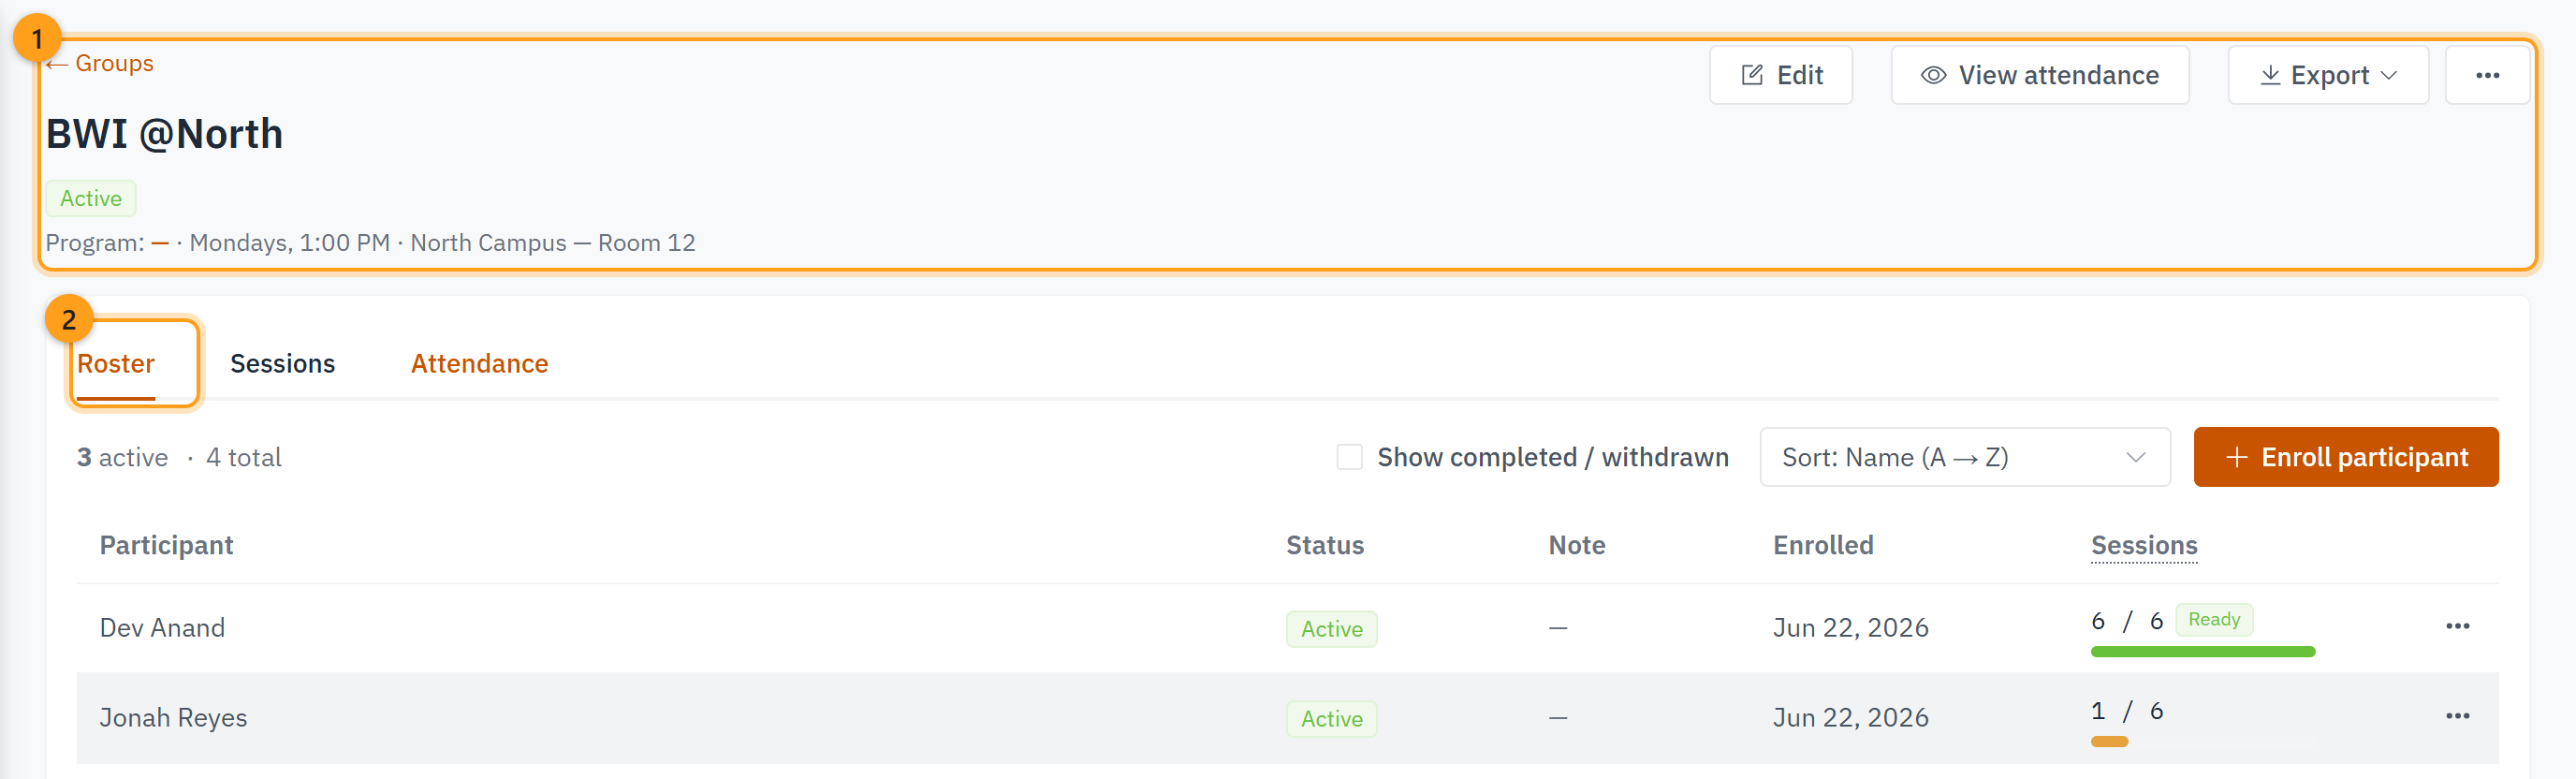
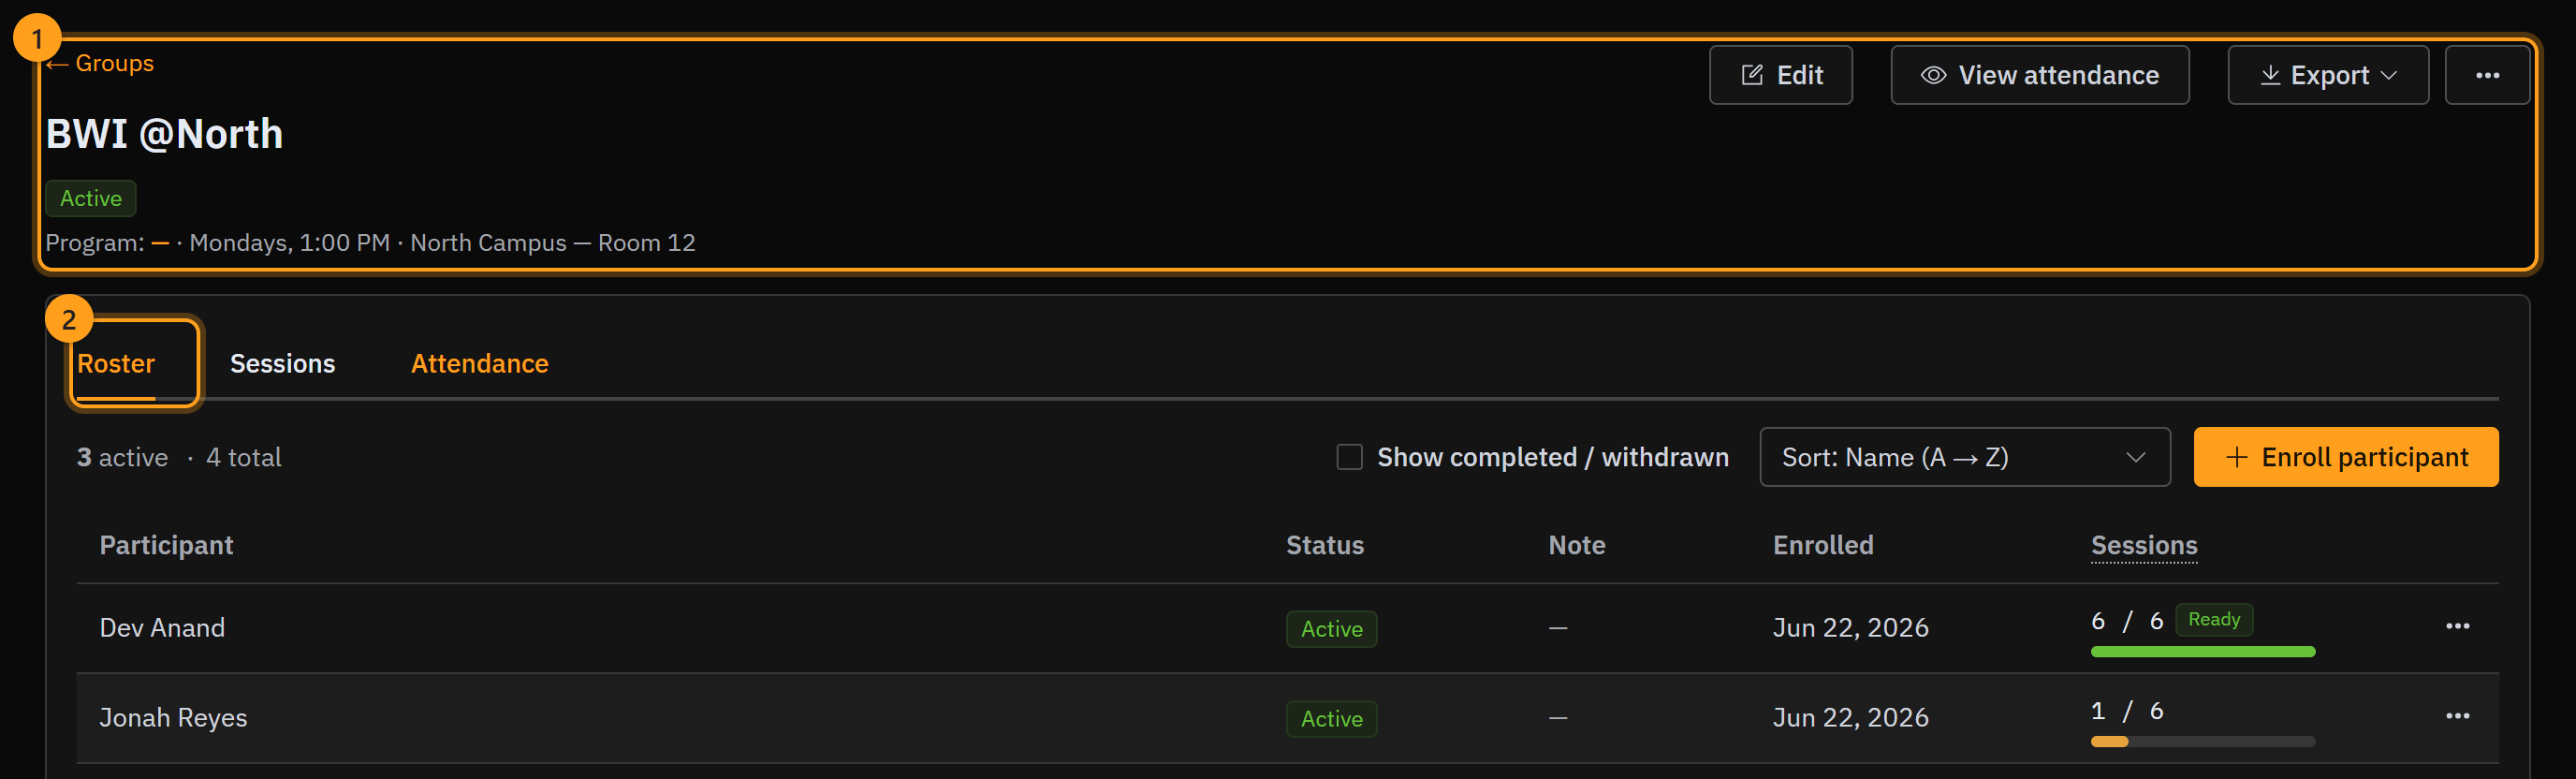
Click into BWI @North. The header (1) shows when and where it meets and whether it's still running. Everything else is organized into four tabs (2): Roster, Sessions, Attendance, and Notes.
Step 3 · Enroll the student on the Roster
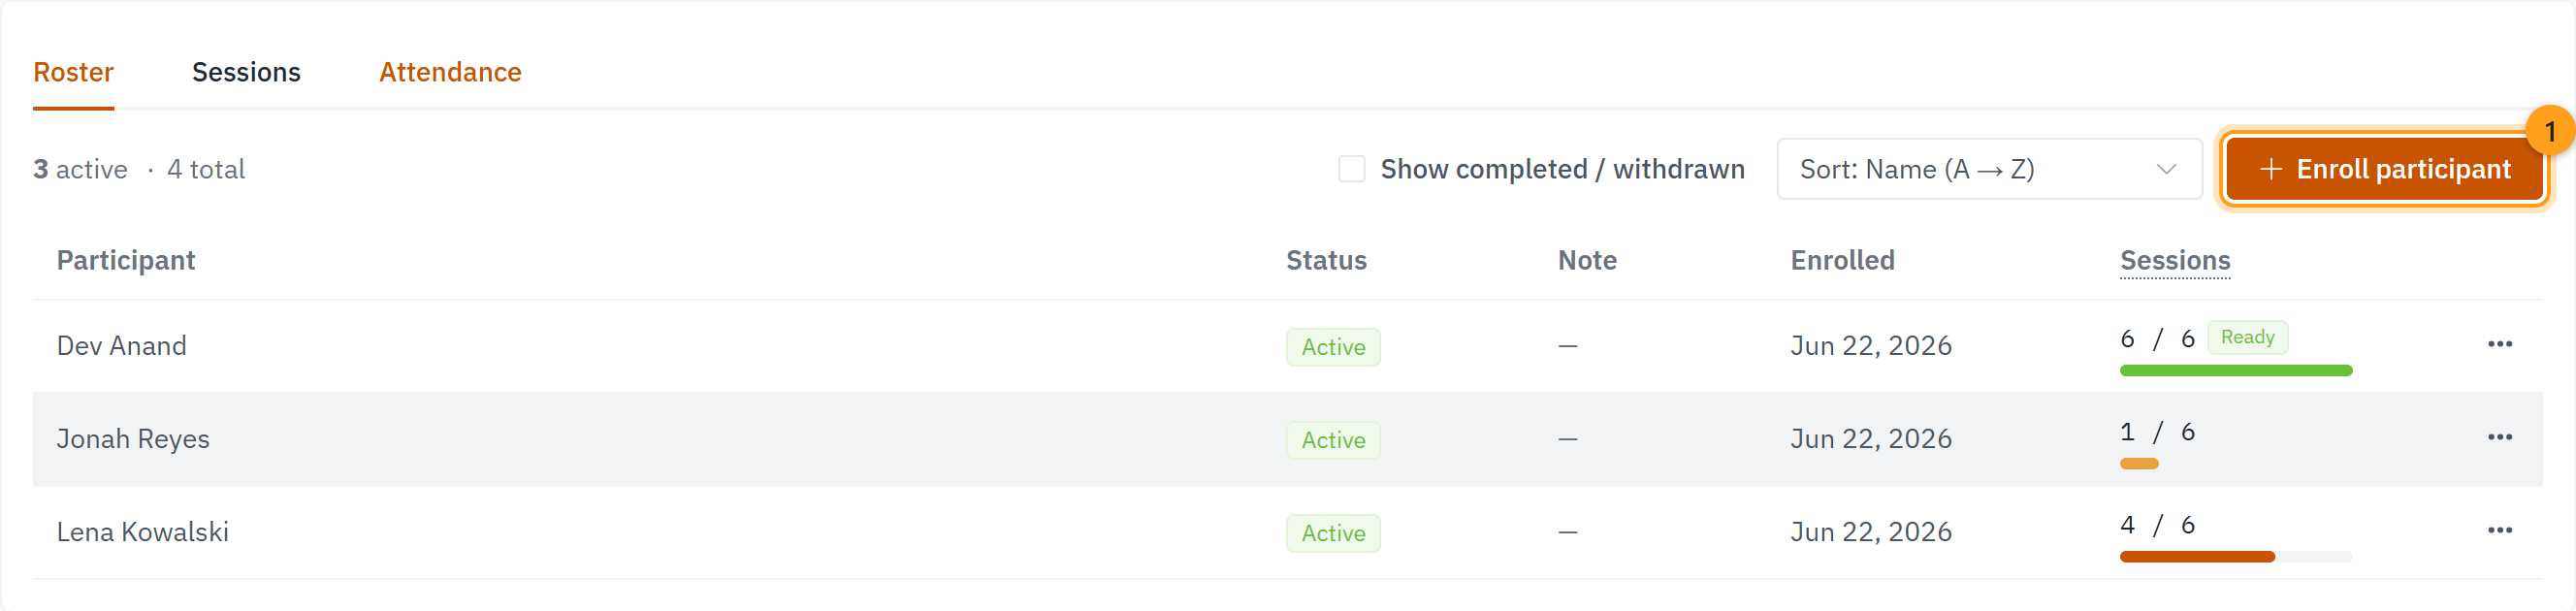
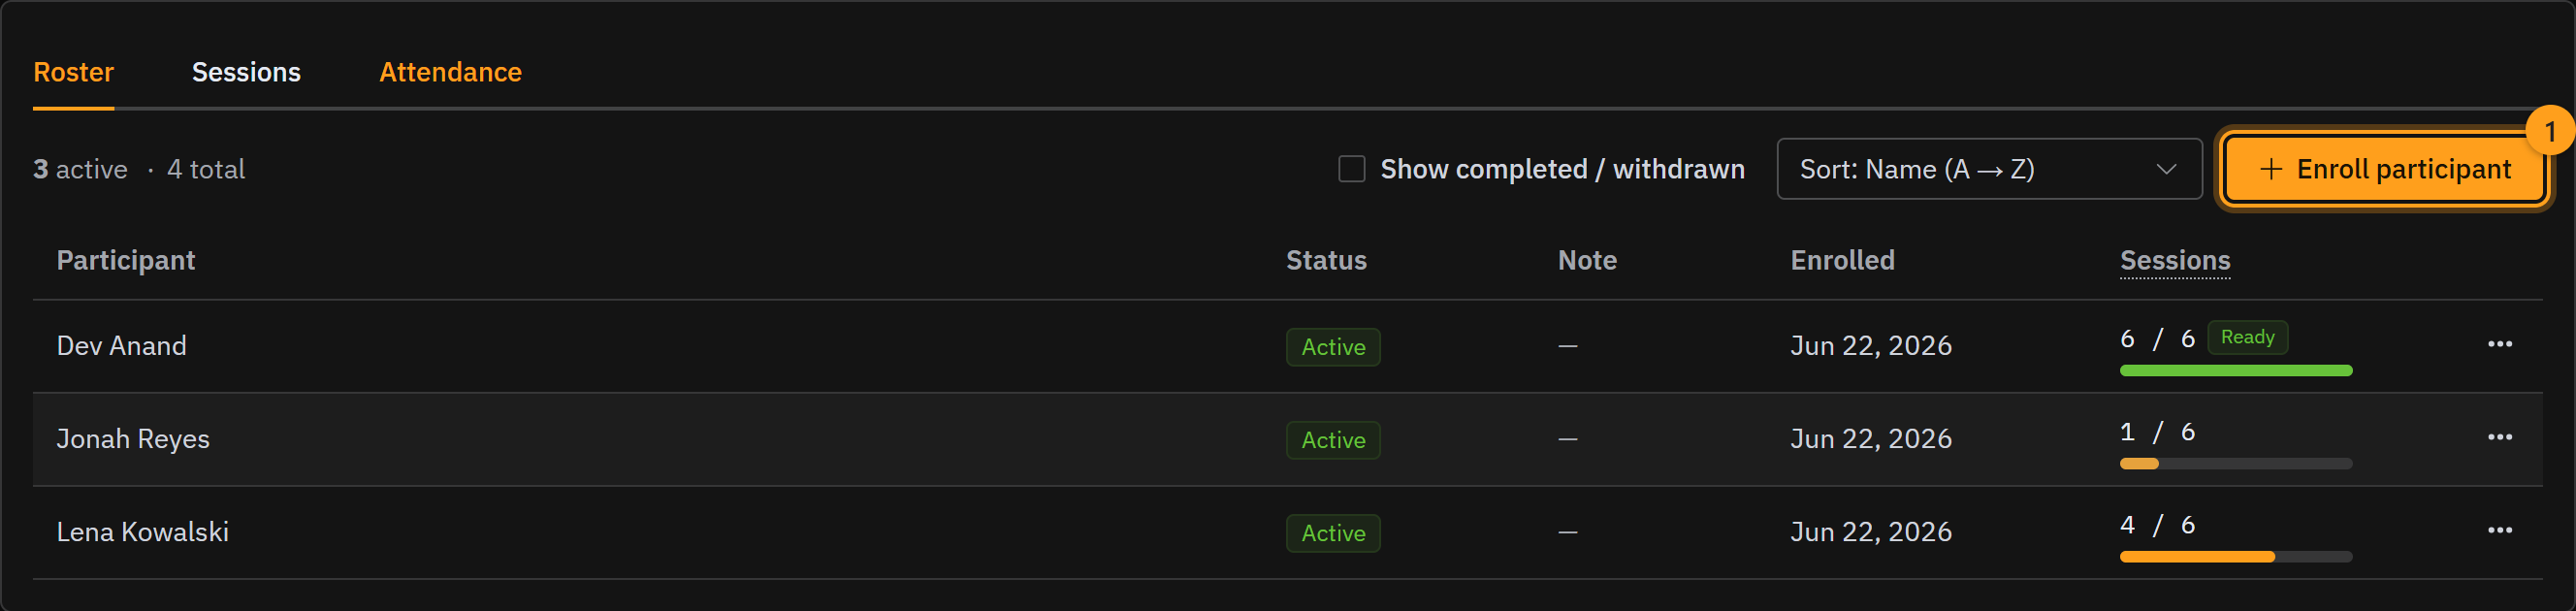
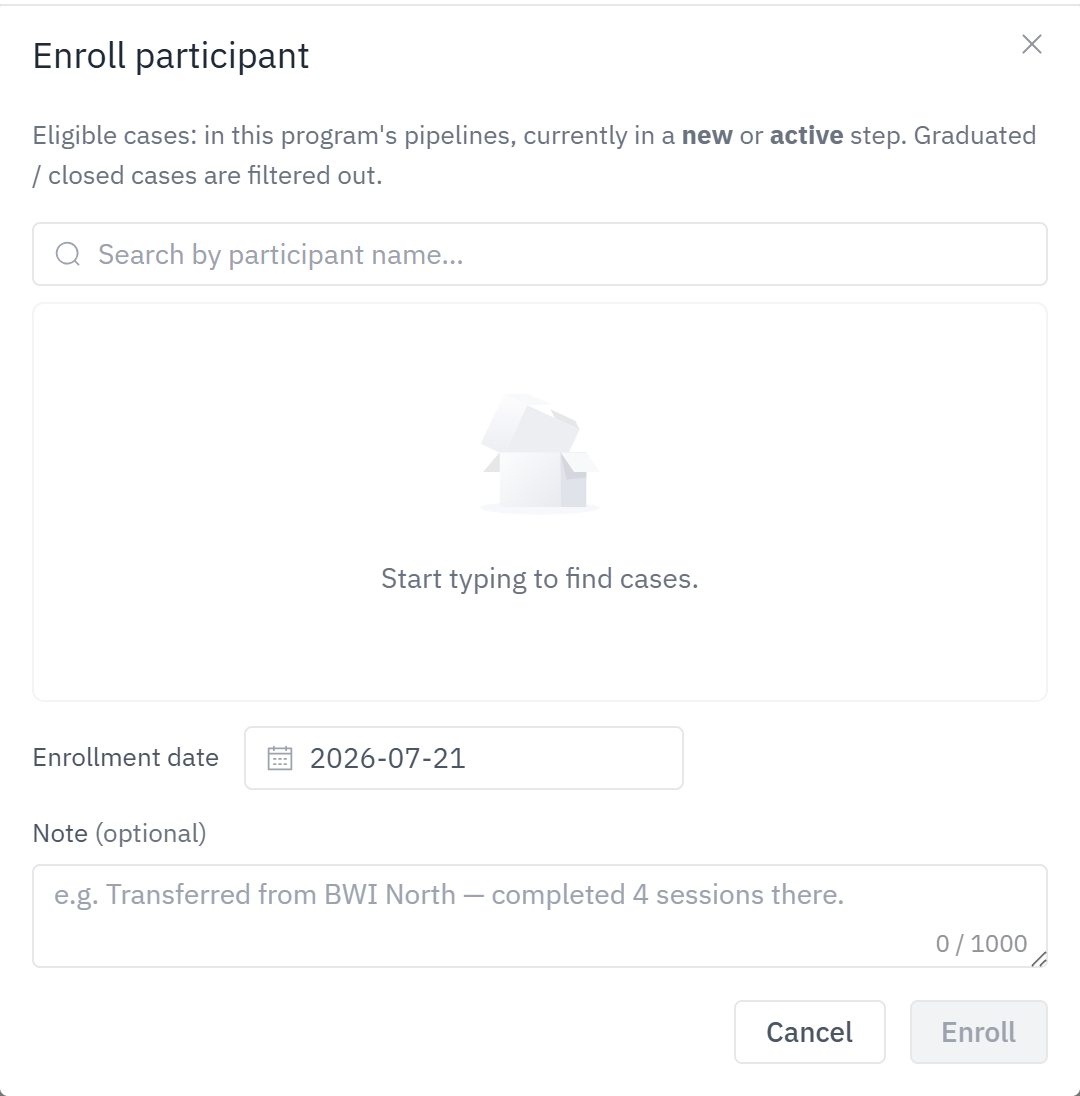
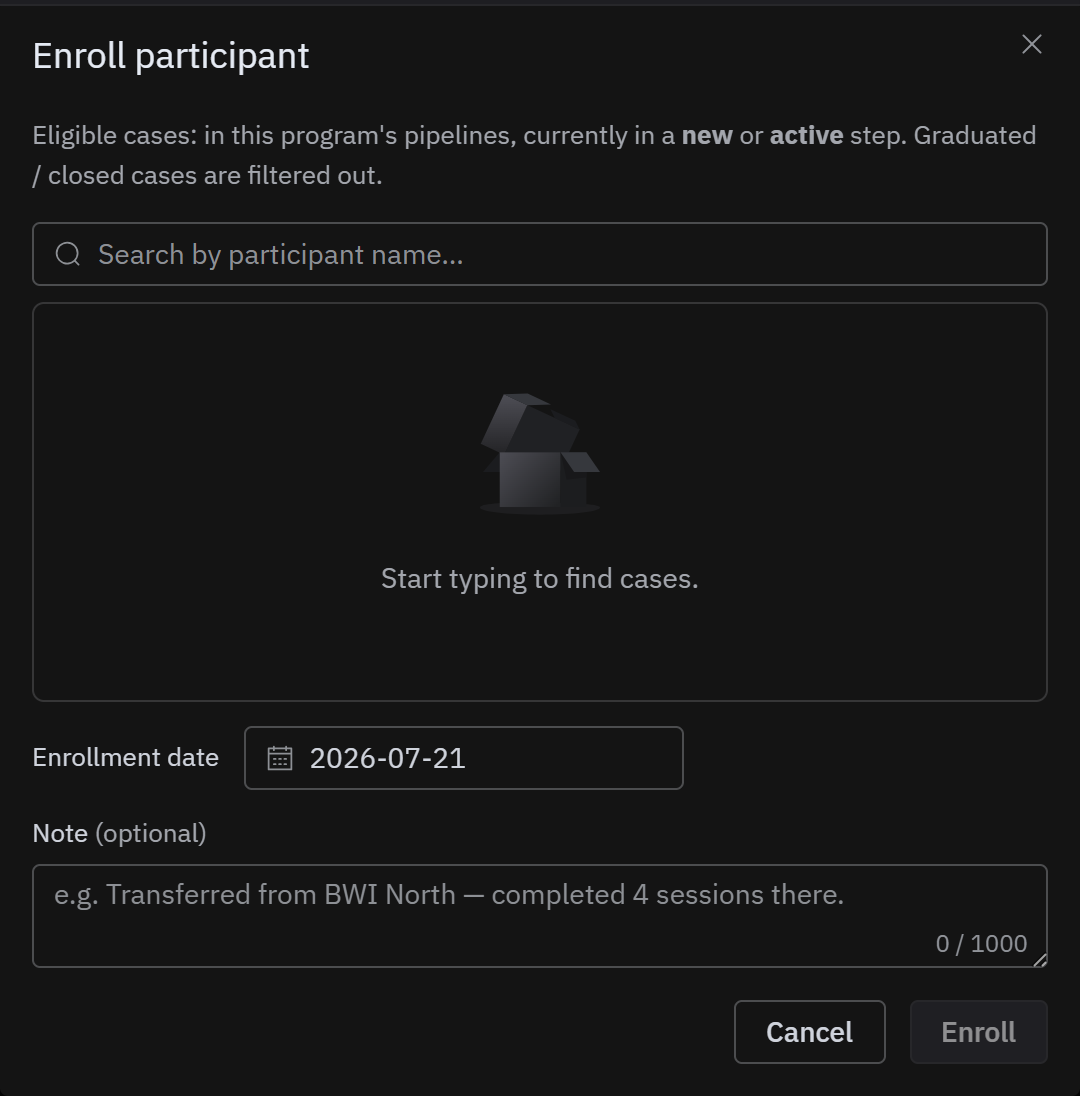
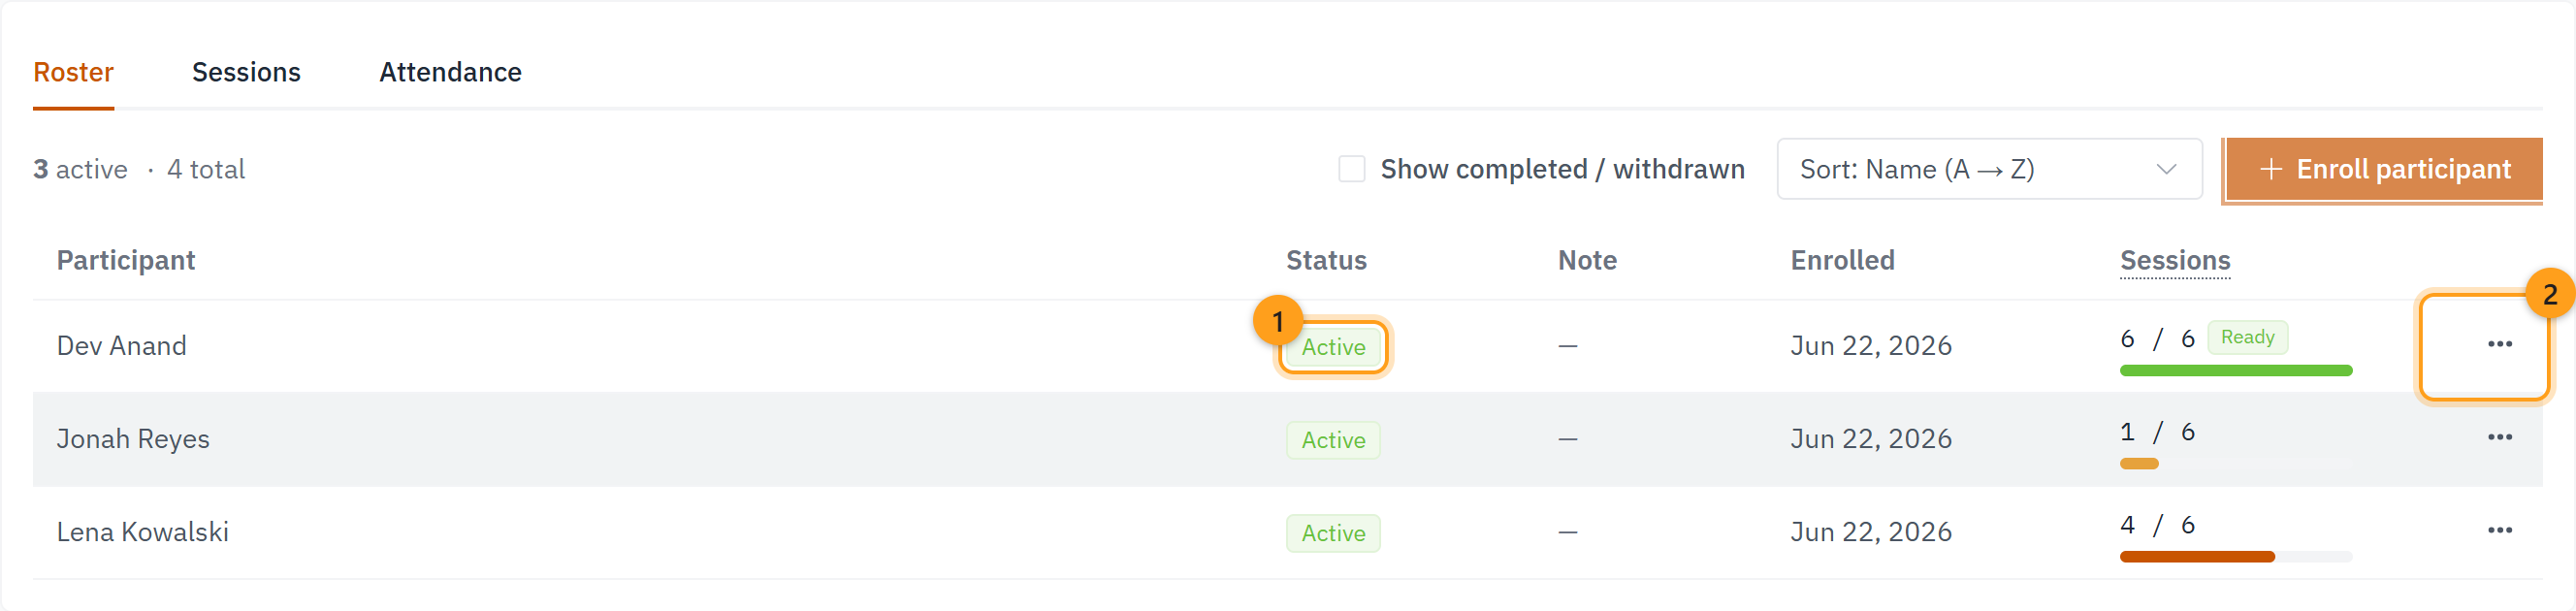
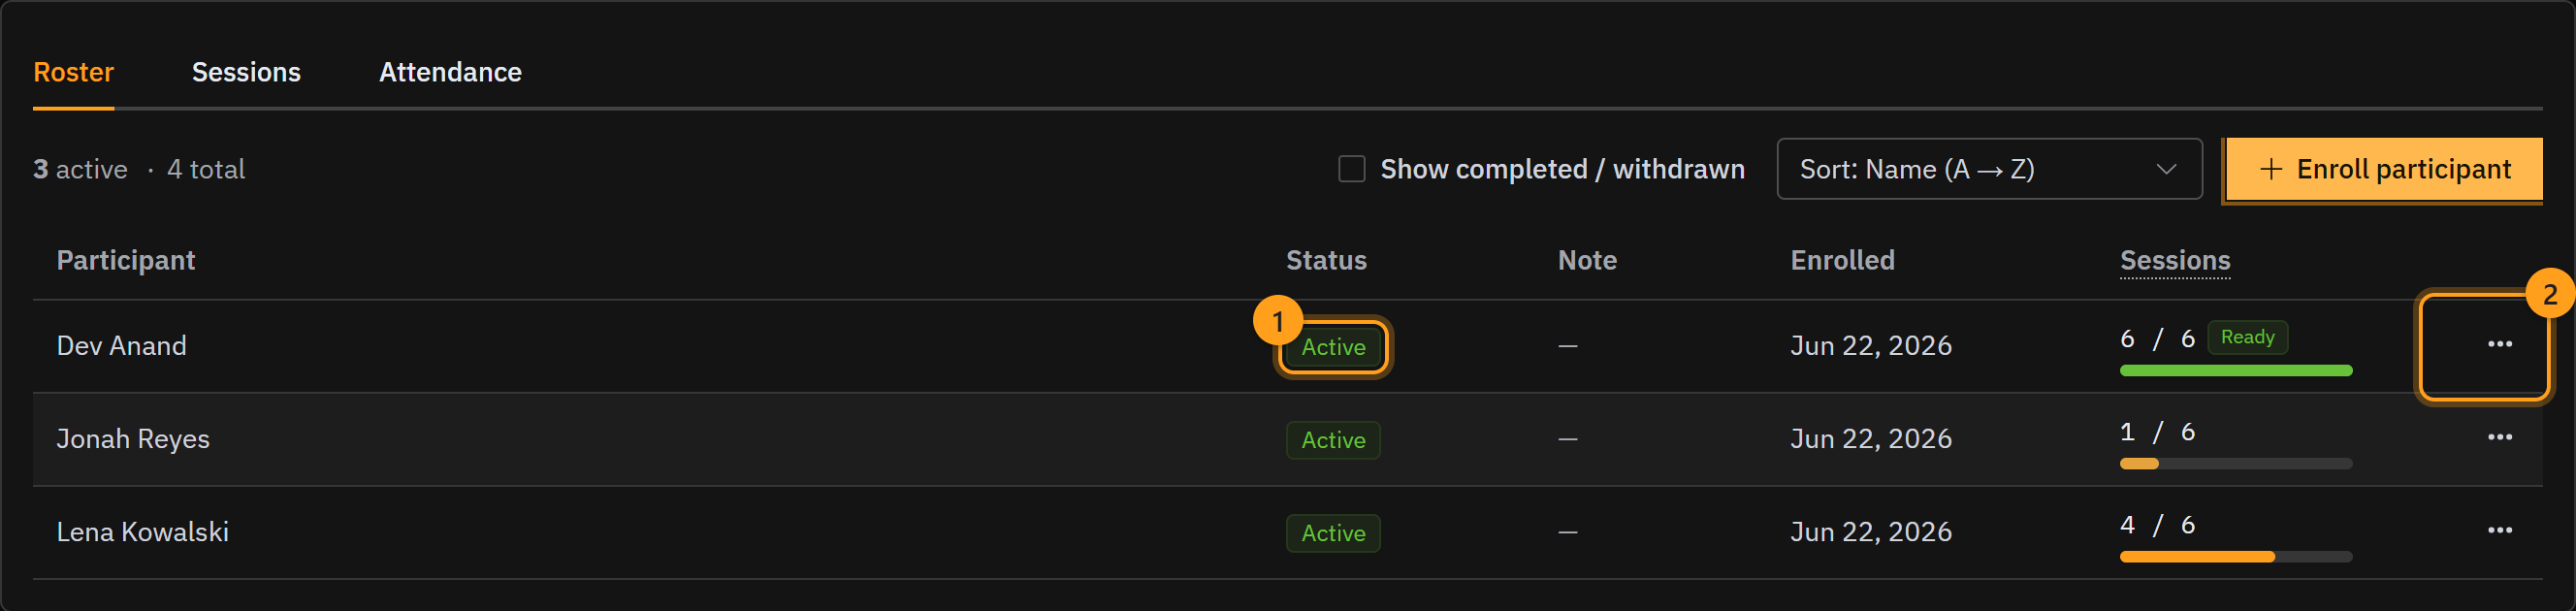
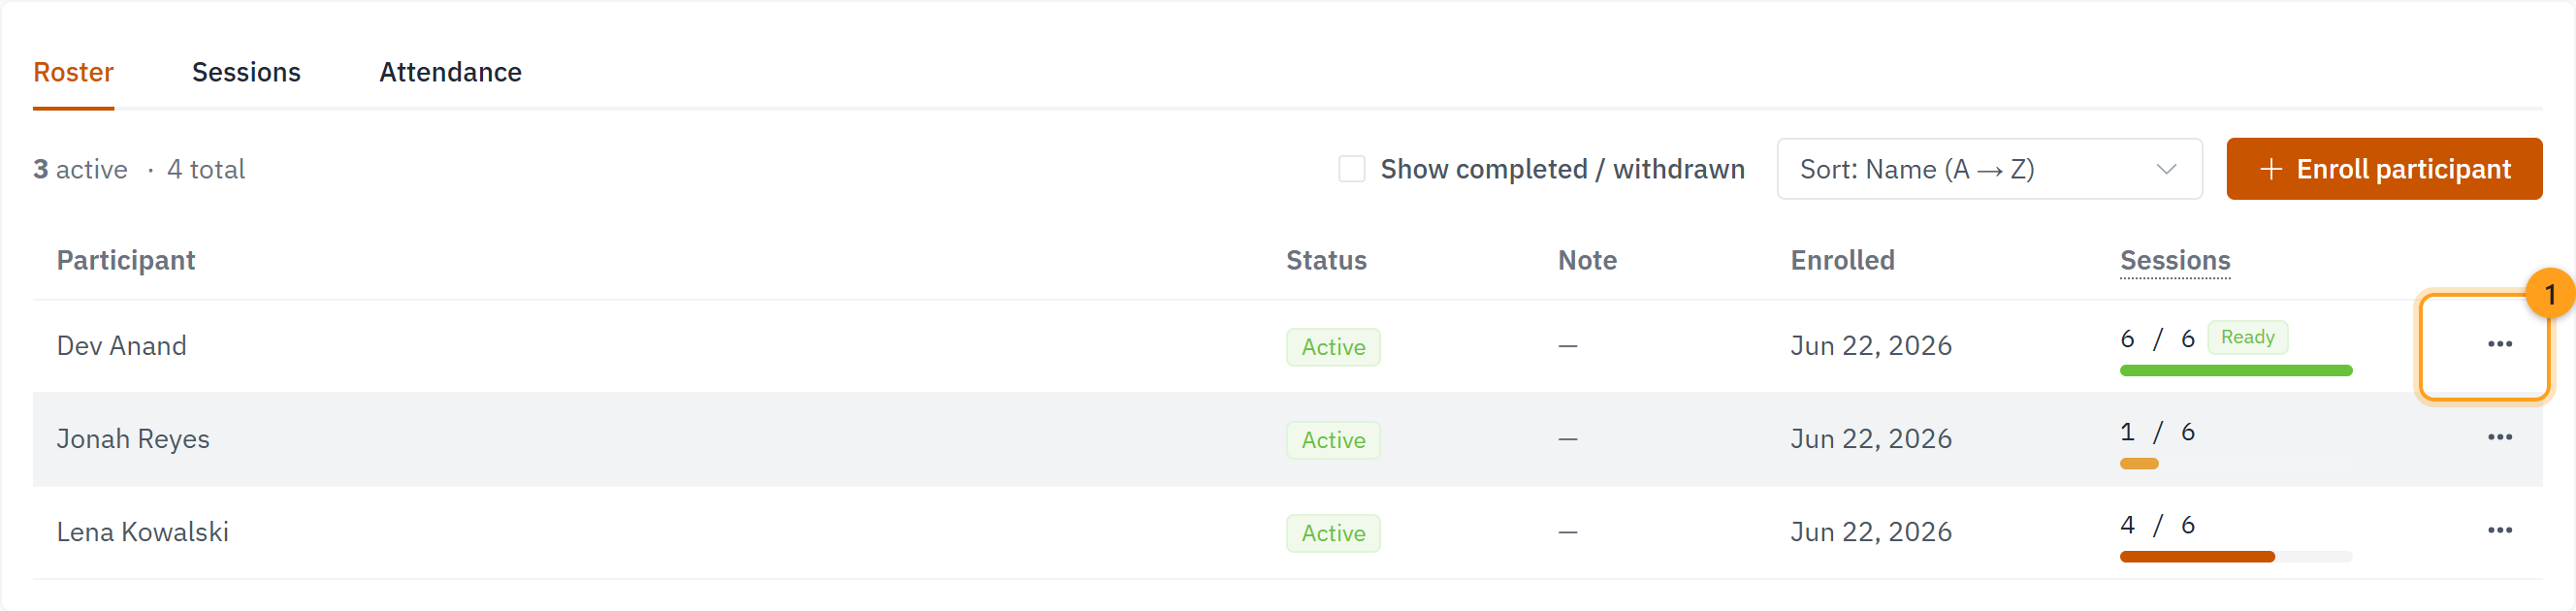
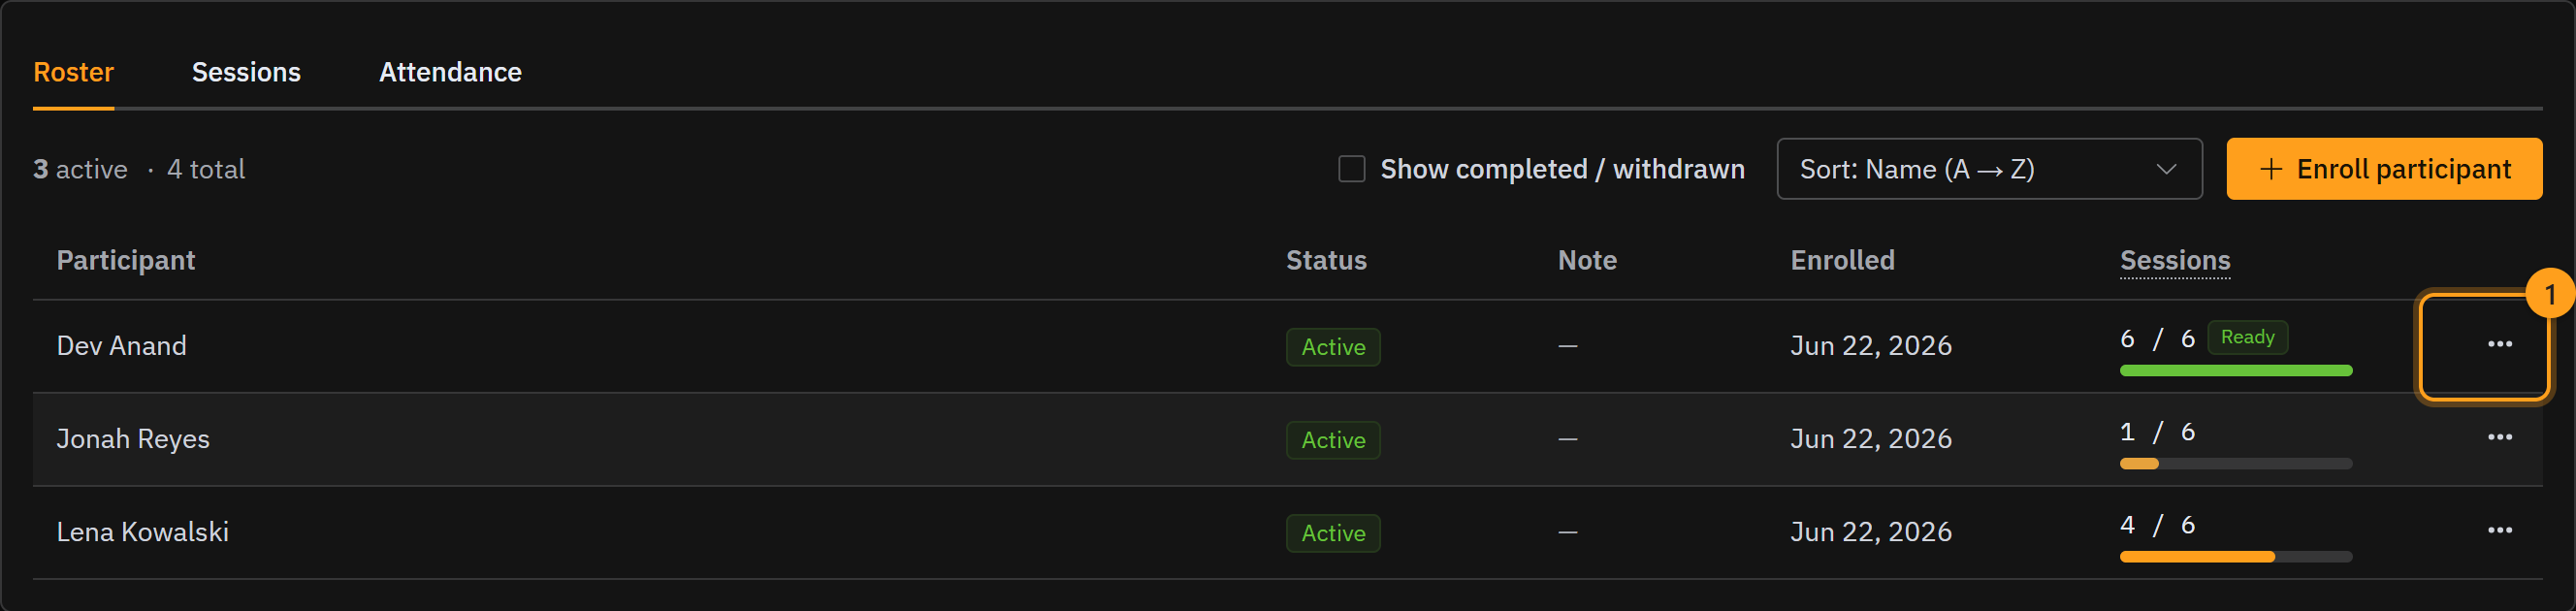
On the Roster tab, click Enroll participant (1) and search for your student. Pick their case, set the enrollment date, and click Enroll. They join the group right away, showing in the list with a green Active status and a sessions progress bar.
Only students whose case is New Student or somewhere in the active stretch will come up in the search. A graduated or closed case won't, which is usually the answer when someone you expect isn't there.
Step 4 · Create a session
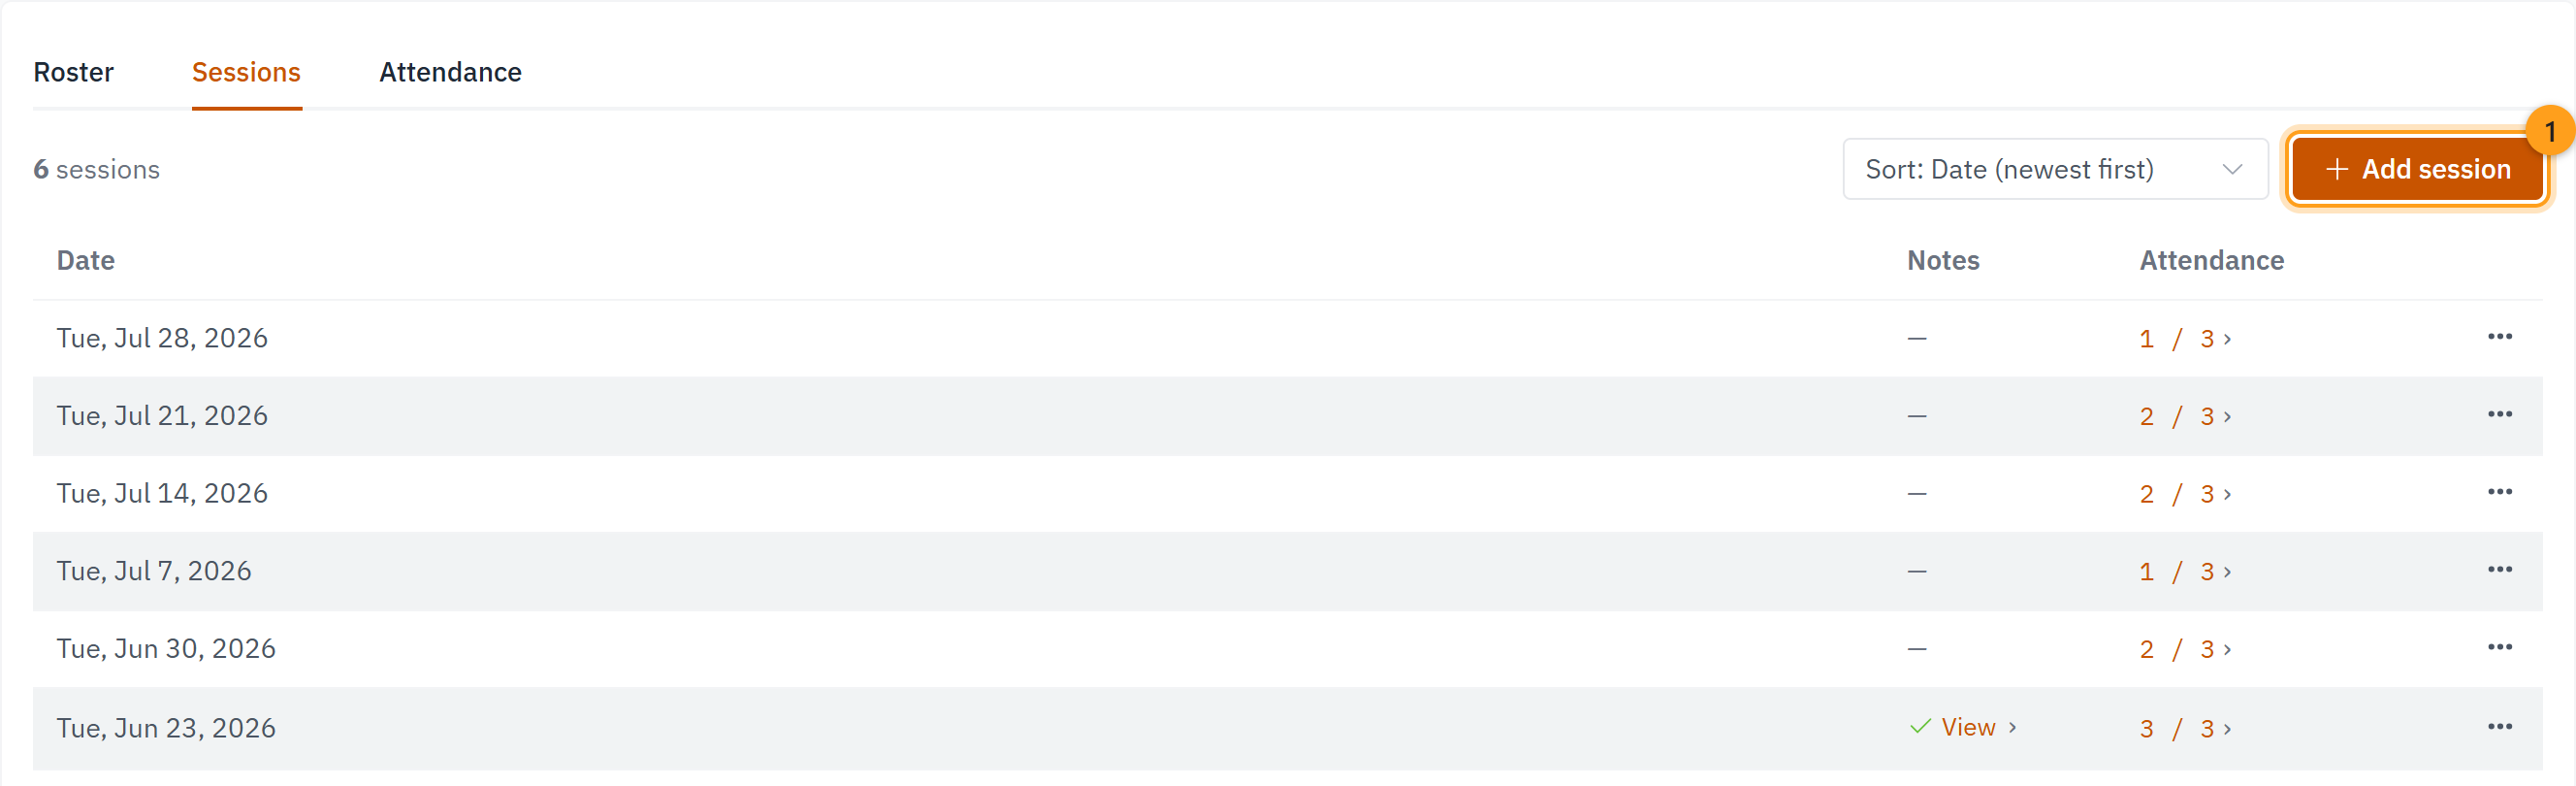
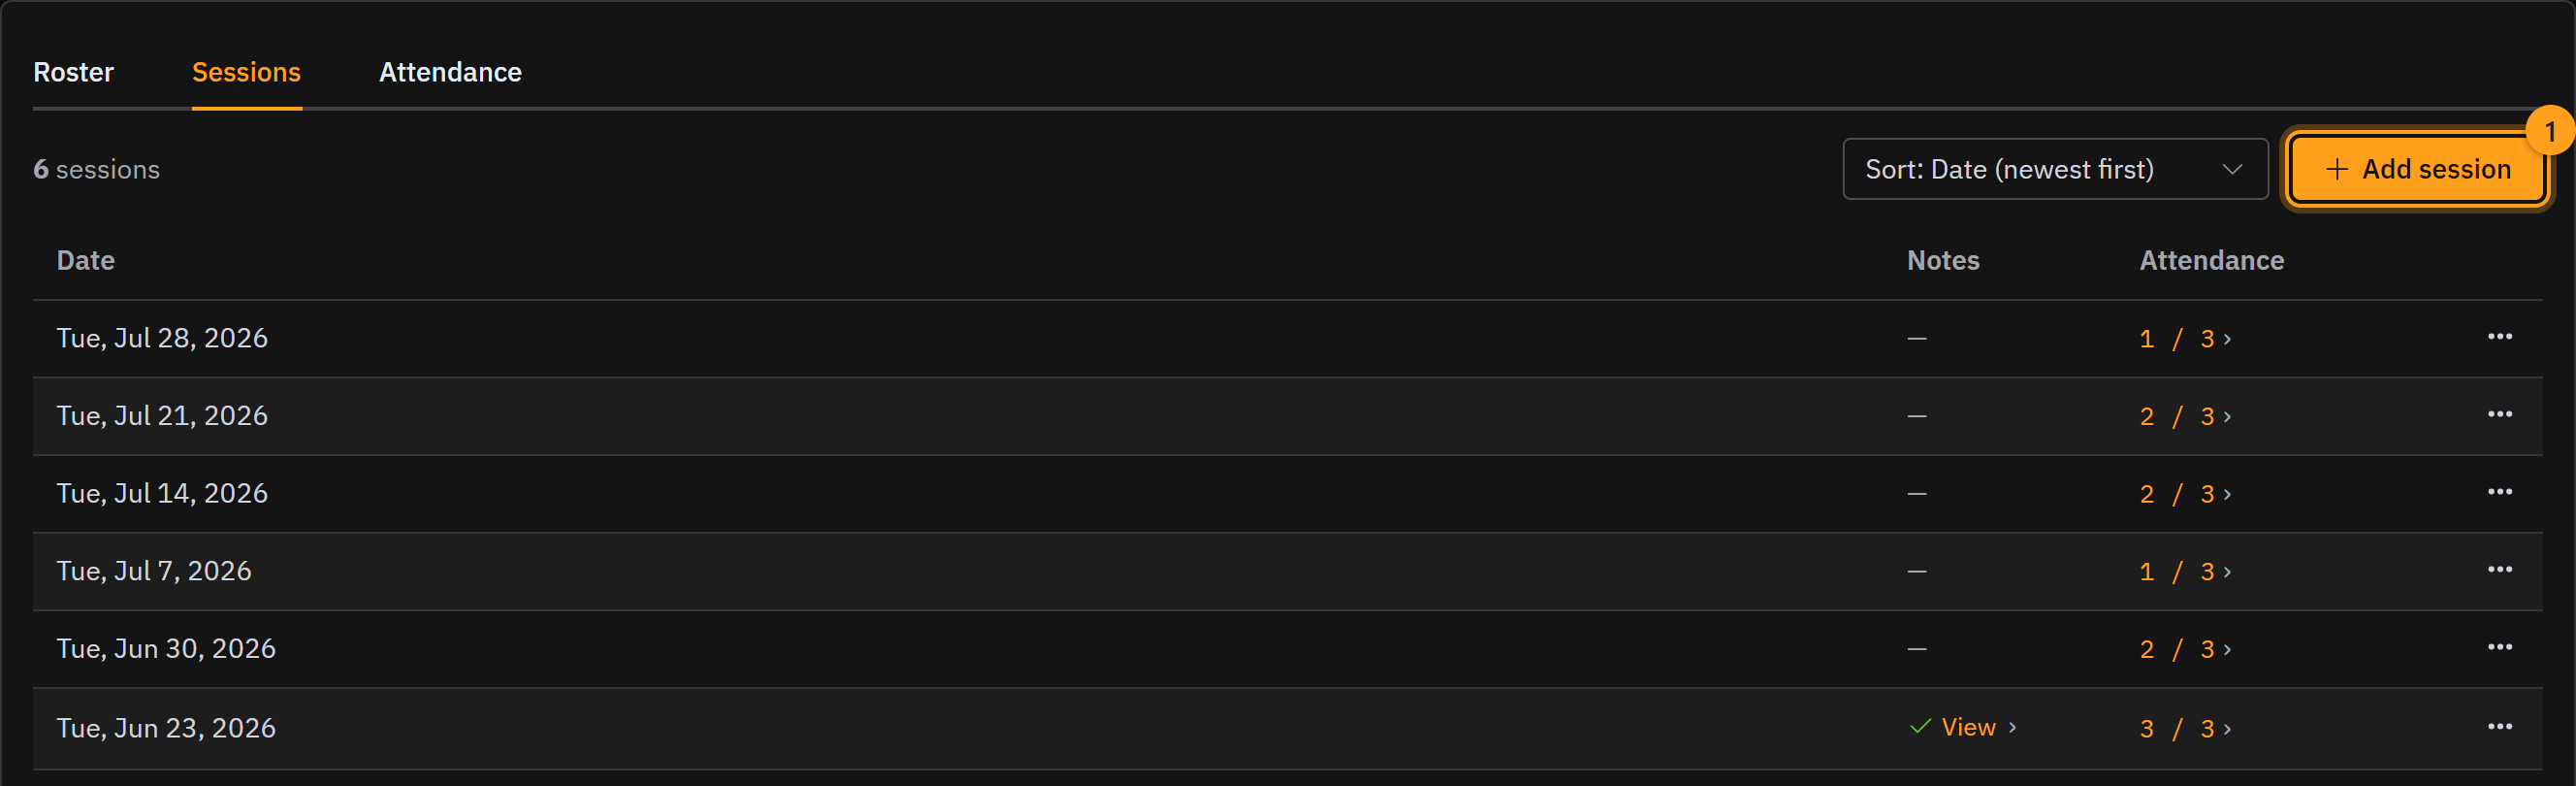
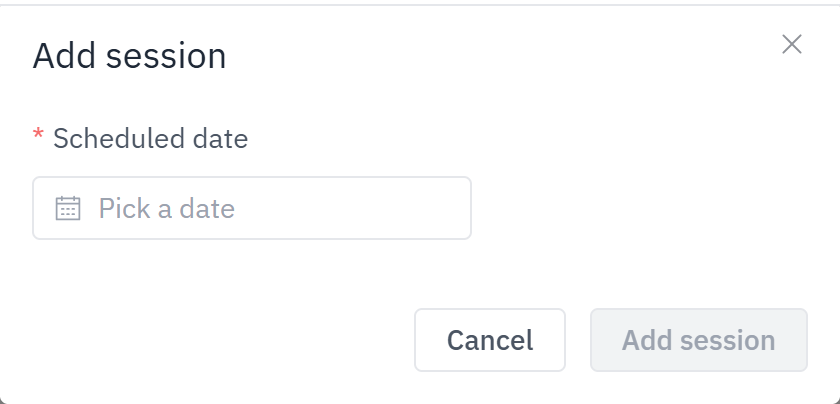
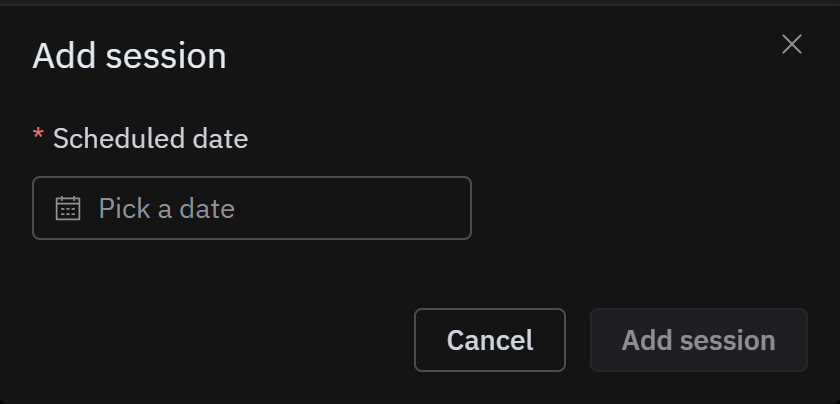
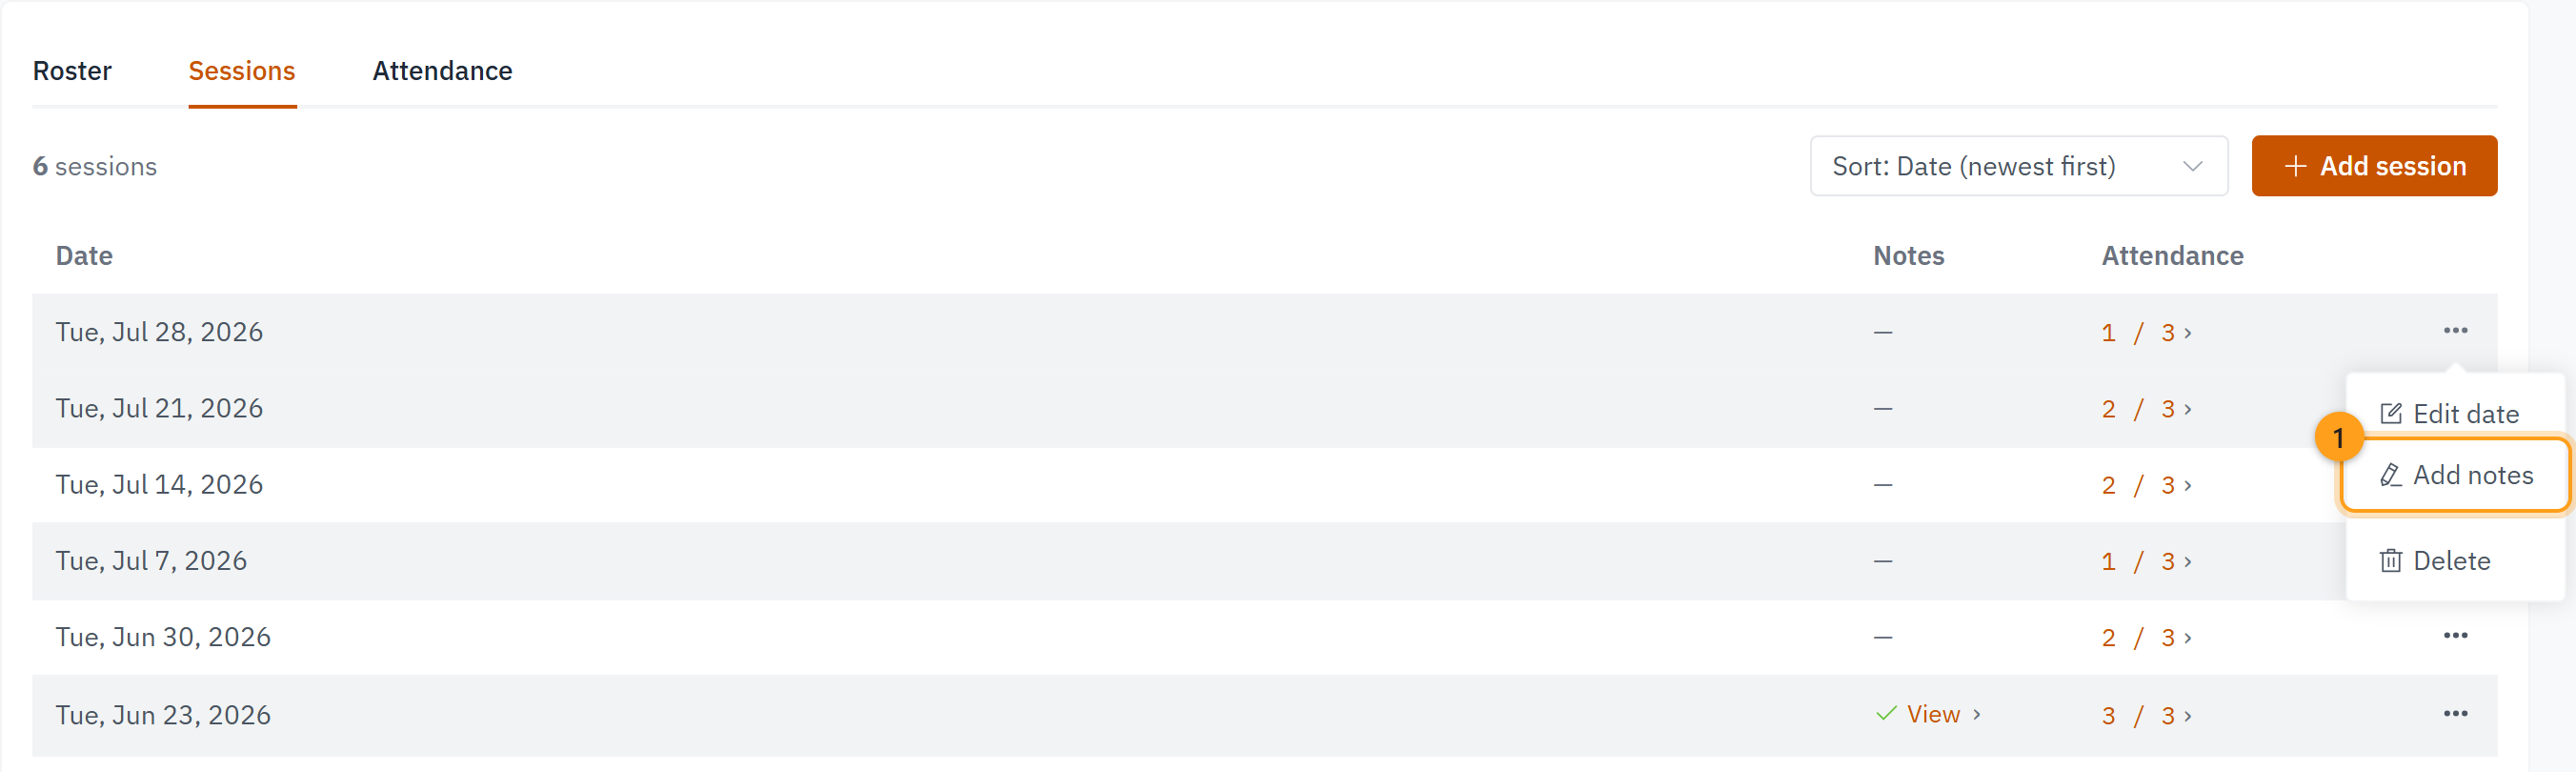
Each meeting lives on the Sessions tab. Create one for every gathering (1), with a date, and you'll have a clean record of every session your group holds.
Step 5 · Take attendance
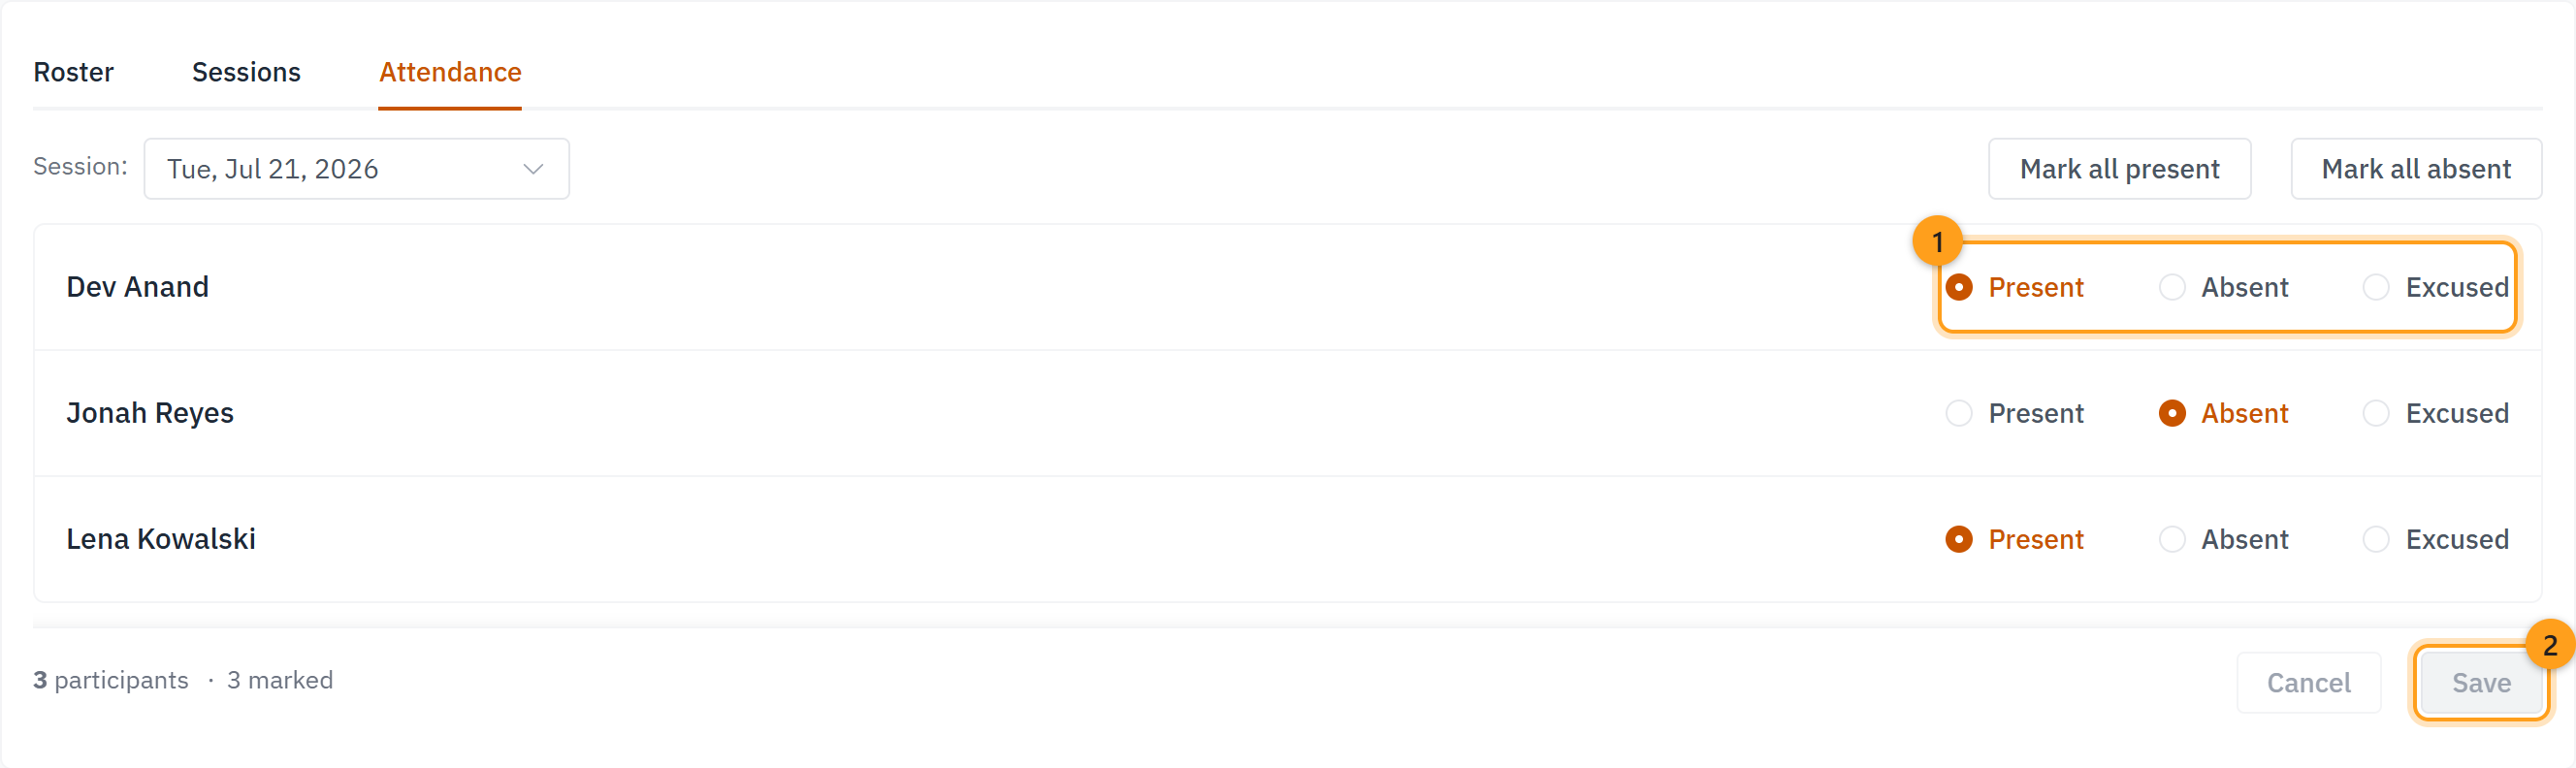
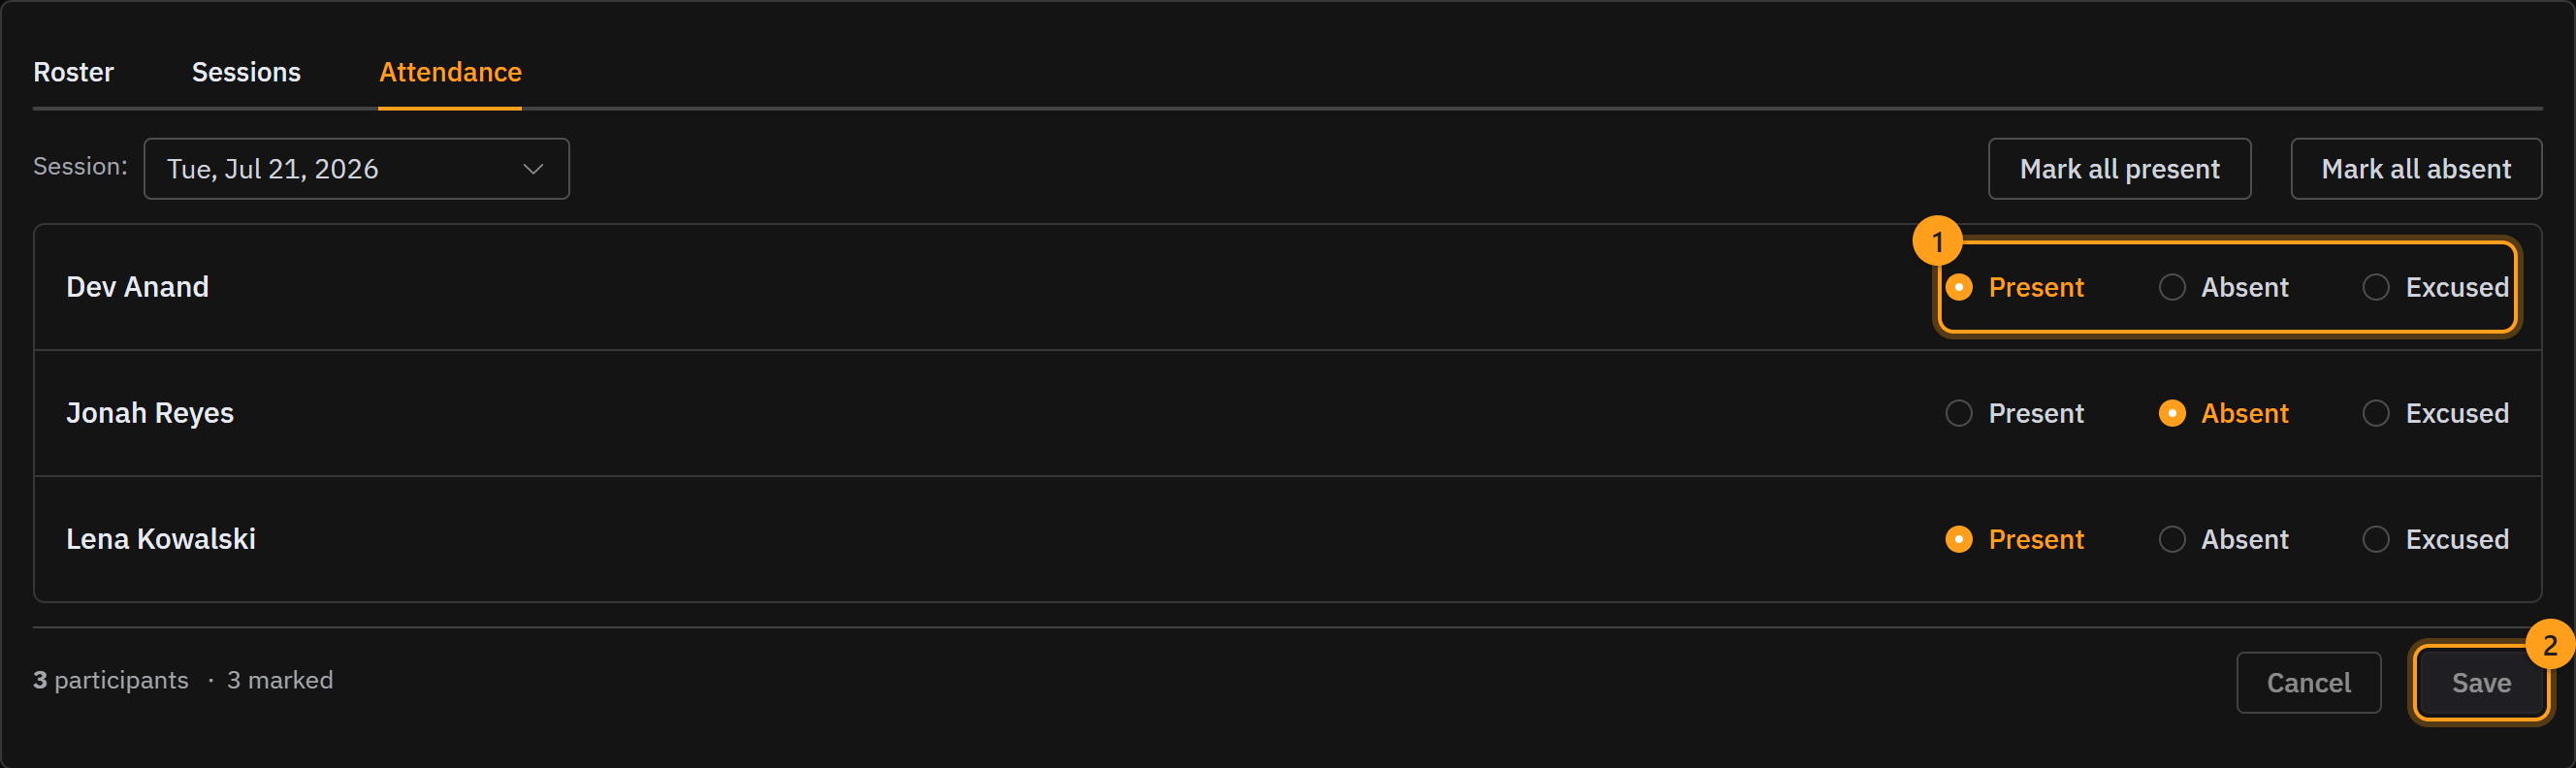
During the meeting, open the Attendance tab, pick the session, and mark who showed up (1): Present, Absent, or Excused. Click Save (2) and each student's progress bar moves. Only Present counts toward it, so an excused absence keeps the reason on record without advancing the student.
Step 6 · Add notes after the meeting
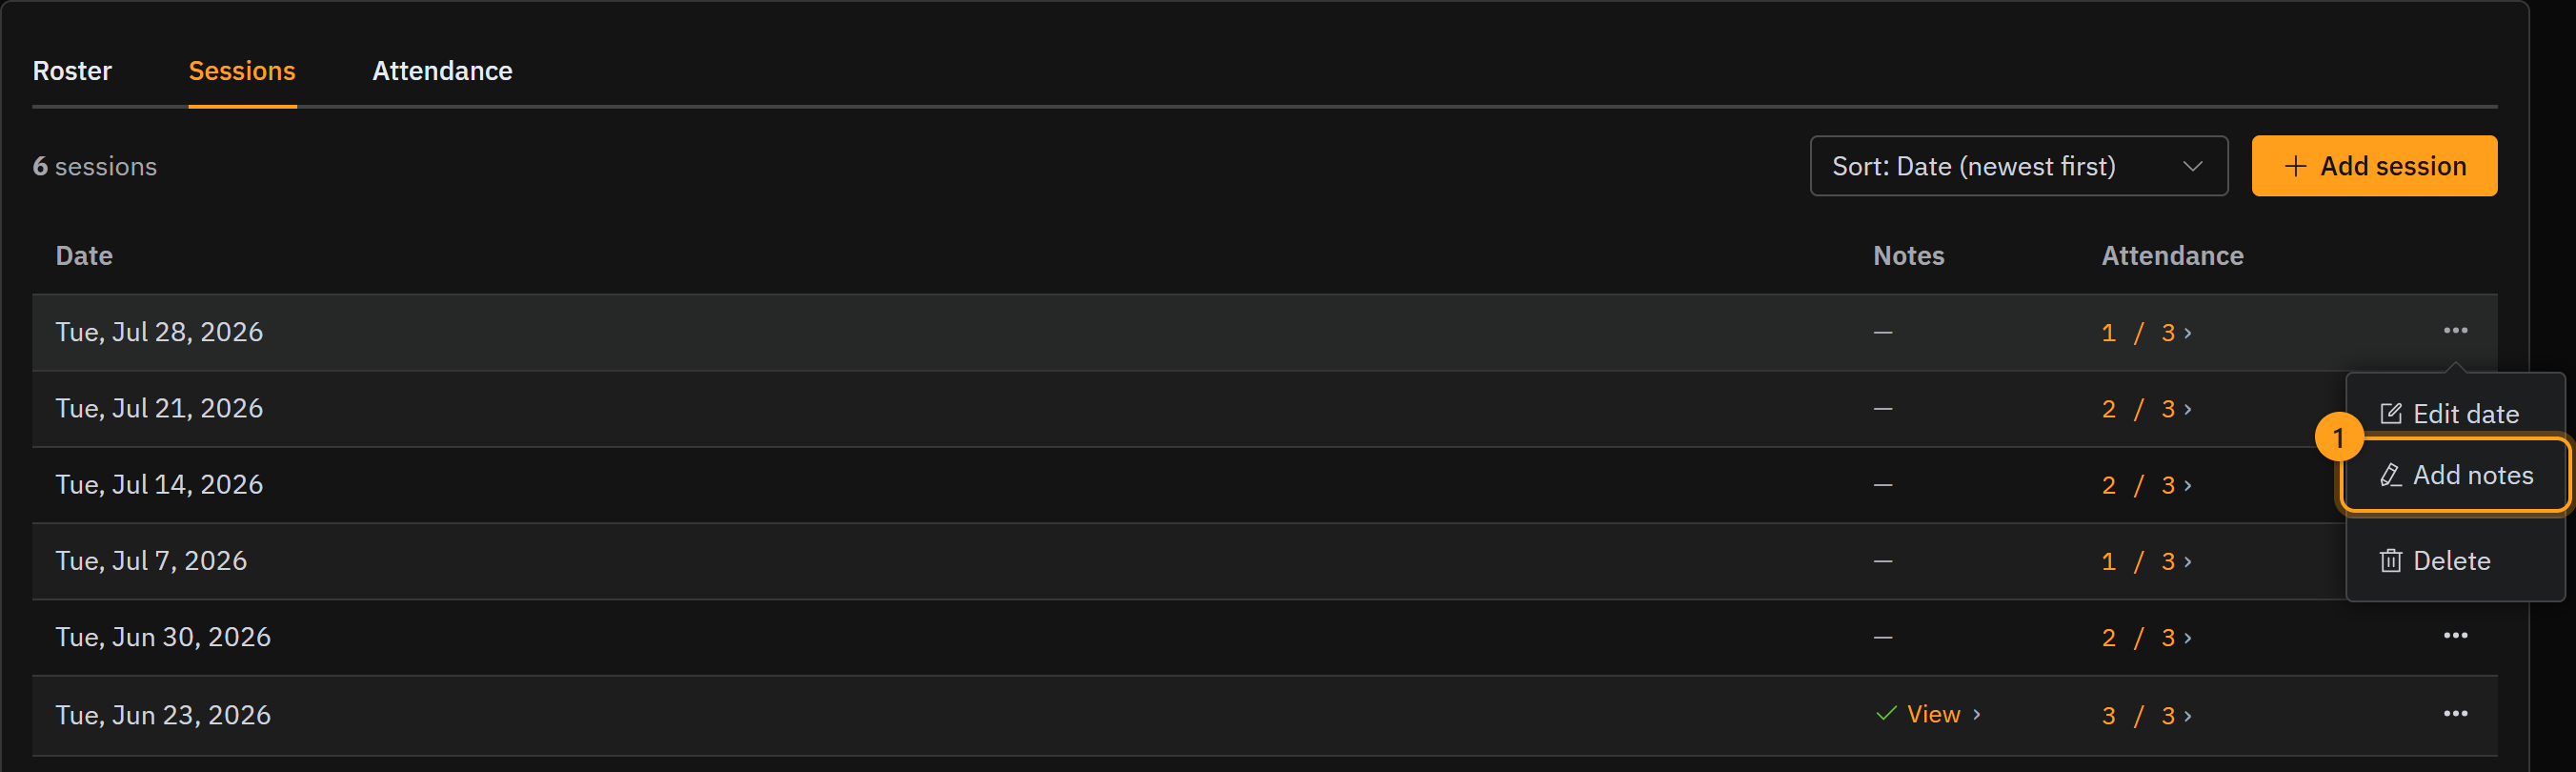
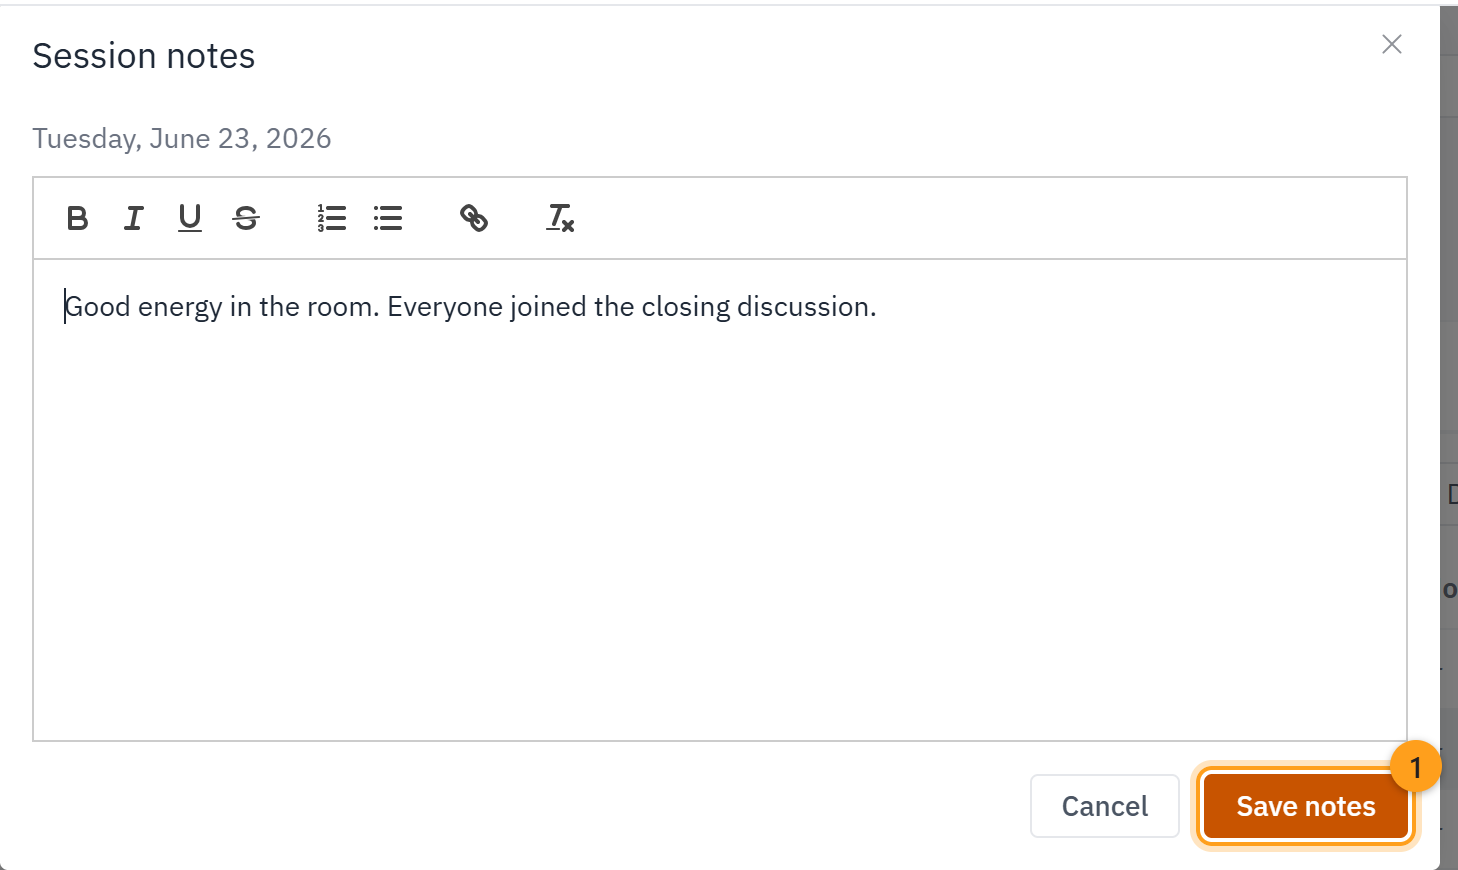
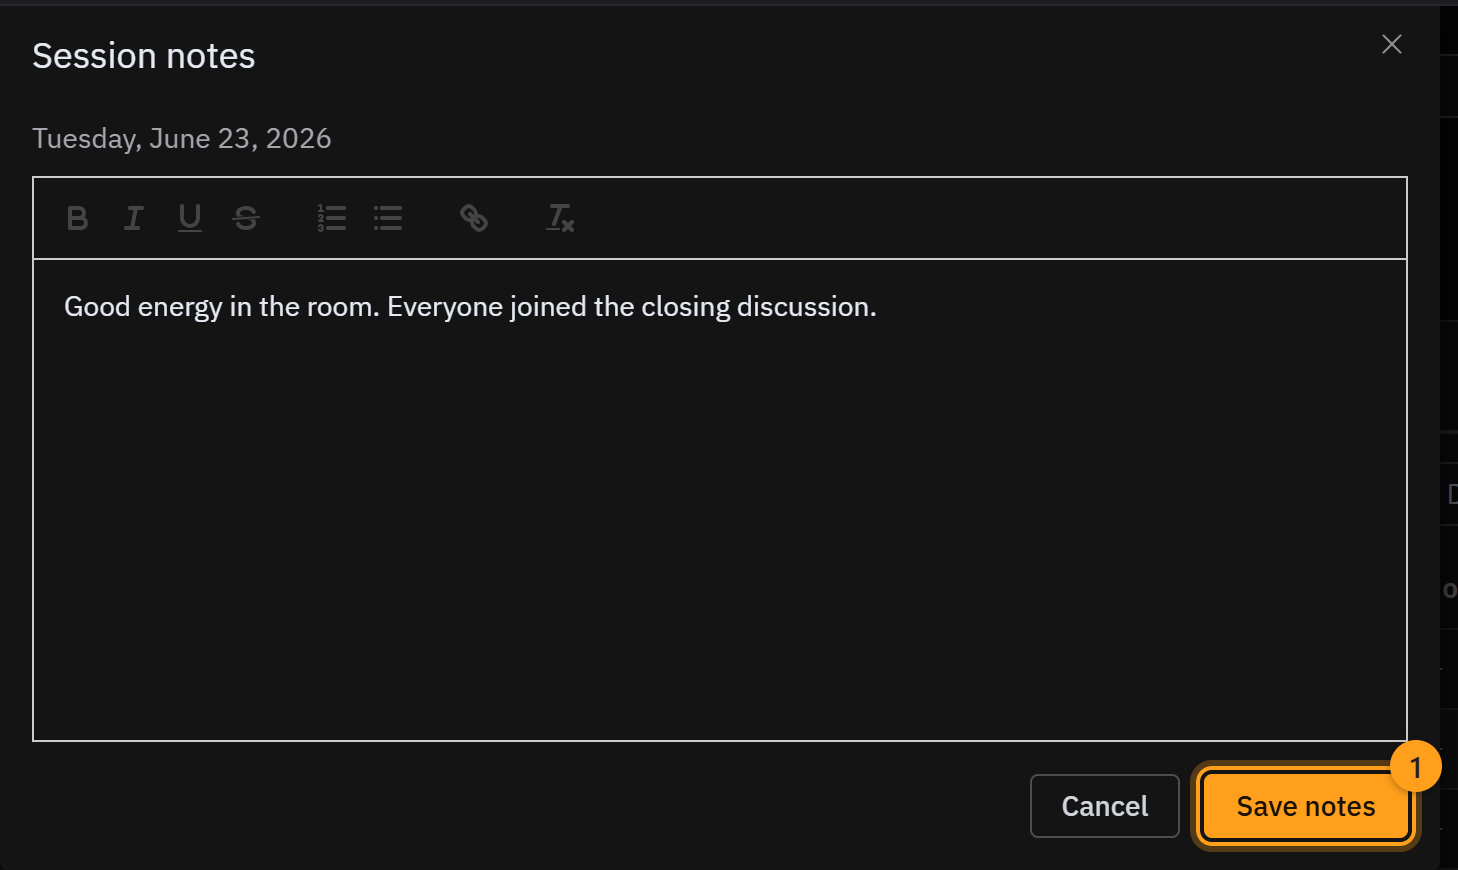
Once a meeting wraps up, return to the Sessions tab, open the ⋯ menu on that session, and choose Add notes (1). That way there's always a clear picture of how it went.
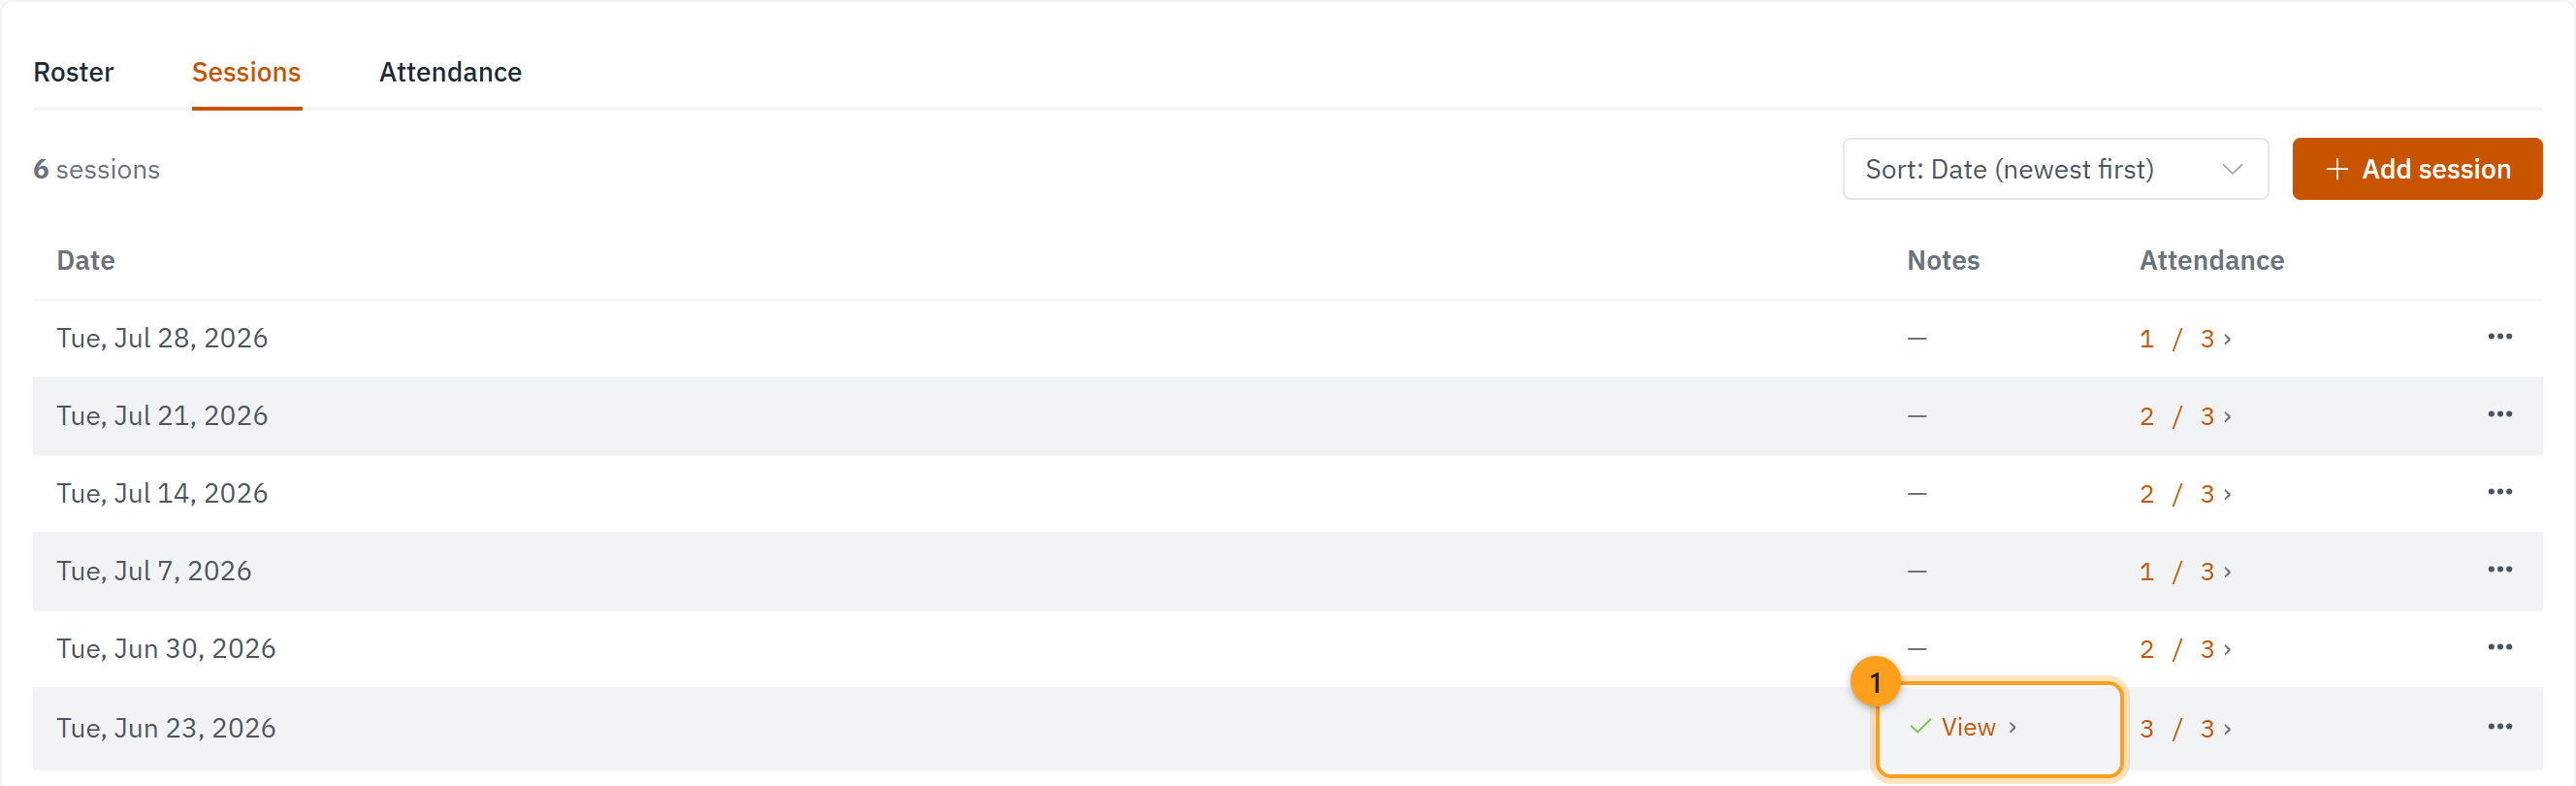
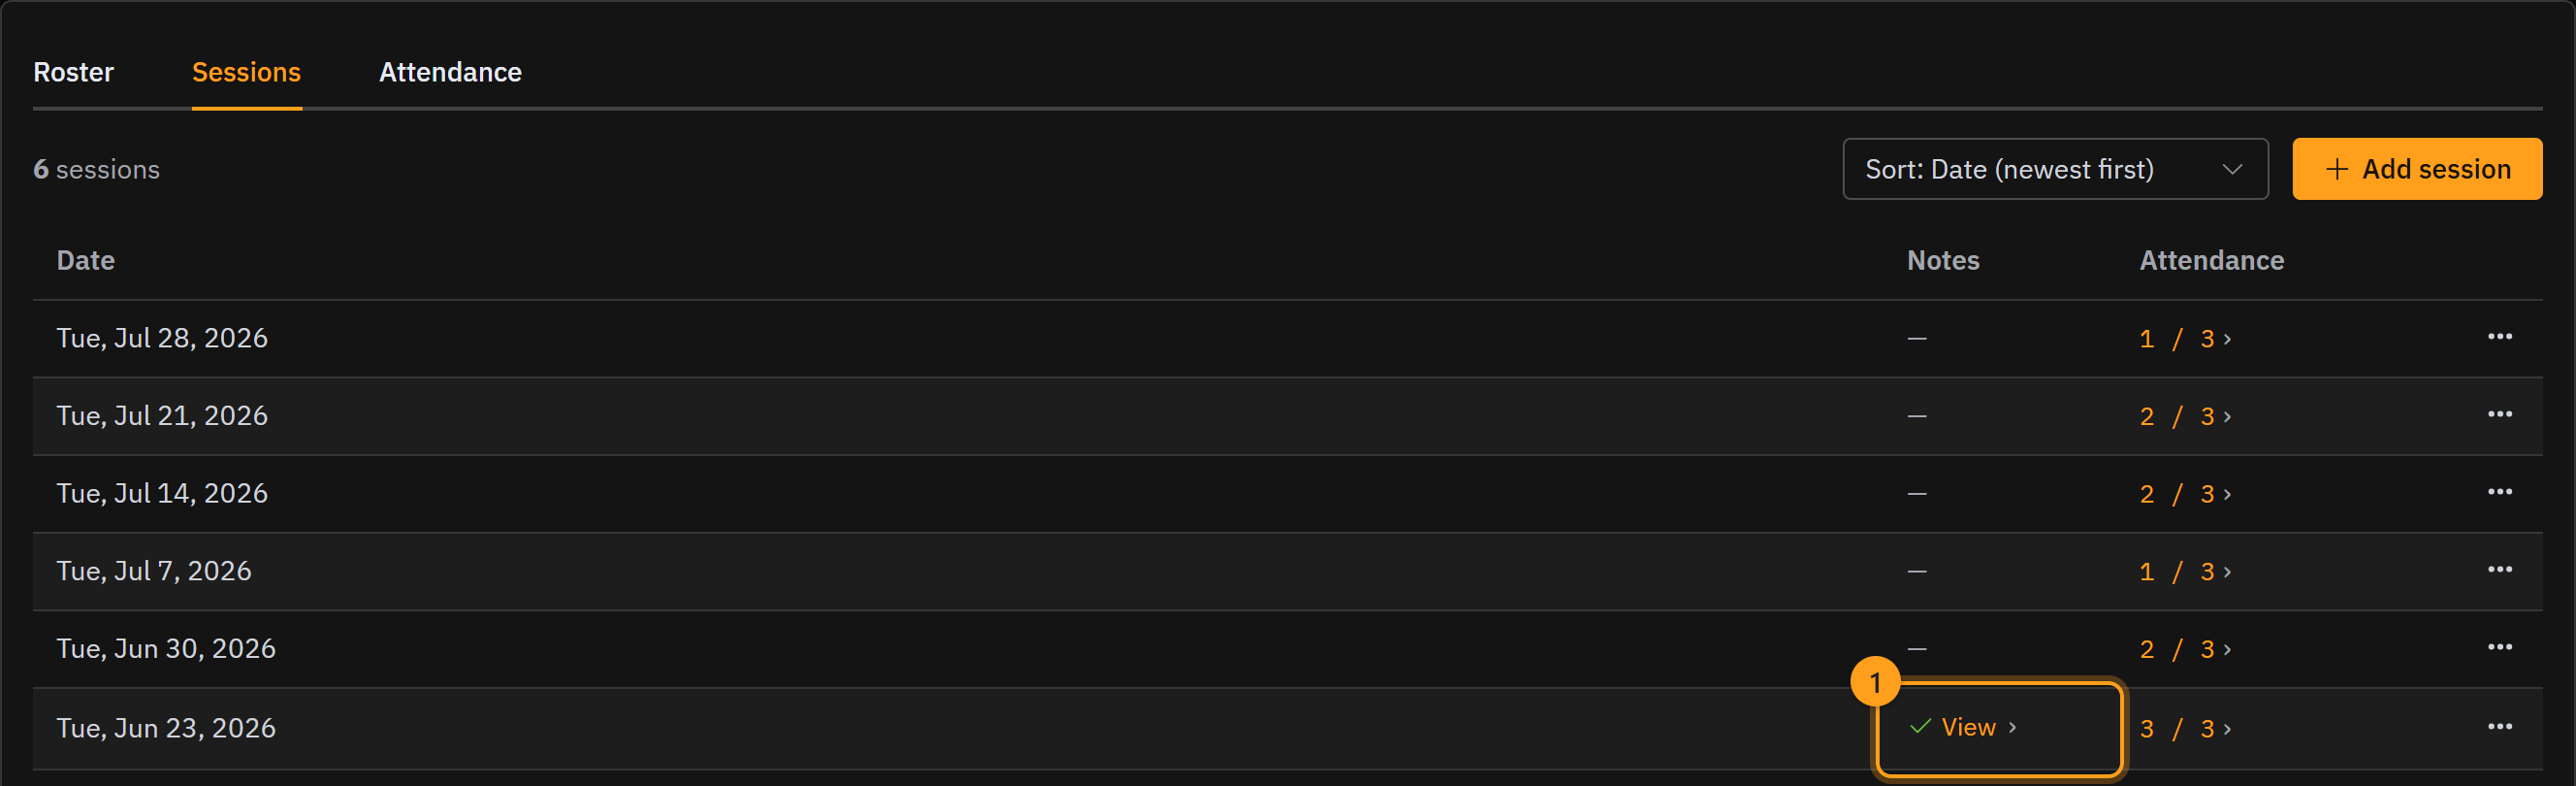
There's a note for each student too
The note above is about the whole meeting. The Notes tab holds one for each student as well — how that student did on that day — and lets you follow one student's notes across every meeting. The full walkthrough is in Notes.
Step 7 · See every meeting at once
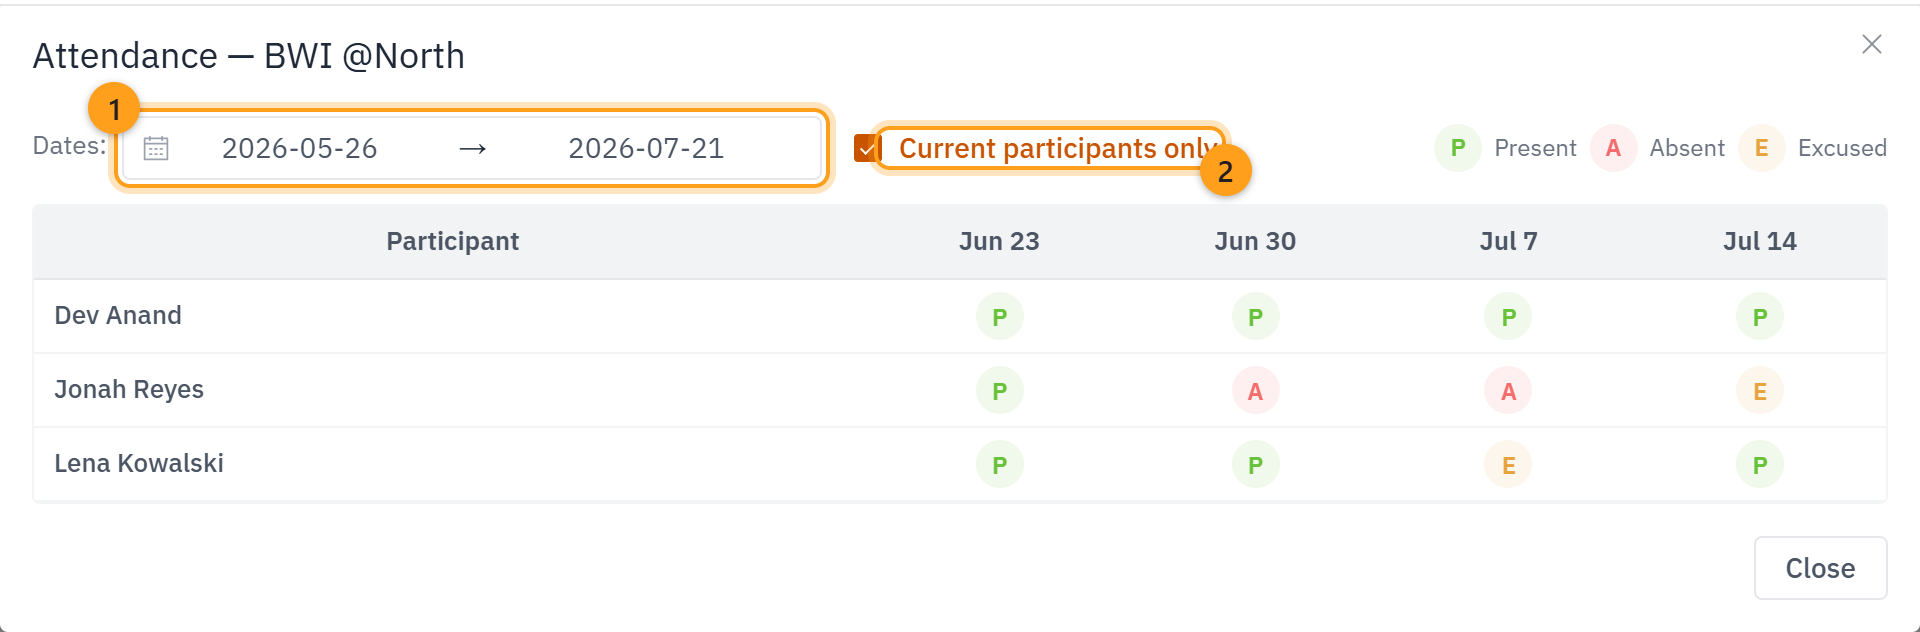
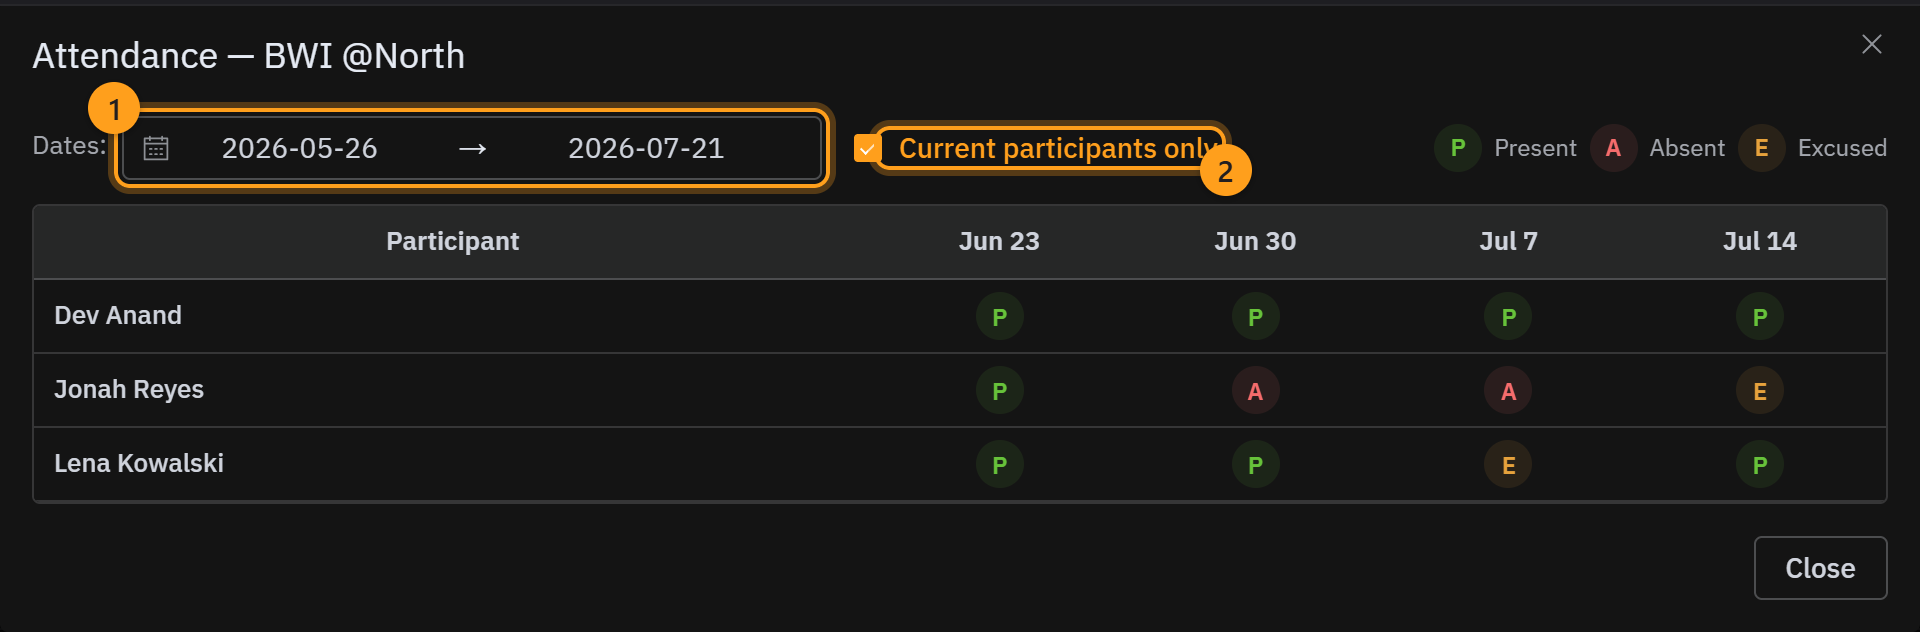
Taking attendance tells you about one meeting. View attendance, in the group header, shows you all of them together: a row per student, a column per meeting, a letter in every cell. P for present, A for absent, E for excused.
The roster gives you a number. The grid shows you the shape of it: which weeks a student missed, and whether they missed them back to back.
- Dates (1) sets how far back you look. Shortcuts cover the last 4, 8 or 12 weeks, or all time. It opens on the last 8 weeks.
- Current participants only (2) hides students who finished BWI or withdrew, leaving the students you're still meeting with.
A row of A's often means an empty tick box
Saving a session records a mark for every student enrolled by that date, not only the ones you ticked. Leave someone unticked and they're saved as absent. Once a student is marked Completed they stop being counted, so meetings after that show a dash.
Checking one student
If a parent calls to ask how their child is doing, you don't need the whole grid. Open the student's case and go to the Groups tab. Select the arrow next to the group to see their last 8 weeks. See The case tabs for more information.
Step 8 · Export it for your report
When a funder, a school, or your board asks for numbers, use Export in the group header. Both downloads are spreadsheet (CSV) files that open in Excel or Google Sheets.
- Download roster CSV (1) gives you a row per student: intake workflow, enrollment date, status, sessions attended, and sessions on record.
- Download attendance matrix CSV (2) gives you the grid from Step 7, meeting by meeting.
Current participants only shapes both files. The date range only applies to the attendance grid, so a roster download always covers everyone the tick box lets through.


These files list students by name
Send them only to people who should see student names, and keep the file somewhere safe.
→ Next: Graduation
Quick reference
Group tabs: Roster · Sessions · Attendance · Notes
What you do on each tab
| Tab | What you do there |
|---|---|
| Roster | Enroll participants (add a student) |
| Sessions | Create a session (a meeting) |
| Attendance | Mark who attended each session |
| Notes | Write up the meeting, and each student's day — see Notes |
In the group header
| Button | What it gives you |
|---|---|
| View attendance | The whole grid on screen: every student, every meeting |
| Export | Roster CSV, or the attendance grid as CSV |
Attendance marks: P present · A absent · E excused
Participant status: Active (and later Completed, covered in Graduation).