

Appearance
Activities settings
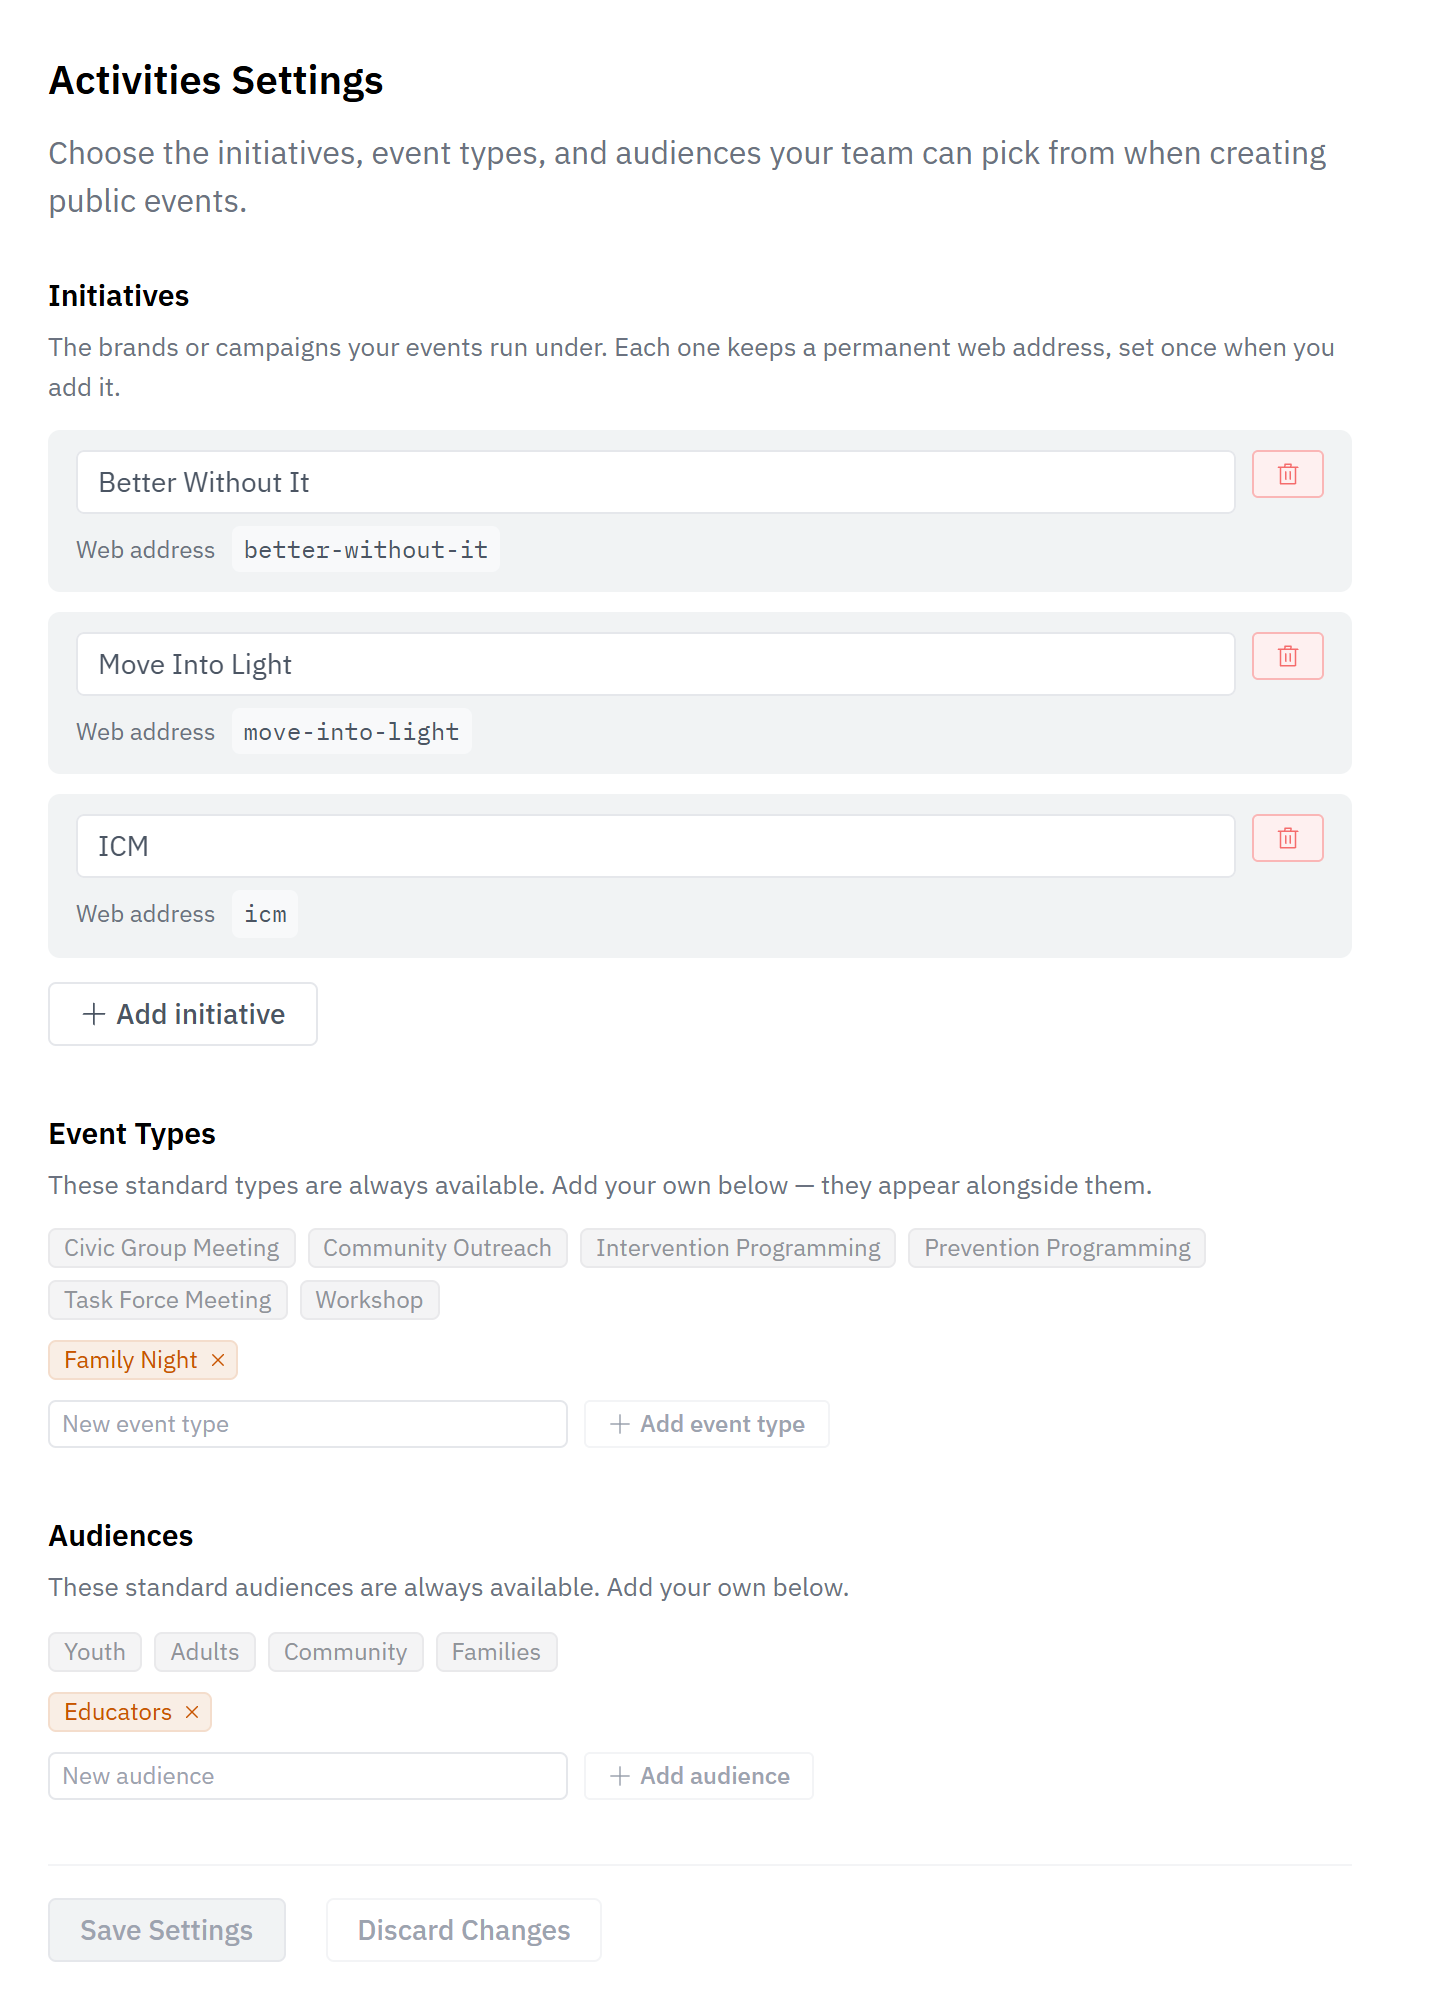
Activities settings is where you decide what your team can choose from when they create a public event — your initiatives, your event types, and your audiences. Set them once here, and they show up in the event form for everyone in the workspace.
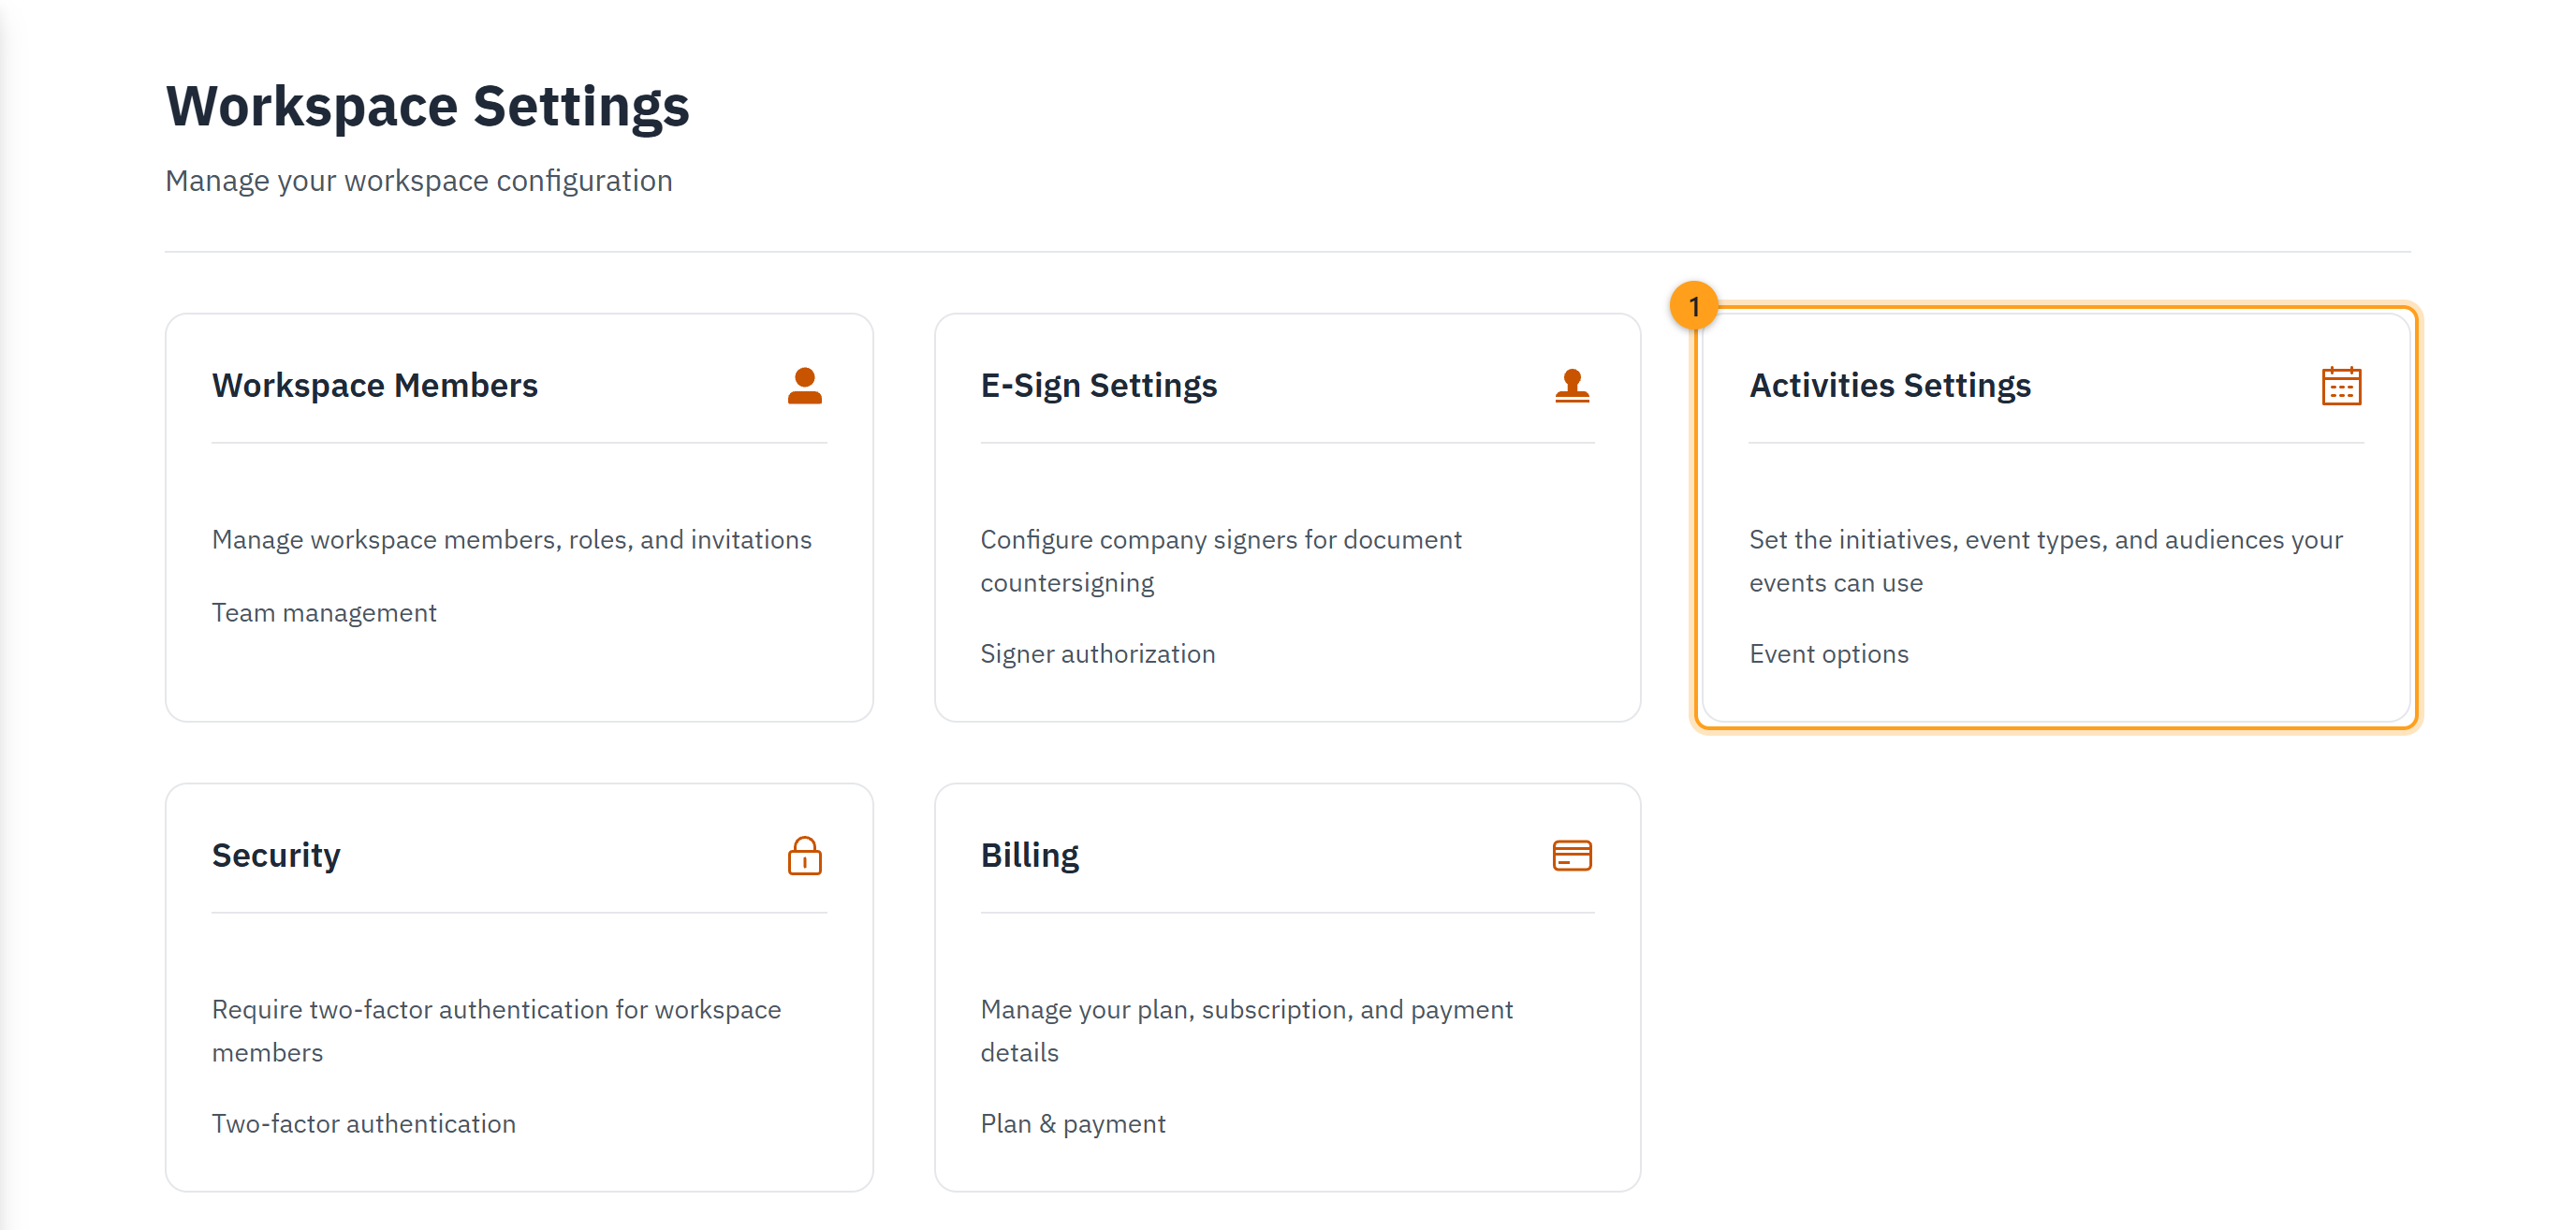
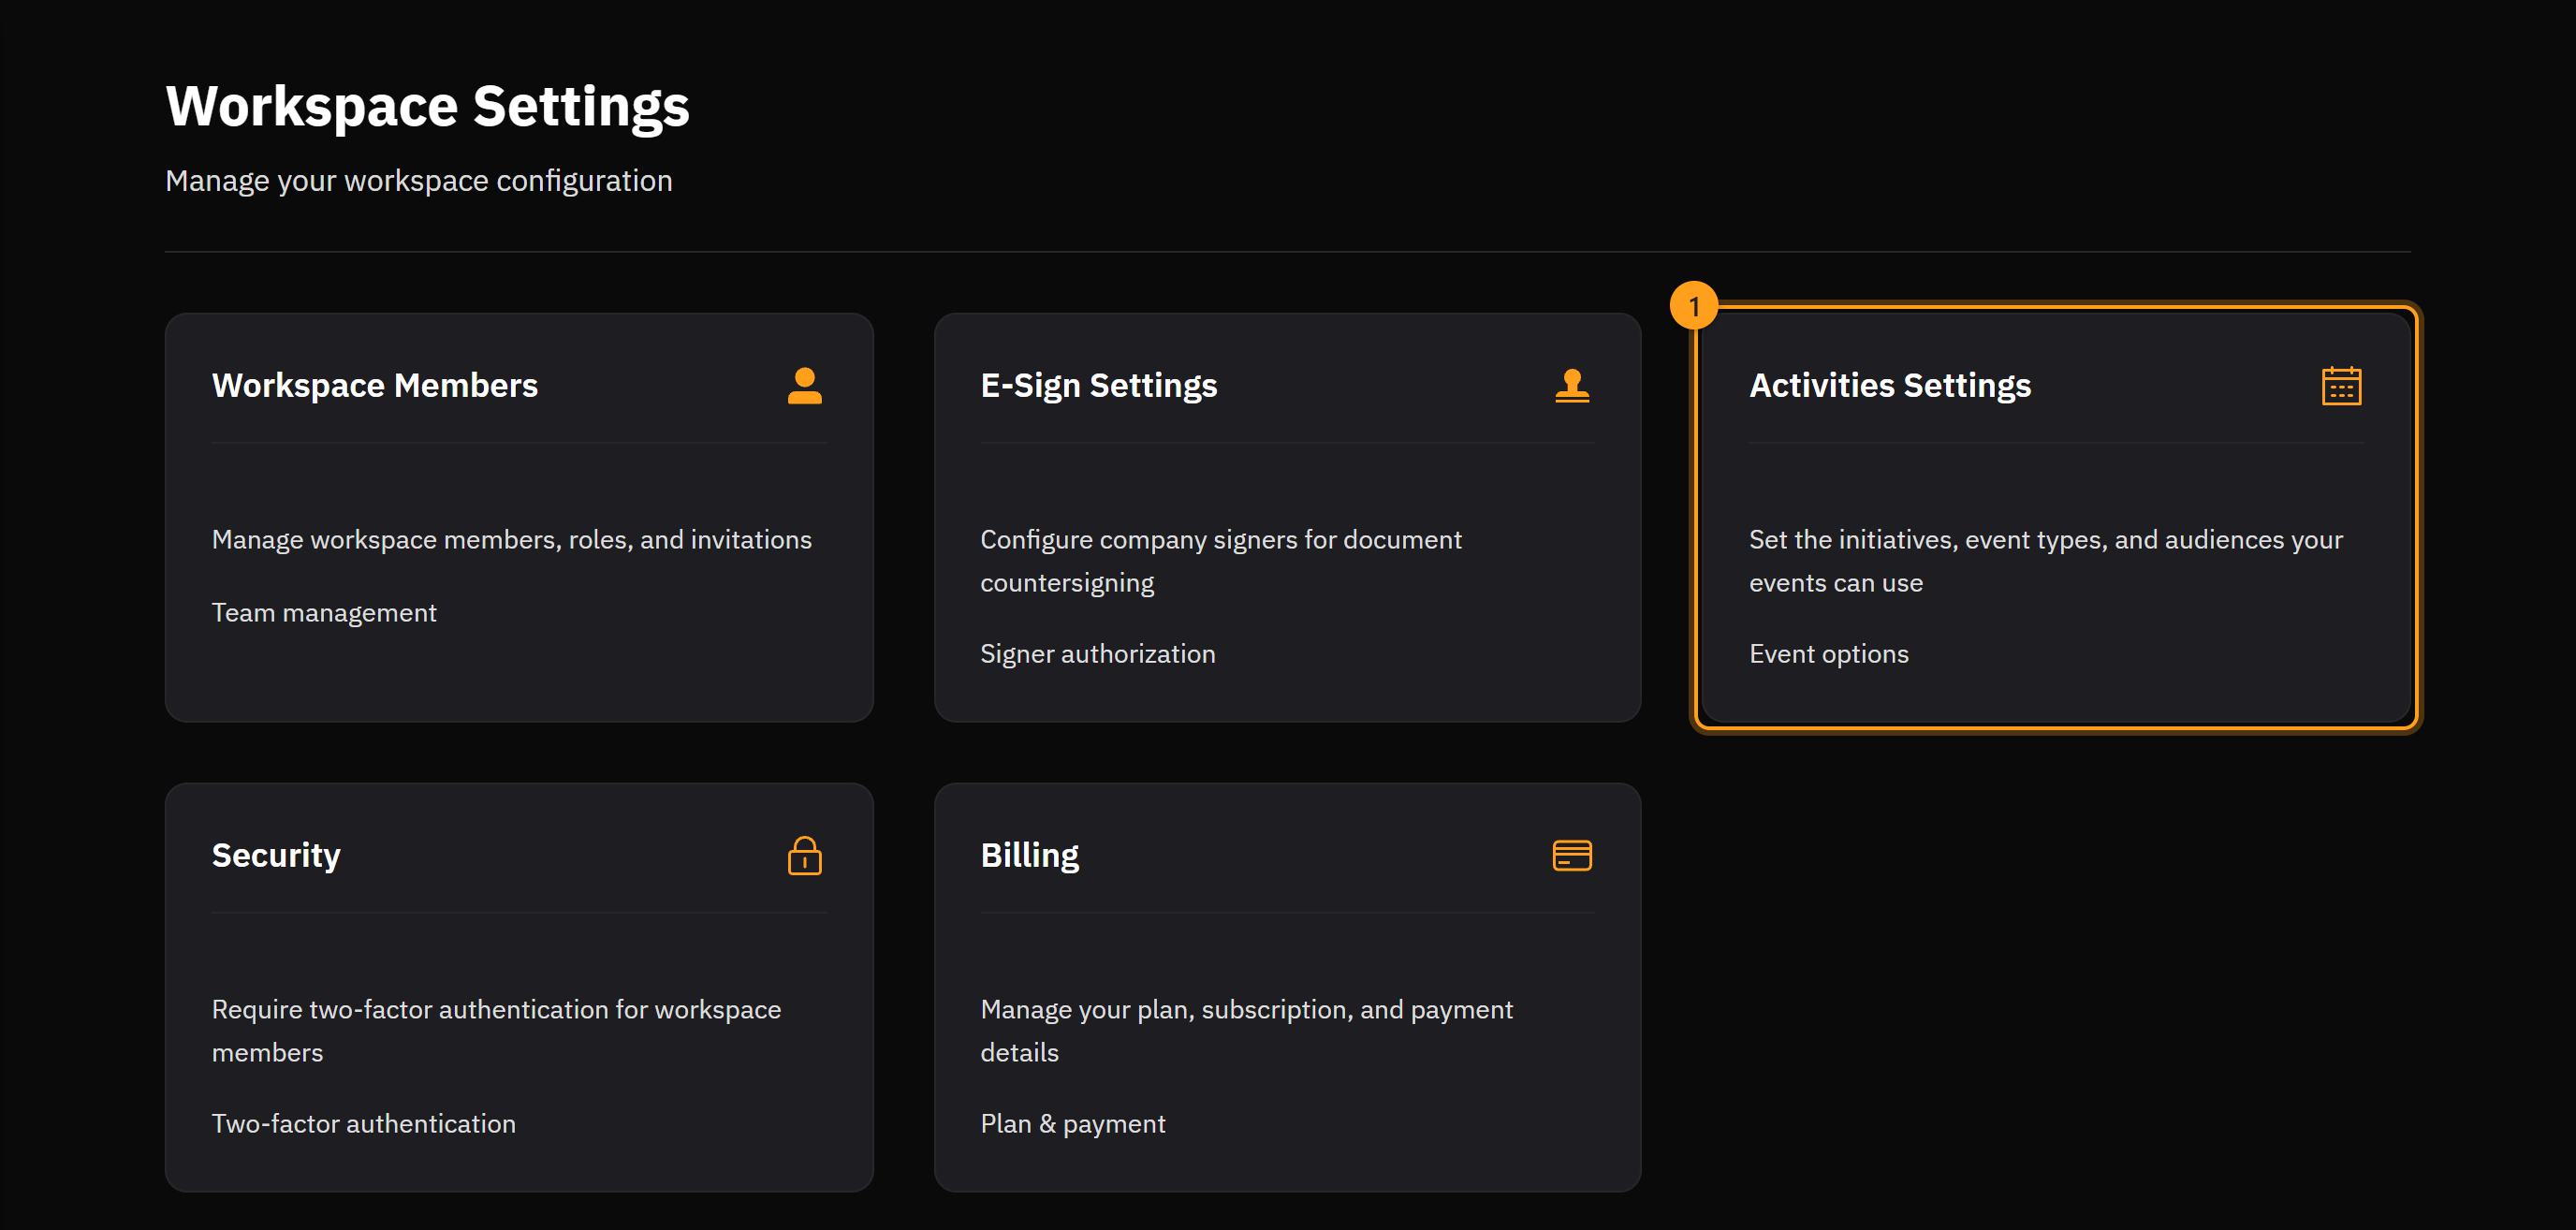
Find it in Workspace Settings → Activities Settings.
You'll need admin access
Only workspace owners and admins can open this page. Everyone else simply picks from the lists you set up here.
What an initiative is
An initiative is a slice of your organization — a brand or campaign you run events under. A prevention campaign, a youth program, a community effort: each one can be its own initiative, so the events that belong to it stay together.
Your organization is always the first one. The top row of the list is your workspace, marked Default, and you can't rename or remove it — its name follows your workspace name. Any event that isn't assigned to one of the initiatives below it belongs there. That's what makes it safe to leave this page alone entirely: many organizations run everything under one name and never add a thing.
Add initiatives when you want to separate your events into named campaigns. They sit alongside your default, they don't replace it — so you can still mark an event as organization-wide by leaving the Initiative box empty, or by picking your organization's own name from it.
Filter key
The default row shows a Filter key instead of a web address: a long string of letters and numbers. You never need to type it. It's there for a connected event site or a developer who wants to pull only your organization-wide events.
Add an initiative
- Select Add initiative. A new row appears.
- Type the Initiative name — this is the label your team sees on the event form, and the label that travels with the event.
- The Web address fills in for you from the name (for example, Move Into Light becomes
move-into-light). Shorten or tidy it now if you'd like. - Select Save Settings.
The web address is set once
After you save, the web address is fixed — the row shows it as plain text instead of a box you can edit. Links from outside and any connected event site point at that address, so changing it would break them. If you really need a different one, add a new initiative and remove the old.
A few rules the page will hold you to:
- Every initiative needs a name and a web address.
- Names have to be different from each other, and so do web addresses.
- A web address can use lowercase letters, numbers, and hyphens only.
- A name can't contain a comma, a semicolon, or a vertical bar — those characters are used to separate values in filters and spreadsheet imports.
- You can have up to 50 initiatives.
- The default row's filter key is reserved — an initiative can't use it as its web address.
If something's wrong, the row explains it in red and Save Settings stays greyed out until you fix it.
Naming an initiative exactly like your organization is allowed, but the page points it out: from then on, events tagged with that name count as that initiative, not as your default.
Rename an initiative
You can change a name whenever you like — just edit it and save. The page warns you first, because a rename doesn't reach backwards:
- Events you already saved keep the old name on them.
- Anything that looks the initiative up by its web address still finds those events.
- Anything that filters on the exact name — a public event site, for instance — stops showing them until it's updated to the new spelling.
Rename sparingly
The portal remembers one previous name per initiative. If you rename the same initiative twice, events tagged before the first rename may no longer be picked up. Settle on a name and stay with it where you can.
Remove an initiative
Select the delete button on the row, then Save Settings.
Events you already tagged keep the name they were saved with, so nothing disappears from your lists or your event pages. The initiative simply stops being offered on new events.
Removing moves those events to your default
Once an initiative is gone, the events that were under it move to your organization's default initiative the next time each one is saved — for any reason, including a status change. A connected site that shows only that initiative's events will stop finding them.
So remove an initiative when you're finished with it, not to tidy the list. If you remove one by mistake, add it back with the same web address before those events are saved again and they stay where they were.
Clearing the whole list is a bigger step, so the portal asks first — Remove all initiatives? Choose Remove all to go ahead, or Keep them to back out. With no initiatives left, every event belongs to your organization's default.
Event types and audiences
These two lists work differently from initiatives: the standard values are always available, and anything you add is offered alongside them.
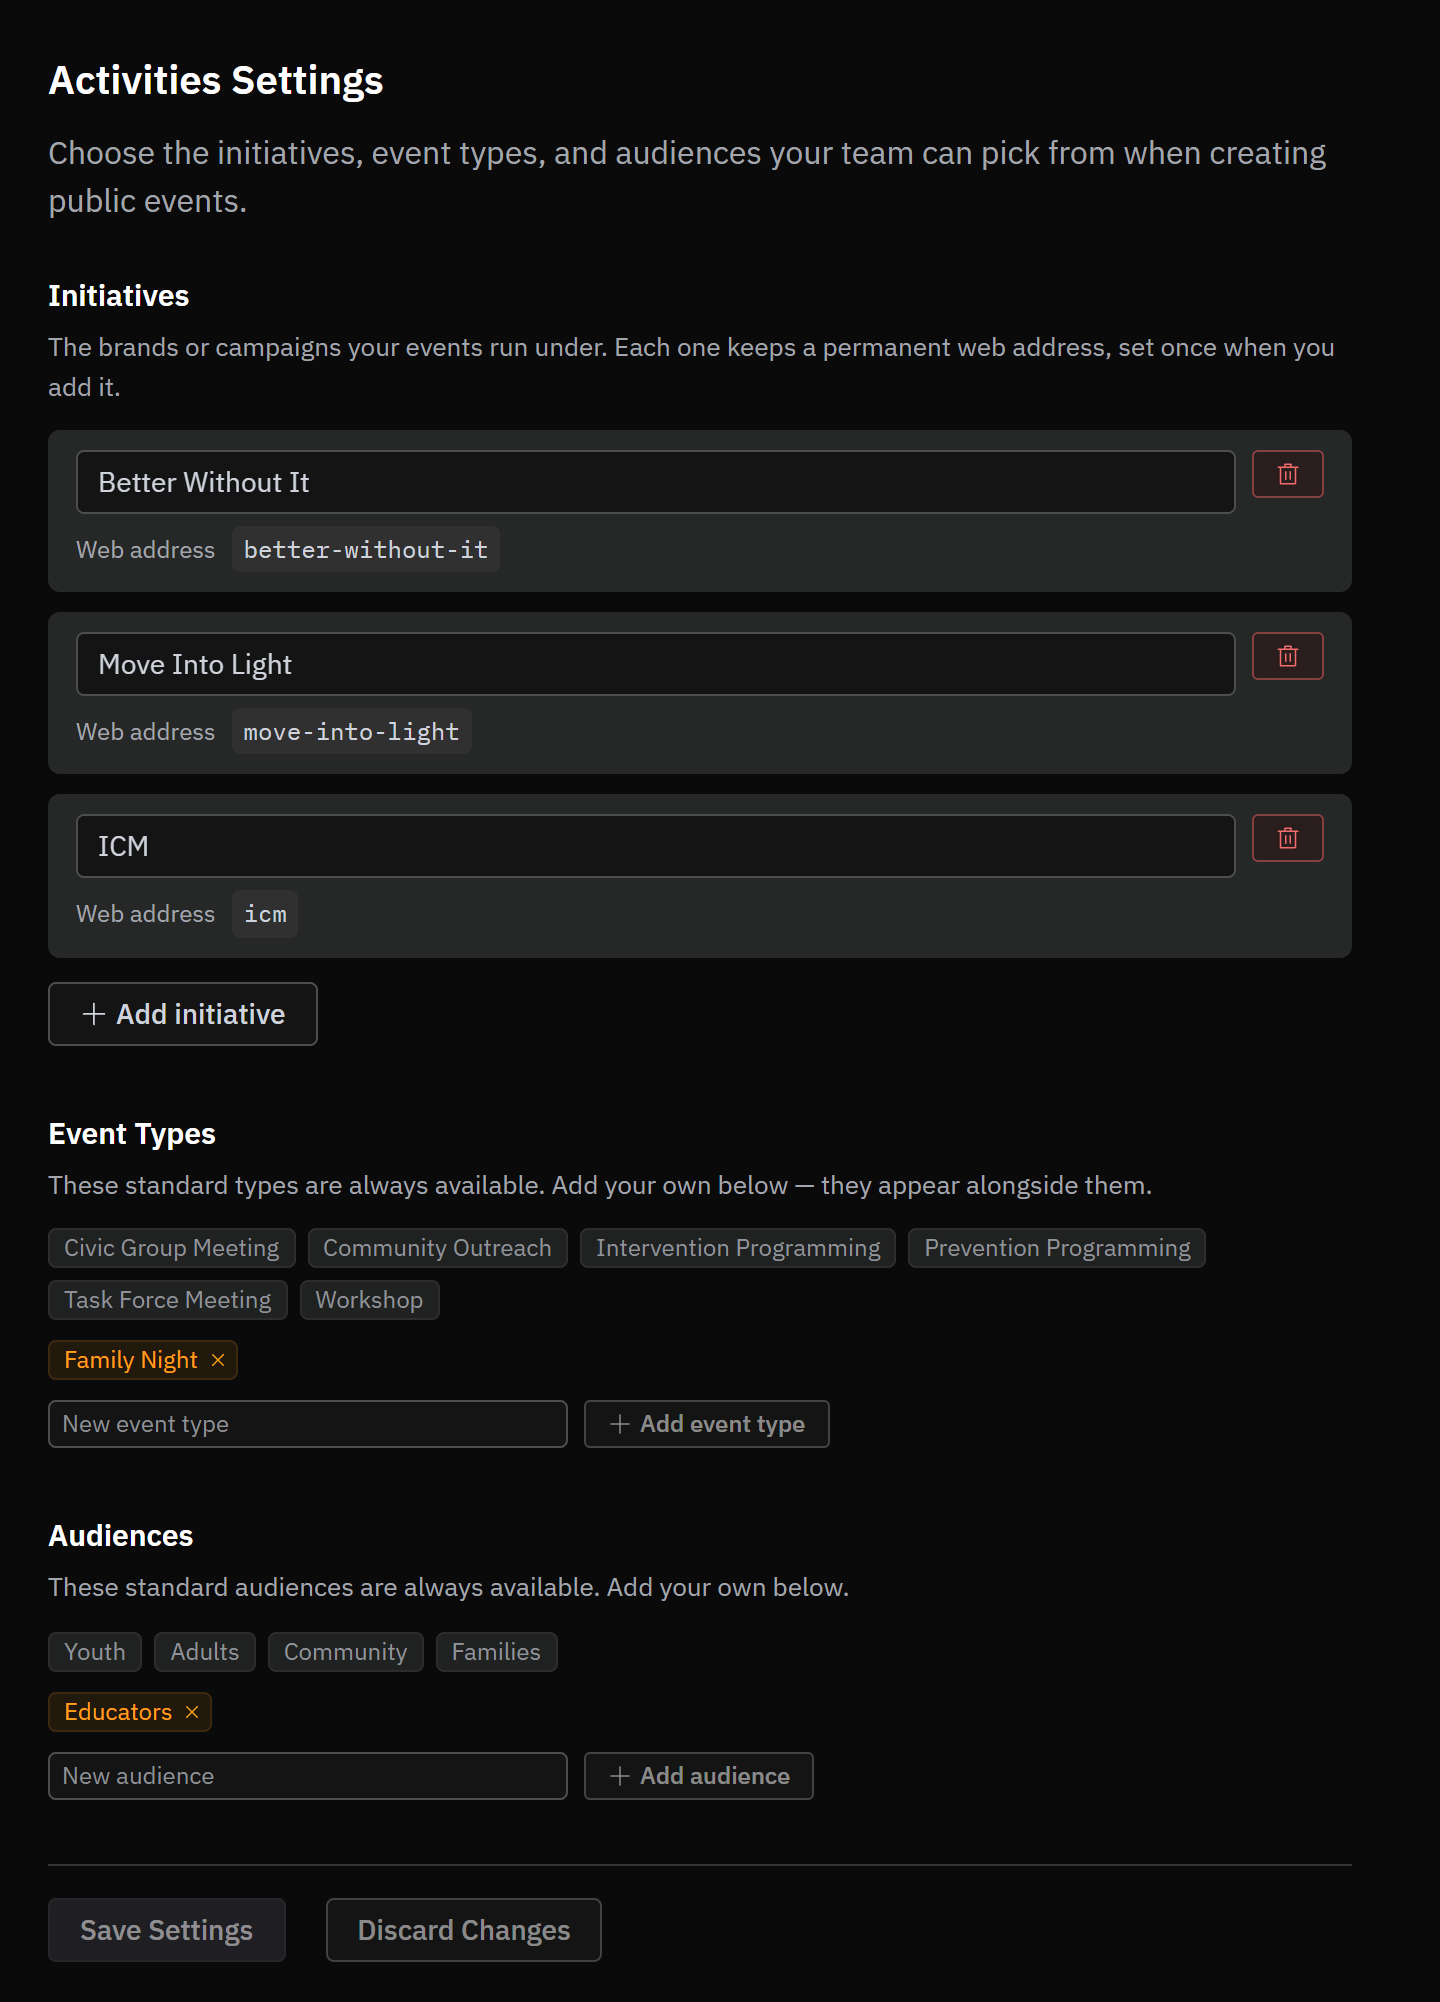
Standard event types: Civic Group Meeting, Community Outreach, Intervention Programming, Prevention Programming, Task Force Meeting, Workshop.
Standard audiences: Youth, Adults, Community, Families.
They're shown as grey tags, and you can't remove them. To add your own:
- Type the value in the New event type (or New audience) box.
- Select Add event type (or Add audience), or just press Enter.
Your own values appear as tags with a small ✕ — select it to take one off the list. As with initiatives, a value can't contain a comma, semicolon, or vertical bar, can't repeat one that's already there, and each list holds up to 50 of your own additions.
Save or discard
- Save Settings turns on as soon as you've changed something and everything is valid.
- Discard Changes puts the page back the way it was when it loaded.
Someone edited the workspace while you had this open
If you see "Workspace settings changed since this page loaded — your edits were not saved", the portal has just reloaded the current lists for you. Nothing you typed is lost — look over the refreshed list, redo your change, and save again. Any workspace settings change can cause this, not only a change to this page.
Where these choices show up
Once saved, your lists appear in the Classification & Targeting section of the event form — the Initiative, Event Type, and Target Audience boxes. Each one lets you pick more than one value. See Creating an event.
They also shape the example spreadsheet you get when importing events, so the sample rows use your values instead of generic ones.
Importing events from a spreadsheet?
An import accepts whatever text is in the cell, so a misspelled initiative still saves — it just won't be connected to that initiative's web address. Match the spelling in your list exactly.
→ Next: Creating an event · Roles and permissions