

Appearance
Better Without It® Program Guide
Graduating a Student
In this guide: marking a student complete, scheduling the graduation visit, and graduating the case.
When a student has finished their sessions, this final guide walks you through celebrating their progress — from marking them complete in their group, to booking the graduation visit, to graduating the case and tucking it neatly away.
Good to know
As before, the button you click and the status badge it creates sometimes read differently. For example, you click Appointment Scheduled and the case then shows the status Graduation Appointment Scheduled. Both names are spelled out below.
Watch how it works
Prefer to see it done first? The student intake walkthrough ends with graduation, and the video below starts right at that part. It picks up after the student has already been marked complete in her group, then goes through scheduling the graduation visit, graduation day, and graduating the case, in about two minutes. If you want to see the whole journey, you can rewind to the beginning.
Step 1 · Mark the student Completed in their group
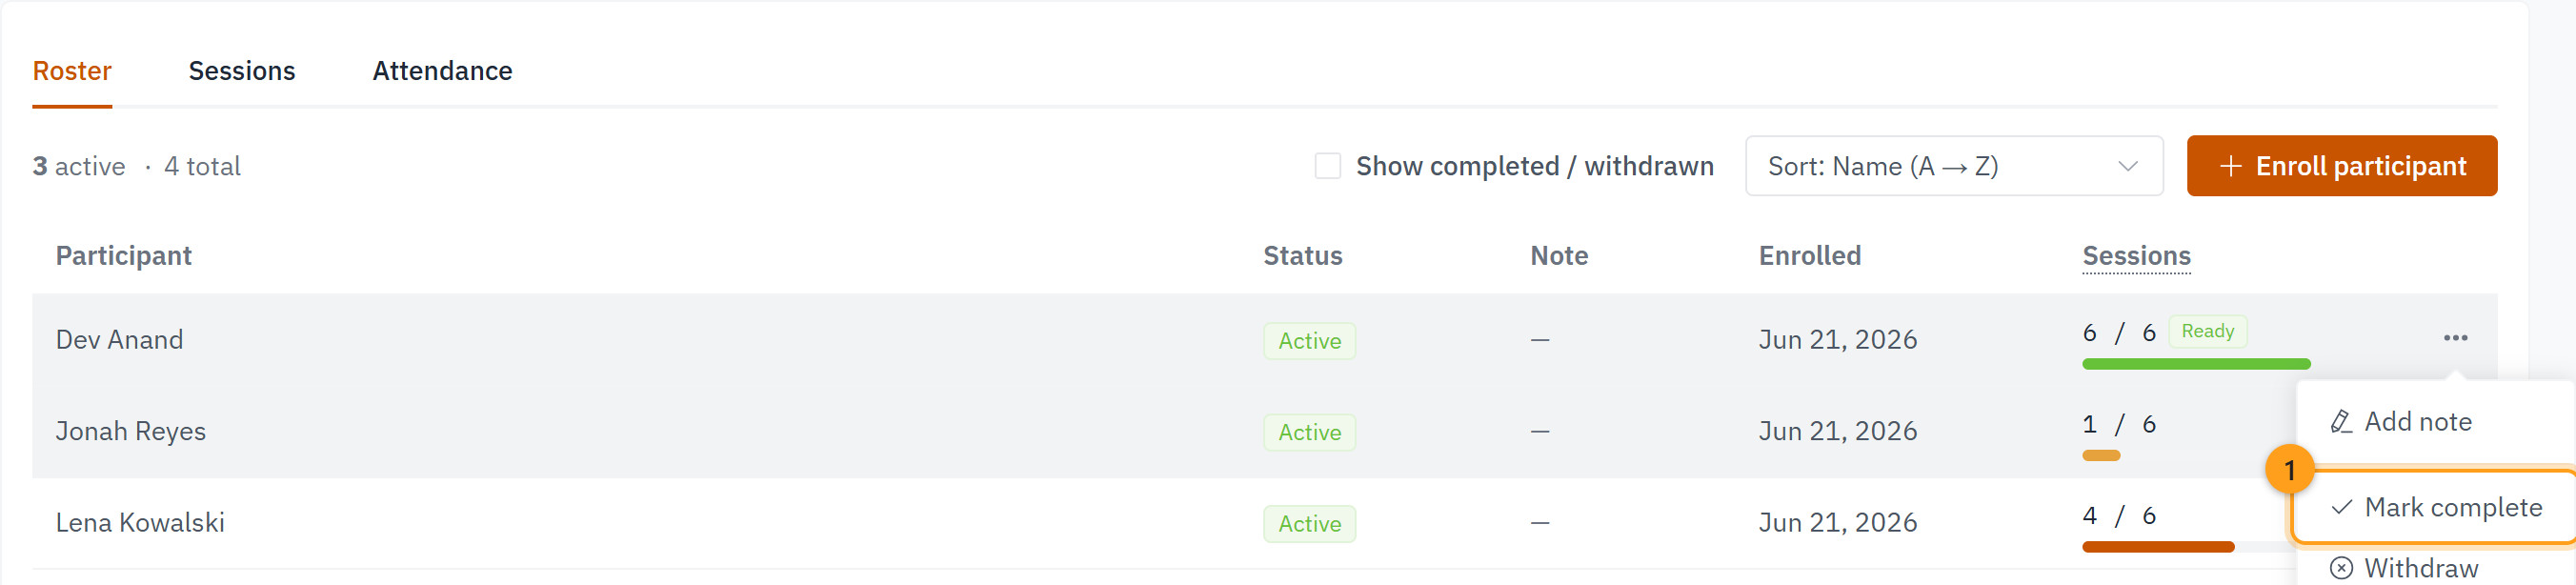
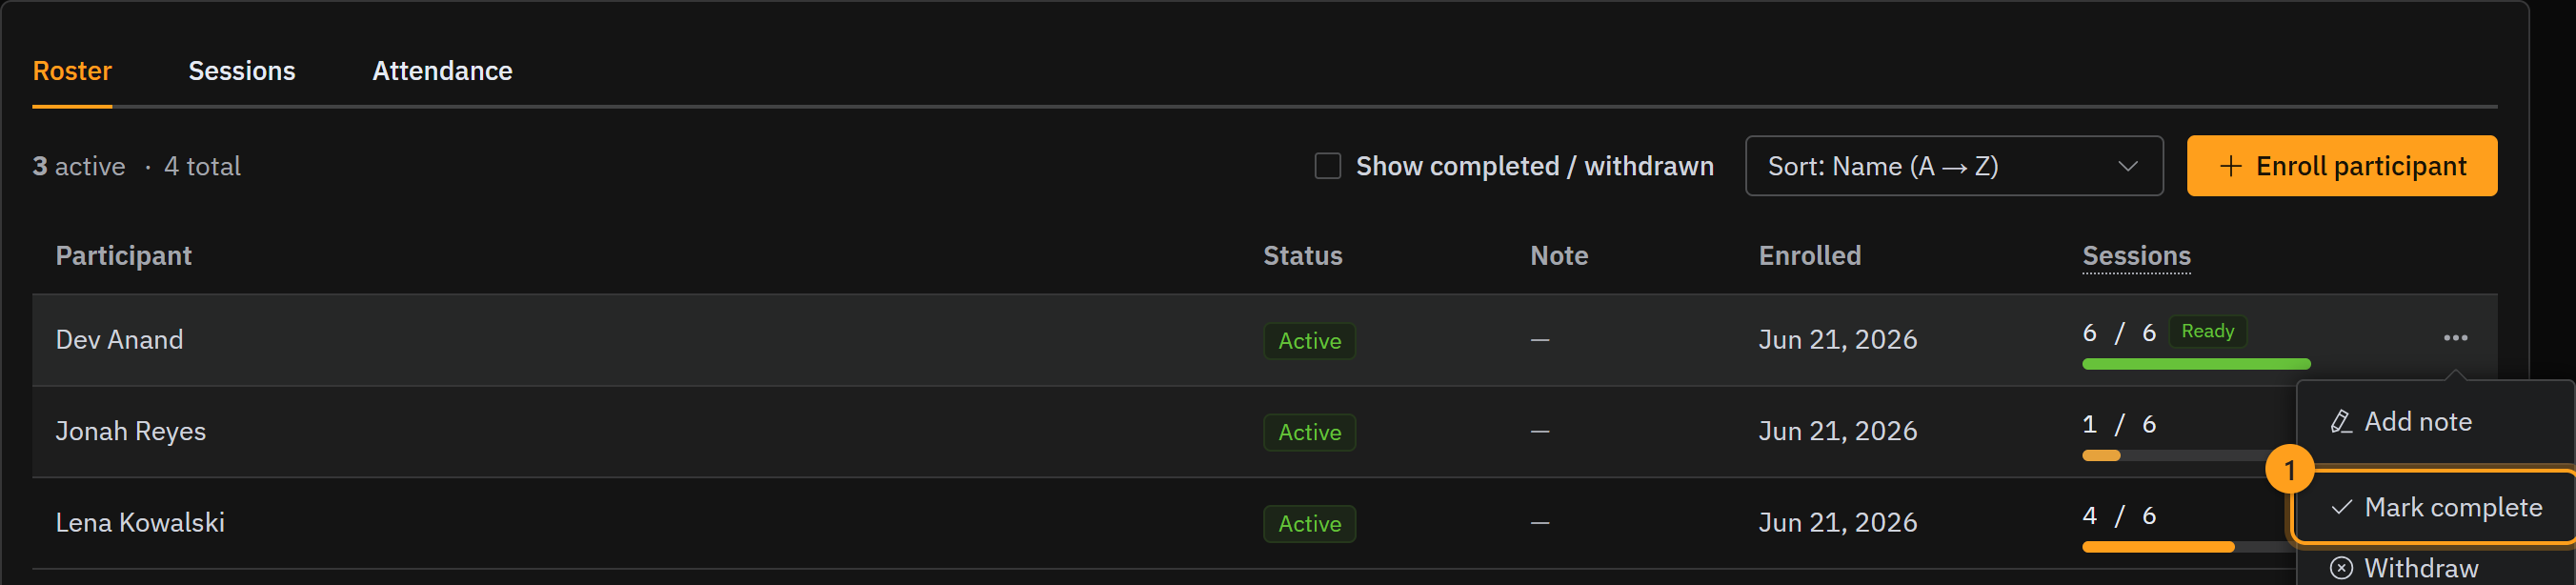
After a student finishes their sessions, it's time to celebrate. Their progress bar on the group's Roster is full, and a green Ready tag sits next to it. Open the ⋯ menu on their row and choose Mark complete (1). They've done the work.
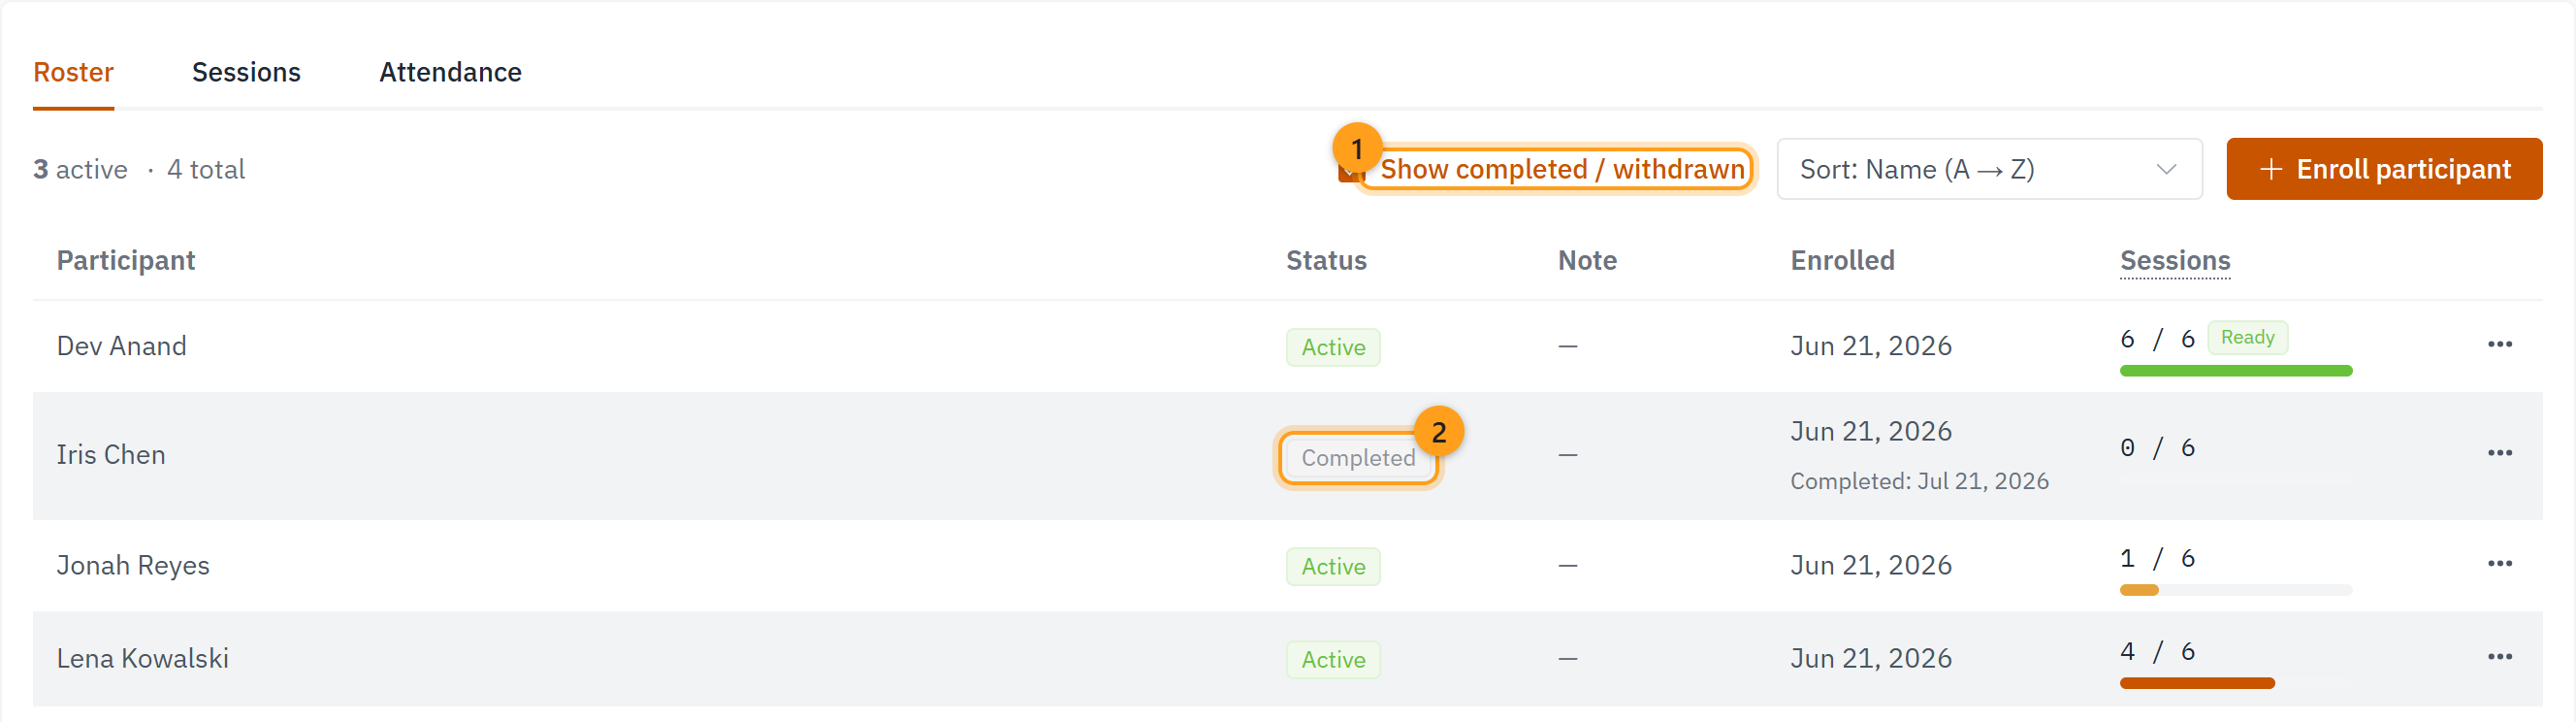
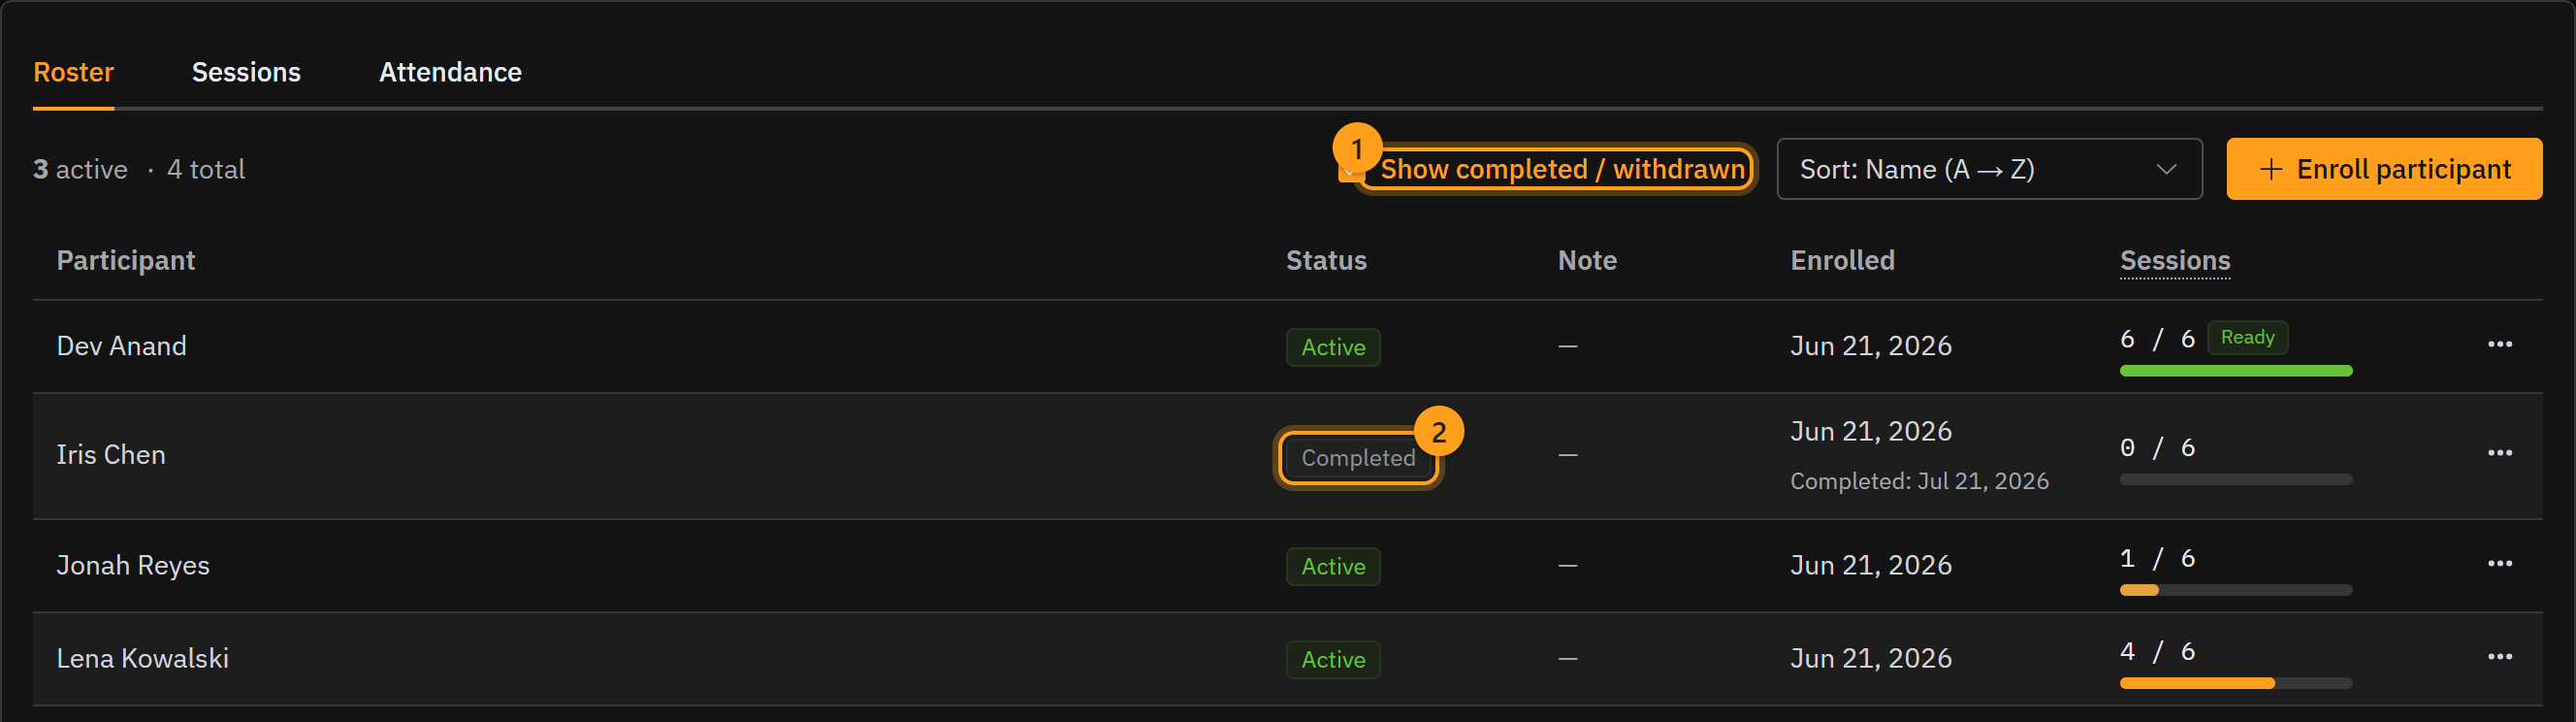
Completed students drop out of the roster's default view. Tick Show completed / withdrawn whenever you want them back.
Step 2 · Schedule the graduation
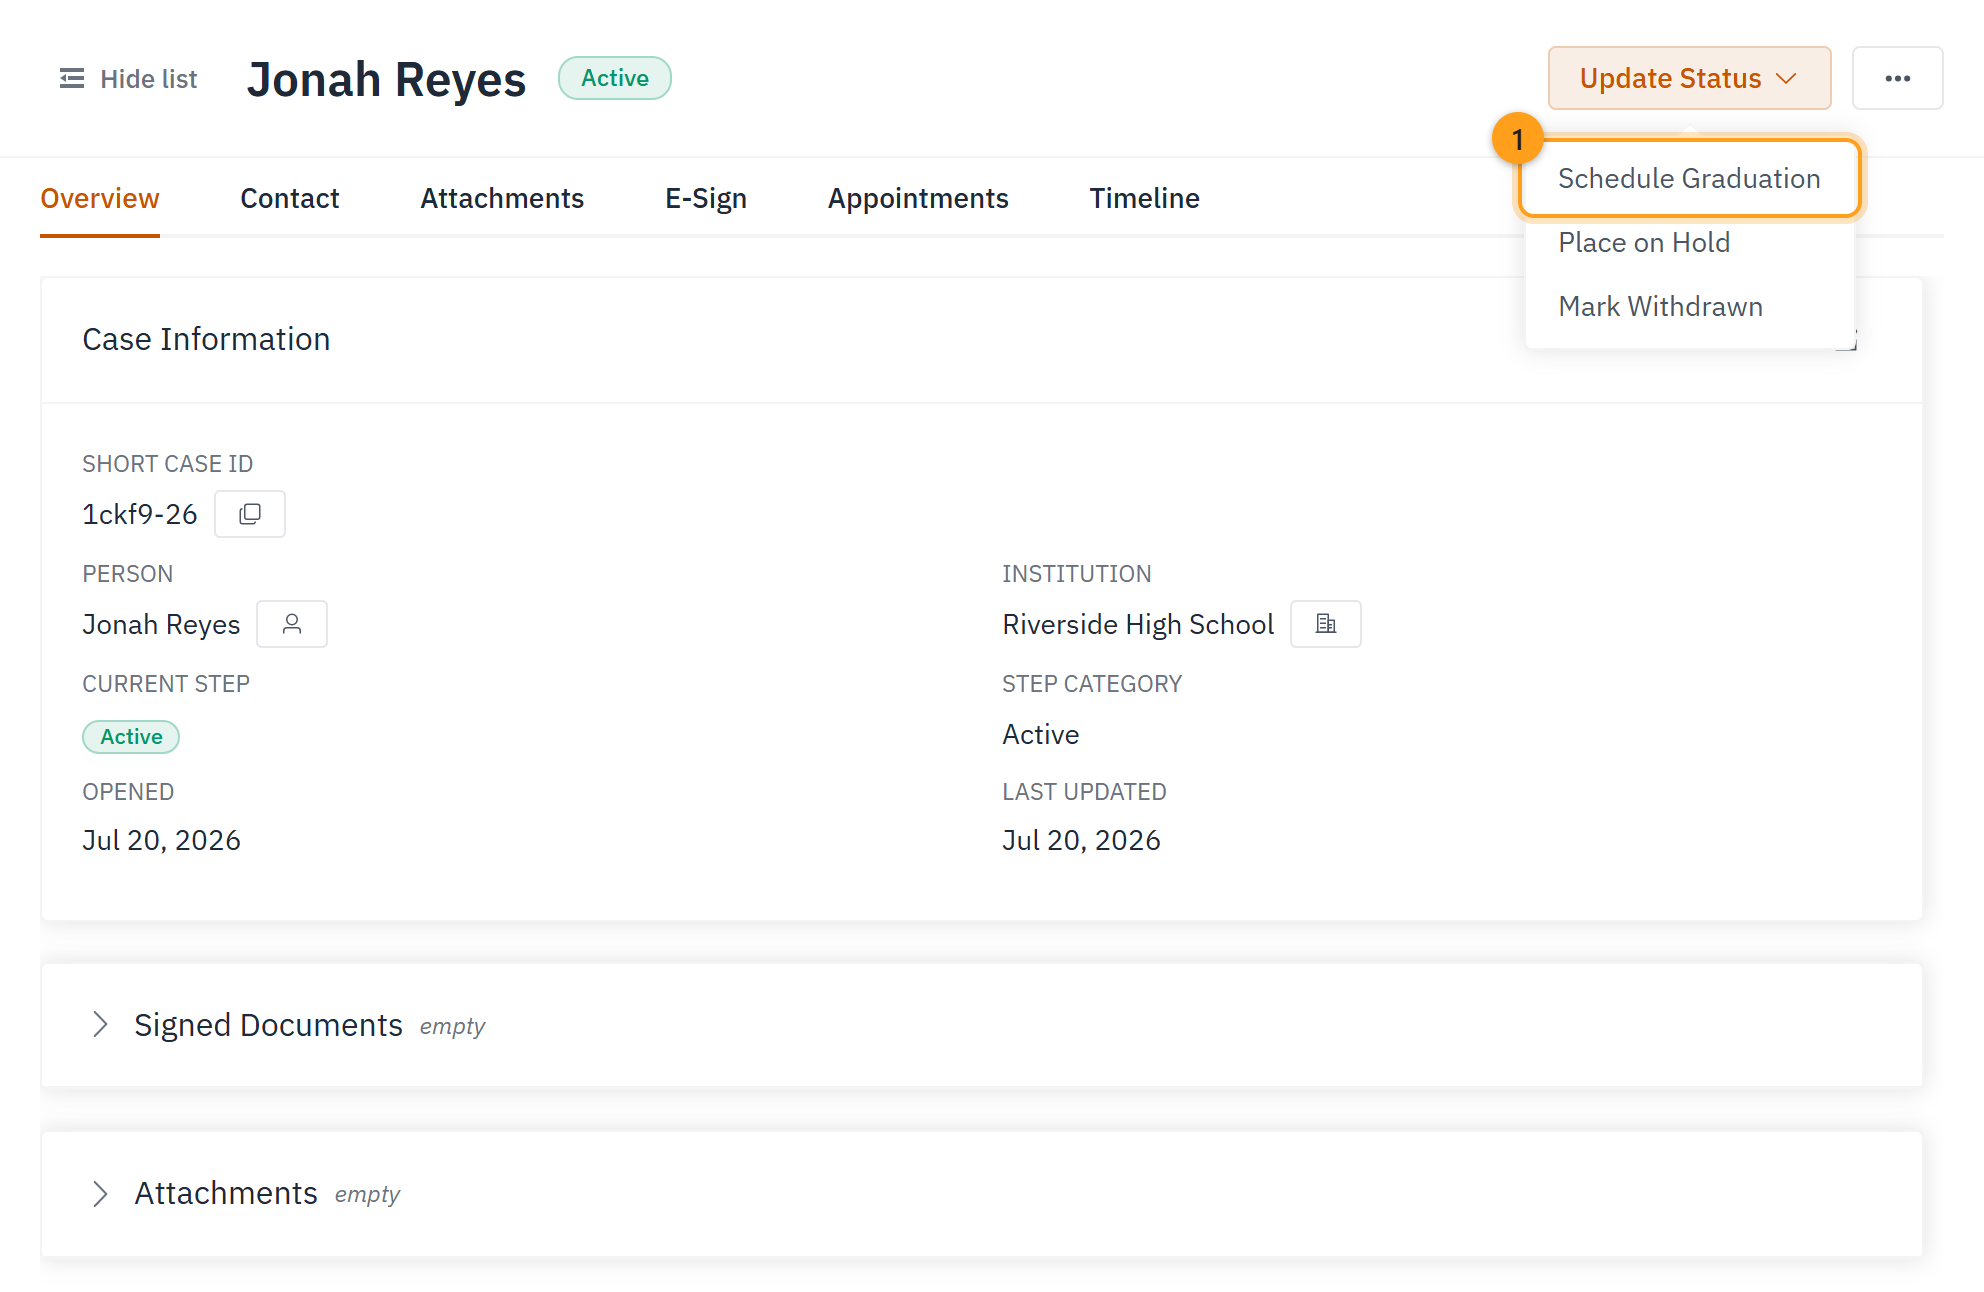
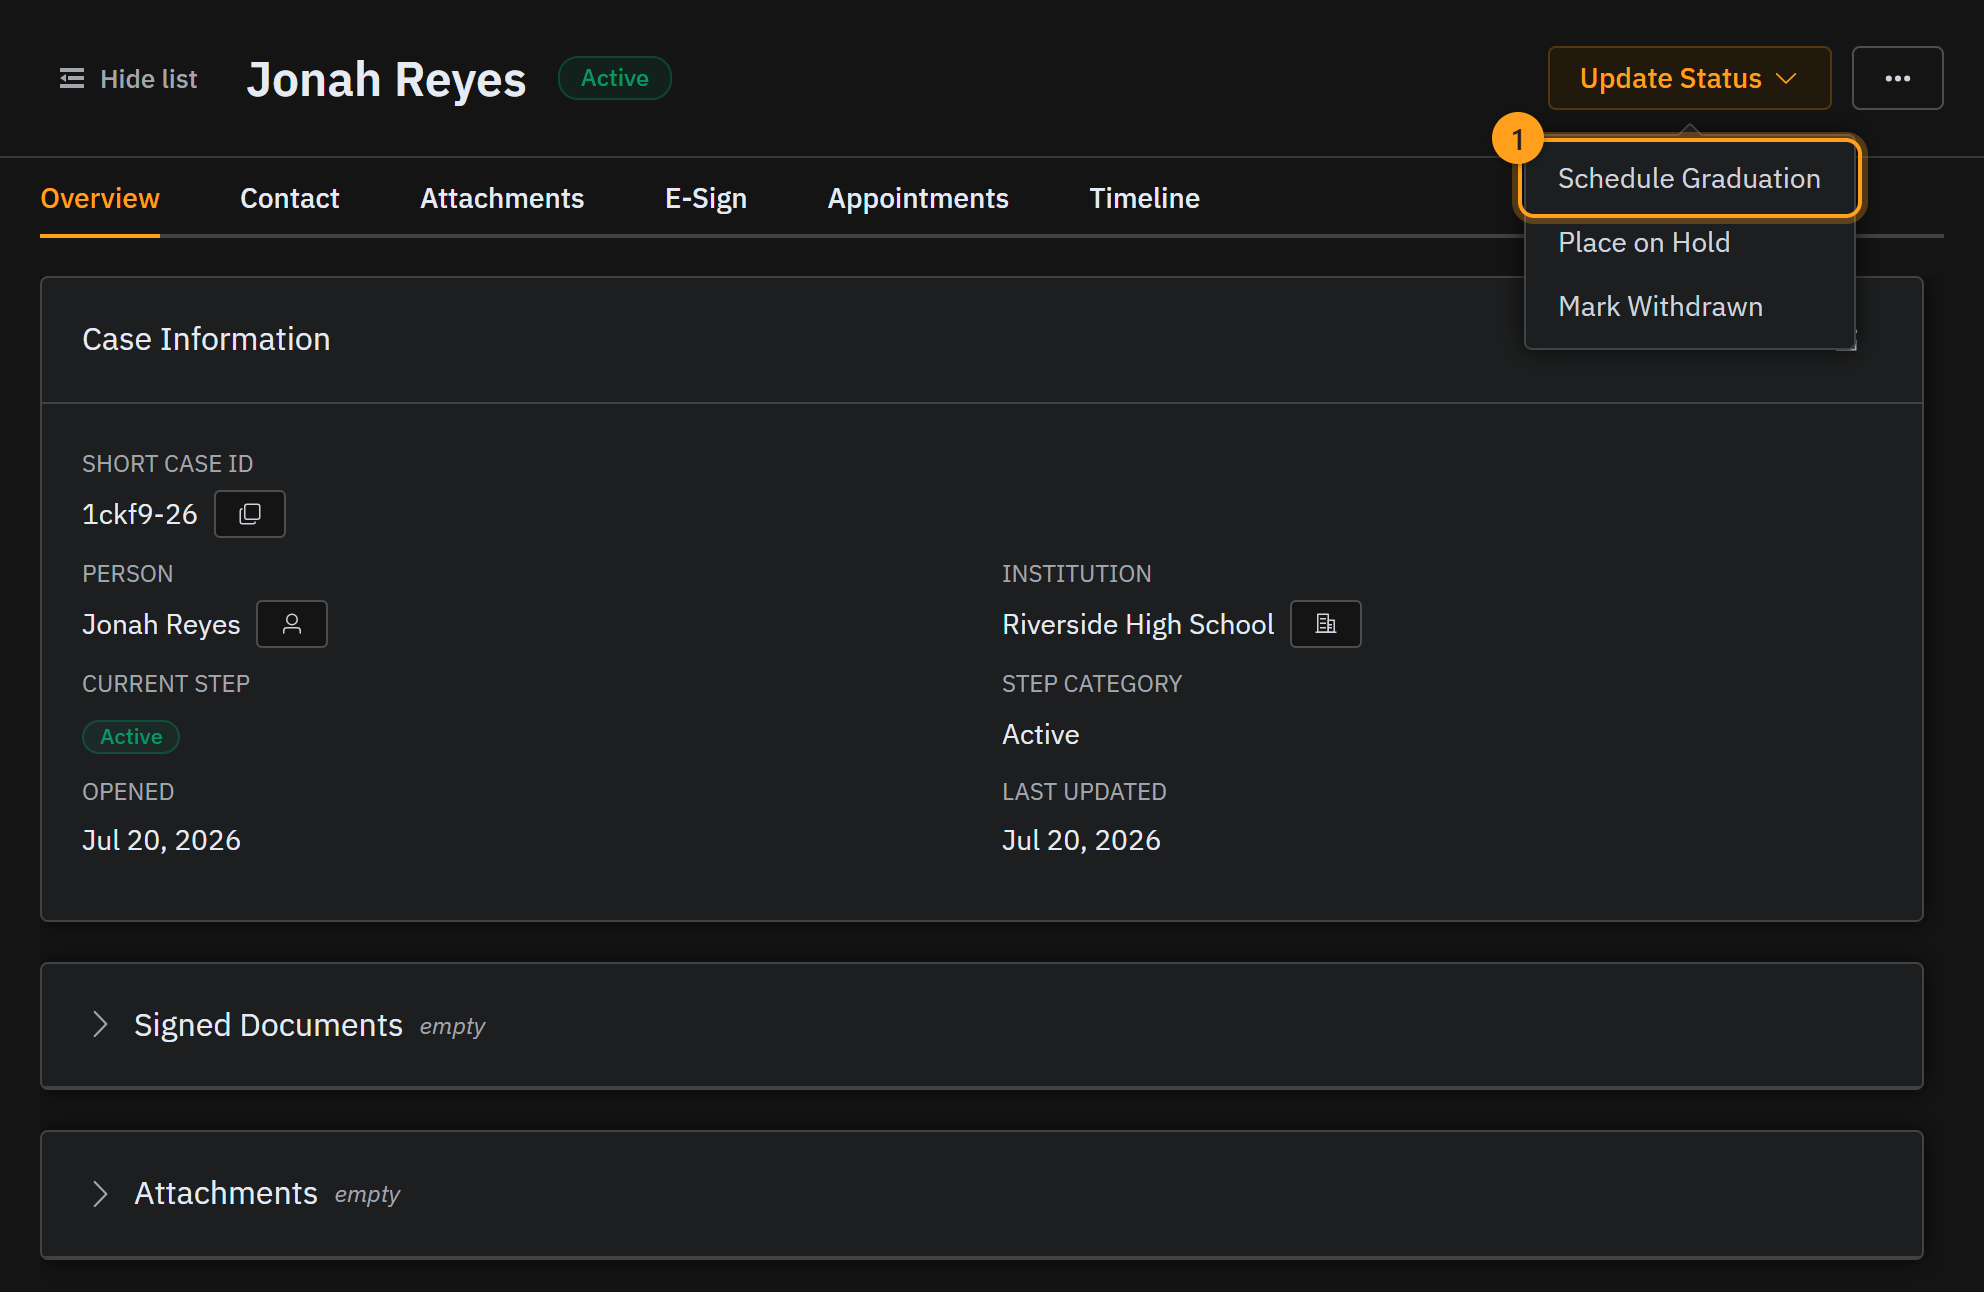
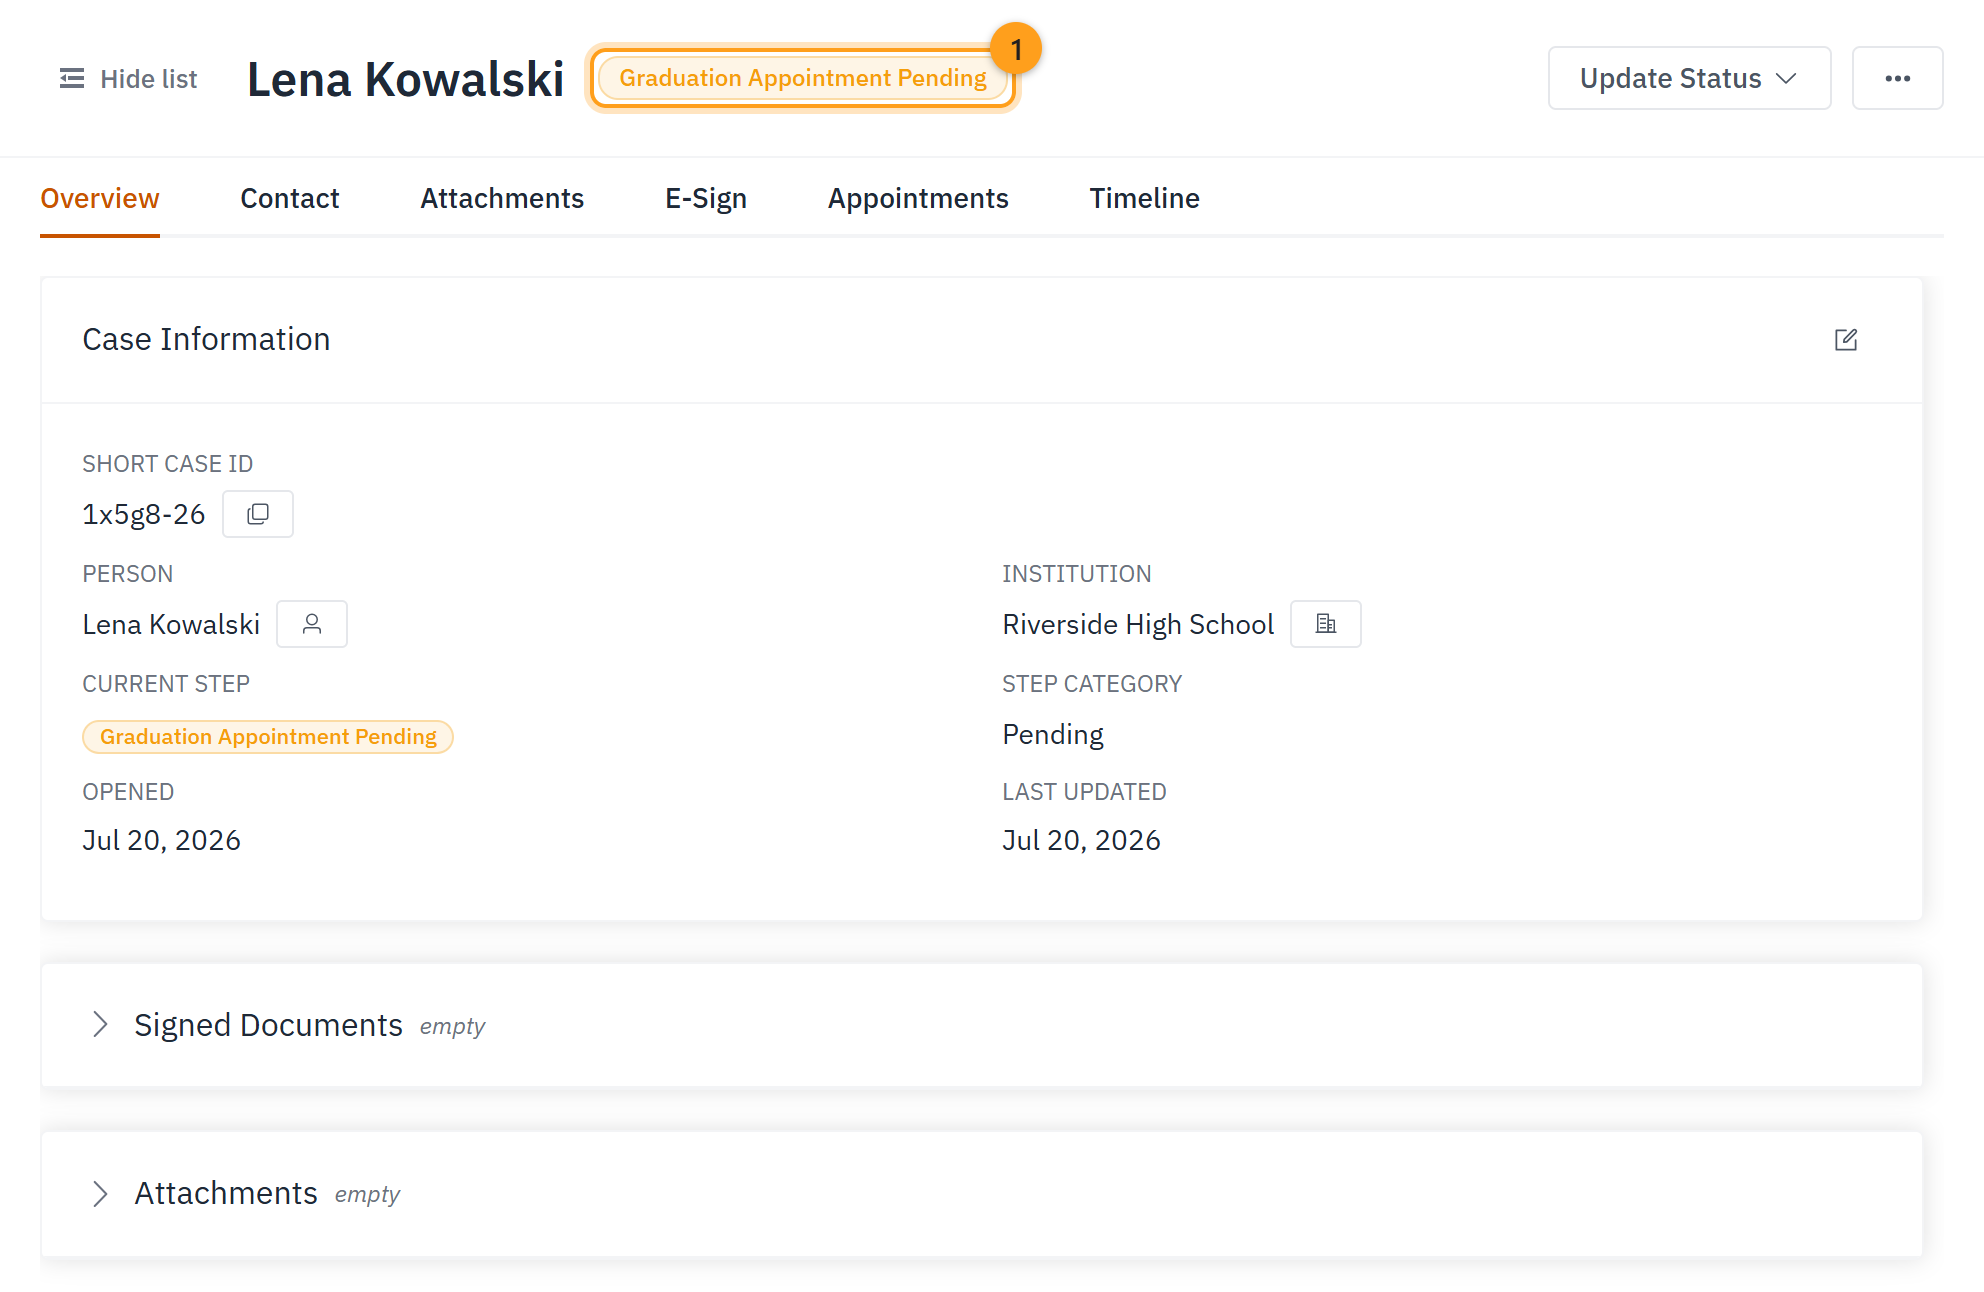
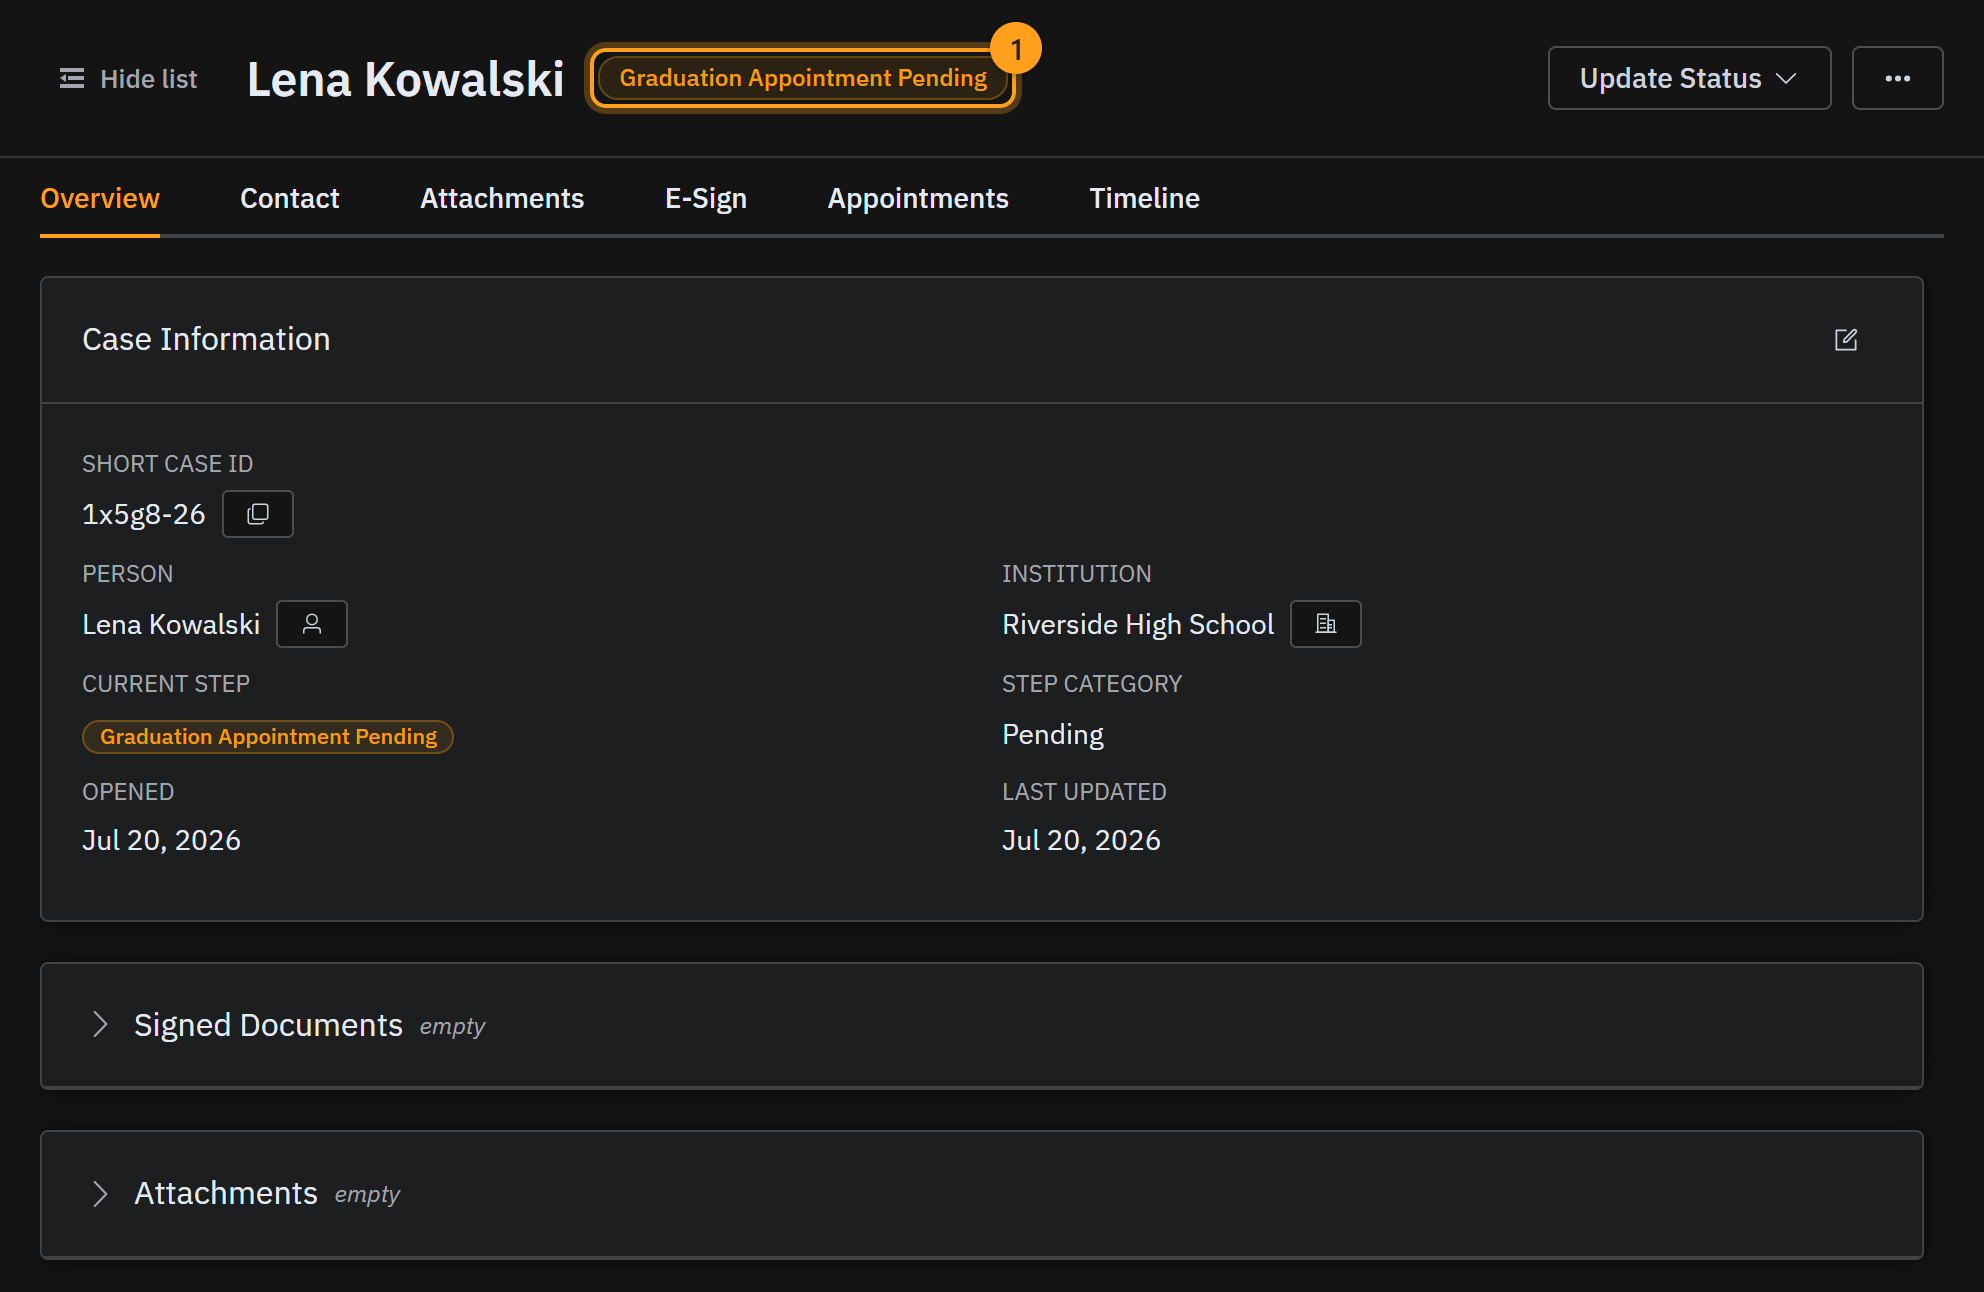
Back in the student's intake case, open the Update Status menu and choose Schedule Graduation (1). The case becomes Graduation Appointment Pending while you set up the big day.
Step 3 · Book the graduation visit
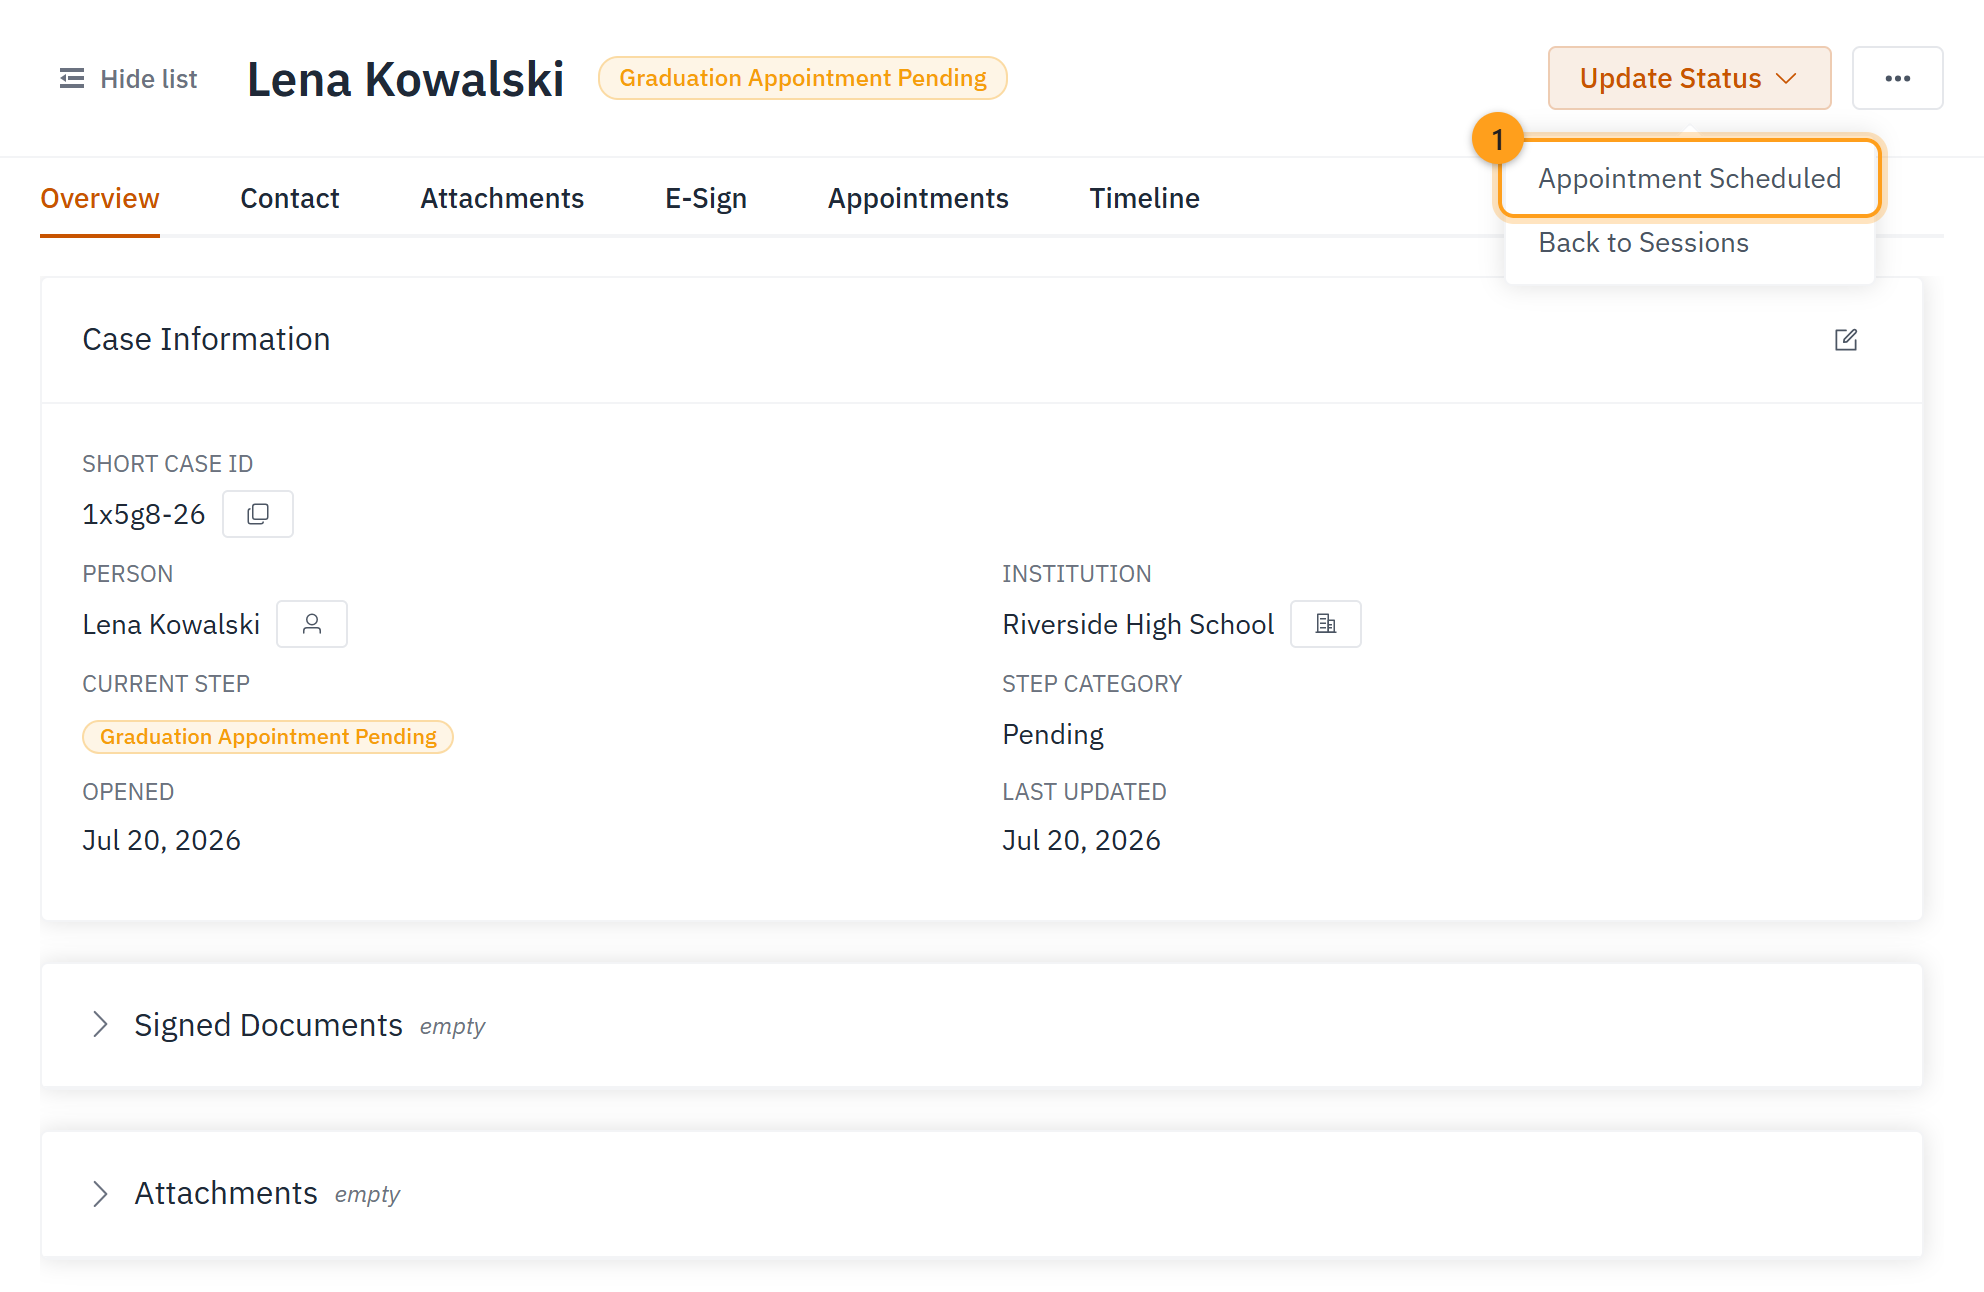
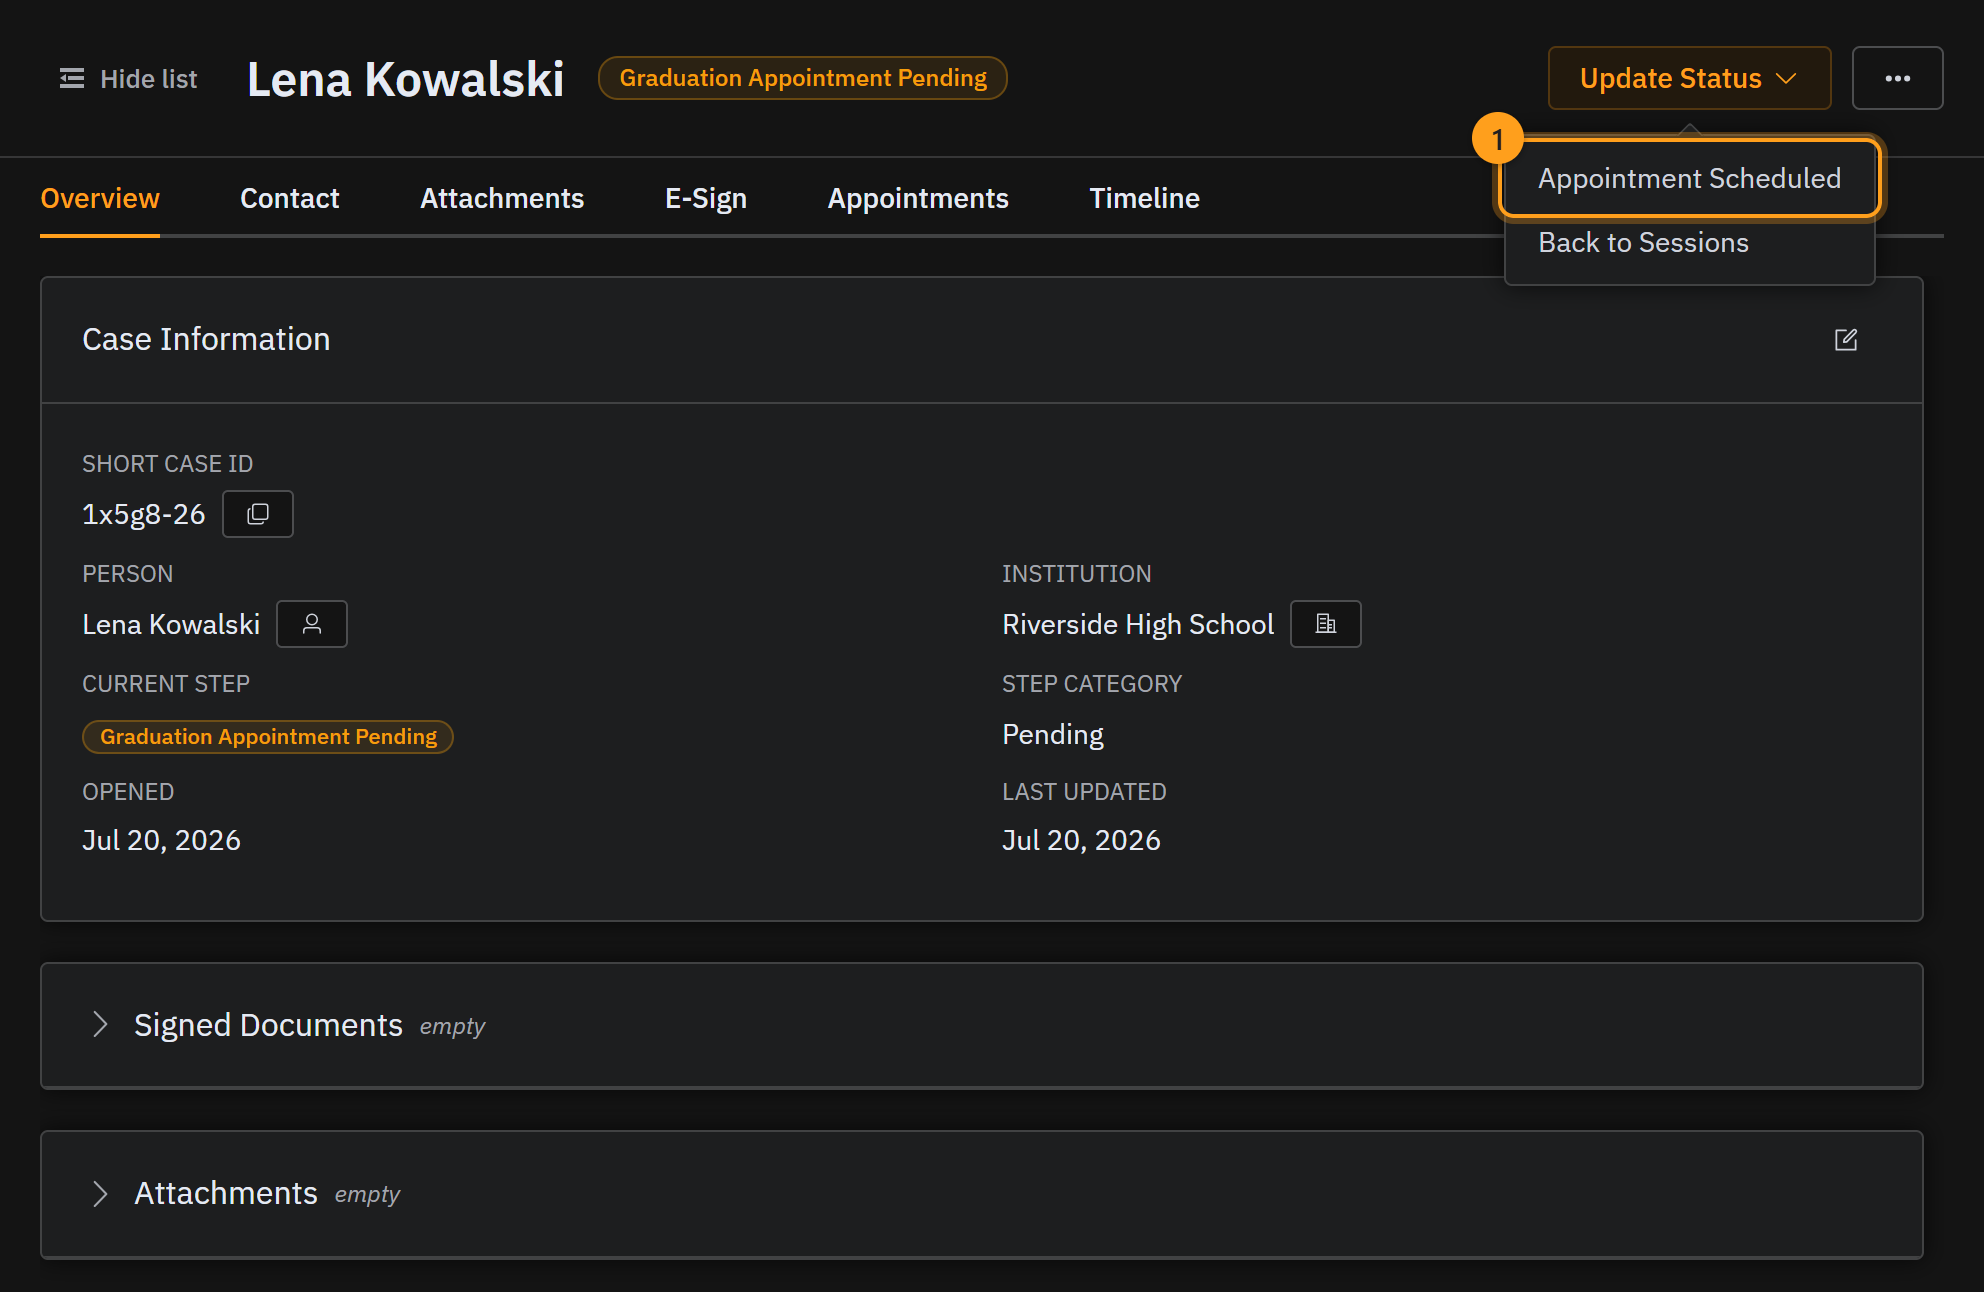
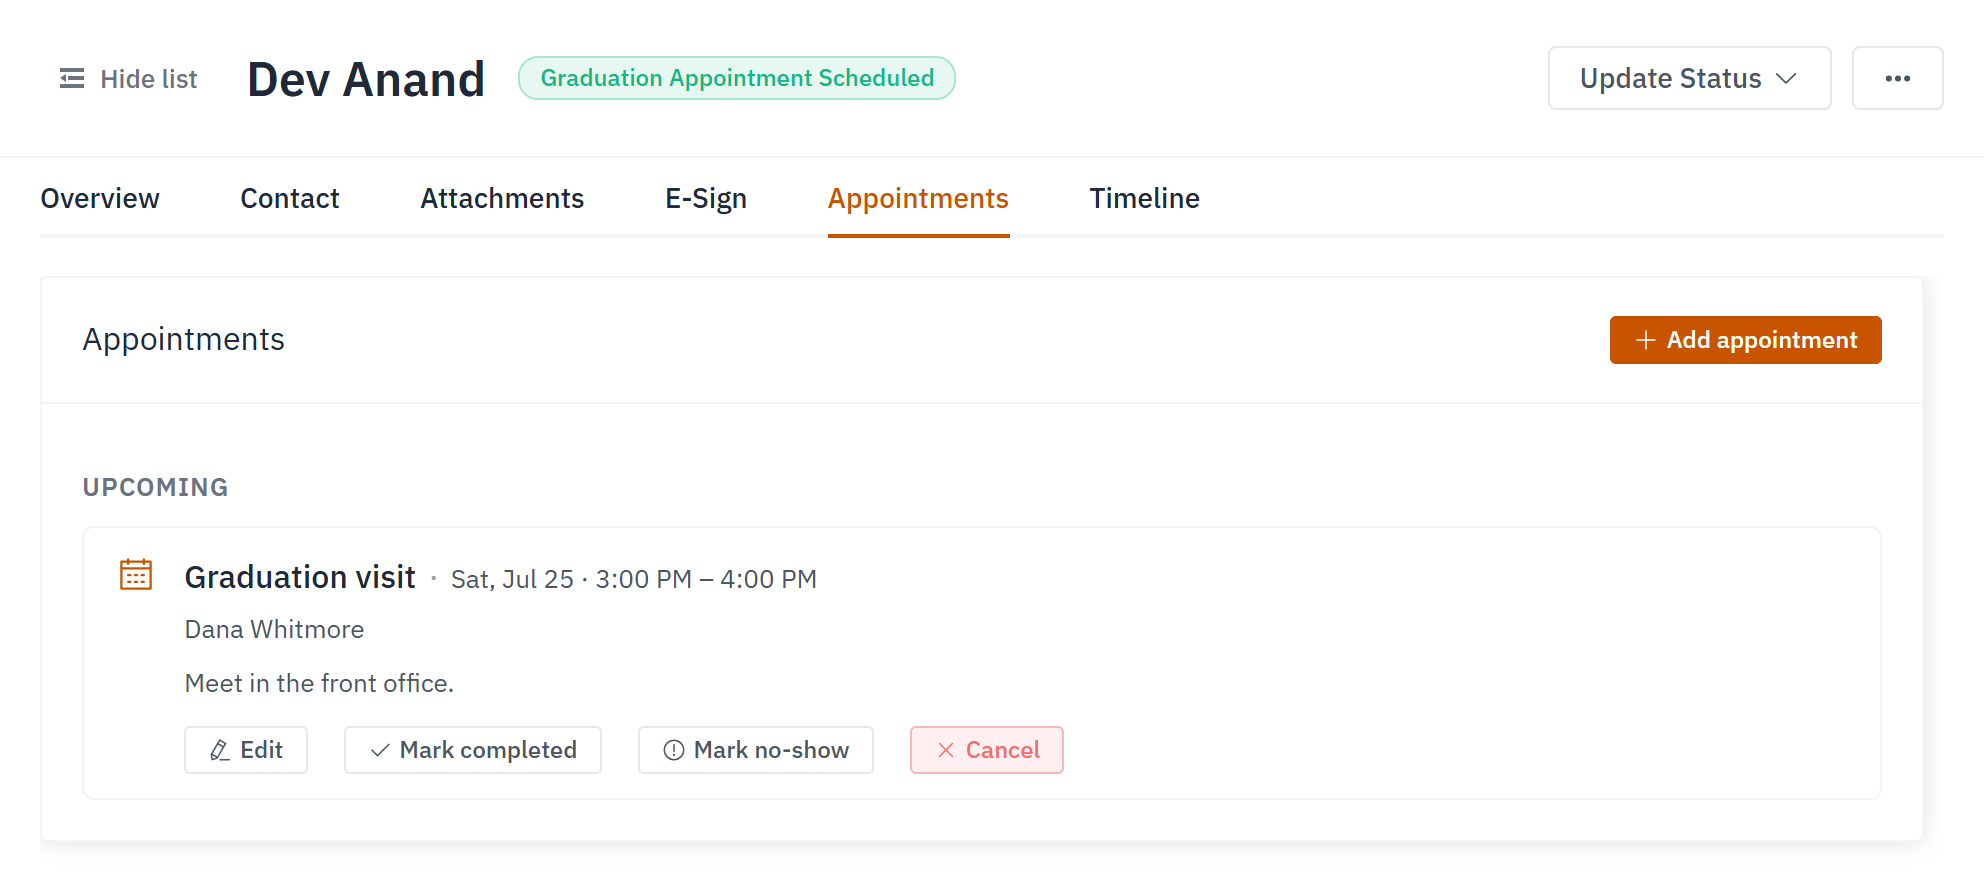
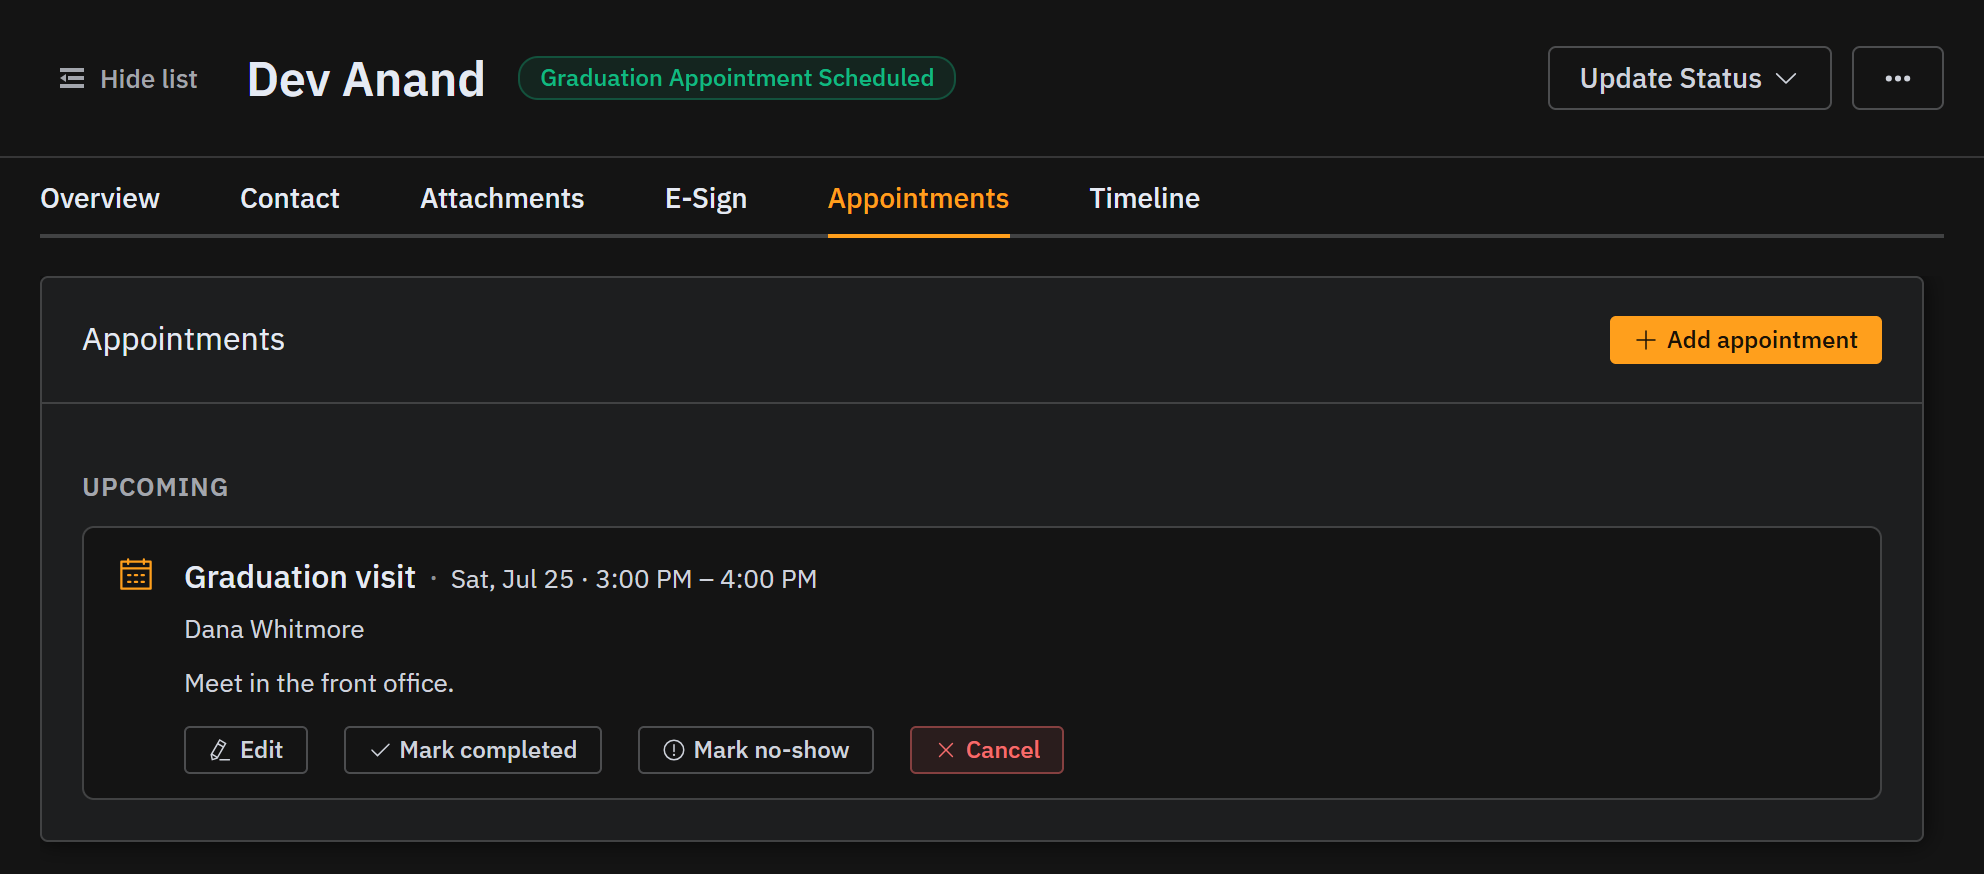
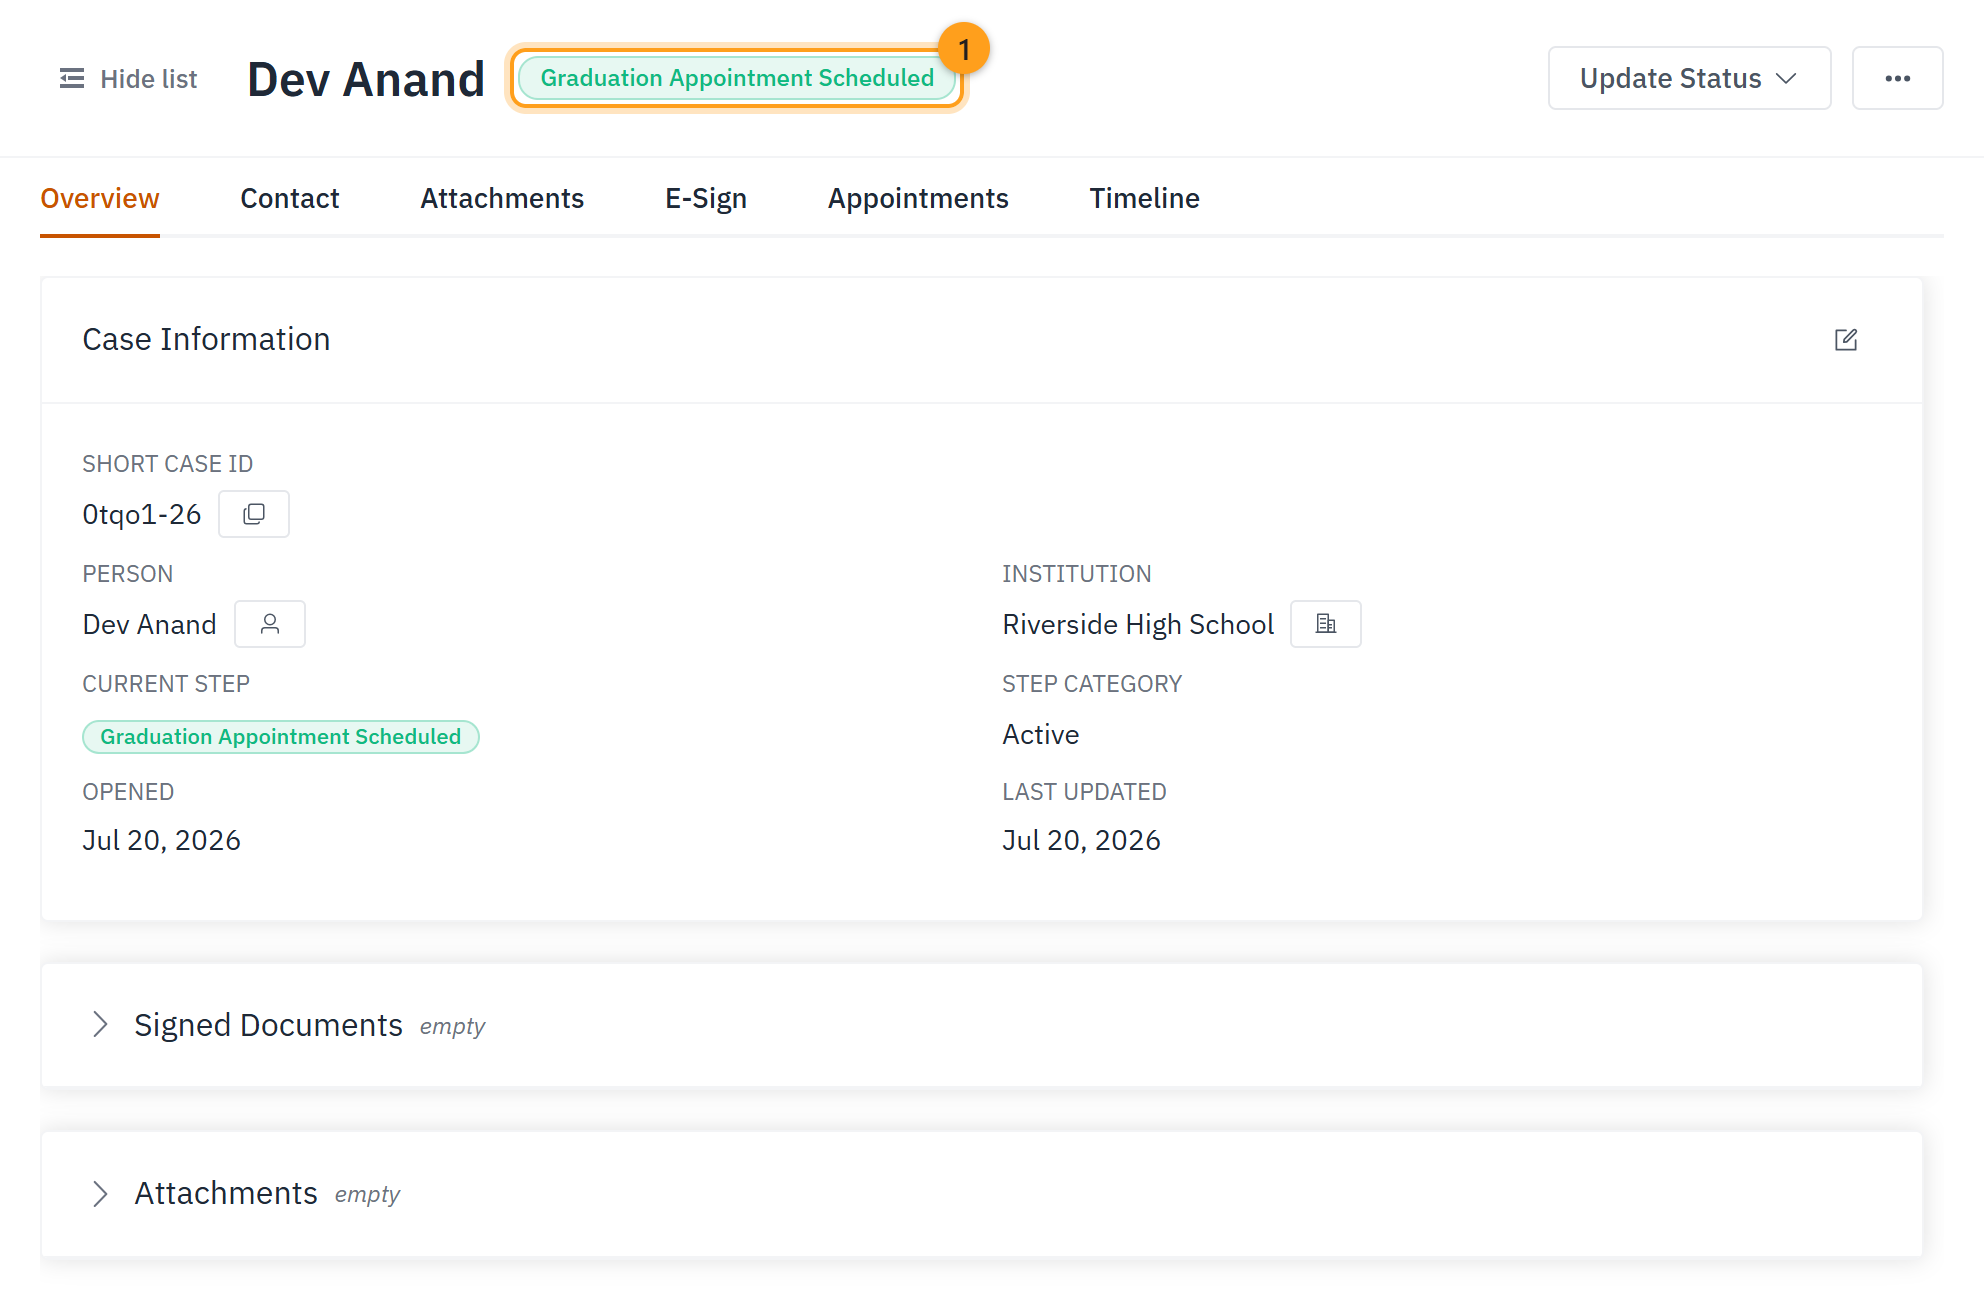
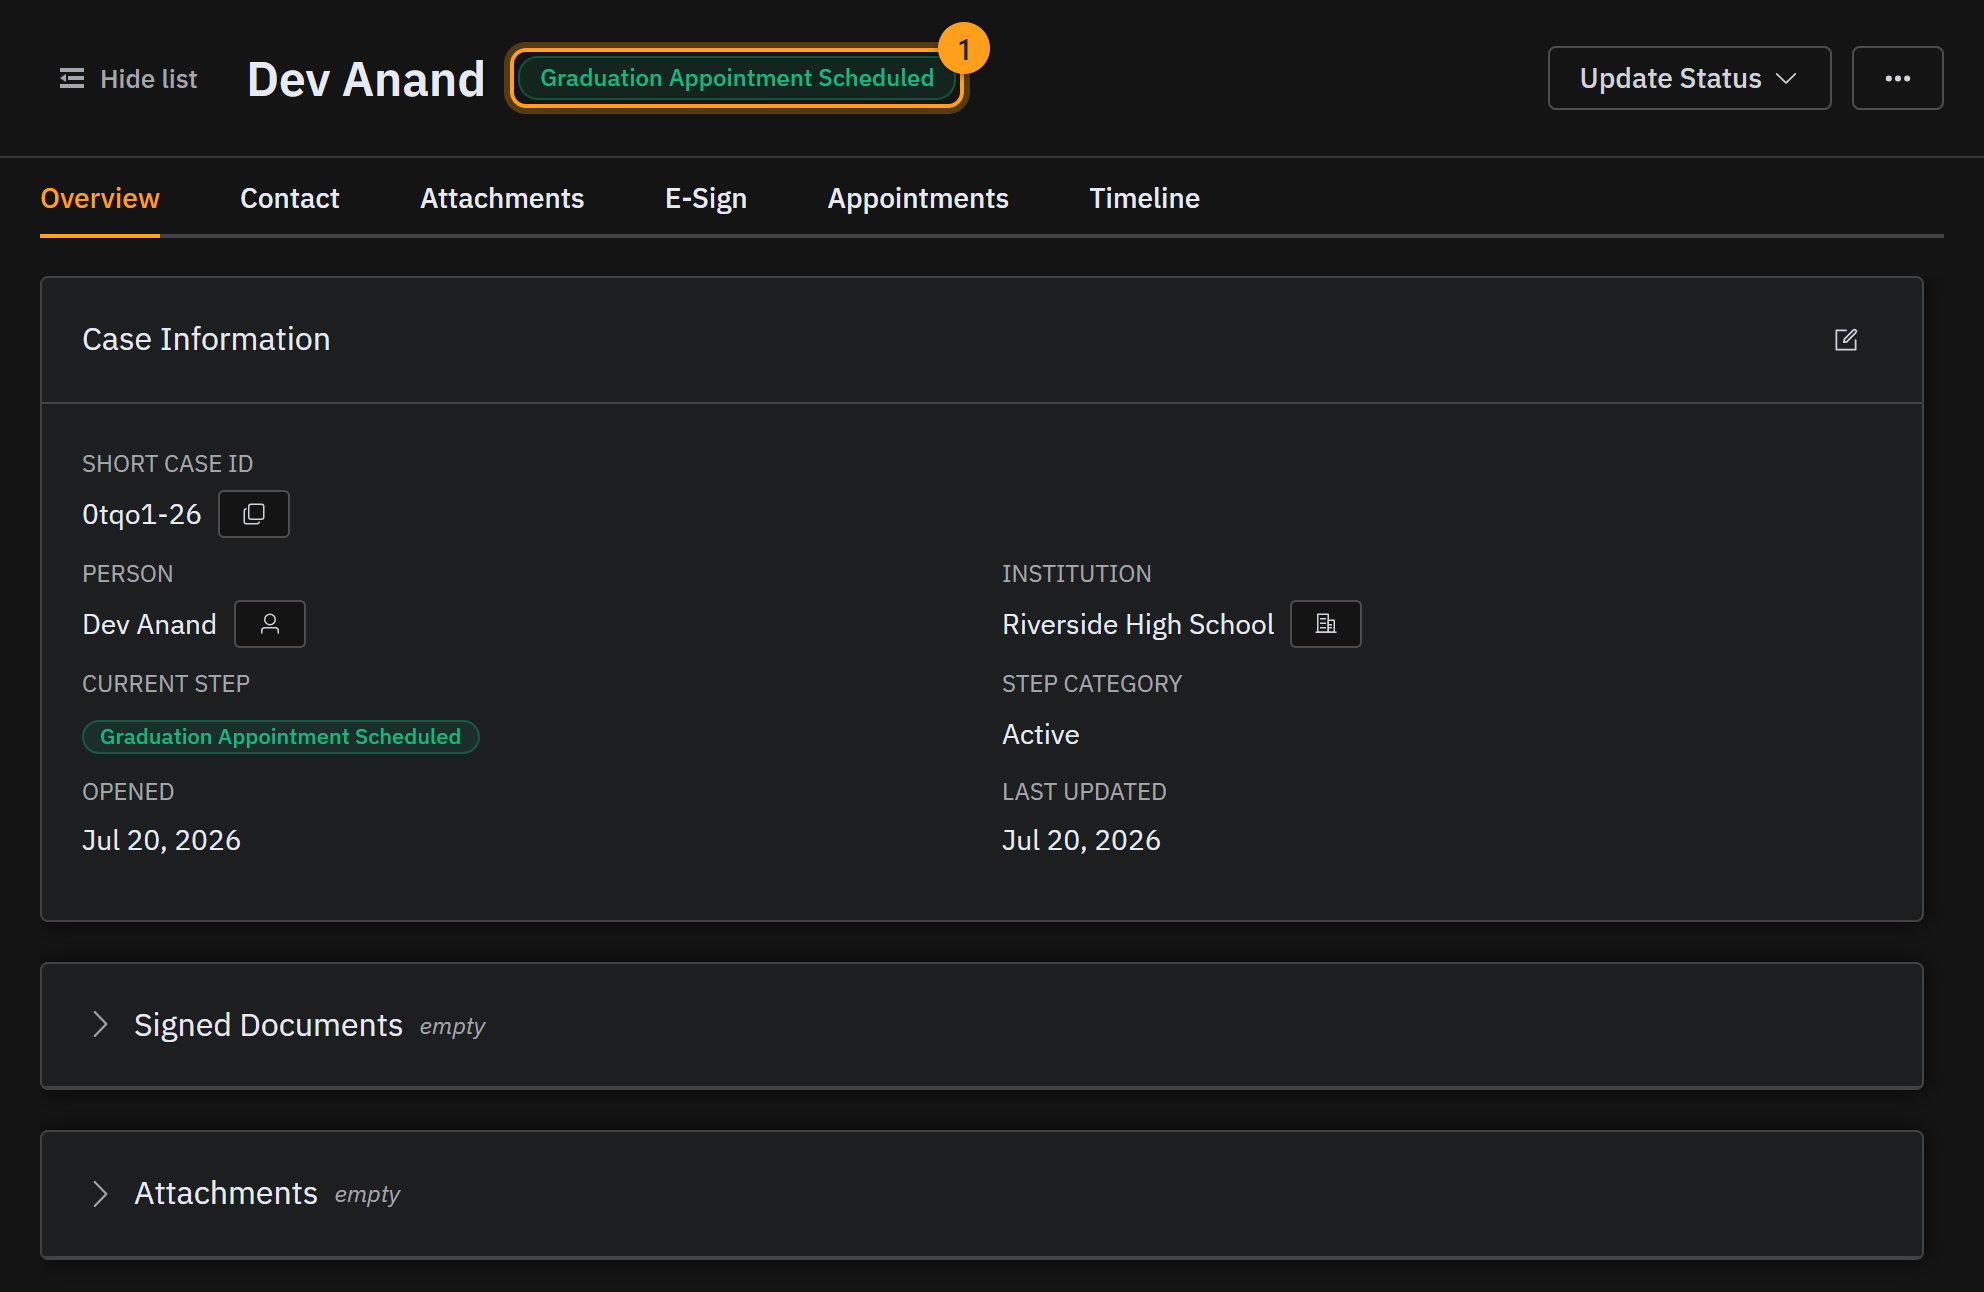
This works just like the very first appointment. Once a time is booked, choose Appointment Scheduled (1) and the case moves to Graduation Appointment Scheduled. The visit shows up on the Appointments tab, and everything's set for the celebration.
Graduation day on the calendar
Graduation visits land on the case board's month calendar too. Flip the left panel to Appointments to see every booked visit — intake and graduation alike — with its date and time, in one place.
Step 4 · Graduation day
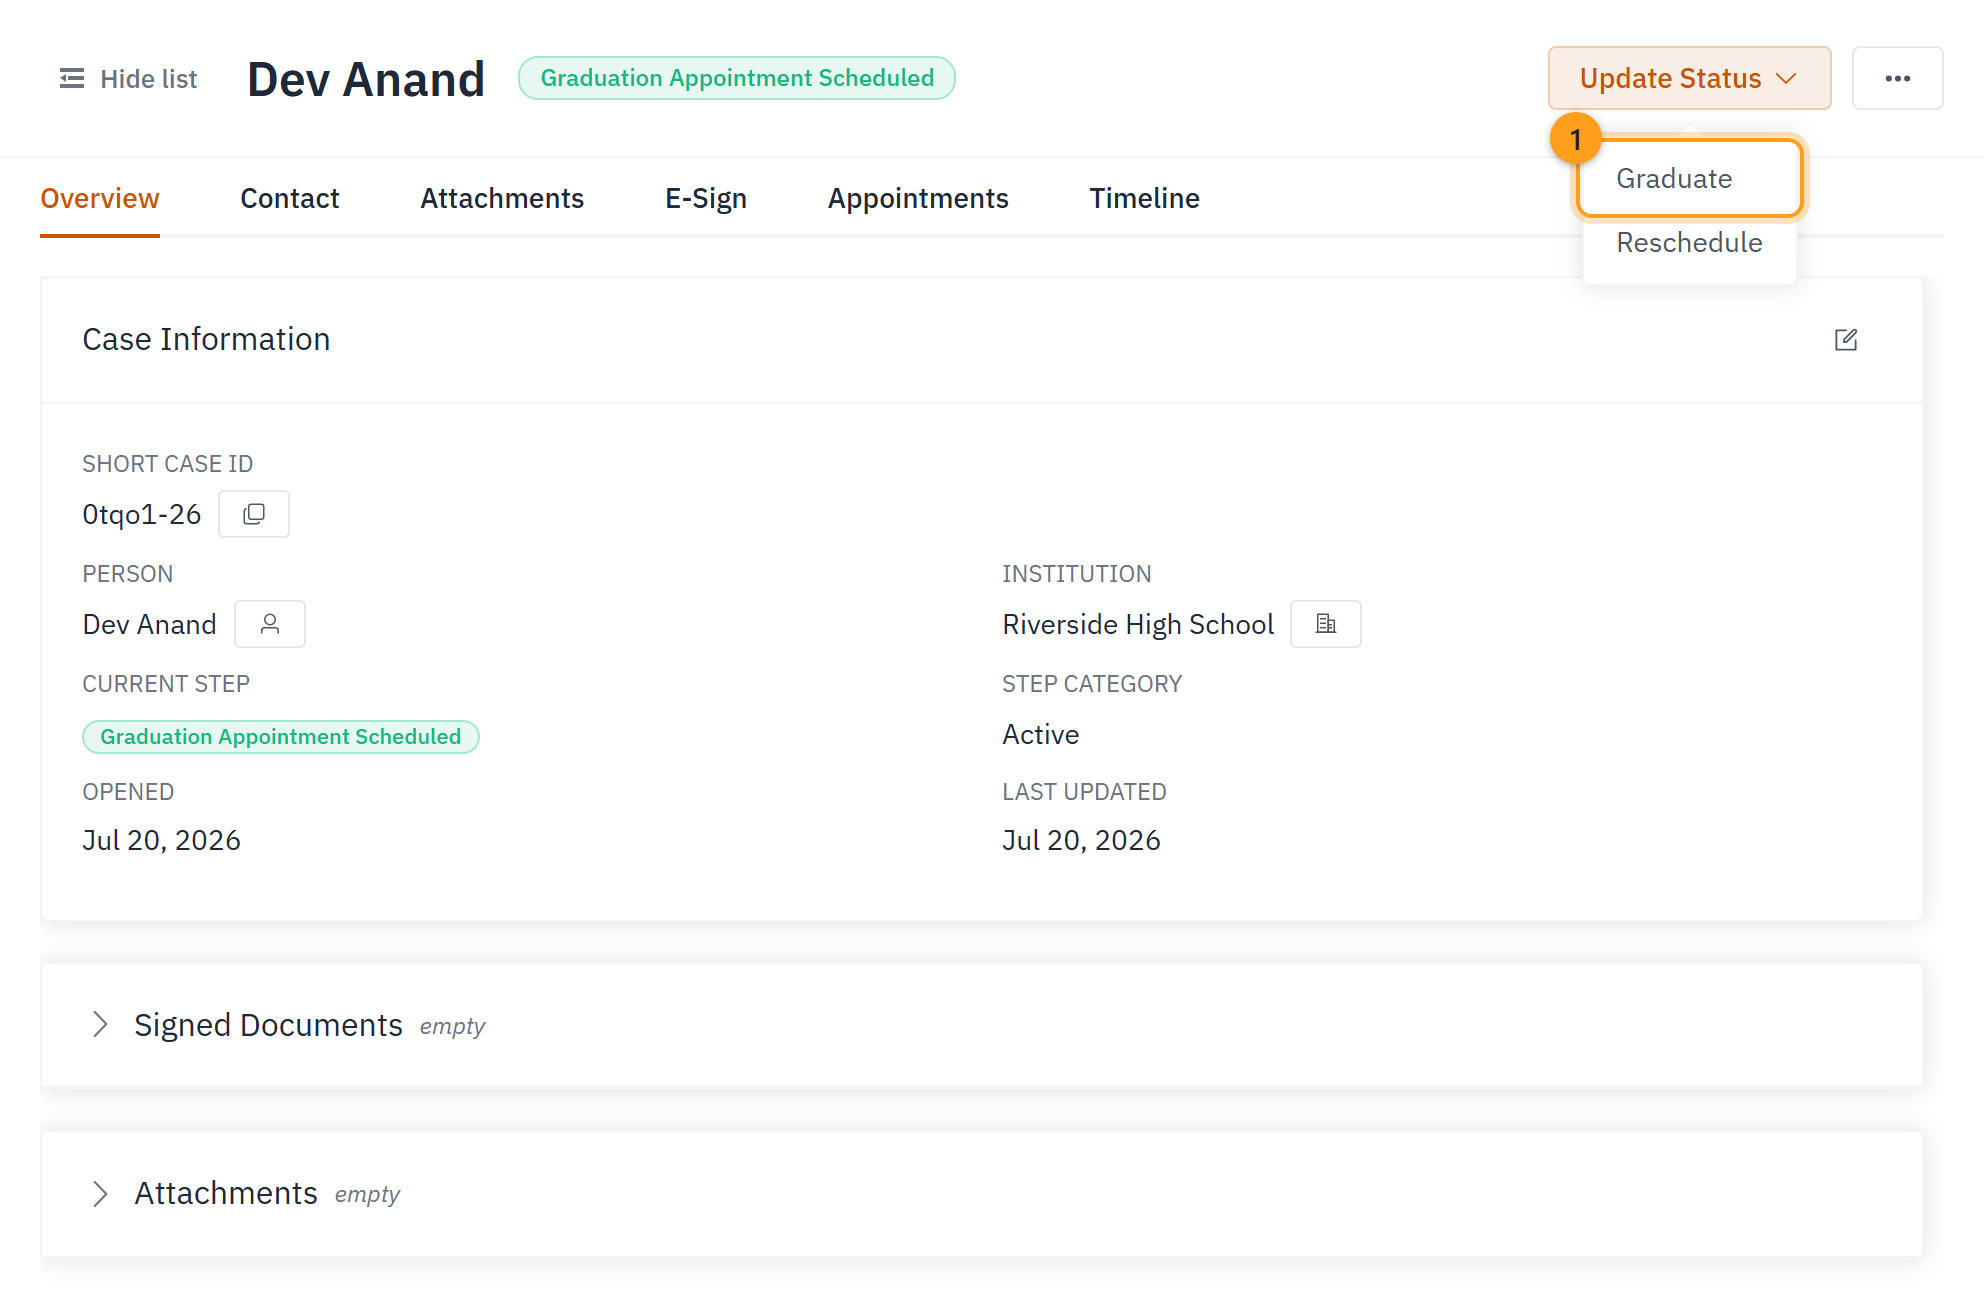
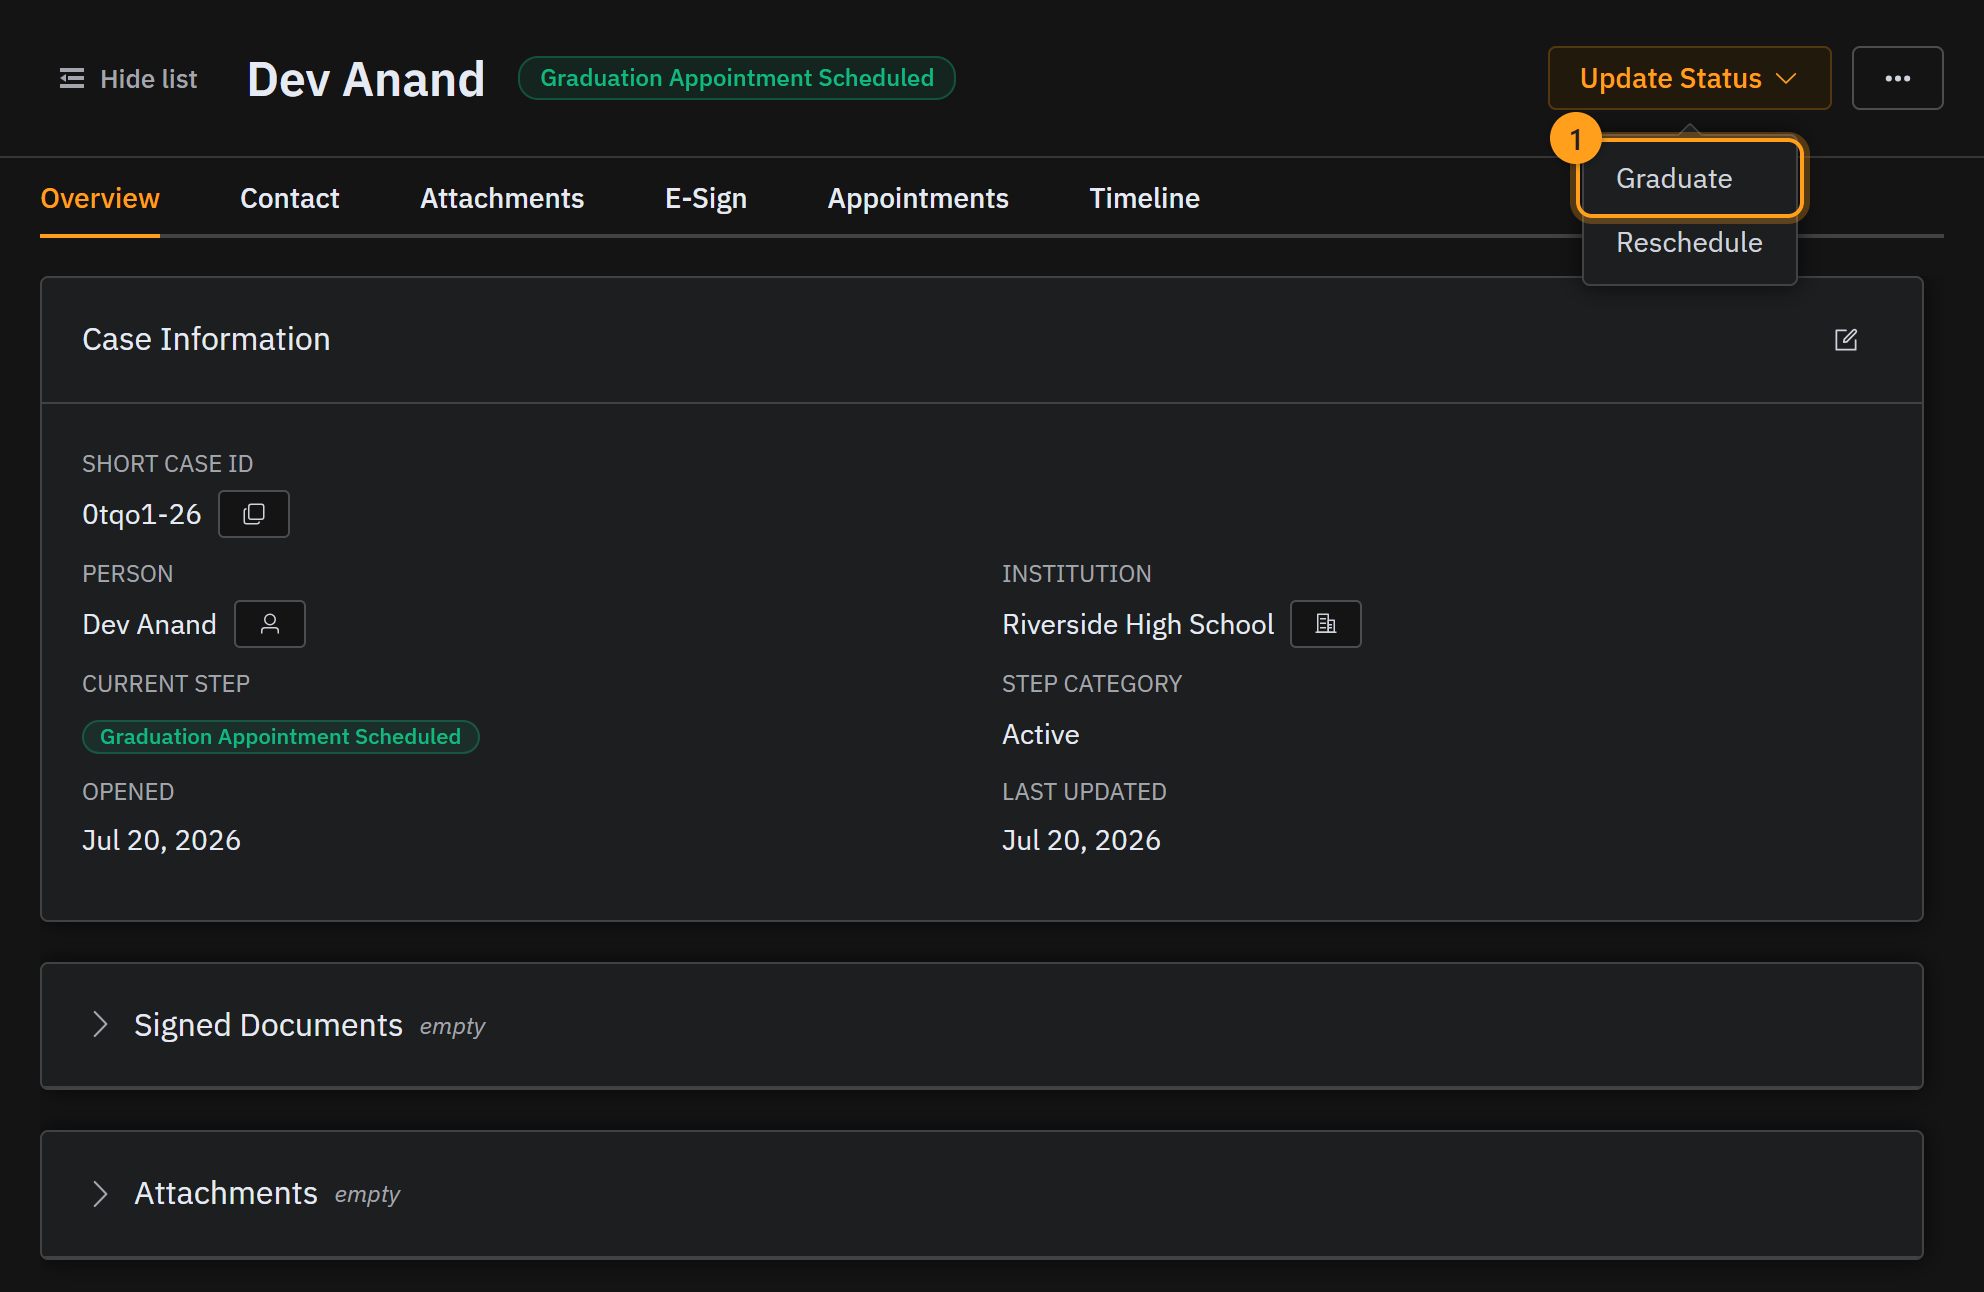
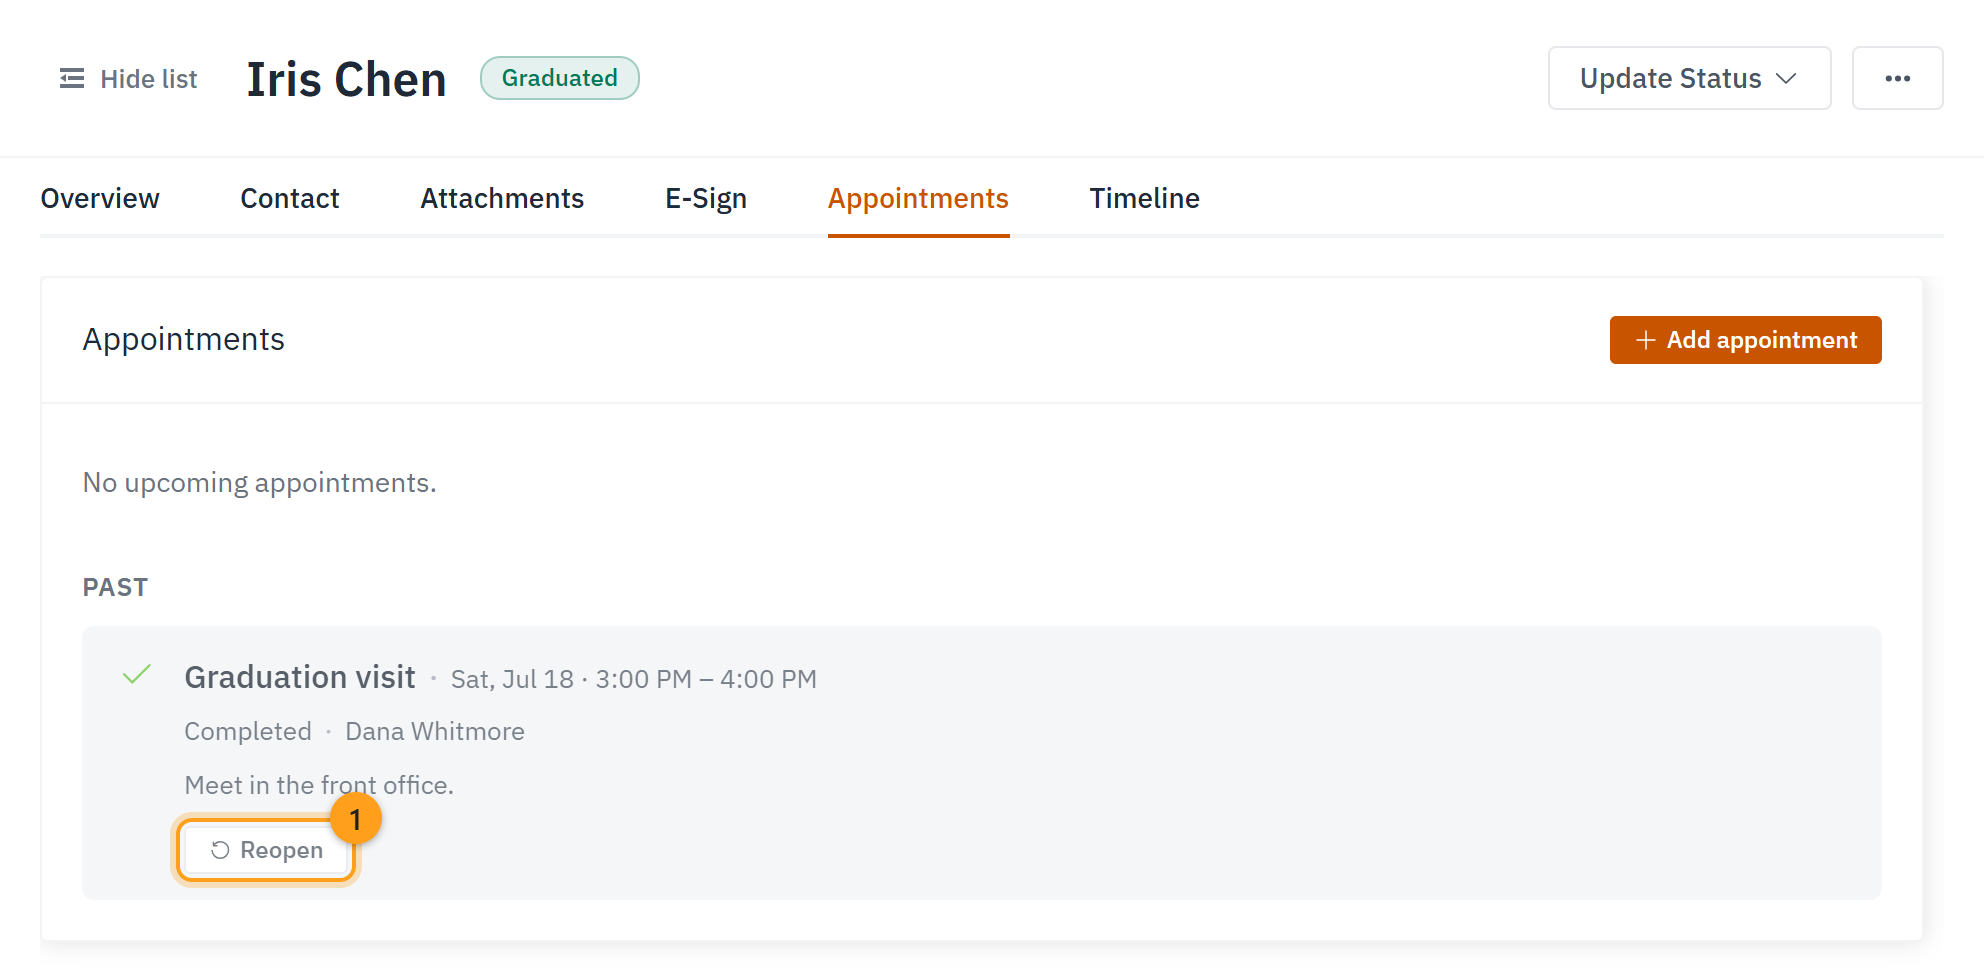
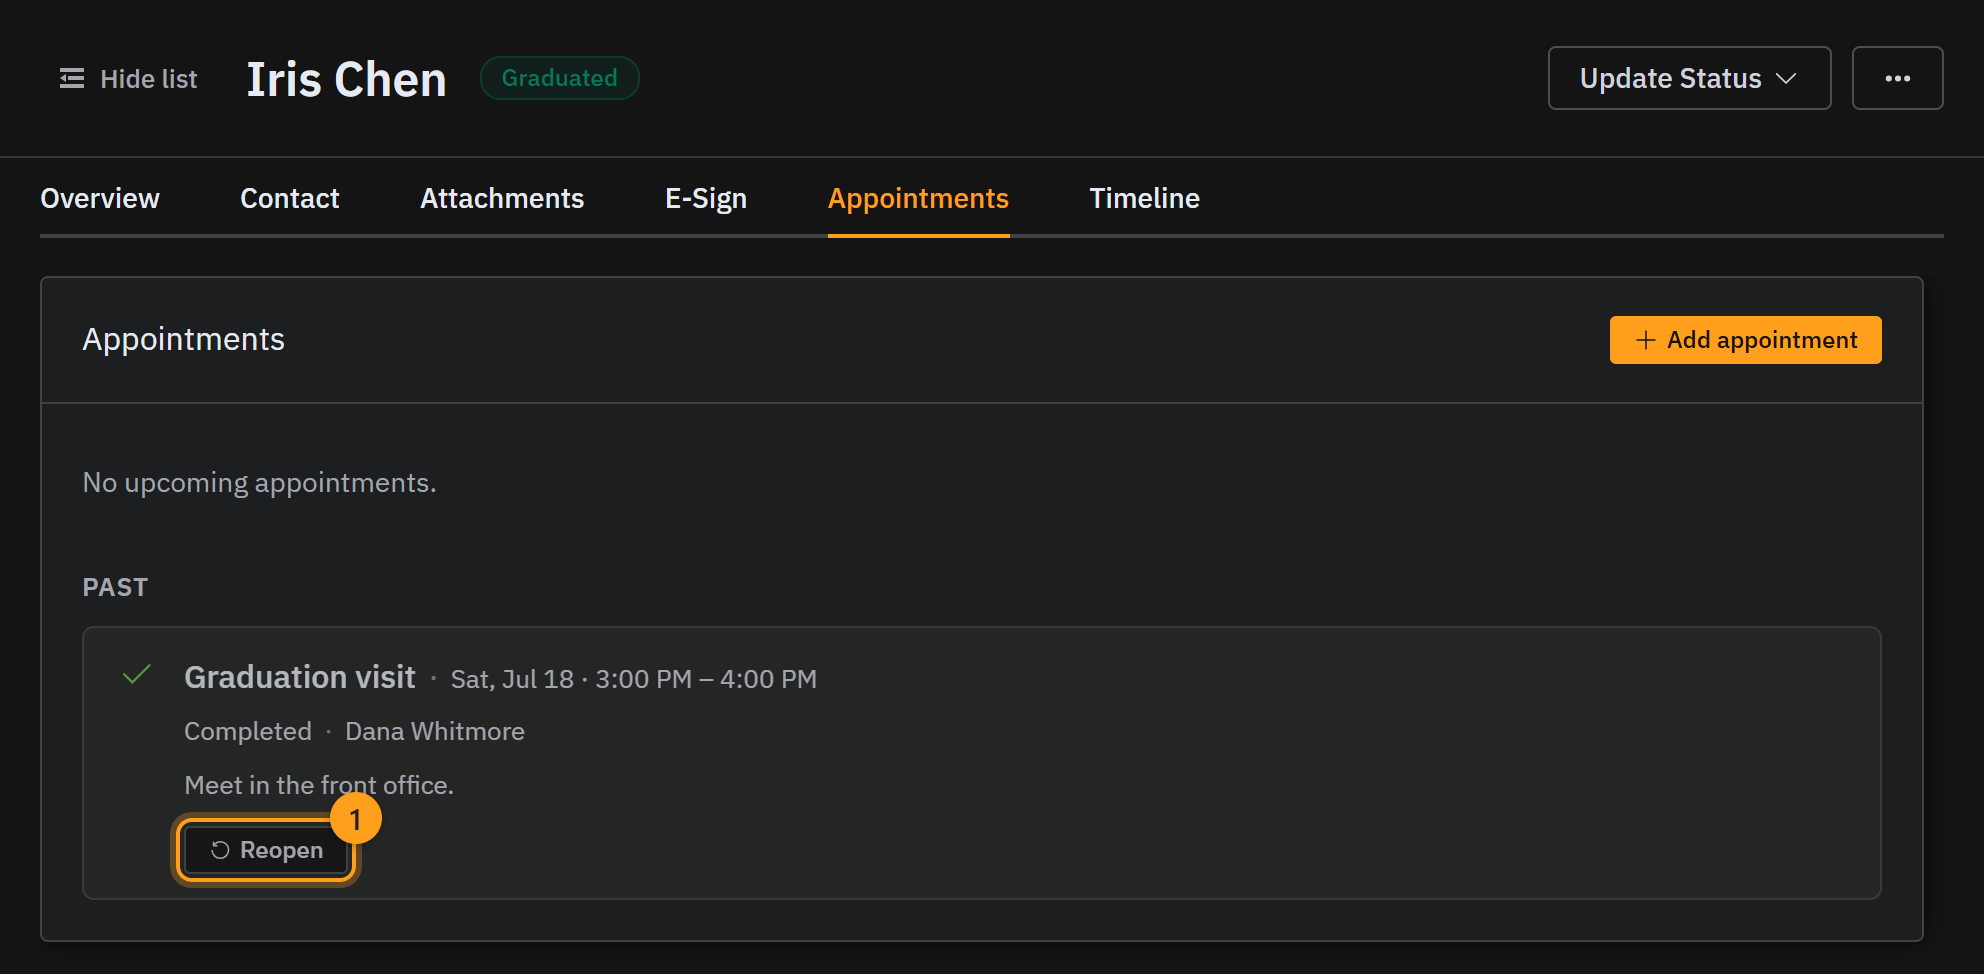
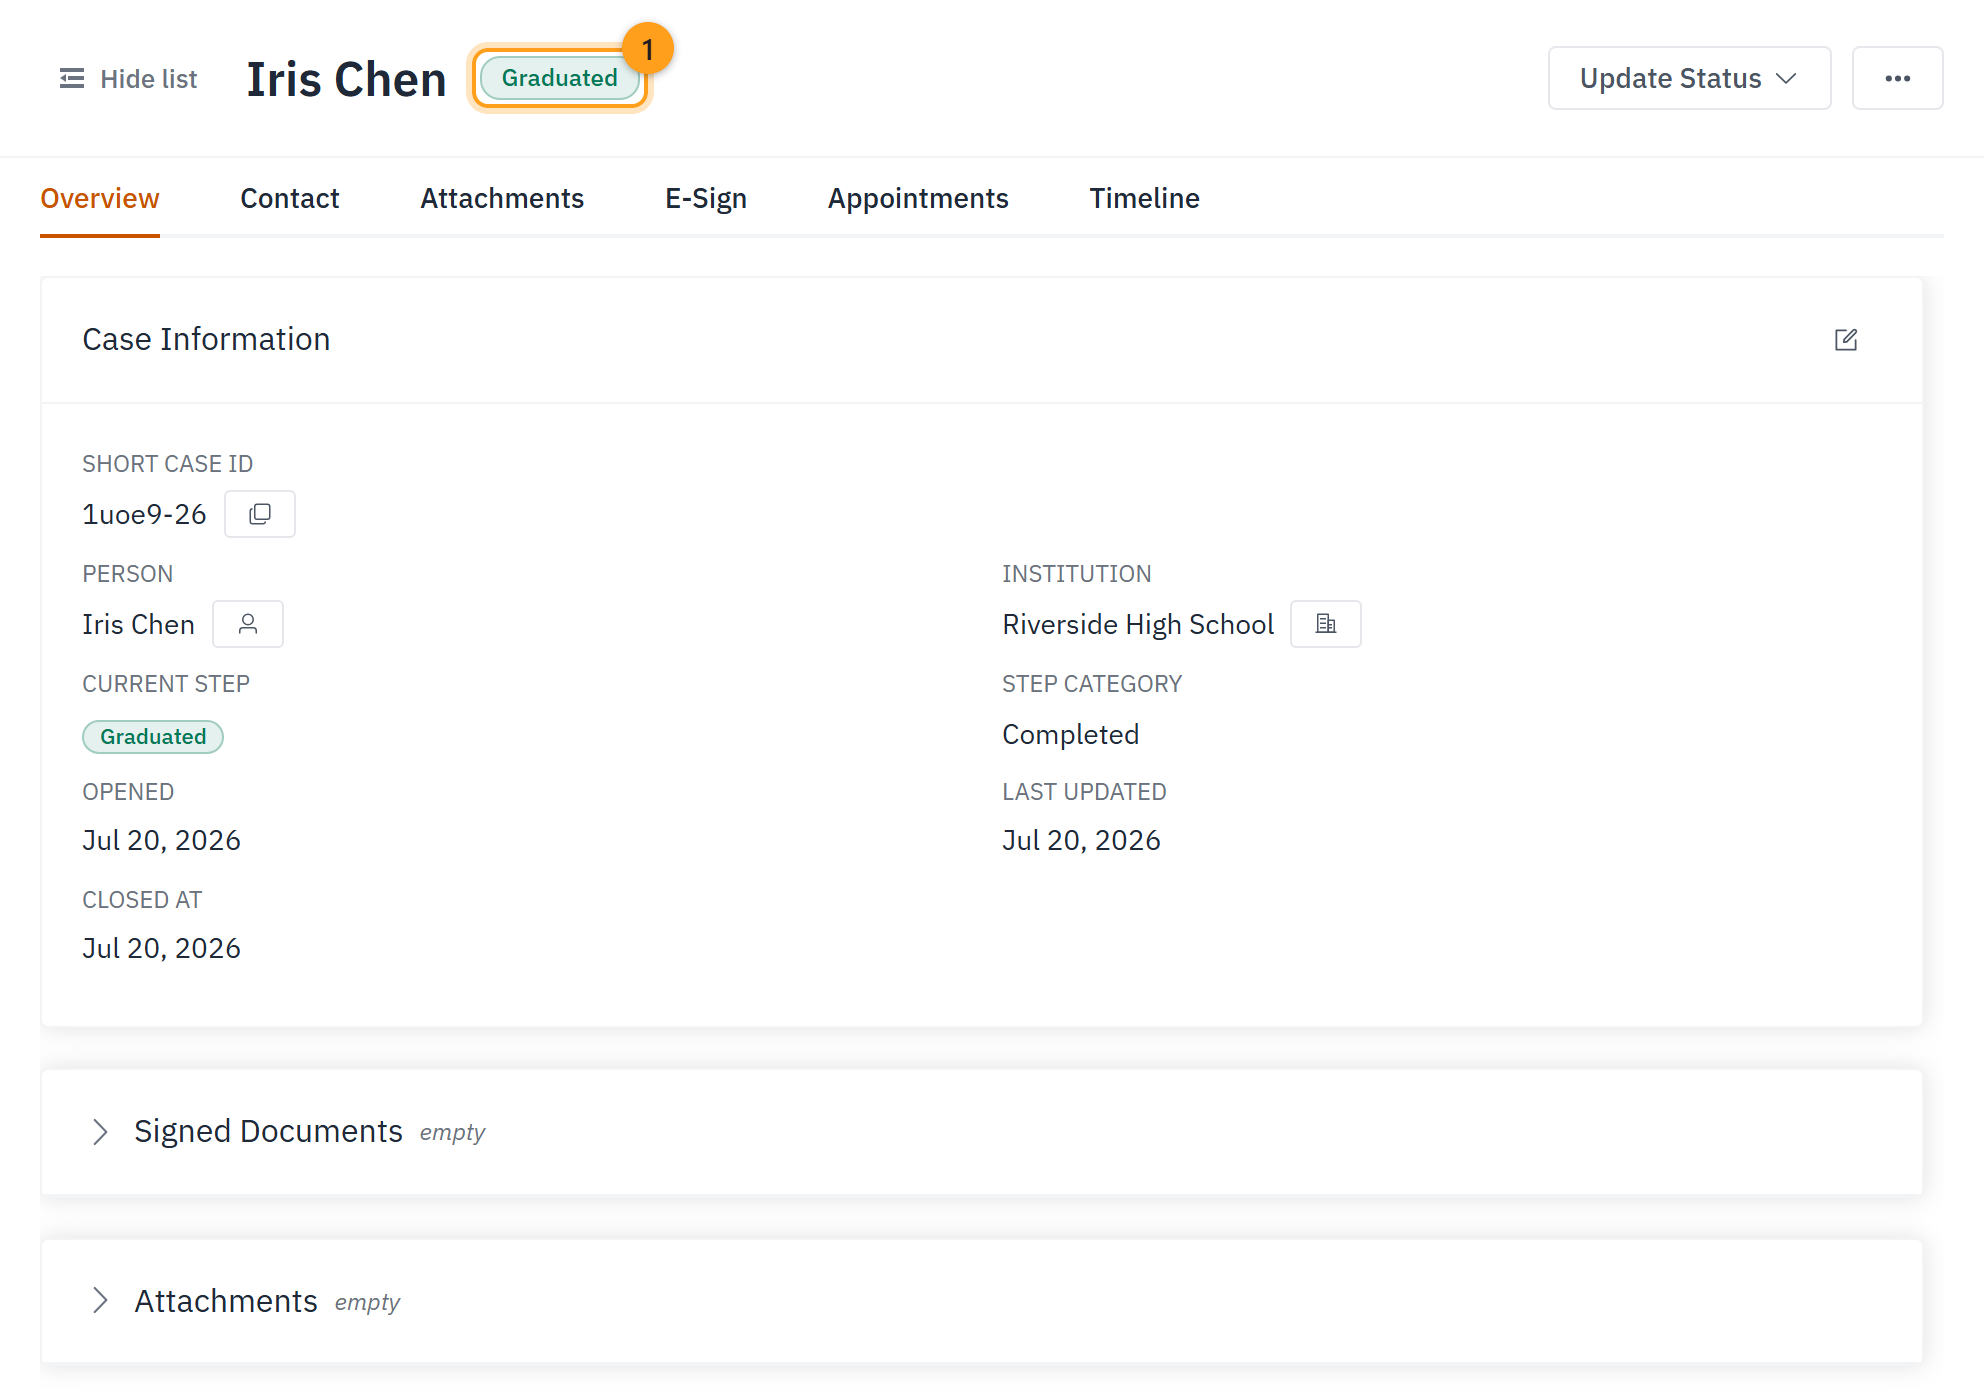
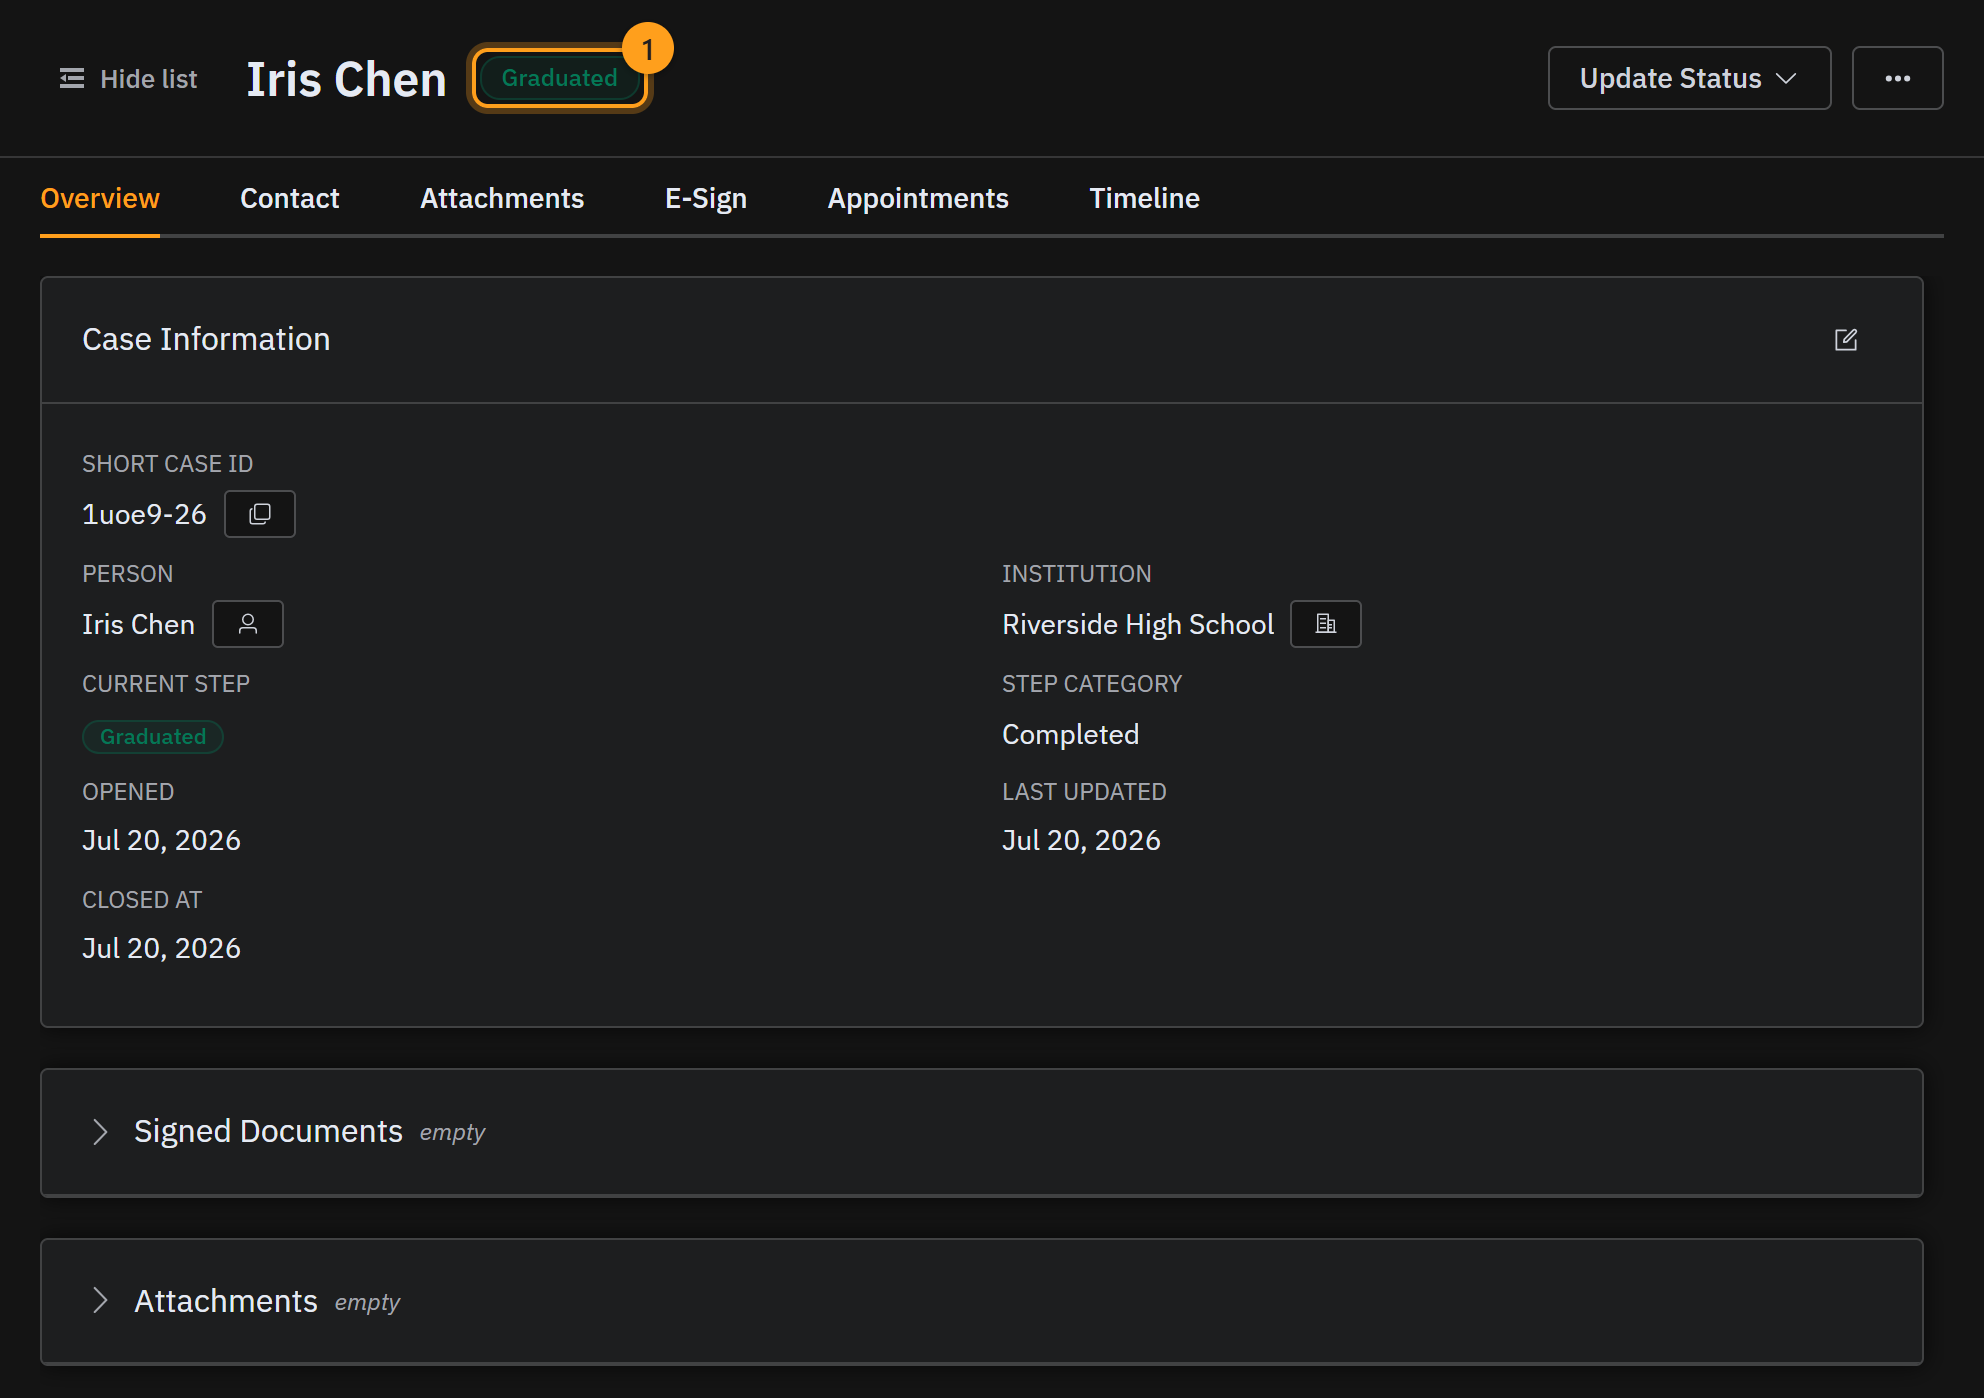
On the big day, open the Appointments tab and choose Mark completed on the graduation visit. It moves down to Past, with a Reopen button (1) in case you need it back. Finish any final documents and upload them on the Attachments tab. Then take the final step: choose Graduate (1) from the Update Status menu. The case is now Graduated and gently tucked away — out of your active list, but always just a search away.
Step 5 · That's the whole journey
And that's the whole journey — from a brand-new student to a proud graduate, all in one organized place. Better Without It® keeps every step clear, so you can spend less time on paperwork and more time helping students thrive.
Quick reference
Graduation flow (the badge text you'll see):
Active → Graduation Appointment Pending → Graduation Appointment Scheduled → Graduated
Button you click → resulting status
| You click… | The badge then shows… |
|---|---|
| Schedule Graduation | Graduation Appointment Pending |
| Appointment Scheduled | Graduation Appointment Scheduled |
| Graduate | Graduated (final — archived but findable) |
Also used: group participant status Completed · tabs Appointments, Attachments